PRODUCT OVERVIEW
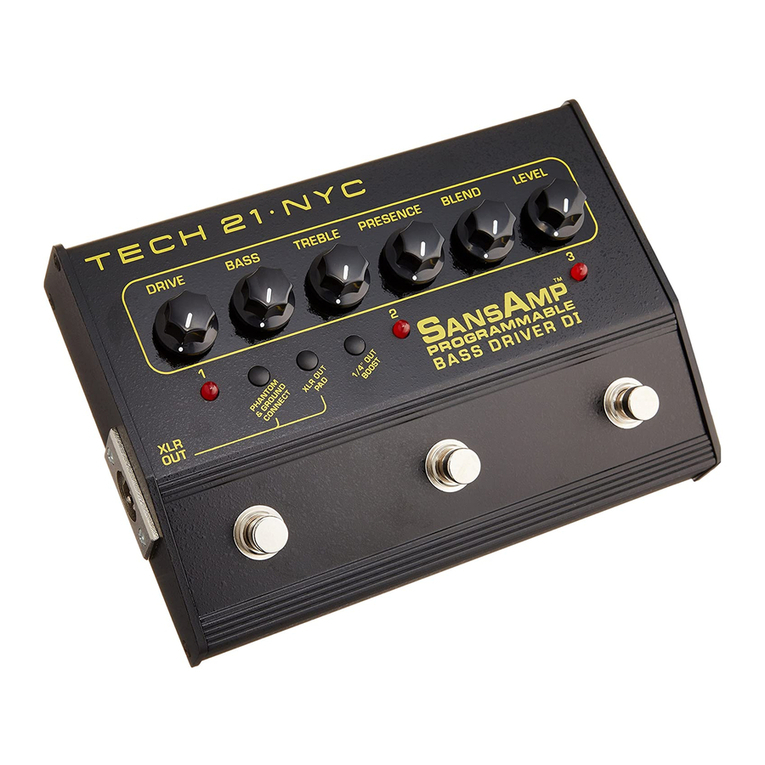
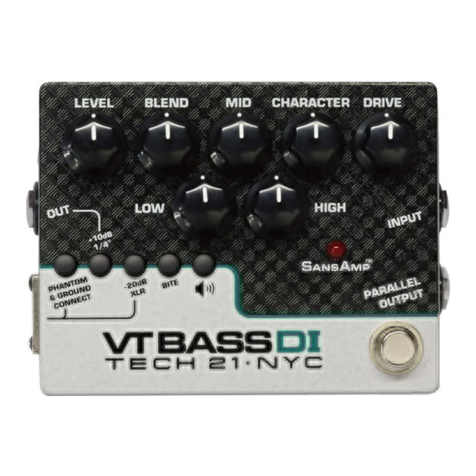
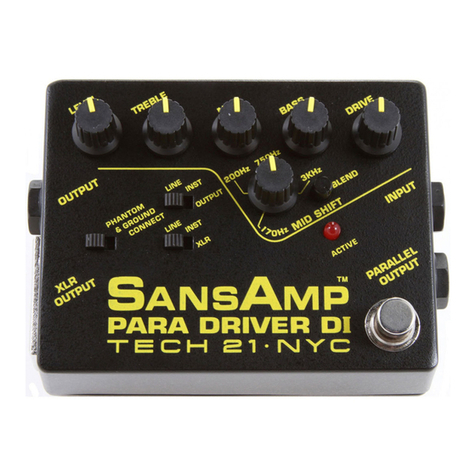
The SansAmp Bass Driver DI has been an arsenal staple for players and studios
almost since the day it was introduced in 1994. This multi-function, multi-appli-
cation pedal dials up big vintage tube tones, bright modern slap sounds, gnarly
distortions, and all in between. So, after all these years, why change it now?
We thought it was time for a little modernization. Since the popularity of 5-
and 6-string basses has gone beyond fad status and become mainstream, we
added a switch to adjust the bass frequency to extend into those lower regis-
ters. We also added a mid-range control and a switch to adjust its frequency.
The core of the SansAmp Bass Driver and all of its tones remain true to its
original design.
As with each SansAmp model, the controls are designed to give you the flexi-
bility to customize your own sound. After all, the greatest inspiration comes
from having the sound that’s right for you.
APPLICATIONS
WITH A BASS AMP RIG:
-As a Pre-Amp: Run the 1/4” Ou pu of the SansAmp Bass Driver DI
directly into the power amp input, a.k.a. “effects return” (if applicable), of an
amp. This will bypass the tone-coloring pre-amp section of the amp rig.
-As a Stomp Box: Run the 1/4” Ou pu into the front input of an amp.
For best results, keep the SansAmp Bass Driver’s Level close to unity gain so
as not to overload the amp’s input, which could yield undesirable distortion.
TO DRIVE A POWER AMP: Run the 1/4” Ou pu , or the XLR
Ou pu to the corresponding input of a power amp, and adjust your stage vol-
ume with the Level control of the SansAmp Bass Driver DI.
OTE: When running into the power amp input of an amp or a power amp
alone, make sure to set the Ou pu Level Swi ches as follows:
If using 1/4-inch: +10dB engaged (in position).
If using X R: -20dB disengaged (out position).
Then adjust Level as needed. If you are so inclined, this is the time to crank it!
TO RECORD DIRECT: Plug the XLR or 1/4” Ou pu directly into the
input of a mixer/recorder. Work with the input trim control on the mixer/
recorder and be sure not to overload its input. If the Level on the SansAmp
Bass Driver is below 12 o’clock and is overloading the board, use the respec-
tive output level switch to reduce the output:
If using 1/4-inch: +10dB disengaged (out position).
If using X R: -20dB engaged (in position).
Bear in mind full-range systems yield a wide frequency response. Therefore,
we suggest you start with the EQ levels at 12 o’clock and then increase/
decrease to taste.
GUIDE TO CONTROLS
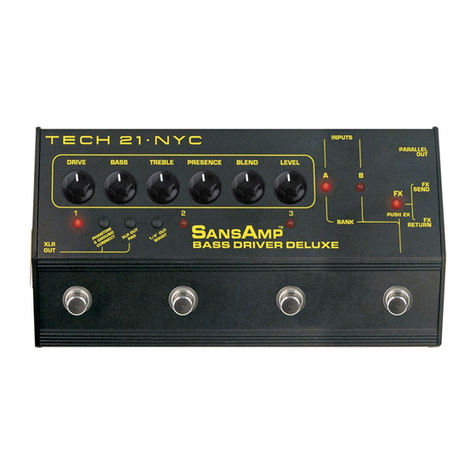
PRESE CE: brings out the upper harmonic content and attack. For a
smoother high end and for clean settings, decrease to taste.
DRIVE: adjusts the input sensitivity, as well as the overall amount of gain and
overdrive, similar to when the output section of a tube amp is being pushed.
MID, BASS & TREBLE: Unlike passive controls that only cut, these
active tone controls cut or boost
±
12dB from unity gain (12 o’clock).
NOTE: The overall output level will change relative to your EQ settings.
Simply adjust the Level control accordingly to compensate.
MID SHIFT switch changes the frequency from 500 Hz (up position) to 1000 Hz.
BASS SHIFT switch changes the frequency from 80 Hz (up position) to 40 Hz
to accommodate 5- and 6-string basses that extend into the lower registers.
BLE D controls the ratio of SansAmp Tube Amplifier Emulation circuitry
and your direct instrument signal. In most cases, you will probably have this
set at maximum (100% SansAmp). For certain applications, however, such as
an ultra-transparent sound or for use with piezo pickup-equipped instruments,
you may want to blend-in the direct signal to achieve your desired sound.
While the SansAmp Tube Amplifier Emulation circuitry is bypassed when Blend
is at minimum, the Mid, Bass, Treble and Level controls remain active.
LEVEL adjusts the output level of both the 1/4” and X R outputs.
2
1


