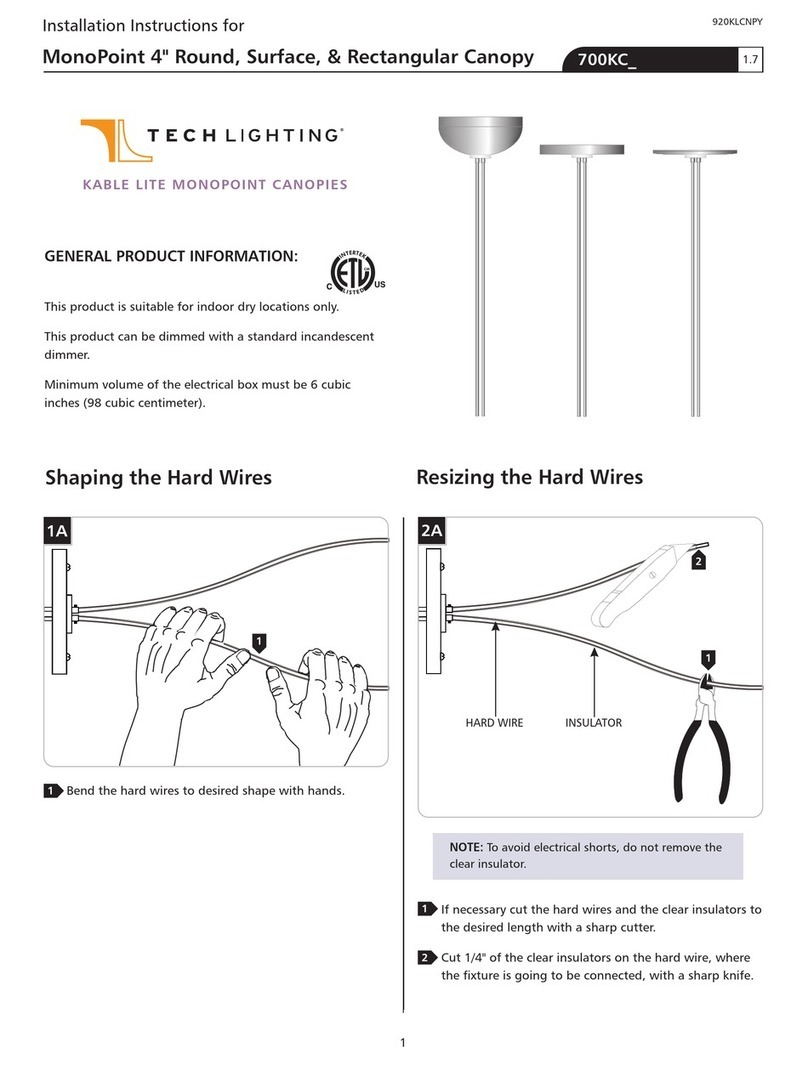
TECHLIGHTING Vance 700FMVNC13 User manual
Other TECHLIGHTING Light Fixture manuals
Popular Light Fixture manuals by other brands
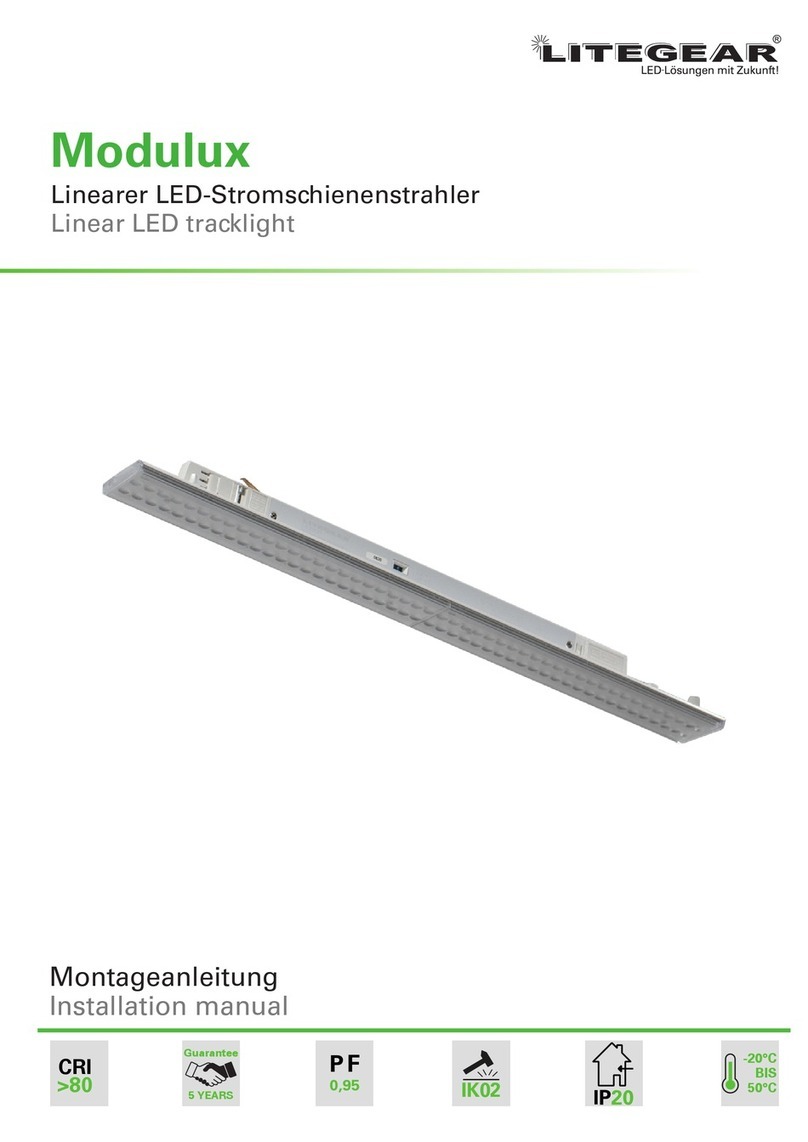
LiteGear
LiteGear Modulux 60-14/20-830-2900lm-BK installation manual
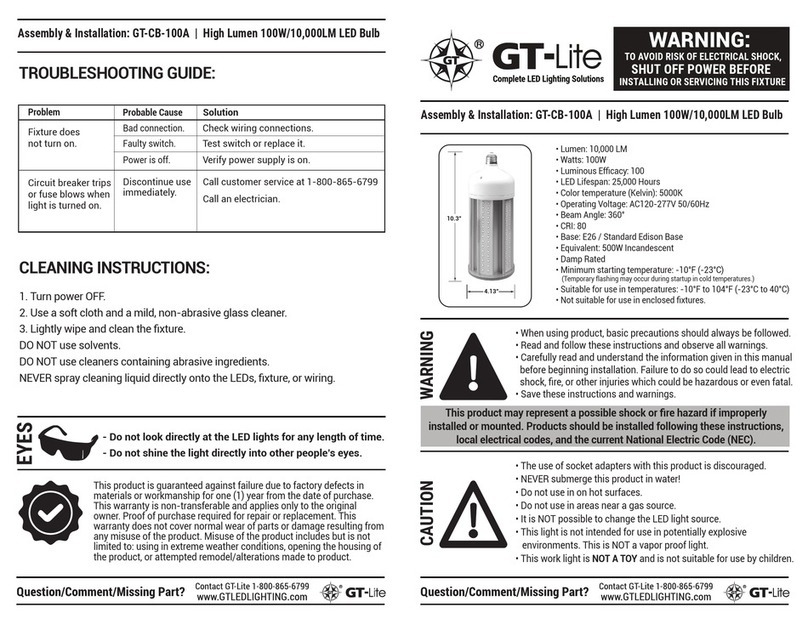
GT-Lite
GT-Lite GT-CB-100A Assembly & installation
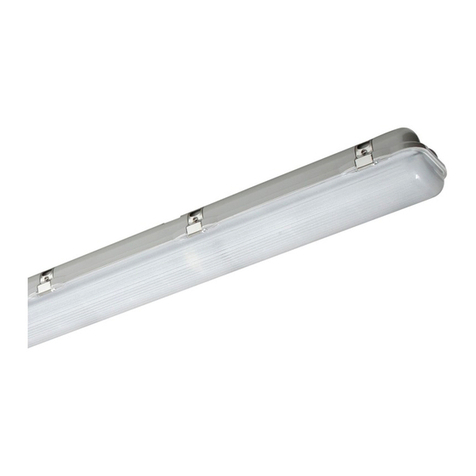
LED Group
LED Group Robus RVUF244FT-24 instructions
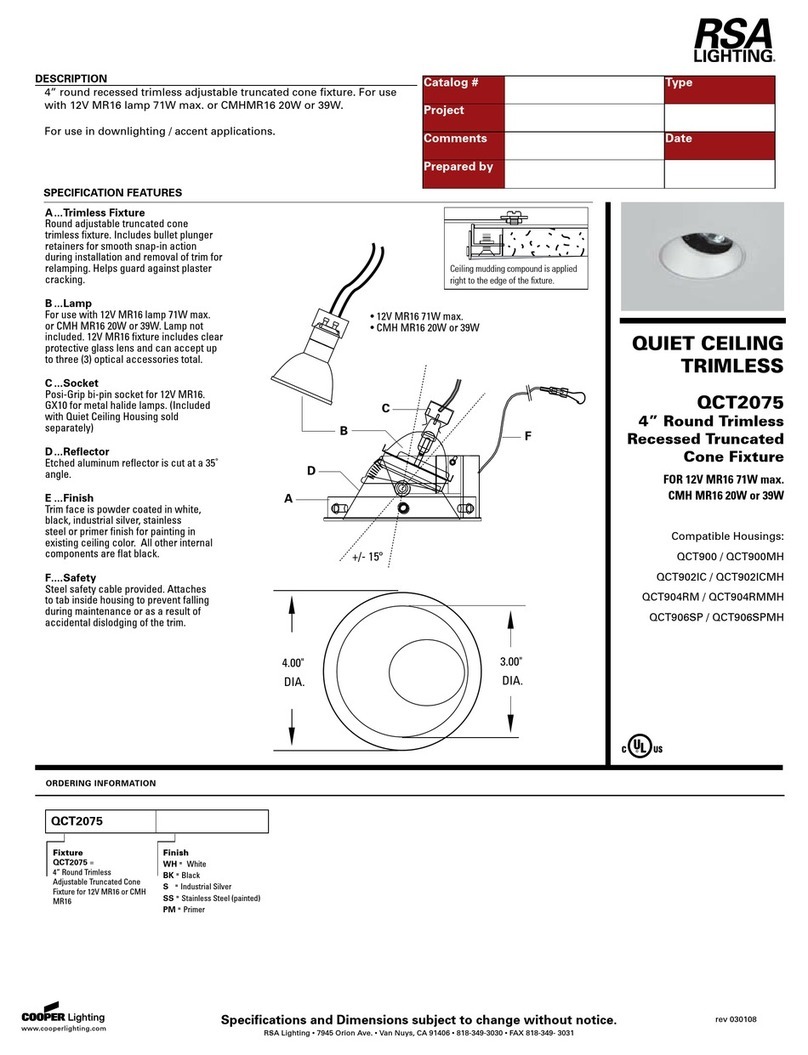
RSA Lighting
RSA Lighting QCT2075 specification
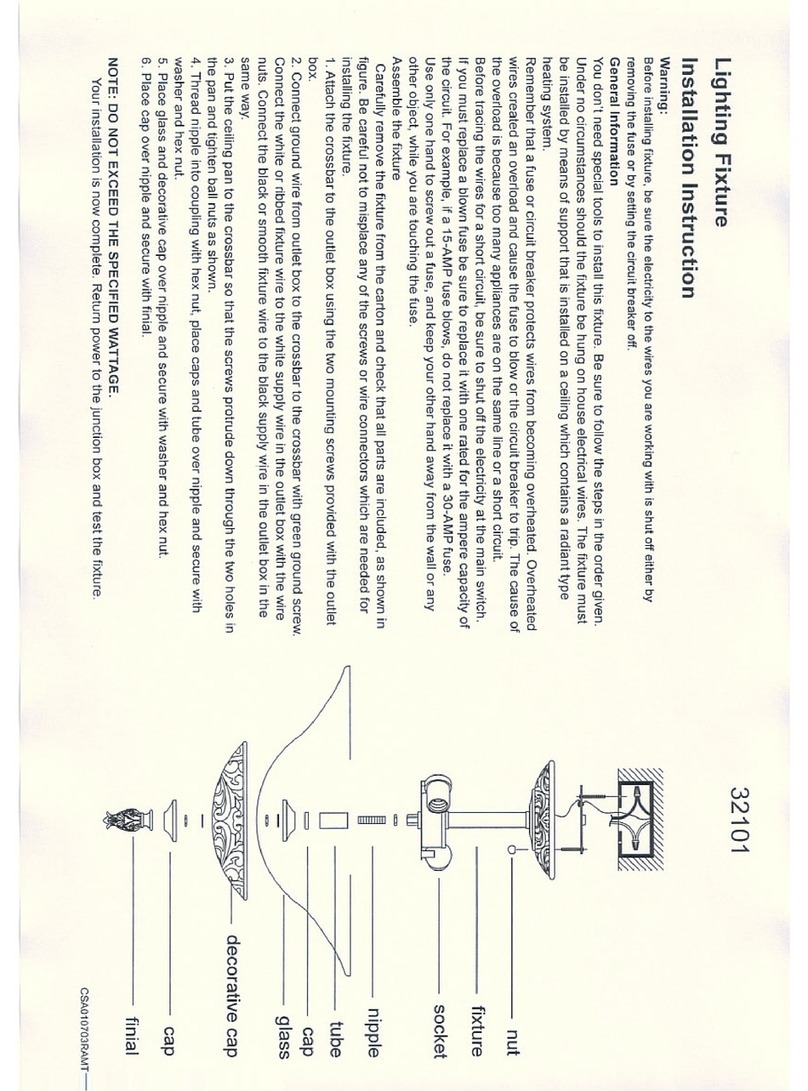
Triarch
Triarch Lighting Fixture 32101 installation instructions
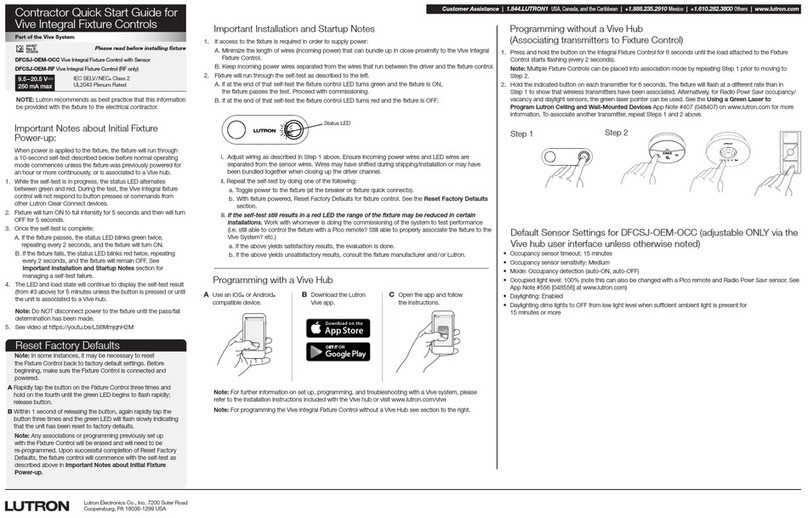
Lutron Electronics
Lutron Electronics DFCSJ-OEM-OCC Contractor Quick Start Guide
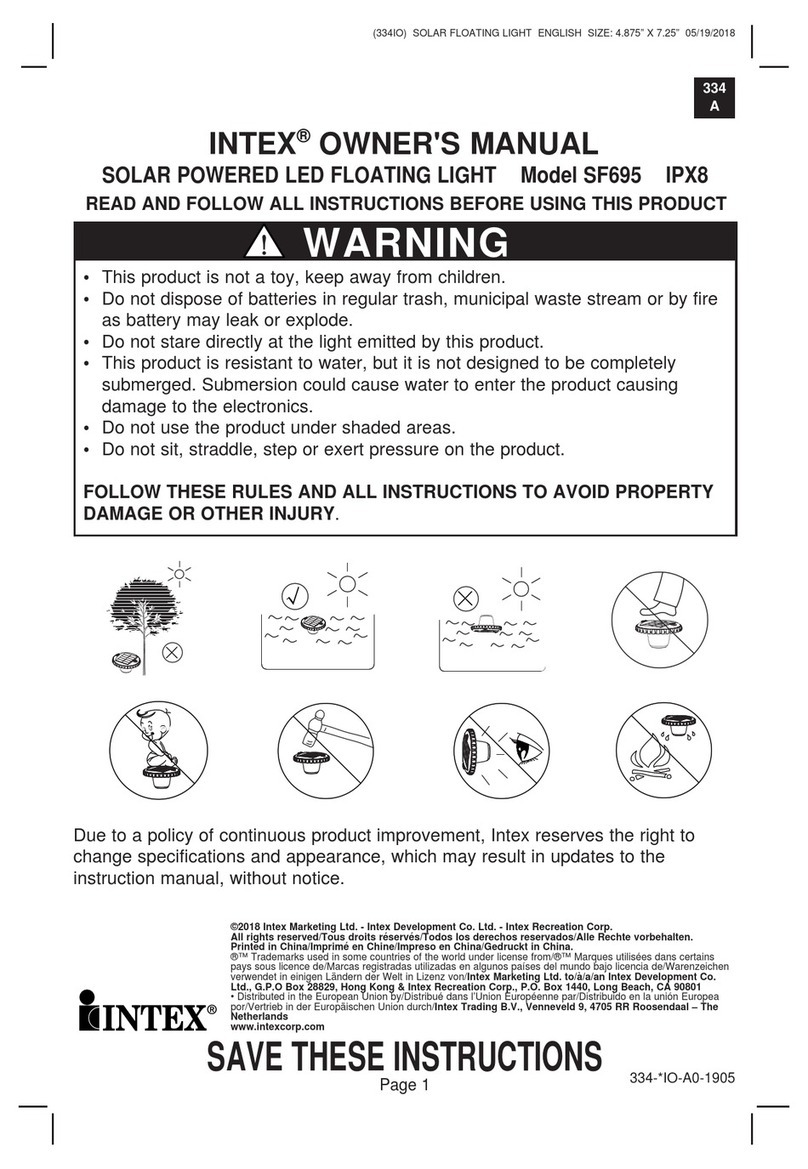
Intex
Intex SF695 owner's manual

Philips
Philips 6910153PH Instruction leaflet

American DJ
American DJ ScanTron User instructions
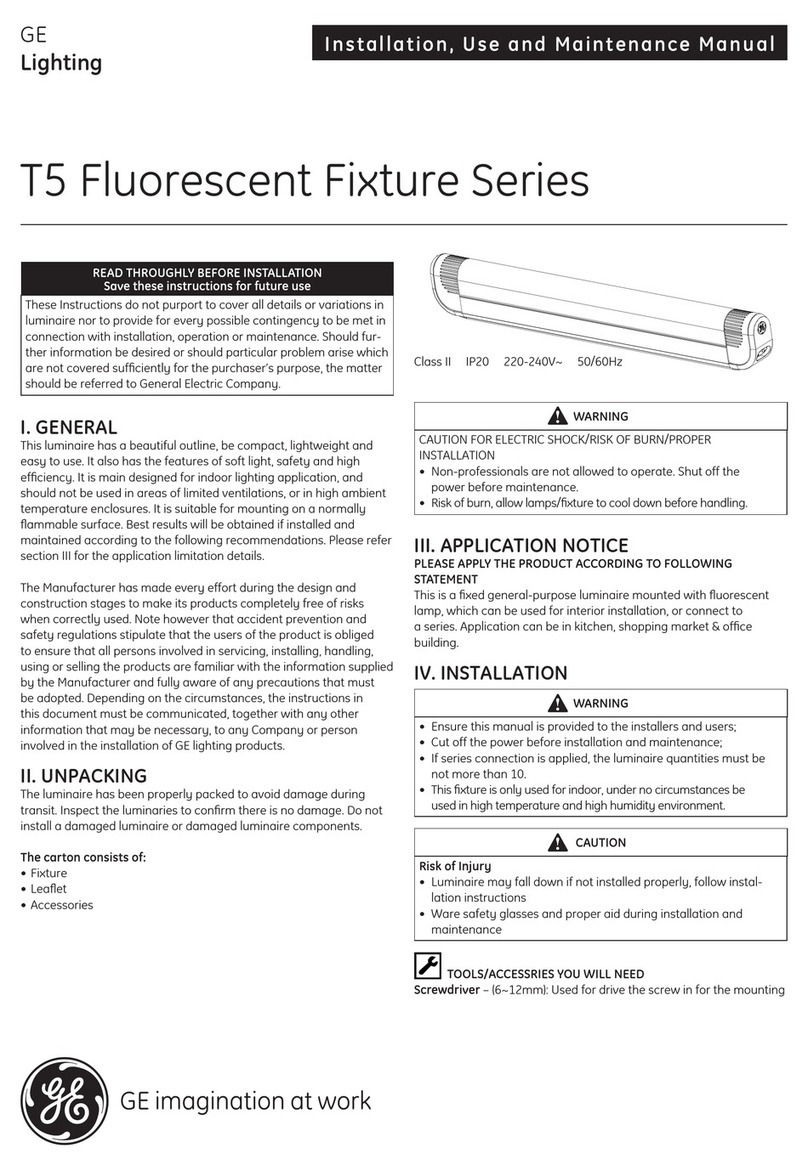
GE Lighting
GE Lighting T5 Fluorescent Fixture Series Installation, use and maintenance manual
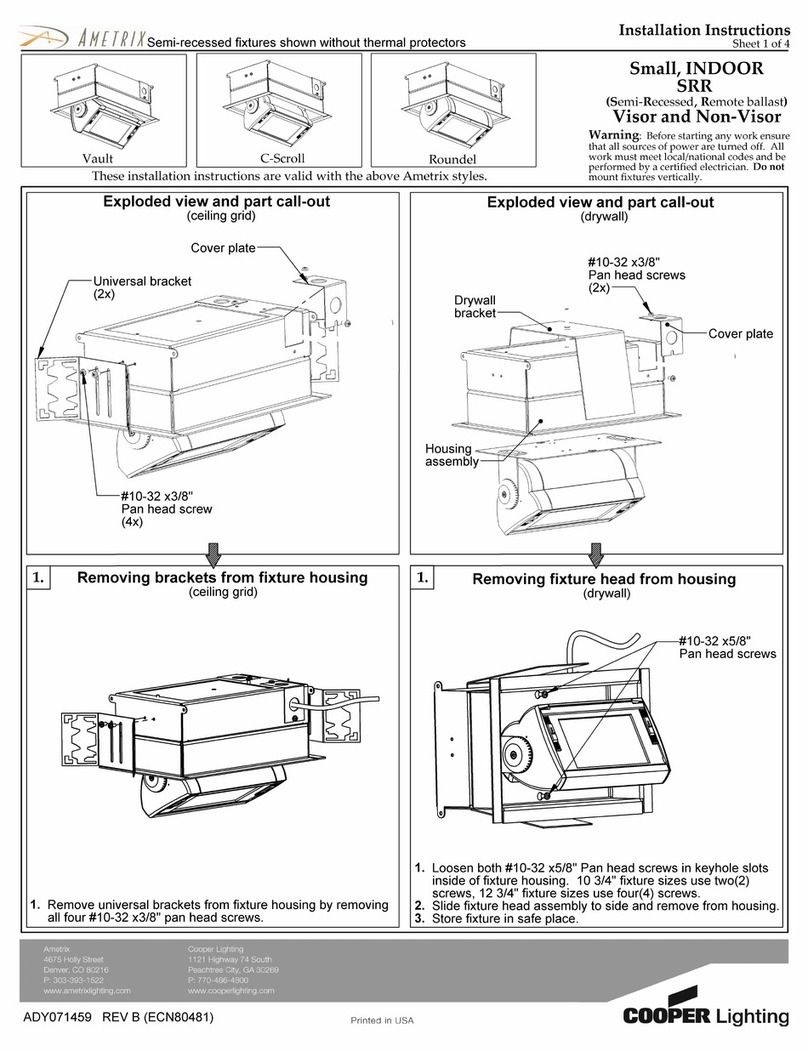
Cooper Lighting
Cooper Lighting AMETRIX SRR installation instructions
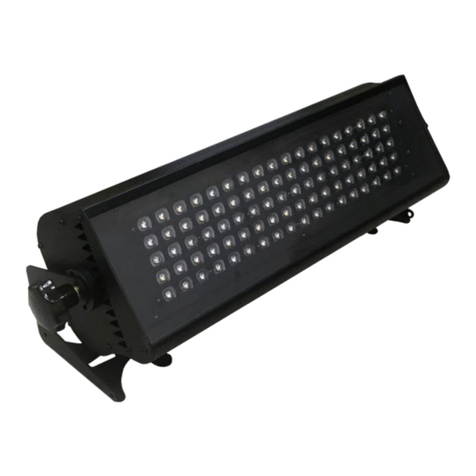
ALPHA LITE
ALPHA LITE HORI LIGHT CYC Series user manual


