manuals.online logo
Brands
  1. Home
  2. •
  3. Brands
  4. •
  5. Techone
  6. •
  7. Toy
  8. •
  9. Techone angel epp User manual

Techone angel epp User manual

Warning
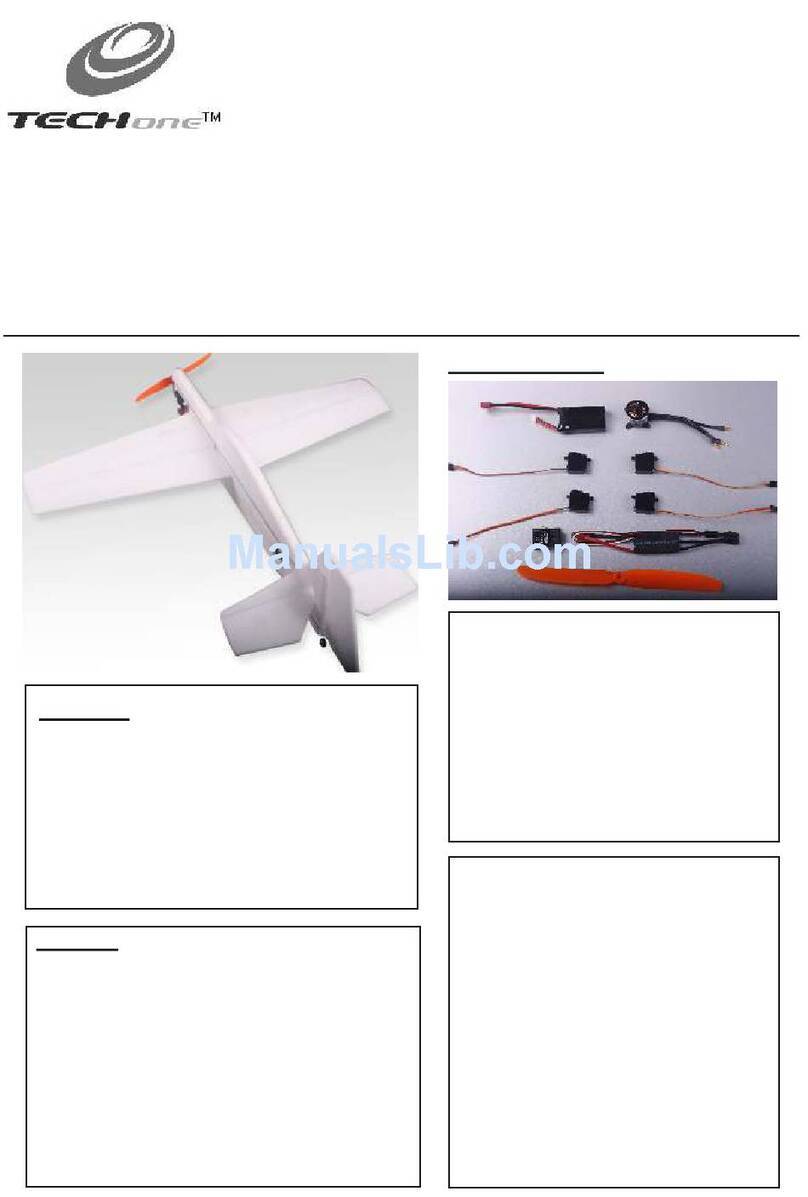
1.Fuselage 1
2.Wing 1
3.Ailerons 2
.
.levator 1
.
.Landing Gear
.heel Cover(EPP) 1
.heel hocks 4
10.Tailing wheel 1
11.Control Horns 4
12.Clevis 8
13. Servo Mount 4
1.
1.Carbon Rod .*mm
16.Steel Wire 0.8*360mm 1
17.Heat-Shrink Tubing ¢1.5*400mm 1
1.
4 Horizontal Stabilizer 1
5 E
6 Rudder 1
7 1
8 W
5 1 3 700 2
8 Velcro 1
19.
9 W C (plywood)
(plywood)
4 Hinges 15
Wood Screws - 4
Kit Contents
1. EPP Electric R\C model is not a toy and is not suitable for the flyer under 14 years.
2.Do not fly near houses or buildings children's play areas road traffic railways airports, overhead
power lines and pylons. Do not fly over people.
3.
4. .
5.Do not fly in the strong winds.
6.Do not try to catch the plane by hand when it is flying.
7.The children who are younger than 14 years old should be assisted by an experienced adult when
the plane is being flown.
ANGEL-If
misused, it can cause serious bodily harm and damage to property.
, , ,
Fly only in open areas, preferably AMA (Academy of Model Aeronautics) approved flying sites,
following all instructions included with your radio.
Assemble the kit according to the sequence provided in the instruction manual
Before use,please read the explanations carefully!
TM
Flying environment
In-door:Large hall or gymnasium
Out-door:Windless dawn or dusk
Instruction Manual
Instruction Manual
Specifications
985mm (38.8 in.)
900mm (35.4 in.)
Brushless outrunner Motor
30A Brushless ESC
1060 Slow Flyer Prop
8
3 Cells 11.1V 1000mAh Li-po
Fuselage length:
Wingspan:
Flying Weight: 400-420g (with battery)
Motor: 2212
ESC:
Propeller:
Servo: g
Radio:4/more channel
Receiver:4/more channel
Battery:
5
,-cut
on elevator
.Cut four slots where the hinges
will be installed we have pre
the .
6.Insert the elevator and the
horizontal into the
fuselage Hinge the elevator to the
horizontal , using the same
techniques that you used to hinge
the ileron to the wing.
stabilizer
stabilizer
.
a
8. . Install the ilerons control horna
10. . Install the elevator control horn 11.Glue servo
servo
the mount to the
wing Please align them with the
holes on the wing.
.
1.
,-cut on
ileron
Cut four slots where the hinges
will be installed we have pre
the a .
2.Insert the hinges into the ,
then glue the cut
slots
.
3.Insert the wing into the fuselage.
Center the wing and glue it to the
fuselage.
4.the same on wing,
h ileron tight
against the wing, insert the hinges
into the , and glue the cut
Cut slots the
a
slots .
While olding the
7 rudder vertical
stabilizer
.Hinge the to the
, using the same
techniques that you used to hinge
the ileron to the wing.a
9 Install the rudder control horn. .
12.Install the ileron into the
mount using the screws
provided with the servo.
a servo
servo
13.Install the rudder mount
and the using the same
techniques that you used to Install
the ileron .
servo
servo
servoa
14.Install the elevator mount
and the using the same
techniques that you used to Install
the ileron .
servo
servo
servoa
15 L
, then
L
L
. A
L
,
L
.
.First you should make the -
bend as shown hold the heat
shrink tubing that connects the
pushrod to the L-bend and gently
rotating the -bend until the glue
holding the -bend in place has
broken loose djust the length by
pulling or pushing the -bend until
the appropriate length is achieved
and re-glue the -bend to the
pushrod using some CA glue
Steel Wire
Heat-Shrink Tubing
Carbon Rod
16 L
Finish the servo installation by placing the servo arm and reinstalling the servo screw
.Thread a L-bend through the control horn. And thread the other -bend onto the outer most hole of the servo
arm. onto the servo .
21.Cut a slot on the bottom fuselage
as shown.
23.I the the
it to the fuselage.
nsert tailing wheel into
slot and glue
28 Cut 3pcs velcro, then fix them
inside the cockpit as shown in above
picture
.
.
25 I .nstall the and propeller onto the
motor.
17.Install the two wheels and wheel
chocks. Keep 1mm distance
between wheel and its chock. Apply
some C/A to glue the chocks.
18.Glue the two wheel cover pieces
together.
19.Slide one wheel cover onto each
axle and up against the wheels.
Align the wheel covers, then glue
them securely to the axles. And
insert the landing gear into the slot
of the bottom fuselage.
20.Cut 2pcs carbon rods.Place one end of each rod into the fuselage and
the other end of the rod into the horizontal stabilizer and glue it.
24.Install the motor
into the motor mount
using the screws
provided with the
motor.
26.I the ESC.nstall
27.Install the receiver and battery
into the cockpit, using a piece of
v .elcro
ESC
Battery
Receiver
22.Glue the tailing wheel pieces
together.
Seek Assistance
If you are new to R/C we suggest you find an experienced pilot to check out your aircraft and help you with the first
few flights. This will help prevent damage to your model and will speed up the learning process and making your
R/C experience all the more enjoyable. You can contact local R/C clubs or your dealer to obtain the names of
experienced R/C pilots who would be willing to help you with your first few flights.
Although this is an it does have some construction features that can be challenging
to the less experienced modeler. If you encounter difficulty in any construction sequence, please feel free to
contact one of our technicians, we stand ready to provide any assistance we can. Contact us at:
E-Mail: [email protected]
ARF (Almost-Ready-to-Fly) kit,
The Center of Gravity (C/G or Balance Point) is 3.2” (82mm)
from the leading edge of the wing, measured at the center of
the wing.
WARNING For test flying and general sport flying, we
suggest you balance the airplane at the C/G
recommended above. For 3D flying, you may want to
experiment moving the C/G back in small increments until
you're satisfied with the result.
Control throws
Sport Flying
Ailerons: (32.8mm)1.29" Up and Down
Elevator: (22.8mm)0.90" Up and Down
Rudder: (45.2mm)1.78" Right and Left
3D Flying
Ailerons: (82mm)3.23" Up and Down
Elevator: (57mm)2.24" Up and Down
R udder: (113mm)4.45" Right and Left
The control throws are measured from the widest point of
the control surfaces
Exponential
Sport Flying
Ailerons: 20%
Elevator: 20%
Rudder: 20%
3D Flying
Ailerons: 35% - 50%
Elevator: 35% - 50%
R udder: 35% - 50%
Exponential softens the response of the control surfaces
around neutral stick. This makes the airplane easier to
control while using such large control throws. The
Exponential values shown are given as a percent. Please
note that different brands of radio control systems may
call for + or - Expo. Please check your transmitter's
owners manual for more info.
Balance Point
TM
Copyright 2009 Techonehobby
Http://www.techonehobby.com
C
MADE IN CHINA
Motor Thrust
To ensure great flight performance and to
be able to trim your airplane properly, it is
critical that you adjust the motor thrust as
described. We suggest that you add 2
degrees of down-thrust and 1 degrees of
right-thrust. This can be achieved by adding
a washer or two behind the top and right
side of the motor (between the motor and
the firewall). When set properly, the trim for
the elevator and the rudder should be
neutral. Fine-tune the down-thrust and
right-thrust until this trim is achieved.
C/G
Other Techone Toy manuals

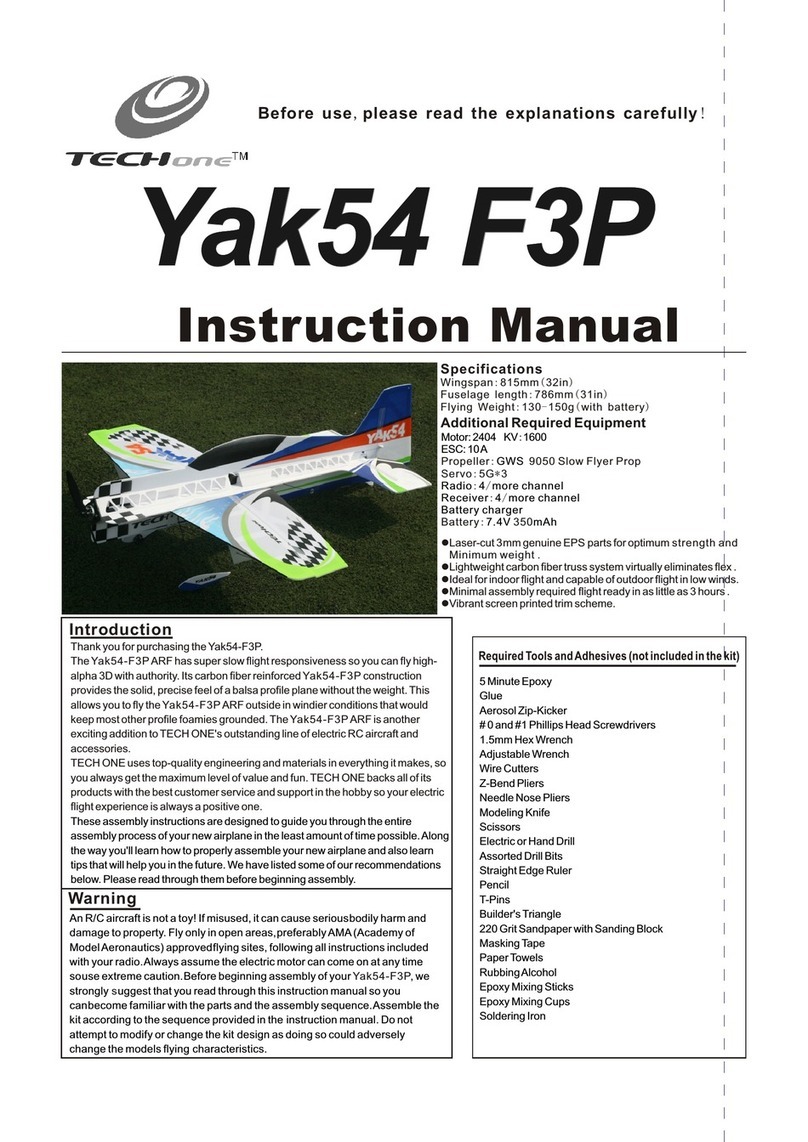
Techone Yak54-F3P User manual

Techone

Techone Yak54-F3P User manual

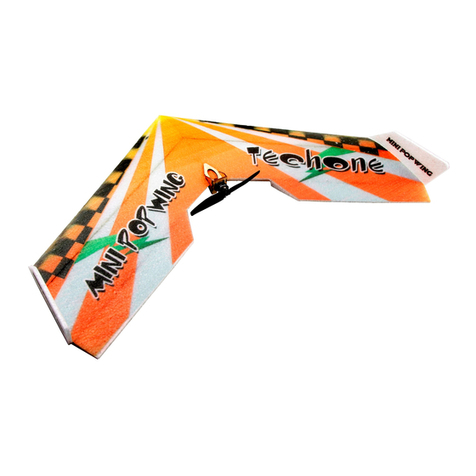
Techone Mini Popwing User manual

Techone

Techone Mini Popwing User manual

Techone P51 3D-EPP User manual

Techone

Techone P51 3D-EPP User manual

Techone Extra 300 EPS User manual

Techone

Techone Extra 300 EPS User manual

Techone Park-1100 EPP User manual

Techone

Techone Park-1100 EPP User manual

Techone Yak54 F3P User manual

Techone

Techone Yak54 F3P User manual

Techone 1300 Popwing User manual

Techone

Techone 1300 Popwing User manual

Techone Yak54 EPP User manual

Techone

Techone Yak54 EPP User manual

Techone MXS EPP 3D User manual

Techone

Techone MXS EPP 3D User manual

Techone leader 3D EPP User manual

Techone

Techone leader 3D EPP User manual

Techone Malibu III User manual

Techone

Techone Malibu III User manual

Techone 02A-703 Metis User manual

Techone

Techone 02A-703 Metis User manual

Techone Malibu-F3P User manual

Techone

Techone Malibu-F3P User manual

Techone Paiget II User manual

Techone

Techone Paiget II User manual

Techone rainbow-epp User manual

Techone

Techone rainbow-epp User manual

Techone Sukhoi EPP User manual

Techone

Techone Sukhoi EPP User manual

Techone BLUEFOX 2012 3D-HCF User manual

Techone

Techone BLUEFOX 2012 3D-HCF User manual

Techone pulama 3D-EPP User manual

Techone

Techone pulama 3D-EPP User manual

Techone Malibu III User manual

Techone

Techone Malibu III User manual

Techone Yak55 3D EPP User manual

Techone

Techone Yak55 3D EPP User manual

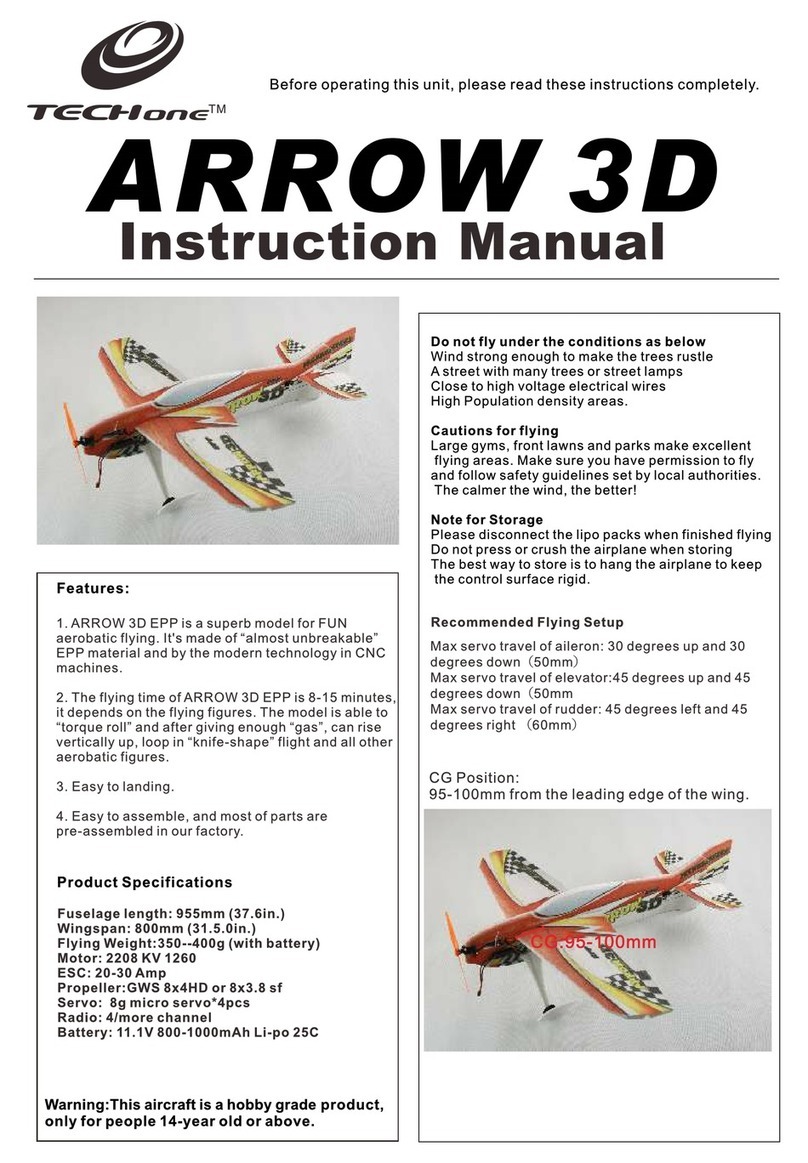
Techone Arrow 3d User manual

Techone

Techone Arrow 3d User manual

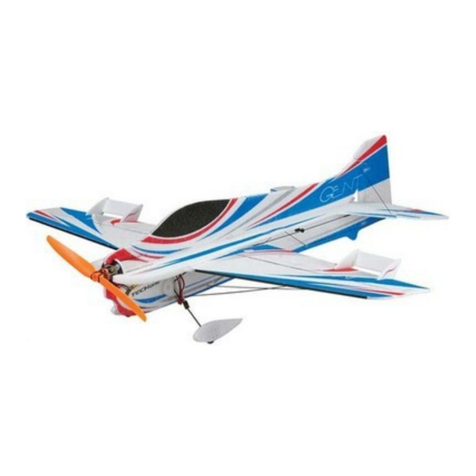
Techone Gent EPP User manual

Techone

Techone Gent EPP User manual

Techone Mini Tempo 3D-EPP User manual

Techone

Techone Mini Tempo 3D-EPP User manual

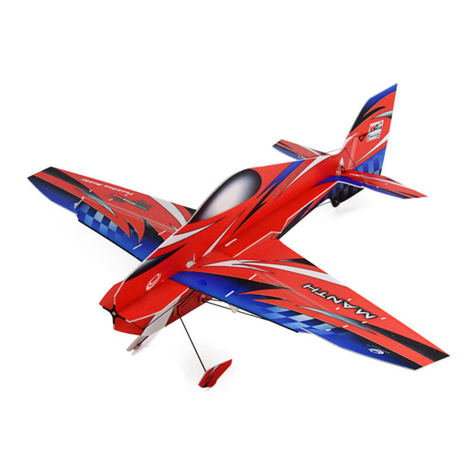
Techone MANTH User manual

Techone

Techone MANTH User manual

Popular Toy manuals by other brands

marklin 36241 instruction manual

marklin

marklin 36241 instruction manual

Eduard B-17F bomb bay Assembly instructions

Eduard

Eduard B-17F bomb bay Assembly instructions

LEGO Dimensions The A-Team Fun Pack manual

LEGO

LEGO Dimensions The A-Team Fun Pack manual

NORDIC PLAY 805-728 manual

NORDIC PLAY

NORDIC PLAY 805-728 manual

Fisher-Price GeoTrax quick start guide

Fisher-Price

Fisher-Price GeoTrax quick start guide

Faller 232531 instructions

Faller

Faller 232531 instructions

Eduard AV-8B Night Attack interior S.A. quick start guide

Eduard

Eduard AV-8B Night Attack interior S.A. quick start guide

Fisher-Price Kasey the Kinderbot manual

Fisher-Price

Fisher-Price Kasey the Kinderbot manual

Trix H0 3969 instructions

Trix

Trix H0 3969 instructions

Fisher-Price smart cycle Assembly Tip

Fisher-Price

Fisher-Price smart cycle Assembly Tip

Frontgate 158042 Assembly instruction

Frontgate

Frontgate 158042 Assembly instruction

HobbyZone Super Cub Z1 instruction manual

HobbyZone

HobbyZone Super Cub Z1 instruction manual

marklin 29160 instruction manual

marklin

marklin 29160 instruction manual

SAB KR 175 Drake Antartica manual

SAB

SAB KR 175 Drake Antartica manual

THUNDER TIGER Cloud Dancer 60 ARF Assembly manual

THUNDER TIGER

THUNDER TIGER Cloud Dancer 60 ARF Assembly manual

The Learning Journey Techno GearsDizzy Droid instruction manual

The Learning Journey

The Learning Journey Techno GearsDizzy Droid instruction manual

marklin 55332 user guide

marklin

marklin 55332 user guide

LEGO Super Heroes user guide

LEGO

LEGO Super Heroes user guide

manuals.online logo
manuals.online logoBrands
  • About & Mission
  • Contact us
  • Privacy Policy
  • Terms and Conditions

Copyright 2025 Manuals.Online. All Rights Reserved.