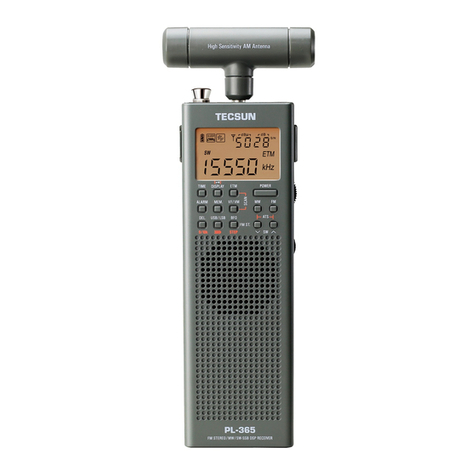
Tecsun PL-880 User manual

2013.7 VER.1
PL-880
TECSUN
PLL MULTI BAND RADIO
WITH
EXCELLENT PERFORMANCE
TECSUN
OPERATION MANUAL
Please read this instruction carefully before using the device
TECSUN ELECTRONIC IND. LTD.
Address: Rm 11, 13/F, Block A, Hoi Luen Ind. Ctr.,
55 Hoi Yuen Road, Kwun Tong, Kowloon, Hong Kong.
E-mail: [email protected]
Website: www.tecsun.com.cn

CONTENT
LOCATION OF CONTROLS…… ……
LCD SYMBOL DESCRIPTION……………………………………….………
INSTRUCTION
TURN ON/OFF THE RADIO……………………………………………….…
USING THE ANTENNA……………………………………………….…….…
VOLUME ADJUSTMENT…………………………………………………..…
VF(view frequency)/VM(view memory) MODE………....………………..…
TUNING INTO STATIONS………………………………………………….…
MANUAL TUNING
AUTO BROWSE
DIRECT KEYPAD ENTRY
WORKING WITH STATION MEMORIES ……………………………….…
STORING STATIONS MANUALLY
SEMI-AUTO STORAGE
AUTO TUNING STORAGE ( ATS )
MEMORY PAGE SELECTION
LISTENING TO STORED STATIONS………………………………………
MANUALLY BROWSE STORED STATIONS
AUTO BROWSE STORED STATIONS
DIRECT ENTRY INTO STORED STATIONS
DELETING STATION MEMORIES…………………………………………
MANUALLY DELETE A SINGLE STATION
SEMI-AUTO DELETE A SINGLE STATION
MANUALLY DELETE ALL STATIONS (WITHIN A PAGE)
SLEEP TIMER ……………………………………………………………….
TIME SETTING……………………………………………………………….
ALARM SETTING (by radio)………………………………………………..
ACTIVATE/DEACTIVATE THE ALARM
ALARM STATION SETTING
TURNING OFF THE ALARM
SNOOZE FUNCTION
LCD BACKLIGHT…………………………………………………………….
………………………………………. 3
5
6
7
8
8
9
10
13
14
16
16
17
18
1 PL-880

PL-880 2
AM BW (BANDWIDTH) SELECTION……………………………………...
ENHANCING SW SENSITIVITY USING ANT. GAIN…………………….
TONE CONTROL……………………………………………………………
KEY LOCK FUNCTION……………………………………………………..
DISPLAY MODE CONVERSION…………………………………………..
LINE-OUT FUNCTION………………………………………………………
SINGLE SIDE BAND (SSB)………………………………………..……..
ENHANCING SHORTWAVE RECEPTION………………………….…….
CHARGING FUNCTION……..............………………………………...…..
RESET FUNCTION………………………………………………………..…
SYSTEM SETTING (In Power Off Mode)…………………………….……
FM FREQUENCY RANGE
TURN ON/OFF THE LW
MW (AM) 9K/10K TUNING STEPS
AUTO-SORTING STATION LIST
RADIO MAINTENANCE ………………………………………………….…
LITHIUM BATTERY SAFETY INFORMATION (IMPORTANT)…….……
TROUBLE SHOOTING…………...…………………………………………
SPECIFICATIONS……………………………………………………….…..
FM STEREO…………………………………………………………………. 19
19
20
20
20
20
20
21
21
22
22
23
24
24
25
27

LOCATION OF CONTROLS
3 PL-880
POWER
TUNING
FINE TUNING
VOLUME
RESET
TIME ALARM
SCAN
FM ST.
AM BWSET
ATSA B
ATS
PL-880
FM SET 9/10kHz
LW ON/OFF
123
456
789
M0
USB/ NORM LSB/ NORM
DEL ETE
FM STEREO /LW /MW /SW-SSB PLL SYNTHESIZED RECEIVER
PAGE
MEMORY
AM FM
SW METER BAND
TECSUN
DISPLAY VF /VM
SLEEP
1
2
3
4678
9 10 11 12 13 14
LIGHT
ONAUTO OFF
TREBLEBASS
TONE
22
23
24
25
26
27
28
SW ANT.
SW ANT. GAIN
DX
NORMLOCAL
DC-IN 5V LINE OUT
15
16
17
18
19
20
21
TECSUN
5
23
27
26

PL-880 4
1
10
2
8
7
17
18
16
19
20
25
11
21
26
15
23
3
5
27
13
6
12
4
9
14
22
28
24
Power / Sleep button
FM / AM / LW / SW & ATS (Auto Tuning Storage)
USB/LSB/NORM
Delete / Confirm ( ) button
Auto-sorting station list
Memory (storing stations manually)
FM & SW telescopic antenna
Time set
Alarm set (by radio only)
Display mode / Key lock
FM stereo & AM bandwidth
VF / VM / SCAN
Snooze
Carrying strap
SW external antenna jack
SW ANT. Gain (DX / Normal / Local)
Earphone jack
Line-out jack
USB 5V DC-IN jack
LCD backlight control
Multifunctional tuning knob
Back stand
Tone selection
Fine tuning knob
Volume control
Battery compartment
Reset
- / + Memory page selection

SLEEP
PAGE
PRESET
SYNC
Charge
1 2 3 5 6 7
8
9
10
11
13
16
5 PL-880
4
12
1415
Signal strength (unit: dBu):This is the value to measure radio
reception strength; a higher value indicates a stronger reception.
SNR S/R (unit: dBu):Signal to Noise Ratio: a higher value indicates
less background noise.
2Sleep timer indicator
3Alarm On / Off indicator
6Signal indicator
: Signal strength unit
: SNR unit
Alarm time indicator (by radio only)
7
8Shortwave meter band indicator
4SSB indicator (USB/LSB)
Charging indicator
5
Battery power indicator
1
“ ”Full power
“ ”Almost no power,
recharging or replacement
is required.
9PAGE: Stored page indicator
PRESET: Stored address indicator
10 kHz: Frequency unit of MW, LW and SW
MHz: Frequency unit of FM
11 Key lock indicator
12 Tuning speed indicator
“ ”Fast tuning
“ ”Slow tuning
Band indicator
15
FM stereo status indicator
16
14 Large digital display area
Radio OFF status: Time display, system
settings
Radio ON status: Radio frequency
13 Small digital display area
Radio OFF status: Radio alarm time
Radio ON status: Signal strength/SNR,
time, alarm time, stored address,
shortwave meter band
LCD SYMBOL DESCRIPTION

POWER
TUNING
TECSUN
1. Open the battery compartment located at the back of the unit,
properly install the included 18650 lithium battery by following
the polarity diagram, then close the battery door.
2. Press the [POWER] button to turn ON/OFF the device.
Note:
If the radio is unable to turn on, please make sure the battery
has sufficient power, is installed correctly, and whether the key
lock function has not been switched on. If the device is locked,
the display will show [ ]; to unlock, press and hold the [ ]
button until the key symbol disappears from the display.
be sure to follow the indicated battery polarity.
TURN ON/OFF THE RADIO
Press
PL-880 6
FM STEREO /LW /MW /SW-SSB PLL SYNTHESIZED RECEIVER
PL-880
TECSUN
FM: 64-108 MHz
MW: 522-1620 (520-1710) kHz
LW: 100-519 kHz
SW: 1711-29999 kHz
BATTERY: Li-ion 3.7V (18650)
DC: 5V 500mA
MADE IN CHINA

USING THE ANTENNA
POWER
TUNING
FINE TUNING
VOLUME
RESET
TIME ALARM
SCAN
FM ST.
AM BW
SET
ATSA B
ATS
PL-880
FM SET 9/10kHz
LW ON/OFF
123
456
789
M0
USB/ NORM LSB/ NORM
DEL ETE
FM STEREO /LW/MW /SW-SSB PLL SYNTHESIZED RECEIVER
PAGEMEMORY
AM FM
SW METER BAND
TECSUN
DISPLAY VF /VM
SLEEP
Medium Wave (MW) / Long Wave (LW):
This radio uses an internal ferrite bar antenna to receive
medium wave and long wave broadcasts, the quality of
which can be enhanced by changing the device's position
and direction.
POWER
TUNING
FINE TUNING
VOLUME
RESET
TIME ALARM
SCAN
FM ST.
AM BW
SET
ATSA B
ATS
PL-880
FM SET 9/10kHz
LW ON/OFF
123
456
789
M0
USB/ NORM LSB/ NORM
DEL ETE
FM STEREO /LW/MW /SW-SSB PLL SYNTHESIZED RECEIVER
PAGEMEMORY
AM FM
SW METER BAND
TECSUN
DISPLAY VF /VM
SLEEP
FM / Shortwave (SW):
When listening to FM or shortwave radio, extend the antenna
and adjust its length and direction in order to get the optimum
reception.
7 PL-880
. -co.

Rotate the [VOLUME] knob upward or downward to adjust to your
desired volume level.
VOLUME ADJUSTMENT
VF: Press the [VF/VM] button. When the station frequency
indicator flashes twice, the VF mode is activated.
VM: Press the [VF/VM] button. When the station memory
indicator in the top right corner of the display flashes, the VM
mode is activated.
( ) ( )
VF VIEW FREQUENCY /VM VIEW MEMORY MODE
Note:
When the memory contains no stored stations, it is not possible to
switch between the VF (View Frequency) and VM (View Memory)
mode. If there are no stored stations in memory, then the device
will automatically be in VF mode.
VF status
Flashing 2 times
VM status
PAGE
PRESET
Flashing 3 times
PL-880 8

Turn on the radio, then select your desired band by pressing on
either the FM, AM or SW buttons.
Now, you can tune into your favorite stations using any of the
following tuning methods:
MANUAL TUNING
In View Frequency (VF) mode, rotate the [TUNING] knob to
search for your desired stations.
AUTO BROWSE
In VF mode, press & hold the [VF/VM]
button. The " >> " symbol advances
from left to right and the device will
automatically browse the available
stations, staying on each station for
about 5 seconds.
To stop the auto browse function, simply rotate the [TUNING]
knob or press the [VF/VM] button to confirm your desired
station.
Note:
While operating the "AUTO BROWSE" function, you can press
the [MEMORY] button anytime to store the station into memory,
the radio will keep on browsing to the next available station.
DIRECT KEYPAD ENTRY
In "VF" mode, you can press the numeric keys [ 0 - 9 ] to directly
enter a station frequency.
Note:
1. For FM band, ignore the decimal point when inputting
frequency numbers. For example: enter 8, 9, 3 for FM 89.3
MHz.
2. If the entered frequency is not within the covering range, the
error "Err" symbol will be displayed.
TUNING INTO STATIONS
9 PL-880
flashing
Auto browse station

There are 3050 station memories for this device, with great
flexibility in memory storage. Please refer to the chart below:
1. Memory PAGE 0, noted as "P0", consists of 650 station
memories, 100 assigned for FM/MW/LW/SSB and 250 for SW.
2. Memory PAGE 1 to 24, noted as "P1", "P2" etc., each page
consists of 100 station memories, in total 2400 station
memories.
WORKING WITH STATION MEMORIES
FM
MW
LW
SW
SSB
Page 0 [P0]
100
100
100
250
100
Memory for each band (650)
Band
Memory
Each memory
page can store
100 station
memory
ATS
Memory amount all bands (2400)
Page 01-24 ATS
Note:
When viewing the stored stations in P0, it will only show the
stations of the band that was selected when entering the VM
mode. If you wish to see the stored stations from a different band,
select the band of your preference and reenter the VM mode. In
all other pages (P1 – P24), it is not necessary to preselect the
band; the device will show the stored stations from all bands.
STORING STATIONS MANUALLY
1. In VF mode, press the [FM], [AM],
[SW] button for band selection, then
tune into your desired station.
2. Press the [MEMORY] button,
"PRESET" will flash in the top right
corner of the display, then rotate the
[TUNING] button to select a memory
address.
3. Press the [MEMORY] button again to confirm or wait for about
3 seconds to automatically store the station into memory.
PAGE
PRESET
flashing
PL-880 10

SEMI – AUTO STORAGE
While operating the "Auto Browse" function, you can press the
[MEMORY] button to store stations into memory, thereby
avoiding any unwanted stations.
In VF mode, press & hold the [VF/VM]
button. The " >> " symbol advances
from left to right and the device will
automatically browse the available
stations, staying on each station for
about 5 seconds.
To stop the auto browse function,
simply rotate the [TUNING] knob
or press on the [VF/VM] button to
confirm your desired station.
AUTO TUNING STORGARE (ATS)
1. In VF mode, fully extend the
telescopic antenna, and press the
[FM] button to select the FM band.
2. Press & hold the [FM] button.
"PRESET" flashes in the upper
right corner and the station
frequency starts running.
3. When the frequency stops running,
it means the ATS operation has
been completed; all available
stations are now stored into memory.
You can rotate the [TUNING] knob
to view all the stored stations.
MW/LW ATS:
1. Press the [AM] button to select MW or LW band.
2. Press & hold [AM] button to operate the ATS function.
11 PL-880
flashing
PAGE
PRESET
Auto browse station
Auto tuning storage (ATS) status
flashing

SW ATS:
1. Fully extend the telescopic antenna and press the SW [ ] or
[ ] button to select SW band.
2. There are two modes for ATS tuning:
Mode A: Press & hold the [ ] button to operate ATS for
stations within all meter bands;
Mode B: Press & hold the [ ] button to operate ATS only for
stations within the present meter band.
Note:
1. When using the ATS function for FM, MW/LW or SW mode A,
previously stored radio stations will be replaced automatically
by the newly found stations.
2. When using the ATS function in SW mode B, previously stored
radio stations will not be replaced; all newly found radio
stations will be stored in the blank memory addresses.
3. If there is too much interference in your surrounding, or many
mirrors or blank stations are stored during ATS operation, you
should extend the telescopic antenna to enhance FM & SW
reception, or rotate the radio for better reception of MW & LW.
You can also push the [ANT. GAIN] switch to the position
[NORMAL] or [LOCAL] to enhance the ATS function.
MEMORY PAGE SELECTION
1. Press the [FM], [MW/LW] or [SW] button for band selection,
then tune into your desired station.
2. Press the [MEMORY] button. The memory address flashes in
the upper right corner of the display.
3. Press the [- PAGE +] buttons to choose your desired memory
page, then rotate the [TUNING] knob to select your preferred
memory address. Press the [MEMORY] button again to
confirm, or wait for 3 seconds to automatically store the station
into memory.
PL-880 12

MANUALLY BROWSE STORED STATIONS
Select the band of which you want to view the stored stations,
then press the [VF/VM] button to enter the VM mode. Rotate the
[TUNING] knob to view the stored stations within a memory page.
To view the stored stations of other memory pages, press the
[- PAGE +] buttons to change the page.
Note:
When viewing the stored stations in P0, it will only show the
stations of the band that was selected when entering the VM
mode. If you wish to see the stored stations from a different band,
select the band of your preference and reenter the VM mode. In
all other pages (P1 – P24), it is not necessary to preselect the
band; the device will show the stored stations from all bands.
AUTO BROWSE STORED STATIONS
Select the band of which you want to view the stored stations,
then press the [VF/VM] button to enter the VM mode. Press &
hold the [VF / VM] button until “PRESET” flashes in the upper
right corner of the display. The device will auto browse all stations
in the selected memory page, staying on each station for about 5
seconds. To stop browsing, rotate the [TUNING] knob or press
the [VF / VM] button again. To view the stored stations of other
memory pages, press the [- PAGE +] buttons to change the page.
Note:
When viewing the stored stations in P0, it will only show the
stations of the band that was selected when entering the VM
mode. If you wish to see the stored stations from a different band,
select the band of your preference and reenter the VM mode. In
all other pages (P1 – P24), it is not necessary to preselect the
band; the device will show the stored stations from all bands.
13 PL-880
LISTENING TO STORED STATIONS
-

DIRECT ENTRY INTO STORED STATIONS
In VM mode, first enter the memory page from which you want to
select the address. To select a memory page, press the
[- PAGE +] buttons. While it flashes, type in the page number
(0 - 24) by pressing the corresponding numeric keys [0 - 9].
When entered the preferred memory page, select the address by
pressing the corresponding numeric keys [0 - 9].
Note:
If the display shows “----” behind the page number after changing
pages, it means there are no stored stations on that page.
If “----” is shown after entering an address in a page that has
stored stations, it means the selected memory address does not
exist.
Rotate the [TUNING] knob to select the
memory that you want to delete, press
& hold the [DELETE] button, “dEL” &
“Preset” will flash on the display. Press
the [DELETE] button again to remove
the unwanted memory address.
DELETING STATION MEMORIES
PAGE
PRESET
MANUALLY DELETE A SINGLE STATION
Note:
If the [DELETE] button is not pressed for confirmation within 3
seconds, the delete function is exited automatically.
flashing
PL-880 14

SEMI-AUTO DELETE A SINGLE STATION
In VM mode, press & hold the [VF/VM] button. “PRESET” will
flash and the device will automatically browse the stored stations
within the selected memory page, staying on each station for
about 5 seconds. While operating this “Auto Browse” function
within the memory, you can press the [DELETE] button to remove
stations from the memory. No
confirmation is required and the
browsing continues immediately. To
stop the auto browse function, rotate
the [TUNING] knob or press on the
[VF/VM] button.
MANUALLY DELETE ALL STATIONS (WITHIN A PAGE)
Press & hold the [DELETE] button for
3 seconds and notice that both the
page number as well as “dEL” flashes
on the display; press the [DELETE]
button again to delete all stored stations
within the selected memory page.
Note:
If the [DELETE] button is not pressed for confirmation within 3
seconds, the delete function is exited automatically.
PAGE
PRESET
15 PL-880
PAGE
PRESET
flashing

1. In POWER OFF mode, press &
hold the [POWER] button untill
the sleep timer symbol “ ”
flashes on the display.
2. Rotate the [TUNING] knob
immediately to select a sleep
timer from 1 - 120 minutes or
select “ ” for POWER ON
mode (the radio will be turned on
after 1 second).
SLEEP TIMER
1. Press & hold the [TIME] button
until the hours indicator starts
flashing. Rotate the [TUNING]
knob to adjust the hours, or
directly input the time by pressing
the [ 0 – 9 ] numeric keys.
2. While the hours indicator is flashing,
press the [TIME] button again to
select the minutes indicator.
Rotate the [TUNING] knob to
adjust the minutes, or directly enter
it by pressing the [0 – 9] numeric
keys.
3. Short press the [TIME] button to
confirm, or wait for 3 seconds
to automatically confirm the time
setting.
TIME SETTING
SLEEP
Sleep time range
flashing
Note: The default setting of the sleep timer is “ ”.
SLEEP
flashing
PL-880 16

ALARM SETTING (By Radio)
1. Press & hold the [ALARM] button
until the hours indicator starts
flashing in the upper right corner of
the display. Rotate the [TUNING]
knob to adjust the hours, or directly
enter the alarm time by pressing the
[ 0 – 9 ] numeric keys.
2. While the hours indicator flashes,
press the [ALARM] button to select
the minutes indicator. Rotate the
[TUNING] knob to adjust the
minutes, or directly enter it by
pressing the [ 0 – 9 ] numeric keys.
3. Press the [ALARM] button again,
then rotate the [TUNING] knob to
select from 1 - 90 minutes to set the
“Alarm Off Timer”. This is the
duration after which the radio will
turn off automatically.
4. Press the [ALARM] button to
confirm the setting or wait for 3
seconds, the unit will automatically
confirm the alarm setting.
Alarm off timer
SLEEP
flashing
flashing
ACTIVATE / DEACTIVATE THE ALARM
This device has a radio alarm, the duration of which can be set
from 1 - 90 minutes. To activate the alarm function, press the
[ALARM] button. The alarm “ ” symbol appears on the display.
To deactivate the alarm function, press the [ALARM] button
again. The alarm “ ” symbol will disappear.
17 PL-880

ALARM STATION SETTING
1. Turn on the device and select your preferred station for the
alarm sound. Adjust your desired alarm volume level.
2. Press the [MEMORY] button to store the alarm station.
3. Immediately press the [ALARM] button to select the stored
station. If the station is selected successfully, the alarm time is
briefly shown on the upper right corner of the display.
4. You many now turn off the device.
TURNING OFF THE ALARM
When the alarm goes off, press the [POWER] button to turn off
the alarm and enter the radio listening mode. Press the
[POWER] button again to turn off the radio.
SNOOZE FUNCTION
When the alarm goes off, press the [SNOOZE] button to
temporarily turn off the alarm. The alarm will go off again after 5
minutes.
LCD BACKLIGHT
This device has an intelligent backlight function, meaning the
orange backlight is lid for about 5 seconds after operating any
keys or knobs.
You can also push the [ON/OFF LIGHT] switch to “ON” to keep
the backlight of the LCD lid.
PL-880 18

FM STEREO
1. When listening to radio broadcastings through stereo
earphones, press the [FM.ST] button to activate the stereo
function; the “ ” symbol appears on the display. If the FM
signal is too weak, it is advisable to turn off the stereo function
by pressing the [FM ST.] button again; the “ ” symbol
disappears.
2. When listening to FM stereo through a speaker, it is advisable
to turn off the stereo function to improve sound quality.
3. The stereo function will not be activated and the “ ”
symbol will not appear if the FM station is not in stereo
broadcasting.
( )
AM BW BANDWIDTH SELECTION
Press the [AM BW] button to select your desired bandwidth for
MW, LW, SW and SSB.
In SW, MW, LW mode: Press the [AM BW] button repeatedly to
select 9、5、3.5、2.3 kHz AM bandwidth.
In SSB mode (with LSB/USB displayed on top of the
frequency): Press the [ AM BW] button repeatedly to select 4、
3、2.3、1.2、0.5 kHz AM bandwidth.
Wide Band:
It has better audio fidelity when receiving strong signals or local
stations.
Narrow Band:
It is suitable to receive weak and long distance stations as the
narrow band is able to limit the interference from adjacent strong
signals and reduce background noise.
19 PL-880
Other manuals for PL-880
4
Table of contents
Other Tecsun Receiver manuals
Tecsun
Tecsun PL-368 User manual
Tecsun
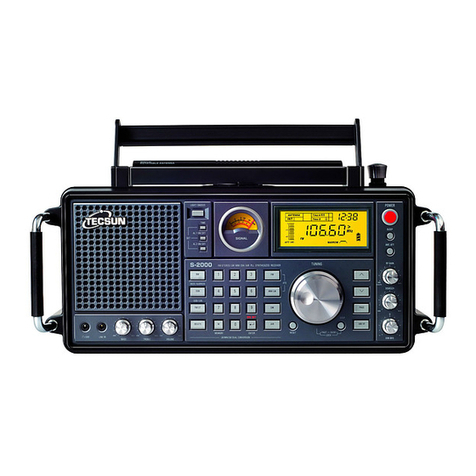
Tecsun S-2000 User manual
Tecsun
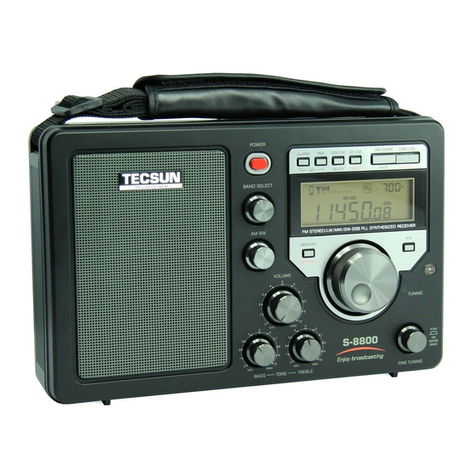
Tecsun S-8800 User manual
Tecsun
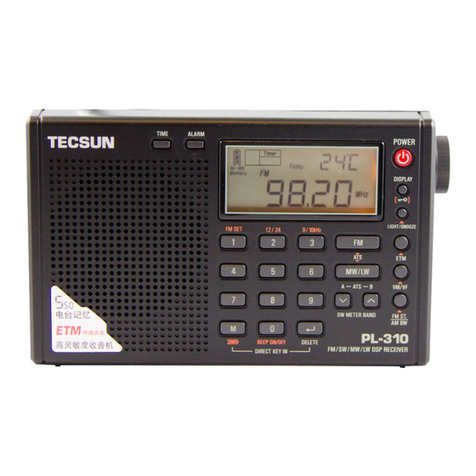
Tecsun PL-310 Installation manual
Tecsun
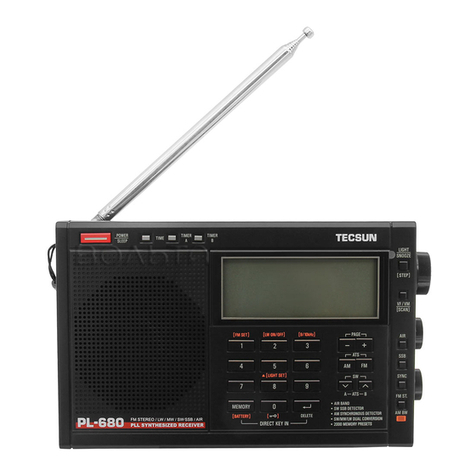
Tecsun PL-680 User manual
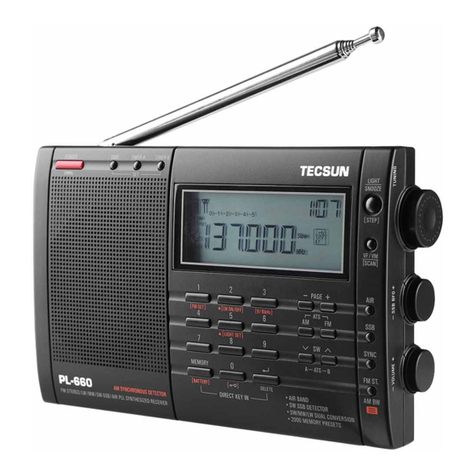
Tecsun
Tecsun PL-660 User manual

Tecsun
Tecsun PL-310 User manual
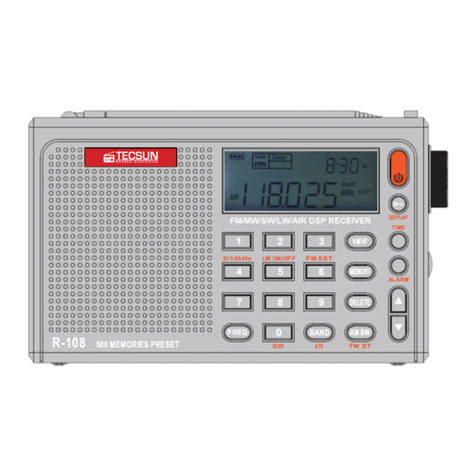
Tecsun
Tecsun R-108 User manual

Tecsun
Tecsun DTR-762 User manual
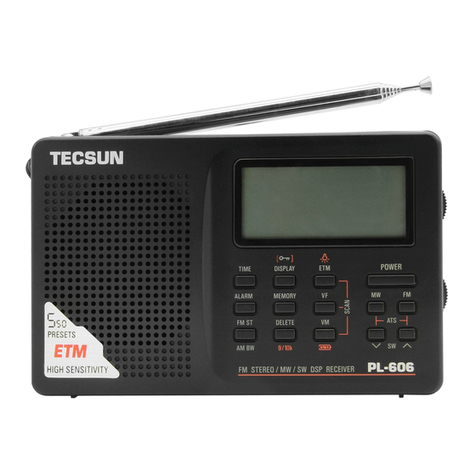
Tecsun
Tecsun PL-606 User manual
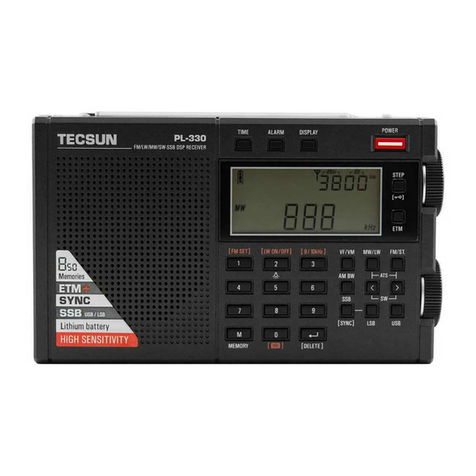
Tecsun
Tecsun PL-330 User manual

Tecsun
Tecsun PL-660 User manual
Tecsun
Tecsun PL-360 User manual
Tecsun
Tecsun PL-600 User manual

Tecsun
Tecsun PL-360 User manual
Tecsun
Tecsun PL-390 User manual
Tecsun
Tecsun PL-398MP User manual

Tecsun
Tecsun S-2000 User manual

Tecsun
Tecsun R-909 User manual
Tecsun
Tecsun PL-310ET User manual
