www.frsky-rc.com www.frsky-rc.com
Instruction Manual for FrSky L9R Receiver
Introduction
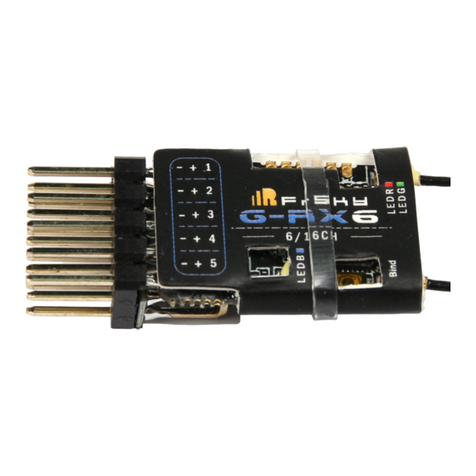
Thank you for purchasing FrSky L9R 9/12ch long range non-telemetry receiver. In order to fully enjoy the benefits
of this system, please read the instruction manual carefully and set up the device as described below.
Overview
Specifications
Dimension: 46.25 x 26.6 x 14.2mm (L x W x H)
Weight: 19g
Antenna: PCB Antenna
Number of Channels: 1~9ch from conventional channel outputs, 1~12ch from SBUS port
RSSI output: Analog RSSI output (0~3.3V)
Operating Voltage Range: 4.0~10V
Operating Current: 100mA@5V
Operating Range: about 2 times of the operating range for X-series receiver
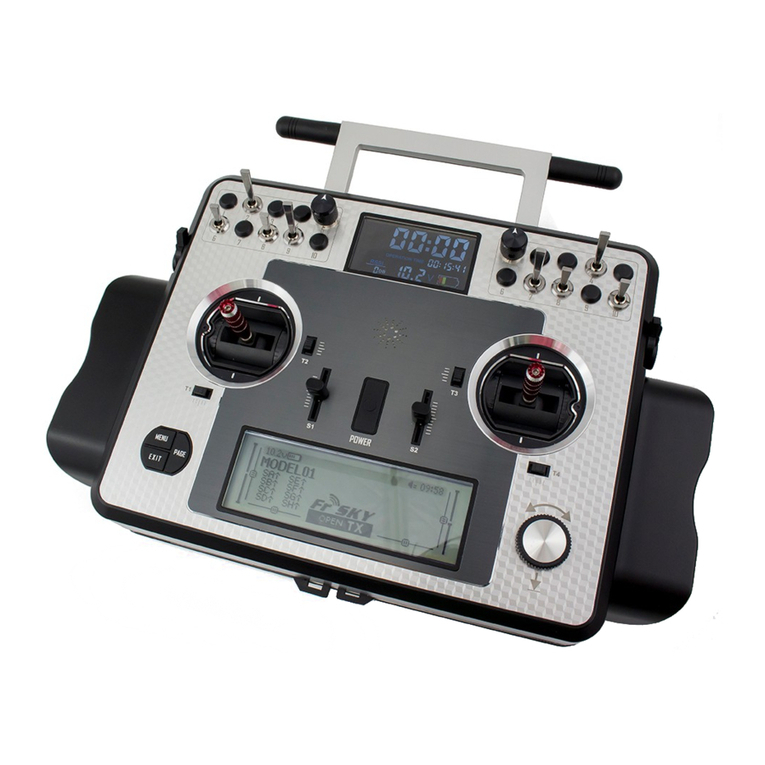
Compatibility: FrSky X-series Module (XJT) etc. in LR12 mode (Switch 1 is OFF, Switch 2 is ON)
FrSkyTaranisX9Detc.inLR12 mode
L9R receiver is not work with FrSky V8, D8, and D16 Mode.
Features
·Longer operating range: 2 times of the operating range for X-series receiver
·More number of channels: 1~9ch from conventional channel outputs, 1~12ch from SBUS port
·With RSSI output
Binding Procedure
Binding is the process of uniquely associating a particular receiver to a transmitter module. A transmitter module
can be bound to multiple receivers (not to be used simultaneously). A receiver can only be bound to one
transmitter module.
Follow the steps below to finish the binding procedure:
1. Turn on the transmitter while holding the F/S button on the XJT module (set to LR12 mode, Switch 1 is OFF
while Switch 2 is ON). Release the button. The RED LED on the XJT module will flash,indicating the transmitter is
ready to bind to the receiver.
2. Connect the battery to the receiver while holding the F/S buttonon the receiver. The RED LED on the receiver
will flash, indicating the binding process is completed.
3. Turn off both the transmitter and the receiver.
4. Turn on the transmitter and connect the battery.
The GREEN LED on the receiver indicates the receiver is receiving commands from the transmitter.
Range Check
A pre-flight range check should be done before each flying session. Reflections from nearby metal fences,
concrete buildings or trees can cause loss of signal both during range check and during the flight. Follow the steps
below to perform the range check.
1. Place the model at least 60cm (two feet) above non-metal contaminated ground (e.g. on a wooden bench).
2. The receiver antennas should be separated in the model, and do not touch the ground.
3. The module antenna should be in a vertical position.
4. Turn on the transmitter and the receiver, press the F/S button on the XJT module for 4 seconds to enter range
check mode, the RED LED will be off, GREEN LED will flash rapidly. The effective distance will be decreased to
1/30 (at least 30m).
5. Walk away from the model while simultaneously operating the controls on the transmitter to confirm all
controls’ normal operation.
6. Press the F/S button on the XJT module for 1~2 seconds to exit range check mode, RED LED will be back on,
indicating normal operation is back.
Failsafe
Failsafe is a useful feature in which all controls move to a preset position whenever the control signal is lost for a
period of time. L9R receiver is support failsafe function for all channels. Follow the steps below to set failsafe
positions for each channel:
1. Bind the receiver first and turn on both the transmitter and the receiver;
2. Move the controls to the desired failsafe position for all channels;
3. Press briefly the F/S button on the receiver (less than 1 second). The Green LED will flash twice, indicating
the failsafe position has been set in the receiver.
To disable the failsafe function, re-bind the receiver.
-----------------------------------------------------------------------------------------------------------------------------------------------------------------------------
For more details, please check the complete manual for X6R from www.frsky-rc.com - Download – Manual. Should you have other
Failsafe is recommended to set when system is firstly used, or receiver has been re-bound. Follow steps below
to set failsafe.
Option-1: How to set failsafe to a user-determined state on lost signal:
1) Bind the receiver to the transmitter module first and turn on both the transmitter and the receiver;
2) Move the controls to desired failsafe position for all channels;
3) Press briefly the F/S button on the receiver and you are done.
Option-2: How to set failsafe for no pulses on lost signal:
1) Turn off the transmitter, power on the receiver, and then press briefly the F/S button on the receiver.
Note:
If failsafe is not set, failsafe default will hold last position before signal is lost. In this case, there
exists risk that your model will fly away or cause injury.
L9R Receiver is not support failsafe setting on Taranis X9D transmitter.
Note: After binding procedure is completed, recycle the power and check if the receiver is really
under control by linked transmitter.
The receiver/transmitter module binding will not have to be repeated, unless one of the two is
replaced
Green LED Red LED Status
ON Flashing Binding
ON OFF Normal
OFF Flashing Signal Lost
Flash Twice OFF Failsafe set

