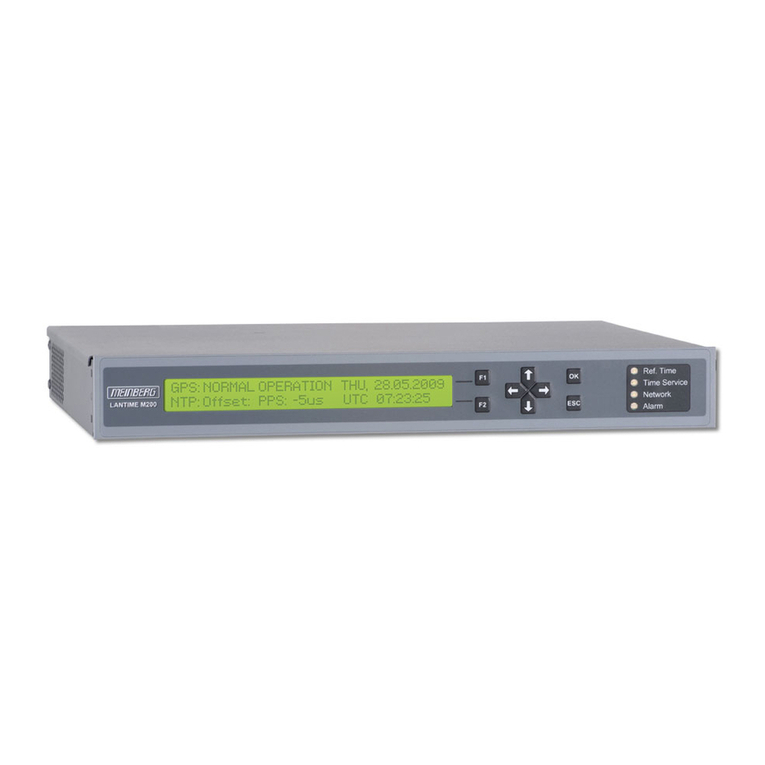
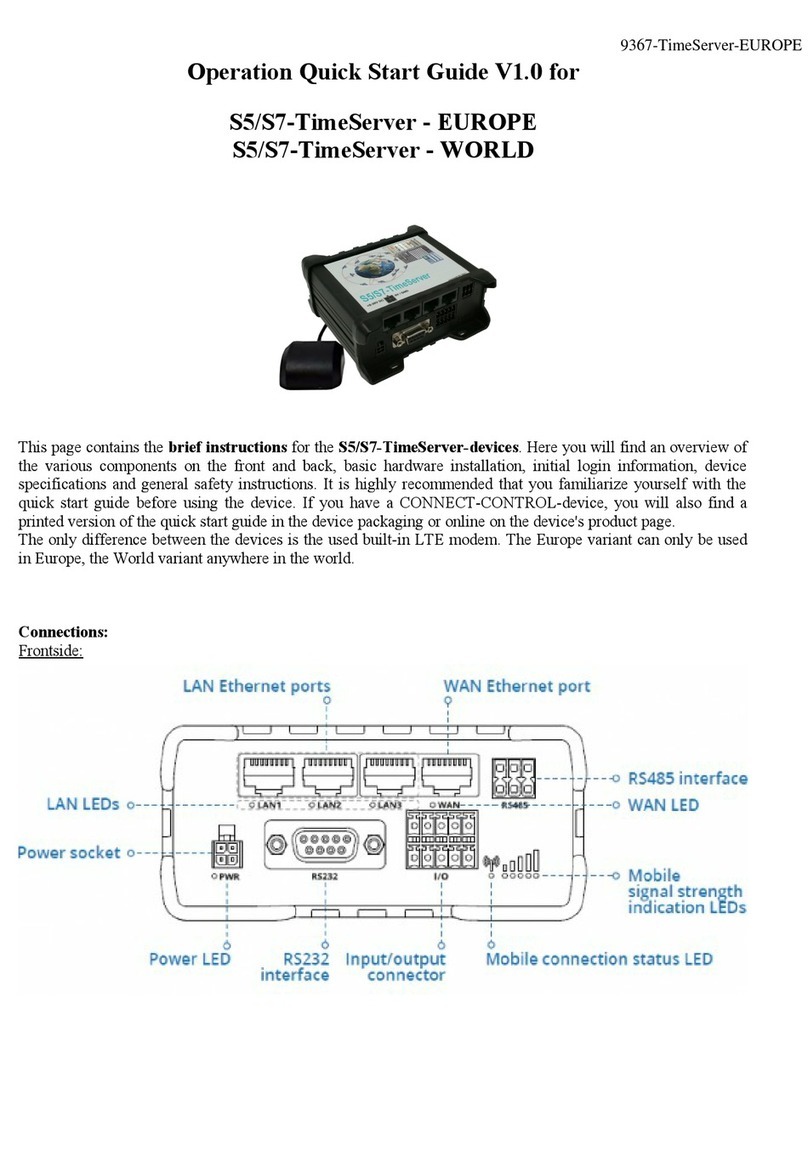
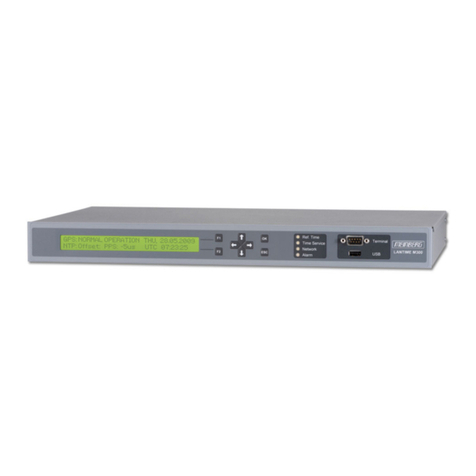
Tekron NTS 02-G User manual

NTS 02-G
USER MANUAL
Third Edition – Copyright©2022

2 | Page
Contents
Contents...................................................................................................................................................... 2
1. Introduction .................................................................................................................................... 4
Product Overview.................................................................................................................................................. 4
Accessories ............................................................................................................................................................ 4
2. Front Panel...................................................................................................................................... 5
LCD Display ............................................................................................................................................................ 5
Contrast Adjustment Mode................................................................................................................................... 8
LED Indicators........................................................................................................................................................ 8
USB Port .............................................................................................................................................................. 10
3. Back Panel ..................................................................................................................................... 11
P1 Power Input.................................................................................................................................................... 11
Earth Stud (M4 Nut) ............................................................................................................................................ 11
Ant: Antenna Connector (SMA Connector)......................................................................................................... 11
Antenna Cable Considerations ........................................................................................................................ 12
P2: IRIG-B Input (3-pin 3.81 mm Connector) ...................................................................................................... 13
P3: Programmable Output (3-pin 3.81 mm Connector)...................................................................................... 13
P4: Sync and Antenna Alarm Relays (4-pin 3.81 mm Connector) ....................................................................... 14
ADMIN/ETH 1: Ethernet Administration Port (RJ-45) ......................................................................................... 14
ETH 2 and ETH 3 – Ethernet Communication Ports (RJ-45) ................................................................................ 14
4. Software........................................................................................................................................ 15
Configuration Tool............................................................................................................................................... 15
USB driver............................................................................................................................................................ 15
5. Installation .................................................................................................................................... 16
Identification ....................................................................................................................................................... 16
Location............................................................................................................................................................... 16
Power Supply....................................................................................................................................................... 16
Hazardous Voltage .............................................................................................................................................. 16
Mounting the NTS 02-G....................................................................................................................................... 17
Operation ............................................................................................................................................................ 17
6. Factory Reset ................................................................................................................................ 18
7. Factory Hardware Options............................................................................................................ 19
Power Supply Options ......................................................................................................................................... 19

3 | Page
Slave Only Option (Fiber input) ........................................................................................................................... 19
8. Appendix ....................................................................................................................................... 20
NTS 02-G Specifications....................................................................................................................................... 20
9. Warranty Statement ..................................................................................................................... 22
10. Notes............................................................................................................................................. 22

4 | Page
1. Introduction
Welcome to the NTS 02-G user manual! This document contains everything you need to know about
the key features, hardware, and installation process of the NTS 02-G.
Product Overview
The NTS 02-G Network Time Server provides a precision time reference for synchronizing Ethernet
networks. The NTS 02-G features multiple independently addressed Ethernet ports, each supporting the
Network Time Protocol (NTP) and Precision Time Protocol (PTP). Each NTS 02-G base unit has a built-in
GNSS synchronized master clock which, in the default operating mode, provides the source reference
time used by all Ethernet ports.
The NTS 02-G product is ideally suited for use in industrial environments and can provide NTP or PTP
server functions to multiple independent Ethernet networks.
All NTS 02-G units feature a front panel display (see Figure 1) giving visual feedback about the time data
being generated on the outputs. LED indicators provide “at a glance” status information.
Figure 1 – NTS 02-G front and back panels
The NTS 02-G features an administrative 10/100 Mbps Ethernet port through which the unit’s inputs
and outputs can be configured.
Accessories
The NTS 02-G comes complete with an Ethernet cable to allow for customization and easy setup from
the Windows™ Configuration software, which is available to download from www.support.tekron.com
Optional accessories include antenna, low loss antenna cable, antenna pipe mounting components and
lightning protection kit.

5 | Page
2. Front Panel
Figure 2 – NTS 02-G front panel
The NTS 02-G features two LED indicators on the front panel (see Figure 2), together with a USB port
and a 2-line by 16-character backlit LCD display.
SYNC LED: This LED shows the current sync status of the NTS 02-G.
ALM LED: This LED shows the alarm status of the NTS 02-G.
ADMIN (USB) Port: This port can be used to configure the NTS 02-G using the Tekron Configuration Tool
- available for download on the Tekron website www.tekron.com.
LCD Display
On initial power-up, the LCD display shows a copyright message, along with the serial number and NTS
02-G firmware version (see figure 3a).
Approximately 10 seconds after power-up, if the NTS 02-G is operating in its default mode as a GNSS
synchronized grandmaster clock, then the display changes automatically to indicate that it is waiting for
satellites (see figure 3b).
Once one or more satellites have been discovered, it transitions to the operating default display (see
figure 3c). Figures 3d and 3e show alternative time displays that can be accessed by pressing the button
on the front panel between the LED indicators.
Successive button-pushes can be used to cycle through all the display screens in turn. Examples of the
display screens are shown below:

6 | Page
Figure 3a - Start up (Time Server ID)
Figure 3b - Waiting for satellites
3c – Operating default
3d – Local time
3e – UTC Time
3g – IP Address
3f - Alarm
Figure 3 – LCD display screens
“UTC” represents Coordinated Universal Time (approximately equivalent to GMT). The top line of screen
(Figure 3c) shows the time server’s current local time offset from UTC (hours and minutes), together
with the local date. The local time day-of-year and time-of-day are on the bottom line.
Figure 3c shows that the time server is operating with a local time offset of 12 hours ahead of UTC. The
local date is 17th March 2013, and the local time is 11:16:53 in the morning.
Figure 3d shows the same time and date, but also indicates that the time displayed is Local Standard
Time, and that the day is Tuesday. “LST” denotes Local Standard Time. If daylight savings time is active,
the “LST” in screen 3d changes to “LDT”, denoting Local Daylight Time.
Figure 3e shows the UTC time and date which is 11:16:53 on the evening of Monday 17th March 2013.
Figure 3g shows the basic Ethernet network settings for Admin/ETH1 port. In this example it shows the
port has been configured with a fixed/static IP address of 192.168.96.10.
The display screens in Figure 3b, 3c, 3d and 3e, each show a three-character status field at the bottom
right-hand corner of the display. When the NTS 02-G is operating in its default mode as a GNSS
synchronized grandmaster, this field provides further details about the GNSS function as shown in Figure
4a and Table 1a below.
NTS 02-G Ver. 3.05R
(C) 2013 Sn60348
WAITING FOR SATS
GPS RX STAT: 00A
UTC+1200 17MAR13
076 11:16:53 87P
LST: TUE 17MAR13
076 11:16:53 87P
Fixed:
192 . 168 . 96 . 10
UTC: MON 16MAR13
075 23:16:53 87P
*** ANT L ***
075 23:16:53 80P

7 | Page
LST: TUE 17MAR13
076 11:16:53 87P
When the NTS 02-G is synchronized from an IRIG-B source, this field directly indicates the sync source.
(See example for “SLC” source in Figure 4b). Table 1b shows the alternate sync sources supported by the
NTS 02-G.
Satellites in sky
Satellites tracked
GNSS Receiver Mode
LCD INDICATORS Table 1a – GNSS Status
Character
Values
Description
Satellites
in the sky
“0 - 9”: 0 - 9
“A - E”: 10-
14
“F”: >14
Represents the total number of satellites currently present in the sky
according to the GNSS almanac. “0” in this position means that NTS 02-G
has lost its knowledge of the GNSS satellites’ orbit geometries. This occurs if
the unit has been in storage for an extended period, or if the GNSS receiver
has been reset. It may take up to two hours for the NTS 02-G to operate
normally again.
Satellites
tracked
“0 - 9”: 0 - 9
“A - E”: 10 –
14
“F”: >14
This digit represents the number of satellites currently being used to
compute the time solution. A “0” value means that no updated time
solution is available, (“out of lock” condition). If this condition persists for
the “Holdover” time the NTS 02-G will indicate “out of sync” as described
under LED Indicators section below.
GNSS
Receiver
Mode
“A”
NTS 02-G in Acquiring mode - attempting to get satellite fixes.
“G”
“Bad geometry”: Satellites are positioned in almost a straight line so best
accuracy cannot be obtained, but the unit will still attempt to synchronize
to UTC.
“S”
Site Survey in progress. NTS 02-G is synchronized and is refining the
position calculation for higher precision. Once complete the mode will
change to Position hold.
“P”
“Position hold”: Position is now known precisely, and the NTS 02-G is
providing its most accurate time, typically within 40 ns of UTC.
Figure 3a - GPS Receiver Status Figure 4b - IRIG-B Source
LST: TUE 17MAR13
076 11:16:53 SLC

8 | Page
LCD INDICATORS Table 1b – Alternative Sync Source
Character
Values
Description
Alternate
Sync
Source
“PTP” The NTS 02-G is synchronized to a PTP grandmaster
“NTP” The NTS 02-G is synchronized to an NTP server
“SLC”
The NTS 02-G is synchronized to an IRIG-B source on P2 input
“Slave:Copper”
“SLF”
The NTS 02-G is synchronized to an IRIG-B source on the Fiber input The
“Slave:Fiber”
“TST” The NTS 02-G is operating with manually set time.
If the time server is configured to synchronize to IRIG-B only (ignore GNSS) then “SL?” will be
displayed in the status field if there is no IRIG-B signal input or an invalid signal input.
Contrast Adjustment Mode
The LCD contrast can be adjusted by entering the Contrast Adjustment Mode. This mode is entered by
holding down the button on the front panel for approximately 3 seconds.
Once in Contrast Adjustment Mode, pressing the button will lighten the contrast and decrease the
contrast by one level. The LCD will cycle from the darkest to the lightest if the button is pressed when
on the lightest setting.
To exit the Contrast Adjustment Mode, hold down the button on the front panel for approximately 3
seconds again. The button will return to normal operation after this.
LED Indicators
The SYNC LED shows the status of the sync source. The various states are shown as follows: -
Off: The NTS 02-G has no power.
On: The NTS 02-G is synchronized to the source indicated by the LCD display
Slow Flash (1 flash per second): The NTS 02-G is operating in the “holdover” state (holdover timer
running) or is operating in the “tuning” state (timer server is gaining synchronization)
Fast Flash (5 flashes per second): The NTS 02-G is not synchronized. “Out of Sync” condition
The ALM LED indicates the internal alarm status of the NTS 02-G. It has only two operating states: -
Off: The NTS 02-G is operating normally, i.e., there are no alarms.
Fast Flash (5 flashes per second):At least one alarm is active. Refer to the alarm window in the Clock tab
of the Configuration Tool to find the name of the active alarm(s). A shorthand version of the alarm name

9 | Page
will also appear on the LCD. Refer to the Specification Alarm table below for the details on each alarm
by name.
Table 2 - Alarm Specification
LCD Alarm
Alarm Name
Specification
Sats
Satellites
Low
The number of satellites currently being used for time and position
calculations is below the threshold.
Sync
No Sync
The NTS 02-G is not synchronized to any source, or holdover period has
expired, or the timing output inaccuracy has been exceeded.
Hold
Holdover
The NTS 02-G has lost synchronization to any source and is now in
holdover.
AntL
No Antenna
The antenna circuit current drain is low (typically under 3mA). This could
be caused by:
•poor connections
•the connected antenna having a lower current drain specification
•a component in the antenna system providing power to the
antenna and therefore the time server is not seeing a connected
load
•
there being no antenna connected
AntH
Antenna
Short
The antenna circuit current drain is high (typically over 100 mA). This is
caused by a short in the antenna circuit, or by moisture ingress in the
circuit, or if the antenna connected has a higher current drain
specification.
N/A*
Antenna
Fault
This alarm is generated if there is high current or low current detected on
the antenna input.
Factory
Reset Cycle
Power
Factory
Reset Armed
This alarm is generated if the Forgotten Password Reset (Factory Reset
Process) is enabled and has been initiated by the user.
IRIG
No IRIG-B
Input
No valid IRIG-B source is detected on the NTS 02-G input. This message
only appears if the NTS 02-G is configured with IRIG-B monitoring
enabled.
N/A*
Overcurrent
The NTS 02-G supports output current monitoring and has detected
excessive current on one or more outputs. Check the I/O tab to identify
which output is experiencing the fault.
IPeX
ETHx
Address
Fault
This alarm comes up when the DHCP server is unavailable or when the IP
address is assigned to some other node in the network and cannot be
assigned to the port. Under such situations the port defaults to a link local
address.
eX represents the port number which has the alarm. For example, IPe1
indicates address fault alarm on ETH1.
SYNC
FORCED ON
Sync Forced
This alarm is generated when the “Never leave Sync (Test Mode)” option
has been selected.
*Note: N/A indicates that this alarm does not appear on the LCD.

10 | Page
USB Port
A second Admin port (USB type B) is provided to support local configuration/administration. The USB
port has the same configuration options as the Admin Ethernet port 1. The configuration software
supplied with the NTS 02-G supports both USB and Ethernet configuration. A USB driver for the NTS
02-G can be downloaded from www.support.tekron.com. The NTS 02-G can be configured through the
USB admin port only, to add an extra security layer.
Figure 5 – USB Admin Port

3. Back Panel
Examples of the NTS 02-G back panel are shown below (see figures 6 and 7). The unit appearance varies
depending on the types of Ethernet modules fitted (orderable factory options).
Figure 6 – Rear panel of NTS 02-G with copper outputs
P1 Power Input
Power is applied to the NTS 02-G via P1, a 5.08 mm 3-pin connector. DC power should be
applied to pins L and N. Despite the L and N markings, DC polarity is not critical, but only
Pin L is fused internally. Maximum steady state power consumption is 6 Watts, and surge
protection is provided. Both the electronics and case are isolated from the power supply
input, enabling the use of positive earth, negative earth, or fully floating supplies. The
mating connector (supplied) accommodates wire sizes up to 1.5 mm2. The input voltage
range is marked on the label located below the P1 connector.
Check the label on the unit base for power supply voltage ratings before applying power.
Earth Stud (M4 Nut)
An M4 bolt (to chassis) is provided for earthing of cable shields. It is recommended
that the bolt is bonded to earth using a cable terminated with a ring terminal. This
provides a safe discharge path in the event of a short circuit or high voltage transient.
Ant: Antenna Connector (SMA Connector)
The “ANT” antenna input provides an interface for an external active antenna. The
antenna should be connected using a high quality, low-loss 50 Ω coaxial cable. The
centre conductor supplies 5 VDC (100 mA max.) to power an active antenna.
Care should be taken to ensure that the connector is not cross threaded when attaching the
antenna lead-in cable. The connector should be tightened firmly by hand only. Do NOT over-
tighten! Ensure the antenna SMA male connector center pin is straight before plugging in.

12 | Page
Antenna Cable Considerations
The NTS 02-G antenna port expects a signal with a gain of at least 15 dB, and no more than 35 dB, with
20 - 35 dB being the optimal gain range.
All antenna cables will introduce some signal loss in the antenna installation system, which will be
dependent on cable length. The total gain of the antenna installation should fall within the ranges
specified below. The total gain is calculated by the gain of the antenna (Tekron supplied antenna
provides 40 dB gain) minus the antenna cable loss.
Figure 4 - Recommended antenna cable loss range
Note: The above figures are based on an average GNSS signal strength of -130 dBm at sea level, and
assumes that the Tekron supplied antenna is used.
CNT-240
32.8 dB/100 m (10dB/100ft). Plus 1 dB/connector
Approximate optimum length range: 15m to 60m
(50 ft – 197 ft)
Approximate maximum length range: 15m to 76m
(50 ft – 250 ft)
CNT-400
16.73 dB/100 m. Plus 1 dB/connector
Approximate optimum length range: 30m to 120 m
(99 ft – 394 ft)
Approximate maximum length range: 30m to 150m
(99 ft – 493 ft)
A lightning protection device should be inserted into the antenna lead. A suitable device, complete
with additional cable connectors, a connector crimping tool, and mounting hardware is available as an
option. The introduction of the lightning protector introduces an additional loss of 0.1 dB and the loss
of two connectors.
Care should be taken to ensure that the connector is not cross threaded when attaching the
antenna lead-in cable. The connector should be tightened firmly by hand only. DO NOT OVER
TIGHTEN!

13 | Page
P2: IRIG-B Input (3-pin 3.81 mm Connector)
This port accepts an RS422 level un-modulated IRIG-B signal of the following formats:
•IRIG-B004 with C37.118.1 extensions
•IRIG-B005 with C37.118.1 extensions
•IRIG-B006*
•IRIG-B007*
*Note: When no extensions are contained in the incoming IRIG-B signal, the incoming time is assumed
to be UTC.
When configured appropriately, the NTS 02-G can synchronize to this source rather than the internal
GNSS receiver, operating as a slaved device from another master source or other time server.
A 120 Ω twisted pair cable is recommended for the incoming RS422 line.
The incoming RS422 line should be connected to pins “+” and “-” of the mating connector. An RS422
termination load is provided on pin “T” and can be activated by linking pins “T” and “-” in the mating
connector.
P3: Programmable Output (3-pin 3.81 mm Connector)
This port transmits an un-modulated IRIG-B, programmable pulse, or a DCF77 signal using
RS422 levels on pins “+” and “-” of the mating connector. The default output is an un-
modulated IRIG-B signal (IRIG-B004 with C37.118.1 extensions). It can be used as the master
source signal to drive the P2 inputs of one or many slave NTS 02/03-G units or other end
devices.
The IRIG-B timing pulses (both leading and trailing edges) from this port is typically to within
100 ns of UTC. A 0 V to +3.3 V output signal (single-ended, 0 V referenced) can be obtained by
connecting the signal cable to “+” and “0V” instead of to “+” and “-”.
P3 is a programmable RS422 output that may be configured to output in either inverted or
non-inverted polarity:
•A configurable number of pulses per second, minute, hour, day with adjustable pulse-width
and offset.
•IRIG-B time code (Un-modulated DCLS or Modified Manchester) with option C37.118.1 or
AFNOR extensions.
•Simulated DCF77 receiver time code.

14 | Page
P4: Sync and Antenna Alarm Relays (4-pin 3.81 mm Connector)
The port provides two alarm output channels. The alarm outputs are type “A” (normally
open) dry contact types.
Note: the “Normally-Open” (NO) descriptor refers to the de-energized state of the relay.
The NTS 02-G operates with the alarm relays energized during normal operation, and de-
energized in the alarm state. It follows that, in the event of all power to the NTS 02-G being lost, both
alarm relays default to the “alarm” state (open contact). The “+” and “-” symbols are included for
reference purposes only, as the alarm contacts are not polarized.
P4 A is a GNSS signal fail (antenna disconnected or antenna short (over-current)) alarm. Activation of
the alarm (opening of the contact) is delayed by 10 seconds from the onset of the triggering condition.
P4 Bis a synchronization fail alarm. This alarm is active (contact open) when the unit is not
synchronized and is not in the holdover state.
ADMIN/ETH 1: Ethernet Administration Port (RJ-45)
The Ethernet administration port (ETH1) features an RJ-45 connector and
supports 10/100 Mbps, Auto MDI-X and Auto Negotiate. The port indicator LEDs
conveys the Link (LNK) and Activity (ACT) status for the port. This port is used to
configure NTS 02-G settings and all network ports via the Tekron Configuration
Tool, which is available for download from the Tekron website at www.support.tekon.com.
ETH 2 and ETH 3 – Ethernet Communication Ports (RJ-45)
The second and third Ethernet communication ports (ETH2 and ETH3), feature RJ-
45 (10/100 Mbps, Auto MDI-X and Auto Negotiate). These ports include indicator
LEDs which convey the Link (LNK) and Activity (ACT) status for the associated port.
Note:
The NTS 02-G features absolute security between all ports, so that no Ethernet paths exist between
any of the three Ethernet ports. For this reason, the NTS 02-G does not support hub, switch, or router
functions.

4. Software
Configuration Tool
The NTS 02-G can be configured via USB or Ethernet. The configuration tool can be downloaded from
the Tekron Support Website: www.support.tekon.com. By default, the unit is shipped with DHCP
enabled for automatic IP address assignment, with a fall back to link local addressing (169.254.xxx.xxx)
if no DHCP server is present.
Default Username: admin
Default Password: Password
Note:
The user is required to change the default password on first login.
USB driver
The USB driver can be downloaded from the NTS 02-G product page of the Tekron website
(https://tekron.com/productsnetwork-time-server-nts02g/).

5. Installation
Identification
Each NTS 02-G unit is shipped with identification labels on the base and side of the unit. The labels
provide details on the hardware options fitted in the unit during manufacture, as well as the power
supply requirements and the unit serial number.
Check the identification label on the base or side of the unit to ensure that the correct model
has been supplied before proceeding to install!
Location
The unit is intended for installation in restricted access areas. A restricted access area can be
accessed only using a lock and key or other means of security. Installation is to be done by
suitably qualified personnel.
Power Supply
The input voltage range is marked on the product label on the base or side of the unit. Do not
apply voltage outside the range noted.
DC power should be applied to pins L and N. DC polarity is not critical, but only pin L is fused internally.
It is recommended to connect the '+' terminal to L. Pin E is connected to the chassis of the unit to be
used for earthing.
This power input can be used with AC supply within the specified input voltage range. Pin E is the Earth
connection for AC supply and the mains phase connection must be connected to the L terminal as this
is fused.
Hazardous Voltage

17 | Page
Earthing
The unit must be safety earthed whenever it is powered on, using the earth terminal as
pictured above. The cable cross section must be equal to or greater than 0.75 mm2 (18 AWG).
Mounting the NTS 02-G
The NTS 02-G can be used free-standing or mounted in a 19” rack. Each unit ships with a rack-mount
bracket which can be attached by removing the 4 corner front panel screws and attaching the plate as
illustrated in Figure 7 .
Figure 7 – NTS 02-G with rack-mount bracket
Operation
Check the label on the base for voltage requirements before switching on!
Connect the antenna lead and the antenna (with a good view of the sky). Then connect the
power source to P1.
The time required to achieve tracking and synchronization given a good view of the sky is typically
within one minute and 30 seconds. The NTS 02-G will usually take under one minute to synchronize to
the GNSS source, then it will spend an additional 30 seconds at most validating that the sync source is
stable before reporting that it is ‘in sync’. The NTS 02-G performs stability validation on all incoming
sync sources before reporting that it is ‘in sync’.
As described in the LCD display section, the button on the front panel will toggle the display on the LCD
and can also enter the contrast adjustment mode.
Once powered up, the operator can determine correct operation of the NTS 02-G by observing the
LEDs. The ALM LED should be off and the SYN LED should be solid on. If the LEDs are flashing, refer to
LED Indicators section on page 8 for an explanation of the status.

18 | Page
6. Factory Reset
The NTS 02-G features the ability to reset to factory default settings in the event that the administrator
password is forgotten, or if the time server is rendered unreachable on the network due to incorrect
settings, provided that physical access to the unit is available.
This feature is disabled by default in order to maximize security and must be enabled via the Tekron
Configuration Tool before it can be used. When disabled, there is no method to gain full access to the
unit without the administrator password, and if the administrator password is forgotten, the unit must
be returned to Tekron for reprogramming at the customer’s expense.
This feature may be permanently disabled by Tekron on request.
For further details on this feature, see the Configuration Tool Manual, which can be downloaded from
the Tekron website at www.tekron.com/downloads

19 | Page
7. Factory Hardware Options
Power Supply Options
This table shows the three different power supply options that can be ordered with NTS 02-G.
Designator
Input Range
High Voltage (3 pin)
85 - 250 Vac / 90 - 300 Vdc
Medium Voltage (3 pin)
20 - 75 Vdc
Low Voltage (3 pin)
14 - 36 Vdc
Slave Only Option (Fiber input)
The NTS 02-G can be ordered as a slave-only device in which case, the SMA antenna jack is removed,
and an ST Fiber receiver port (multi-mode) is fitted instead. The unit will synchronize to an incoming
IRIG-B signal on either P2 (RS422 format signal required) or on the Fiber input.

8. Appendix
NTS 02-G Specifications
Physical Specifications
Dimensions
Width
160 mm
Depth
155 mm
Height
40 mm
Weight
800 g
Operating Temperature Range
-10 to +65 oC
Storage Temperature Range
-40 to +85 oC
Operating Humidity
10 ~ 95 % non-condensing
Electrical Specifications
Power Supply
Low Voltage
14 - 36 Vdc
Medium Voltage
20 - 75 Vdc
High Voltage
90 - 300 Vdc / 85 - 250 Vac
Power drain
6 W max
Protection
Surge and Transient
Isolation
Power In to NTS: 3.0 kV
NTS to Alarm outputs: 3.5 kV
NTS to Ethernet: 1.5 kV
Input and Output Specifications
Ethernet Port (Administrator)
RJ-45
10/100 BASE-T
Isolation
1.5 kV
Ethernet Ports (2 and 3)
RJ-45
10/100 BASE-T
Isolation
1.5 kV
USB Port
Type B
P2 Input
Voltage level
RS422
Sensitivity 200 mV
P3 Output
Voltage level
RS422
Capable of driving 32
unit
loads from 3.3V
(1 V output at 80 mA)
P4 Relay
Isolation
3.5 kV
Max contact rating
275 V at 100 mA (AC
or DC)
Other manuals for NTS 02-G
1
Table of contents
Other Tekron Network Time Server manuals