Maintenance-7
A
16A
Troubleshooting
Equipment
The following
equipment
is
useful for troubleshooting
the
7A16A.
1. Semiconductor
Tester-Some
means of testing
the
transistors, diodes, and FET's used
in
this instrument
is
helpful. A transistor·curve tracer such
as
the
TEKTRON IX
Type
576
will give
the
most
complete information.
2.
DC
Voltmeter and
Ohmmeter-A
vol,tmeter
is
re-
quired for checking voltages within
the
circuits, and an
ohmmeter
for checking resistors and diodes.
3. Test
Oscilloscope-A
test oscilloscope
is
required
to
view waveforms
at
different points
in
the
circuit. A
TEKTRONIX 7000-series Oscilloscope equipped with a
readout
system,
7013
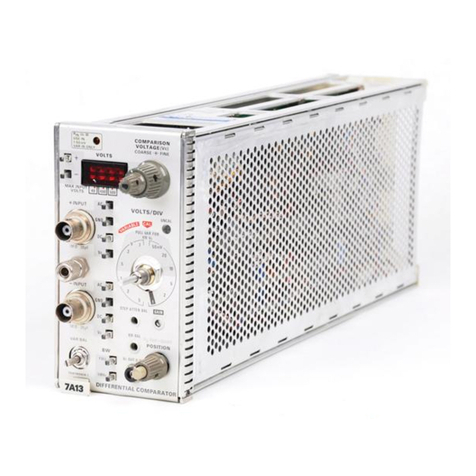
Digital Multimeter
unit,
7B-series
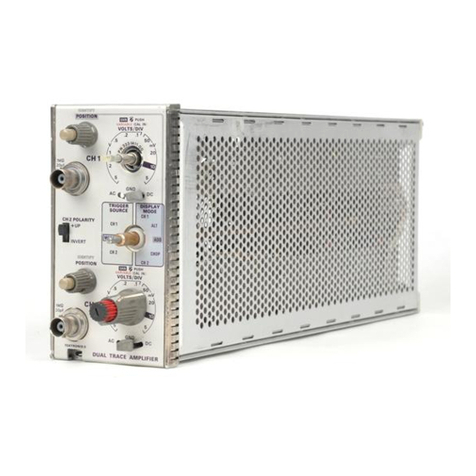
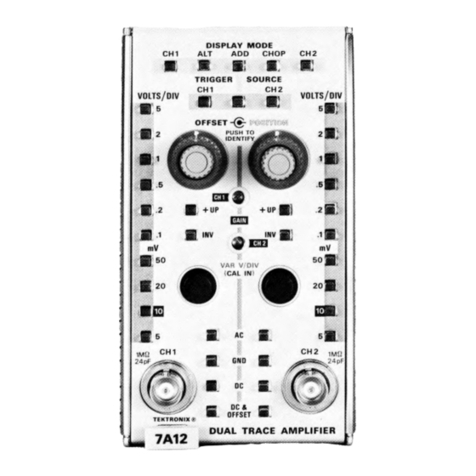
Time-Base unit, and a 7A-series Amplifier
unit
with a 10X
probe will meet
the
needs
of
both
items 2 and 3.
4.
Plug-in
Extender-A
fixture
that
permits operation
of
the
unit
outside of
the
plug-in
compartment
for better
accessibility during troubleshooting. Order TEKTRONIX
Part Number 067-0589-00.
Troubleshooting Procedure
This troubleshooting procedure
is
arranged
in
an order
which checks
the
simple trouble possibilities before pro-
ceeding with extensive troubleshooting.
1. Check Control Settings. An incorrect setti
ng
of
the
7A16A controls can indicate a trouble
that
does
not
exist.
If
there
is
any question
about
the
correct
function or
operation of a control or front-panel
connector,
see
the
Operating Instructions section.
2. Check Associated Equipment. Before proceeding
with troubleshooting of
the
7A16A check
that
the
equipment
used with this
instrument
is
operating correctly.
If
possible,
substitute
an amplifier
unit
known
to
be
operating correctly
into
the
indicator
unit
and see if
the
problem persists. Check
that
the
input
signals are properly
connected
and
that
the
interconnecting cables are
not
defective.
3.
Visual Check. Visually check
the
portion
of
the
instrument
in
which
the
trouble
is
suspected. Many troubles
can be located by visual indications, such
as
unsoldered
connections, broken wires, damaged circuit boards,
damaged
components,
etc.
4-2
4. Check
Instrument
Performance. Check
the
calibra-
tion
of
the
unit
or
the
affected circuit, by performing
Performance Check
of
Section 5. The
apparent
trouble may
only be a result
of
mis-adjustment, and may be corrected
by calibration. Complete calibration instructions are given
in
Section 5.
5. Check Voltages. Often
the
defective
component
or
stage can be located by checking for
the
correct
voltage
in
the
circuit. Typical voltages are given on
the
diagrams;
however, these are
not
absolute and may vary slightly
between instruments. To obtain operating conditions
similar
to
those used
to
take these readings, see
the
instructions
in
the
Diagram section.
6.
Check Individual Components. The following
methods are provided for checking
the
individual com-
ponents. Components which are soldered
in
place are best
checked by disconnecting one end
to
isolate
the
measure-
ment
from
the
effects
of
surrounding circuitry.
NOTE
To
locate intermittent or temperature sensitive com-
ponents
mounted
on the attenuator board, Quik
Freeze (Miller Stephenson, MS-240, TEKTRONIX
Part Number 006-0173-01)
is
recommended. Dry ice
or dichlordi-fluorremethane (Freon 12, Dupont or
Can-a-Gas)
may
also be used. Other types
of
circuit
coolant
may
damage the polyphenylene oxide boards.
A. TRANSISTORS. The best check
of
transistor opera-
tion
is
actual performance under operating conditions.
If
a
transistor
is
suspected of being defective, it can best
be
checked by substituting a
component
known
to
be good;
however,
be
sure
that
circuit conditions are
not
such
that
a
replacement might also be damaged.
If
substitute
transistors
are
not
available, use a dynamic tester (such
as
TEKTRONIX
Type
576). Static-type testers may be used,
but
since
they
do
not
check operation under simulated
operating conditions, some defects may go unnoticed.
Be
sure
the
power
is
off
before
attempting
to
remove
or
replace
any transistor.
B.
DIODES. A diode can be checked for an open
or
for
a
short
circuit by measuring
the
resistance between termi-
nals with an
ohmmeter
set
to
the
R X 1k scale. The diode
resistance should be very high
in
one direction and very low
when
the
meter leads are reversed.
Do
not
check tunnel
diodes
or
back diodes with
an
ohmmeter.
Do
not
use an ohmmeter scale thathas a high internal
current.
High
currents
may
damage the diodes.
REV. B,
MAR.
1975