Teledyne SIRAS G6.1 Series Manual

©2023 Teledyne FLIR LLC. All rights reserved. Approved for public release: Teledyne FLIR approved [FLIRGTC-SBA-011].
SIRAS™Battery Safety
Instruction Guide
102-2069-42
G6.1 Series, Revision 4
January 30, 2023

SIRAS Battery Safety Instruction Guide
G6.1 Series, Revision 4
©2023 Teledyne FLIR LLC. All rights reserved. Approved for public release: Teledyne FLIR approved [FLIRGTC-SBA-011].
2
TABLE OF CONTENTS
1. INTRODUCTION......................................................................................................................................................................4
2. INDICATOR LIGHTS AND CONTROL BUTTON.....................................................................................................................5
A. Battery Indicator Lights.................................................................................................................................................5
B. Battery Button...............................................................................................................................................................5
C. Interpreting the Battery Indicator Lights........................................................................................................................6
3. CHARGING INSTRUCTIONS..................................................................................................................................................9
A. Using the Battery Charger............................................................................................................................................9
B. Battery Charger Display Lights...................................................................................................................................11
C. Charger Performance as a Function of Temperature.................................................................................................12
4. BATTERY MANAGEMENT SYSTEM (BMS) .........................................................................................................................13
A. Sleep..........................................................................................................................................................................13
B. Smart Storage ............................................................................................................................................................13
5. STORAGE..............................................................................................................................................................................14
A. Storage.......................................................................................................................................................................14
6. HANDLING, DISPOSAL, AND WARNINGS...........................................................................................................................15
A. Handling and Disposal................................................................................................................................................15
B. Transportation............................................................................................................................................................15
C. Warnings....................................................................................................................................................................16
7. WARNING LABELS ...............................................................................................................................................................17
TABLE OF FIGURES
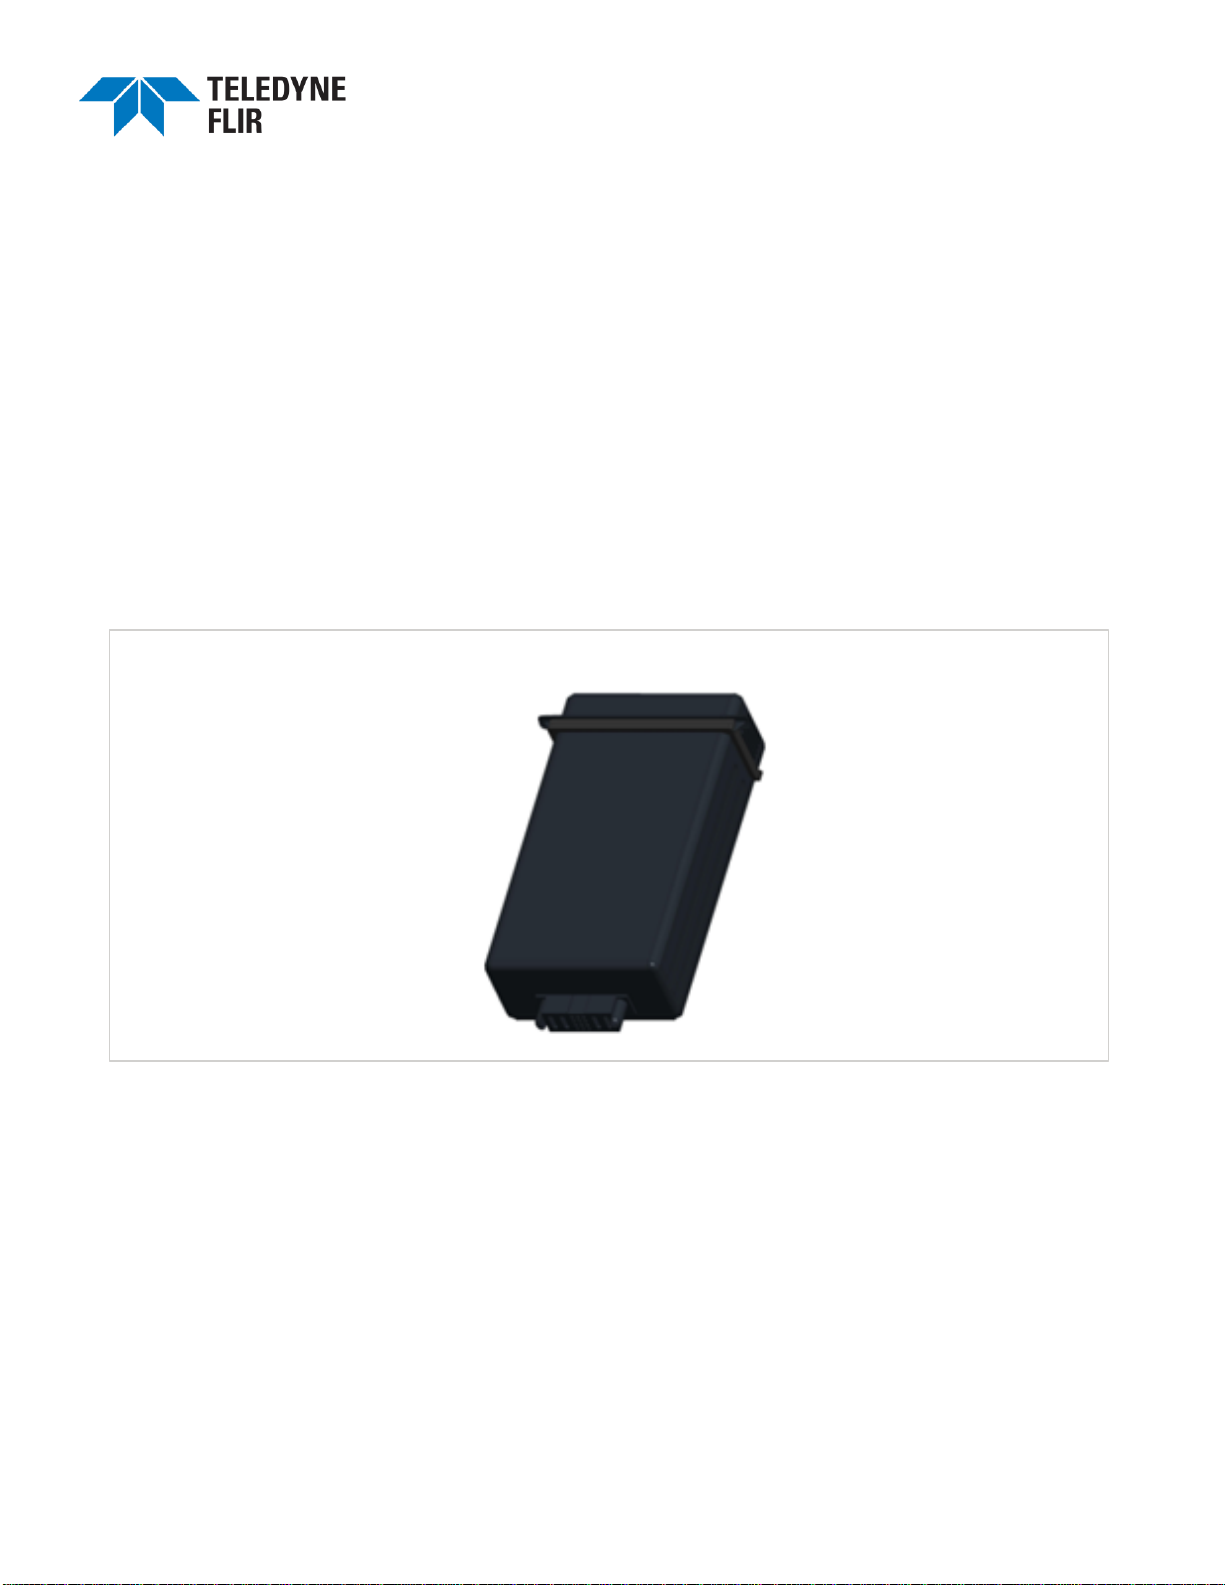
Figure 1.A Battery.......................................................................................................................................................4
Figure 2.A Button and LEDs on the Top of the Battery..............................................................................................5
Figure 3.A Battery Charger.........................................................................................................................................9
Figure 3.B Charger Pins...........................................................................................................................................10

SIRAS Battery Safety Instruction Guide
G6.1 Series, Revision 4
©2023 Teledyne FLIR LLC. All rights reserved. Approved for public release: Teledyne FLIR approved [FLIRGTC-SBA-011].
3
TABLE OF TABLES
Table 2-A LEDs in Standby or Discharge Mode.........................................................................................................6
Table 2-B Battery LEDs during Charging...................................................................................................................7
Table 2-C. LEDs Indicating Remaining Useful Life....................................................................................................8
Table 3-A. Aircraft Battery Charger Power-Level Indicator LEDs............................................................................11
Table 3-B. Charger Error Messages.........................................................................................................................11
Table 3-C. Charging Performance as a Function of Battery Temperature...............................................................12
Key to Symbols:
⚠This is a warning notice. Failure to heed warnings can lead to damage or injury.
This is an informational notice, calling attention to an important detail.
☛This is a tip that can improve your effectiveness in using the product.

SIRAS Battery Safety Instruction Guide
G6.1 Series, Revision 4
©2023 Teledyne FLIR LLC. All rights reserved. Approved for public release: Teledyne FLIR approved [FLIRGTC-SBA-011].
4
1. INTRODUCTION
The SIRAS™mobile drone is a professional aircraft, intended to be operated by USA FAA Part 107 certified pilots
or pilots holding equivalent certifications. By operating the SIRAS drone, you agree to abide by and be bound by
the requirements and limitations set forth in the SIRAS Standard Bundle User Manual. Please carefully note the
contents of this manual and the safety warnings in the SIRAS User Manual.
This manual focuses on the proper care and safe handling of the SIRAS batteries. Proper care prolongs the life of
the batteries and enhances flight safety. Inappropriate use, charging, or battery storage may cause a fire, property
loss, or injury to oneself and/or others.
The SIRAS aircraft uses two batteries that are specifically designed with side gaskets and locking tabs to fit into
the upper and lower battery compartments of the aircraft. The batteries are identical except for these surface
features, which ensure their proper orientation.
FIGURE 1.A BATTERY

SIRAS Battery Safety Instruction Guide
G6.1 Series, Revision 4
©2023 Teledyne FLIR LLC. All rights reserved. Approved for public release: Teledyne FLIR approved [FLIRGTC-SBA-011].
5
2. INDICATOR LIGHTS AND CONTROL BUTTON
A. Battery Indicator Lights
The top of the battery, illustrated in Figure 2.A, has a button and four LEDs.
FIGURE 2.A BUTTON AND LEDS ON THE TOP OF THE BATTERY
B. Battery Button
B1. Check/Standby:
One short press of the Battery button will activate the battery from the Power-Off state and put it into
Standby Mode. The LED display will then show the current battery charge level, as described in Table 2-A.
The display turns off after five seconds and re-enters the Power-Off state after another five seconds.
B2. Power-On:
To power on the battery, start in the Power-Off state, and give the Battery button a short press (to enter the
Check state). While the lights are still on, press and hold the Battery button for at least two seconds. The
power indicator lights will be lit in order from LED1 to LED4, completing the Power-On action, after which
the LED display will show the current power level.

SIRAS Battery Safety Instruction Guide
G6.1 Series, Revision 4
©2023 Teledyne FLIR LLC. All rights reserved. Approved for public release: Teledyne FLIR approved [FLIRGTC-SBA-011].
6
B3. Power-Off/Sleep:
When the battery is in the Power-On state, give the Battery button a short press. This will light the four
LEDs. Then, press and hold the Battery button for more than two seconds. The power indicator lights will
turn off, in order from LED4 to LED1. The battery will now be in the Power-Off state. (The battery also
enters the Power-Off state after ten minutes of inactivity.)
B4. Health indicator:
In the Power-Off state, press the Battery button and hold for approximately eight seconds. The LEDs will
indicate remaining battery life, as described in Table 2-C. After five seconds, the battery will enter the
Power-Off state.
C. Interpreting the Battery Indicator Lights
C1. Standby or Discharge Mode
In Standby Mode and when the batteries are installed in the aircraft with the power on, the four LEDs
indicate one of eight battery levels, as shown in Table 2-A.
TABLE 2-A LEDS IN STANDBY OR DISCHARGE MODE
CAPACITY
LED4
LED3
LED2
LED1
0%~12%
○
○
○
✹
13%~24%
○
○
○
●
25%~37%
○
○
✹
●
38%~49%
○
○
●
●
50%~62%
○
✹
●
●
63%~74%
○
●
●
●
75%~87%
✹
●
●
●
88%~100%
●
●
●
●
✹FLASH ○ OFF ●ON

SIRAS Battery Safety Instruction Guide
G6.1 Series, Revision 4
©2023 Teledyne FLIR LLC. All rights reserved. Approved for public release: Teledyne FLIR approved [FLIRGTC-SBA-011].
7
C2. Charging Mode
When the battery is in charging mode, the four LEDs indicate one of the five battery levels shown in Table
2-B. (Charging is described in Chapter 0).
TABLE 2-B BATTERY LEDS DURING CHARGING
CAPACITY
LED4
LED3
LED2
LED1
0%~24%
○
○
○
✹
25%~49%
○
○
✹
✹
50%~74%
○
✹
✹
✹
75%~99%
✹
✹
✹
✹
100%
●
●
●
●
✹FLASH ○ OFF ●ON
The charger has a different indicator lighting pattern—see Table 3-A and Table 3-B.
The battery level indicator lights will turn off after being fully charged (100%) for 10 minutes.

SIRAS Battery Safety Instruction Guide
G6.1 Series, Revision 4
©2023 Teledyne FLIR LLC. All rights reserved. Approved for public release: Teledyne FLIR approved [FLIRGTC-SBA-011].
8
C3. Remaining Battery Life
As described in 2.B above, pressing the Battery button in the Power-Off state and holding it for
approximately eight seconds causes the battery to enter the Health Indicator state, in which the LEDs
indicate remaining useful battery life, as shown in Table 2-C.
TABLE 2-C. LEDS INDICATING REMAINING USEFUL LIFE
REMAINING
USEFUL
LIFE
LED4
LED3
LED2
LED1
88%~100%
●
●
●
●
75%~87%
✹
●
●
●
63%~74%
○
●
●
●
50%~62%
○
✹
●
●
38%~49%
○
○
●
●
25%~37%
○
○
✹
●
13%~24%
○
○
○
●
Below 12%
○
○
○
✹
✹FLASH ○ OFF ●ON

SIRAS Battery Safety Instruction Guide
G6.1 Series, Revision 4
©2023 Teledyne FLIR LLC. All rights reserved. Approved for public release: Teledyne FLIR approved [FLIRGTC-SBA-011].
9
3. CHARGING INSTRUCTIONS
A. Using the Battery Charger
FIGURE 3.A BATTERY CHARGER
⚠Charge the batteries in a flat, open area.
Immediately after a flight, the batteries will be warm. Allow them to cool to ambient temperature
before charging. Charging the batteries while still warm will significantly reduce battery life.
The battery charger will only operate in the temperature range 6~50⁰C (42~122°F) (see Table 3-C).
⚠Use only the charger provided. Failure to do so could allow charging to exceed the maximum
rated voltage. This could impair the battery’s charge/discharge performance, mechanical
performance, and safety, as well as cause overheating or leakage.
Charge batteries in pairs. The two batteries should have charge levels within 5% of each other.
Charge level differences greater than 5% can cause both batteries to wear more quickly and could
diminish aircraft performance.

SIRAS Battery Safety Instruction Guide
G6.1 Series, Revision 4
©2023 Teledyne FLIR LLC. All rights reserved. Approved for public release: Teledyne FLIR approved [FLIRGTC-SBA-011].
10
Charge batteries according to the following steps:
1. Connect the aircraft battery charger to a power source.
2. Turn off the Power switch on the back of the charger.
3. Inspect the contact pins in the charger to ensure that they are straight (see Figure 3.B).
FIGURE 3.B CHARGER PINS
4. While the power is off, gently insert up to two aircraft batteries into the charger, making sure they are oriented
correctly.
⚠The batteries only fit into the charger in one orientation. Do not force the batteries into the
charger, as doing so will damage the charger pins. If the batteries do not slide into the charger,
make sure you are inserting them in the proper orientation and that the pins are straight.
5. Flip the Power switch on the back of the charger to ON. The power-level indicator LEDs on the charger will
begin to flash.
6. Check the charger lights as shown in Table 3-A and Table 3-B. Stop charging if the lights indicate an error.
7. Charge batteries to full capacity as indicated by all power level indicator LEDs on the charger being
illuminated. When fully charged, the charger will also emit a completion sound.
8. Turn the charger off and unplug it from the power source.
9. Remove the batteries and store them in their storage unit or install and use them in the aircraft.
10. Do not store batteries in the aircraft—doing so will slowly drain them.

SIRAS Battery Safety Instruction Guide
G6.1 Series, Revision 4
©2023 Teledyne FLIR LLC. All rights reserved. Approved for public release: Teledyne FLIR approved [FLIRGTC-SBA-011].
11
B. Battery Charger Display Lights
TABLE 3-A. AIRCRAFT BATTERY CHARGER POWER-LEVEL INDICATOR LEDS
CAPACITY
LED (100%)
LED (80%)
LED (60%)
LED (40%)
LED (20%)
<20%
○
○
○
○
✹
>20%
○
○
○
✹
●
>40%
○
○
✹
●
●
>60%
○
✹
●
●
●
>80%
✹
●
●
●
●
100%
●
●
●
●
●
○OFF ✹FLASH ●ON
Table 3-B provides diagnostic information for when batteries are not charging as expected. Often, these errors
can be cleared by turning off the charger, removing the batteries, re-inserting them, and turning the charger back
on. If errors persist, notify your customer service representative.
TABLE 3-B. CHARGER ERROR MESSAGES
LED
(ERROR)
LED
(100%)
LED
(80%)
LED
(60%)
LED
(40%)
LED
(20%)
DESCRIPTION OF
THE INDICATOR
LIGHTS
✹
○
○
○
○
●
Output overvoltage*
✹
○
○
○
●
○
Output overcurrent*
✹
○
○
●
○
○
Charger temperature
is too high+
✹
○
●
○
○
○
Unmatched voltage
of the balancing port
and main port*
✹
●
○
○
○
○
Low voltage of AC
power output*

SIRAS Battery Safety Instruction Guide
G6.1 Series, Revision 4
©2023 Teledyne FLIR LLC. All rights reserved. Approved for public release: Teledyne FLIR approved [FLIRGTC-SBA-011].
12
LED
(ERROR)
LED
(100%)
LED
(80%)
LED
(60%)
LED
(40%)
LED
(20%)
DESCRIPTION OF
THE INDICATOR
LIGHTS
✹
○
○
●
○
●
Battery voltage is too
low*
✹
○
●
○
○
●
Battery voltage is too
high*
✹
●
○
○
○
●
Battery temperature
is too low, <5oC
(41⁰F) **
✹
○
○
●
●
○
Battery temperature
is too high, >50oC
(122⁰F) +
○OFF ✹FLASH ●ON
* Contact FLIR Service
+ Allow cooling before charging batteries
** Warm batteries to at least 5oC (41⁰F) before charging
C. Charger Performance as a Function of Temperature
Table 3-C details charger performance as a function of ambient temperature. Batteries should be kept between
16⁰C and 45⁰C (61⁰F –113⁰F) for optimum charging performance.
TABLE 3-C. CHARGING PERFORMANCE AS A FUNCTION OF BATTERY TEMPERATURE
BATTERY TEMPERATURE
CHARGING PERFORMANCE
<5⁰C (41⁰F)
No Charge - Error LED will illuminate
6⁰C~15⁰C (42⁰F~59⁰F)
1.2A Slow Charge
16⁰C~45⁰C (61⁰F~113⁰F)
Normal 6A Charge
46⁰C~50⁰C (115⁰F~122⁰F)
1.2A Slow Charge
> 50⁰C (122⁰F)
No Charge - Error LED will illuminate

SIRAS Battery Safety Instruction Guide
G6.1 Series, Revision 4
©2023 Teledyne FLIR LLC. All rights reserved. Approved for public release: Teledyne FLIR approved [FLIRGTC-SBA-011].
13
4. BATTERY MANAGEMENT SYSTEM (BMS)
The battery has a built-in Battery Management System (BMS) that automatically performs the operations
described here.
A. Sleep
After the battery has been in Power-On mode for 10 minutes, the BMS will set the battery to Power-Off mode to
reduce power consumption. As described in 2.B, Power-On mode can be reactivated by pressing the Battery
button briefly.
B. Smart Storage
If the battery is not going to be used for more than 10 days, it is best to discharge it to
approximately 40%-60% before storing it. This will prolong the battery’s useful life even though
the battery automatically performs its own charge level management.
If the battery is stored with a high charge level, the Smart Storage function will automatically activate. A stationary
battery wakes up from Sleep Mode once every two days to monitor its charge level. If the power level is below
50%, the battery will automatically enter Deep Sleep mode. If the power level is above 50%, the battery will return
to Sleep mode. If on the 10th day of the battery being stationary, the power level is still above 50%, the battery will
automatically discharge to 50% and then enter Deep Sleep mode. During the discharge process, the battery
temperature may rise: this is normal.

SIRAS Battery Safety Instruction Guide
G6.1 Series, Revision 4
©2023 Teledyne FLIR LLC. All rights reserved. Approved for public release: Teledyne FLIR approved [FLIRGTC-SBA-011].
14
5. STORAGE
A. Storage
The ideal battery storage temperature is 20°C to 25°C (68°F to 77°F).
⚠Do not store the battery in a high-temperature area or close to a heat source such as direct
sunlight, in a car on a hot day, near a fire source, or near an oven.
⚠Store the battery in a dry environment. Do not store the battery in water or where water may enter.
⚠Store the battery in an appropriate battery storage box.
⚠Check the battery monthly and recharge it fully if its charge level is 25% or less. A battery with
less than 5% charge may sustain damage and lose its ability to be recharged.

SIRAS Battery Safety Instruction Guide
G6.1 Series, Revision 4
©2023 Teledyne FLIR LLC. All rights reserved. Approved for public release: Teledyne FLIR approved [FLIRGTC-SBA-011].
15
6. HANDLING, DISPOSAL, AND WARNINGS
A. Handling and Disposal
⚠If a battery catches fire, use a Type ABC extinguisher and give the battery time to cool.
⚠Avoid touching a leaking or deformed battery. The liquid inside the battery is corrosive. If the
liquid comes into contact with skin or eyes, rinse the affected area in water for at least 15 minutes
and seek proper medical treatment.
⚠Fully discharge a battery before disposal.
⚠Dispose of a used battery at a hazardous waste facility. Do not discard with ordinary trash or with
recycling materials.
⚠Do not dispose of a battery by burning it.
B. Transportation
⚠Do not transport damaged batteries. Instead, contact a company that handles hazardous materials
professionally.
Before a battery is transported via public transportation of any kind, discharge the battery to 30%,
or to the level required by local regulations.
⚠Do not transport a battery in close proximity to metal objects.
⚠When traveling by air, do not place batteries in checked baggage. Transporting in carry-on
baggage is allowed (at the appropriate charge level).
⚠Do not ship batteries by air.

SIRAS Battery Safety Instruction Guide
G6.1 Series, Revision 4
©2023 Teledyne FLIR LLC. All rights reserved. Approved for public release: Teledyne FLIR approved [FLIRGTC-SBA-011].
16
C. Warnings
1. Do not open or damage the battery’s external case, as this may cause a short circuit or fire.
2. Do not get the battery wet or let the battery touch any form of liquid. Do not use the battery in the rain or in a
humid environment. Doing so can cause spontaneous combustion, or possibly an explosion.
3. Do not use a swollen, leaking, or damaged battery—it could catch fire or explode.
4. If the battery drops from the airframe or is hit by an external force, do not use the battery again.
5. If the airframe falls into the water, retrieve the airframe and remove the battery. Leave the battery in an open
area until it is completely dry. Keep your distance from the battery, and after the battery has dried, never use
it again.
6. Do not connect the battery directly to the socket on the wall or the socket in the car for charging.
7. Do not dispose of the battery in a fire or store it at a temperature higher than 45°C (113°F).
8. Do not use the battery when it smells foul or when it is hot, deformed, or discolored. If the battery is in use or
is charging and is in any of these conditions, take it out of the airframe or charger. Allow it to cool, if
necessary. Avoid touching a leaking battery.
9. Never use a wire or any other metal object to short circuit the positive and negative electrodes.
10. Do not store the battery near a microwave oven or pressure cooker.
11. Never place the battery on a conductive surface.
12. Do not hit the battery or put it under a heavy object.
13. Do not expose the battery to strong static electricity (e.g., lightning) or to a high magnetic field. This type of
exposure could disable the built-in safety features of the battery and damage both the battery and the
airframe.
14. The operating temperature of the airframe battery is −10⁰C to 40⁰C (14⁰F to 104⁰F). If the ambient
temperature is above 60⁰C (140⁰F), the battery might catch fire. If the ambient temperature is below −10⁰C,
battery life will be significantly shortened.
15. In ordinary use, do not allow batteries to drain below a 5% charge, as this may permanently damage the
batteries’ ability to recharge. Exception: final disposal (see 6.A).
16. Remove and charge the batteries promptly after a flight. Batteries left in a powered-off aircraft will eventually
drain down to 0% and will sustain damage.
17. Keep the batteries away from children. If children swallow parts of the battery, seek medical assistance
immediately.

SIRAS Battery Safety Instruction Guide
G6.1 Series, Revision 4
©2023 Teledyne FLIR LLC. All rights reserved. Approved for public release: Teledyne FLIR approved [FLIRGTC-SBA-011].
17
7. WARNING LABELS

SIRAS Battery Safety Instruction Guide
G6.1 Series, Revision 4
©2023 Teledyne FLIR LLC. All rights reserved. Approved for public release: Teledyne FLIR approved [FLIRGTC-SBA-011].
18
© FLIR Commercial Systems, 2023. All rights reserved worldwide. No parts of this manual, in whole or in part, may be copied,
photocopied, translated, or transmitted to any electronic medium or machine-readable form without the prior written permission
of FLIR Commercial Systems
Names and marks appearing on the products herein are either registered trademarks or trademarks of FLIR Commercial
Systems and/or its subsidiaries. All other trademarks, trade names, or company names referenced herein are used for
identification only and are the property of their respective owners.
This product is protected by patents, design patents, patents pending, or design patents pending.
If you have questions that are not covered in this manual contact FLIR Commercial Systems Customer Support (SBA-
[email protected]) for additional information. Contact Customer Support for questions related to the use of open-source software
in this product. And contact Customer Support prior to returning a camera which is in need of service.
This documentation and the requirements specified herein are subject to change without notice.
This equipment must be disposed of as electronic waste.
Contact your nearest FLIR Commercial Systems, Inc. representative for instructions on
how to return the product to FLIR for proper disposal.
FCC Notice. This device is a subassembly designed for incorporation into other products in order to provide an infrared
camera function. It is not an end-product fit for consumer use. When incorporated into a host device, the end-product will
generate, use, and radiate radio frequency energy that may cause radio interference. As such, the end-product incorporating
this subassembly must be tested and approved under the rules of the Federal Communications Commission (FCC) before the
end-product may be offered for sale or lease, advertised, imported, sold, or leased in the United States. The FCC regulations
are designed to provide reasonable protection against interference to radio communications. See 47 C.F.R. §§ 2.803 and 15.1
et seq.
Industry Canada Notice. This device is a subassembly designed for incorporation into other products in order to provide an
infrared camera function. It is not an end-product fit for consumer use. When incorporated into a host device, the end-product
will generate, use, and radiate radio frequency energy that may cause radio interference. As such, the end-product
incorporating this subassembly must be tested for compliance with the Interference-Causing Equipment Standard, Digital
Apparatus, ICES-003, of Industry Canada before the product incorporating this device may be: manufactured or offered for
sale or lease, imported, distributed, sold, or leased in Canada.
Avis d’Industrie Canada. Cet appareil est un sous-ensemble conçu pour être intégré à un autre produit afin de fournir une
fonction de caméra infrarouge. Ce n’est pas un produit final destiné aux consommateurs. Une fois intégré à un dispositif hôte,
le produit final va générer, utiliser et émettre de l’énergie radiofréquence qui pourrait provoquer de l’interférence radio. En tant
que tel, le produit final intégrant ce sous-ensemble doit être testé pour en vérifier la conformité avec la Norme sur le matériel
brouilleur pour les appareils numériques (NMB-003) d’Industrie Canada avant que le produit intégrant ce dispositif puisse être
fabriqué, mis en vente ou en location, importé, distribué, vendu ou loué au Canada.
EU Notice. This device is a subassembly or component intended only for product evaluation, development or incorporation
into other products in order to provide an infrared camera function. It is not a finished end-product fit for general consumer use.
Persons handling this device must have appropriate electronics training and observe good engineering practice standards. As
such, this product does not fall within the scope of the European Union (EU) directives regarding electromagnetic compatibility
(EMC). Any end-product intended for general consumer use that incorporates this device must be tested in accordance and
comply with all applicable EU EMC and other relevant directives.
Table of contents
Other Teledyne Camera Accessories manuals