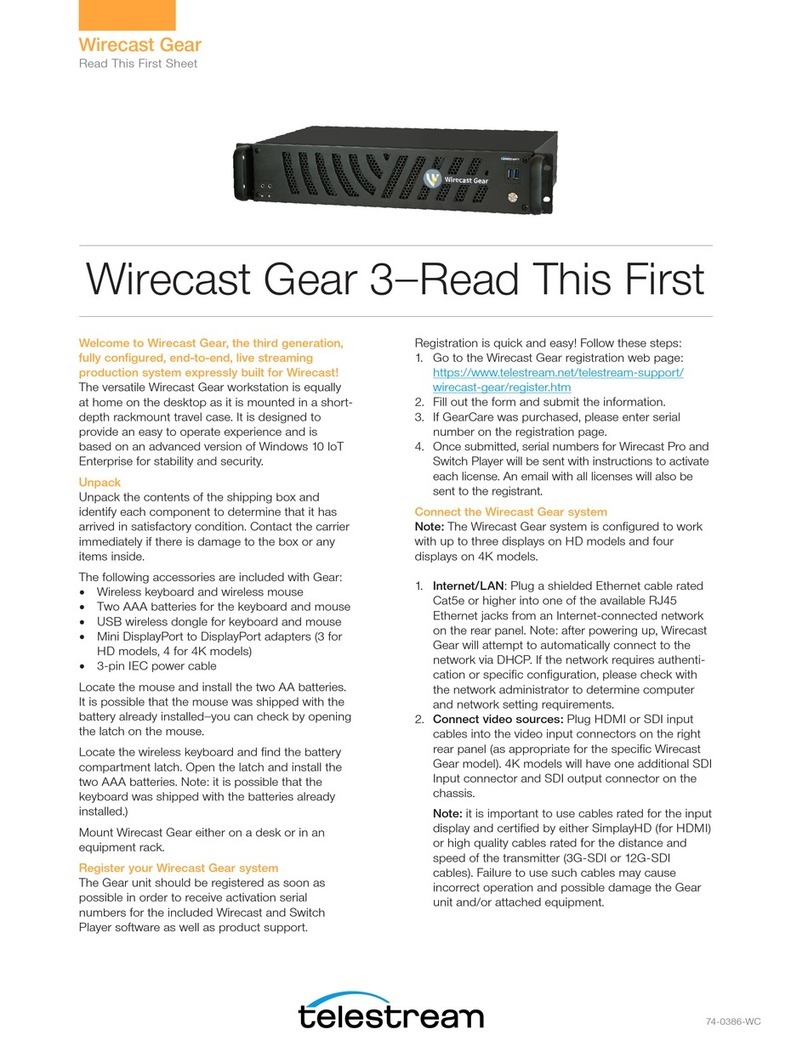
Telestream Wirecast Gear Instruction sheet

74-0379-02
Welcome to Wirecast Gear, the second genera-
tion, fully configured, end-to-end, live streaming
production system expressly built for Wirecast!
The versatile Wirecast Gear workstation is equally
at home on the desktop as it is mounted in a short-
depth rackmount travel case (rack-mount rails sold
separately). It is designed to provide an easy to
operate experience and is based on a standard
Windows 10 personal computer.
Unpack
Unpack the contents of the shipping container;
identify each component and determine that it has
arrived in satisfactory condition. Contact the carrier
immediately if there is damage.
Locate the chassis and power cable. The IEC
power cable is located near the foam end-caps on
one side.
Locate the accessories
In total, you should find:
• Wireless keyboard
• Wireless mouse
• AA batteries for both the keyboard and mouse
• USB dongle that provides wireless connectivity
for both the keyboard and mouse.
• 400 Series Only: Display Port to DVI adapter
Locate the mouse and install the AA batteries (2).
(It is possible that the mouse was shipped with the
battery already installed—you can check by opening
the latch on the mouse).
Locate the wireless keyboard and find the battery
compartment latch. Open the latch and install the
AAA batteries (2). (It is possible that the keyboard
was shipped with the batteries already installed.)
Register your Wirecast Gear system
You can do this now using another internet
connected computer—or you can wait until your
Wirecast Gear system is up and running and register
then.
Important:
you must register first to receive the
software serial numbers for the included Wirecast,
Switch and NewBlueFX software—and to receive
product support.
Registration is quick and easy! Follow these steps:
1. Go to the Wirecast Gear registration web page:
http://www.telestream.net/telestream-support/
wirecast-gear/register.htm
2. Fill out the form and submit the information.
3. If you purchased GearCare, please enter serial
number on the registration page.
4. Once submitted, you will receive serial numbers for
Wirecast Pro, Switch, and NewBlueFX with instruc-
tions to activate each license. You will also receive an
email with all three licenses for your records.
Connect your Wirecast Gear system
Note: The Wirecast Gear system is configured to work
with up to three displays on the 300 series, and four
displays on the 400 series.
1. Internet/LAN: Plug an ethernet cable into one of the
available RJ45 Ethernet jacks on the rear panel.
Please do not use the port marked “IPMI” for
internet/network access.
Note:
After it is powered
on, Wirecast Gear will attempt to automatically
connect to your installed network configuration
(LAN). If your network requires authentication or
specific configuration, please check with your
network administrator to determine computer and
network setting requirements.
2. IPMI: Remove the IPMI sticker and plug in an
ethernet cable into the exposed RJ45 Ethernet jack.
Note: IPMI Username is ADMIN and the password
is “
Wcg_
” plus the number on the sticker located on
the underside of the unit that follows “
SN:
”.
Example password is “
Wcg_1234567
”.
3. Connect your Video Sources: Plug HDMI or SDI
input cables into the video input connectors on the
right rear panel (as appropriate for your Wirecast
Wirecast Gear—Read This First
Wirecast Gear
Read This First Sheet

74-0379-02
Specifications subject to change without notice. Copyright © 2020 Telestream, LLC.
Telestream, CaptionMaker, Episode, Flip4Mac, FlipFactory, Flip Player, Gameshow,
GraphicsFactory, Lightspeed, MetaFlip, Post Producer, ScreenFlow, Split-and-Stitch,
Switch, Tempo, TrafficManager, Vantage, VOD Producer and Wirecast, are registered
trademarks and Cricket, e-Captioning, iQ, iVMS, iVMS ASM, Inspector, MacCaption,
Pipeline, Vidchecker, and Surveyor are trademarks of Telestream, LLC. All other
trademarks are the property of their respective owners. June 2020
Gear model). If you have a 400 series, there will be
an additional SDI Input connector and additional
SDI output connector on the chassis itself, and not
an EXT card.
4. Connect your computer monitor: 300 series: use
motherboard I/O for video. 400 series: do not use
motherboard I/O for video. Use graphics card
outputs on the top right rear.
5. Connect your audio input and output cables (as
needed) to the Wirecast Gear’s Mic In, Speaker Out,
and XLR/TRS input connectors.
6. Prepare the wireless keyboard and mouse (if not
already done) by inserting the dongle from the
keyboard/mouse box into one of the USB ports
(front or rear).
7. Turn the keyboard and mouse on using the power
switch on each.
8. After all connections have been made, plug in the
supplied AC power cord to provide power to the
unit.
Turn on Wirecast Gear and Begin Streaming
To get started using Wirecast Gear, follow these steps:
1. Read the complete Wirecast Gear User’s Guide
supplied on the Wirecast Gear system hard drive. A
shortcut to documentation can be found on the
Windows desktop.
2. Turn on the Wirecast Gear unit by pushing the
power button on the front panel. The button will light
up, and the unit will begin to boot up.
3. Personalize Windows as explained in the First Time
Boot topic in the Wirecast User’s Guide.
4. Create individual Windows user accounts on the
Wirecast Gear machine, if desired.
5. Ensure you have registered and activated Wirecast,
Switch, and NewBlueFX as outlined on the previous
page.
You are now ready to start using Wirecast to stream
your live presentations.
First Time Boot
Every Wirecast Gear unit includes a pre-activated copy of
Windows 10 Enterprise IoT LTSC 64-bit. There is no need
to enter a serial number or product key. When you first
power up your Wirecast Gear system, you are prompted
to complete a short group of screens to configure
Windows 10 for your locale and personal preferences.
You can read about this whole sequence in the Wirecast
Gear User’s Guide.
Having Troubles?
If your Wirecast Gear computer does not operate as
expected, the following tips may provide assistance:
• Close any programs besides Wirecast that you are
not using. Other programs could be taking up too
much memory.
• Close and reopen Wirecast. Be sure to save your
work first.
• Restart the computer – Random problems can
sometimes be resolved by a simple restart. Be sure to
save your work before you shut the computer down.
If you cannot resolve an issue yourself, please refer to
the detailed help information in the Wirecast Gear
User’s Guide (at the back of the manual), under the
topic “Obtaining Support | Information | Assistance”.
There, you’ll find numerous support contact methods.
Note: Please
do not open chassis
to try to diagnose the
hardware failure yourself, unless permitted to do so.
This will void your warranty with Telestream and our
manufacturer.
Refer to the user manual for compliance and regulatory
information, found here: http://www.telestream.net/pdfs/
user-guides/Wirecast-Gear-2-User-Guide.pdf
Wirecast Gear
Read this First Sheet
Other manuals for Wirecast Gear
2
Other Telestream TV Tuner manuals
