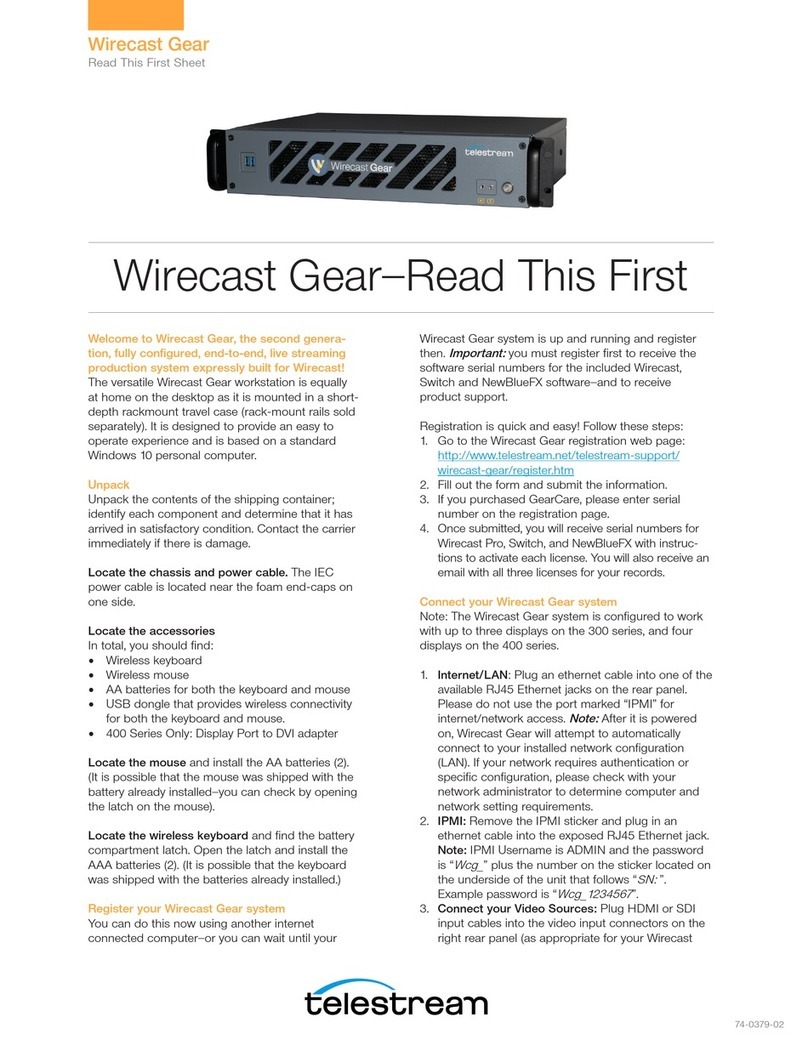
Telestream Wirecast Gear User manual

74-0386-WC
Welcome to Wirecast Gear, the third generation,
fully configured, end-to-end, live streaming
production system expressly built for Wirecast!
The versatile Wirecast Gear workstation is equally
at home on the desktop as it is mounted in a short-
depth rackmount travel case. It is designed to
provide an easy to operate experience and is
based on an advanced version of Windows 10 IoT
Enterprise for stability and security.
Unpack
Unpack the contents of the shipping box and
identify each component to determine that it has
arrived in satisfactory condition. Contact the carrier
immediately if there is damage to the box or any
items inside.
The following accessories are included with Gear:
• Wireless keyboard and wireless mouse
• Two AAA batteries for the keyboard and mouse
• USB wireless dongle for keyboard and mouse
• Mini DisplayPort to DisplayPort adapters (3 for
HD models, 4 for 4K models)
• 3-pin IEC power cable
Locate the mouse and install the two AA batteries.
It is possible that the mouse was shipped with the
battery already installed—you can check by opening
the latch on the mouse.
Locate the wireless keyboard and find the battery
compartment latch. Open the latch and install the
two AAA batteries. Note: it is possible that the
keyboard was shipped with the batteries already
installed.)
Mount Wirecast Gear either on a desk or in an
equipment rack.
Register your Wirecast Gear system
The Gear unit should be registered as soon as
possible in order to receive activation serial
numbers for the included Wirecast and Switch
Player software as well as product support.
Registration is quick and easy! Follow these steps:
1. Go to the Wirecast Gear registration web page:
https://www.telestream.net/telestream-support/
wirecast-gear/register.htm
2. Fill out the form and submit the information.
3. If GearCare was purchased, please enter serial
number on the registration page.
4. Once submitted, serial numbers for Wirecast Pro and
Switch Player will be sent with instructions to activate
each license. An email with all licenses will also be
sent to the registrant.
Connect the Wirecast Gear system
Note: The Wirecast Gear system is configured to work
with up to three displays on HD models and four
displays on 4K models.
1. Internet/LAN: Plug a shielded Ethernet cable rated
Cat5e or higher into one of the available RJ45
Ethernet jacks from an Internet-connected network
on the rear panel. Note: after powering up, Wirecast
Gear will attempt to automatically connect to the
network via DHCP. If the network requires authenti-
cation or specific configuration, please check with
the network administrator to determine computer
and network setting requirements.
2. Connect video sources: Plug HDMI or SDI input
cables into the video input connectors on the right
rear panel (as appropriate for the specific Wirecast
Gear model). 4K models will have one additional SDI
Input connector and SDI output connector on the
chassis.
Note: it is important to use cables rated for the input
display and certified by either SimplayHD (for HDMI)
or high quality cables rated for the distance and
speed of the transmitter (3G-SDI or 12G-SDI
cables). Failure to use such cables may cause
incorrect operation and possible damage the Gear
unit and/or attached equipment.
Wirecast Gear 3—Read This First
Wirecast Gear
Read This First Sheet

74-0386-WC
Specifications subject to change without notice. Copyright © 2022 Telestream, LLC.
Telestream, CaptionMaker, Episode, Flip4Mac, FlipFactory, Flip Player, Gameshow,
GraphicsFactory, Lightspeed, MetaFlip, Post Producer, ScreenFlow, Split-and-Stitch,
Switch, Tempo, TrafficManager, Vantage, VOD Producer and Wirecast, are registered
trademarks and Cricket, e-Captioning, iQ, iVMS, iVMS ASM, Inspector, MacCaption,
Pipeline, Vidchecker, and Surveyor are trademarks of Telestream, LLC. All other
trademarks are the property of their respective owners. June 2022
3. Connect displays: connect one or more displays via
DisplayPort. This is accomplished either directly via
Mini DisplayPort connectors, or via DisplayPort
using the included Mini DisplayPort to DisplayPort
adapters.
Note: All display cables must use VESA DisplayPort
certified cables to ensure correct operation and
prevent damage to the Gear unit or the attached
display.
4. Connect audio: connect stereo audio inputs or
outputs via 1/8” TRS cables on the front (for
headsets) or rear (for all other audio) of the unit and/
or via USB.
5. Connect keyboard: Prepare the wireless keyboard
and mouse by inserting the dongle from the
keyboard/mouse box into a USB port. Turn the
keyboard and mouse on using the power switch on
each.
6. After all connections have been made, plug in the
supplied AC power cord to provide power to the
unit.
Turn on Wirecast Gear and Begin Streaming
To get started using Wirecast Gear, follow these steps:
1. Read the complete Wirecast Gear User’s Guide
supplied on the Wirecast Gear system hard drive. A
shortcut to documentation can be found on the
Windows desktop.
2. Turn on the Wirecast Gear unit by pushing the
power button on the front panel. The button will light
up, and the unit will begin to boot up.
3. Personalize Windows as explained in the First Time
Boot topic in the Wirecast User’s Guide.
4. Create individual Windows user accounts on the
Wirecast Gear machine, if desired.
5. Ensure the unit is registered and license keys
applied to Wirecast and Switch Player software by
obtaining them as outlined on the previous page.
Wirecast Gear should now be ready to stream live
presentations.
First Time Boot
Every Wirecast Gear unit includes a pre-activated copy of
Windows 10 Enterprise IoT LTSC 64-bit. There is no need
to enter a serial number or product key as Windows
automatically recognizes the unique Gear hardware.
When Gear is first powered up, a series of prompts will
be presented to configure Windows 10 for locale and
personal preferences. Details of this sequence are
available in the Wirecast Gear User’s Guide.
Having Troubles?
If your Wirecast Gear computer does not operate as
expected, the following tips may provide assistance:
• Close all applications other than Wirecast.
• Close and reopen Wirecast. Be sure to save all
• work first.
• Restart Windows. Be sure to save all work before
restart.
If issues persist, please refer to the detailed help
information in the Wirecast Gear User’s Guide under
the topic “Obtaining Support | Information | Assistance”.
Links to contacting support are also available in this
section.
Note: Please do not open the Gear unit while attempt-
ing to diagnose any issues or failures unless directed
specifically by Telestream, Inc. support staff. Any
damage caused by opening the chassis may void the
remaining Telestream warranty and may further result in
injury to individuals and/or property.
Refer to the user manual for compliance and regulatory
information, found here: https://www.telestream.net/
pdfs/user-guides/Wirecast-Gear-3-User-Guide.pdf
Wirecast Gear
Read this First Sheet
Other manuals for Wirecast Gear
2
Other Telestream TV Tuner manuals
