manuals.online logo
Brands
  1. Home
  2. •
  3. Brands
  4. •
  5. Telstra
  6. •
  7. Extender
  8. •
  9. Telstra Smart Wi-Fi Booster User manual

Telstra Smart Wi-Fi Booster User manual

Telstra
Smart Wi-Fi™
Booster
Follow this easy set-up guide
for improved Wi-Fi coverage in
and around your home.
Step 1: Connect your rst
Telstra Smart Wi-Fi™Booster
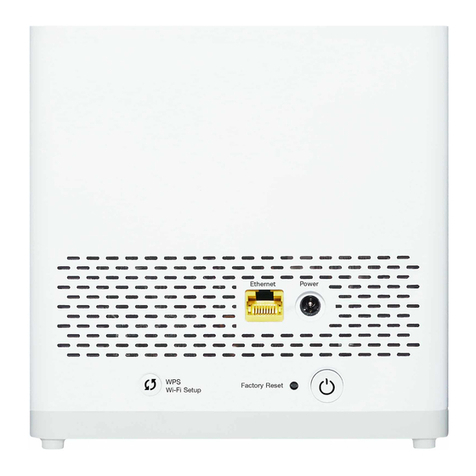
Connect any Wi-Fi Booster from its yellow Ethernet
port to any of your modem’s yellow LAN ports, using
the yellow-tipped Ethernet cable.
Insert the Power Adaptor into the Wi-Fi Booster, and
plug the adaptor into a power point. Turn the Wi-Fi
Booster on at the power button and wait for the
indicator light to turn solid blue. This could take up
to 90 seconds.
Step 2: Connect additional
Telstra Smart Wi-Fi Boosters
Place a second Wi-Fi Booster or additional Wi-Fi
Boosters where you’re having Wi-Fi issues, making
sure you have access to a free power point.
Insert the Power Adaptor into the Wi-Fi Booster,
and plug the adaptor into the power point. Turn
Booster on by pressing the power button, and wait
for the indicator light to turn solid blue.
Note: If the light is amber, keep moving closer to
the rst Booster to try and get a blue light.
Step 3: Reconnect your devices
You can now reconnect devices to this new Telstra
Smart Wi-Fi network. The network name and
password are on the back of each Wi-Fi Booster.
On your device, select the new Wi-Fi network name
and enter in the password.
Or to keep your current Wi-Fi network name:
You can also use the same Wi-Fi network name
you currently have paired on your devices:
1. On any device connected to your new Telstra
Smart Wi-Fi network, type telstra.wi in any
browser. Login using the admin password, Telstra.
2. In the top menu click ‘Settings’ and in the
‘Network Name/SSID’ eld, type in your current
Wi-Fi name. Enter your current password in
the‘Security Key’ eld, click ‘Save’.
3. Next, change your Gateway Wi-Fi network
name. Using the web address on the back of
your modem, login to your modem’s control
panel from any device connected to the modem.
Then change the Wi-Fi network name to
something different. You are now connected to
your Telstra Smart Wi-Fi network.
No App. No problem.
Follow these steps to complete set-up without the App.
Please ensure you already have a Wi-Fi network set up, with working Internet.
To connect to your
Wi-Fi Boosters scan
this unique QR code.
Get ready to Wi-Fly
With the Telstra Home Dashboard™App you can set up,
manage, and diagnose your network, even without a PC.
See next page for handy installation diagram.
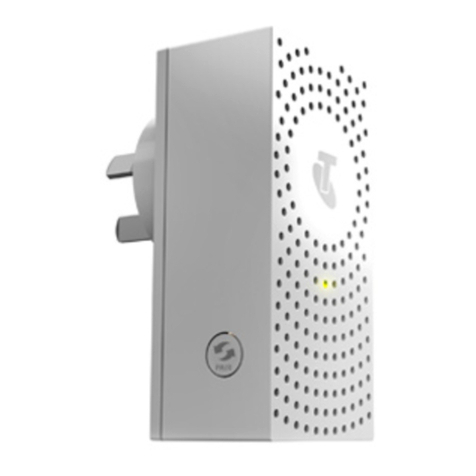
Indicator light colours
Blue:
Good signal.
Working ne.
Red:
No connection.
Check installation.
Amber:
Poor signal.
Try moving closer.
Purple:
Software updating, syncing
or starting up. Keep device on.
Step 1: Download the Telstra Home
Dashboard™App on a compatible
iPhone or Android smartphone. If you
already have this App installed, you can
access the set-up steps by
clicking on the Support tab and
selecting “Set up a device.”
Step 2: Scan the QR code below,
or on the back of the Wi-Fi
Booster.
Step 3: Follow the step-by-step
instructions on the App to get
online.
The spectrum device and ™ are trade marks and ® are registered trade marks
ofTelstra Corporation Limited, ABN 33 051 775 556.
Power PointModem
WPS Pairing On/Off Button
QR Code
If you require more assistance,
please call 13 22 00.
Need more help?
Troubleshooting tipsTroubleshooting tips
Use the Telstra Home Dashboard™
App to manage your network. The
App can diagnose issues and offers
troubleshooting solutions.
If you are having trouble, check the
colour of the light on the Telstra
Smart Wi-Fi™Booster. If it is red or
amber, try moving them closer to
your rst Wi-Fi Booster.
Try restarting your Wi-Fi Boosters
by turning them off. Wait at least
30 seconds before turning them
on again.

Other Telstra Extender manuals

Telstra Voice Extender Assembly instructions

Telstra

Telstra Voice Extender Assembly instructions

Telstra Smart Wi-Fi Booster Gen 2 User manual

Telstra

Telstra Smart Wi-Fi Booster Gen 2 User manual

Popular Extender manuals by other brands

ATEN VE803 user manual

ATEN

ATEN VE803 user manual

Vicon CE-4COAX Installation and operation manual

Vicon

Vicon CE-4COAX Installation and operation manual

weBoost SIGNAL 3G installation instructions

weBoost

weBoost SIGNAL 3G installation instructions

Patton electronics Industrial Ethernet Extender with LCD Interface... user manual

Patton electronics

Patton electronics Industrial Ethernet Extender with LCD Interface... user manual

EiRA ER2602EX manual

EiRA

EiRA ER2602EX manual

KanexPro EXT-HDBTKVM100 manual

KanexPro

KanexPro EXT-HDBTKVM100 manual

Monacor POWER concept HPB-670/GO Mounting instructions

Monacor

Monacor POWER concept HPB-670/GO Mounting instructions

ATEN VE814AR user manual

ATEN

ATEN VE814AR user manual

Extron electronics FOX3 SR 20 user guide

Extron electronics

Extron electronics FOX3 SR 20 user guide

SC&T HE05BT user manual

SC&T

SC&T HE05BT user manual

Ever Connect EC-HE3115-IP quick start guide

Ever Connect

Ever Connect EC-HE3115-IP quick start guide

SY SY-HDBT-70S installation guide

SY

SY SY-HDBT-70S installation guide

ANTAIRA DTD-360-0953-T Hardware manual

ANTAIRA

ANTAIRA DTD-360-0953-T Hardware manual

Vision TECHCONNECT HDBT owner's manual

Vision

Vision TECHCONNECT HDBT owner's manual

Metrodata WCM5100 user manual

Metrodata

Metrodata WCM5100 user manual

Key Digital KD-HDMIWPRX operating manual

Key Digital

Key Digital KD-HDMIWPRX operating manual

Element ELE8084 installation manual

Element

Element ELE8084 installation manual

TP-Link RE705X user guide

TP-Link

TP-Link RE705X user guide

manuals.online logo
manuals.online logoBrands
  • About & Mission
  • Contact us
  • Privacy Policy
  • Terms and Conditions

Copyright 2025 Manuals.Online. All Rights Reserved.