EN OPERATION
OS3 DM20036 (3−2018)
2
IMPORTANT SAFETY INSTRUCTIONS −SAVE THESE INSTRUCTIONS
The following precautions are used throughout
this manual as indicated in their description:
WARNING: To warn of hazards or
unsafe practices that could result in
severe personal injury or death.
FOR SAFETY: To identify actions that must be
followed for safe operation of equipment.
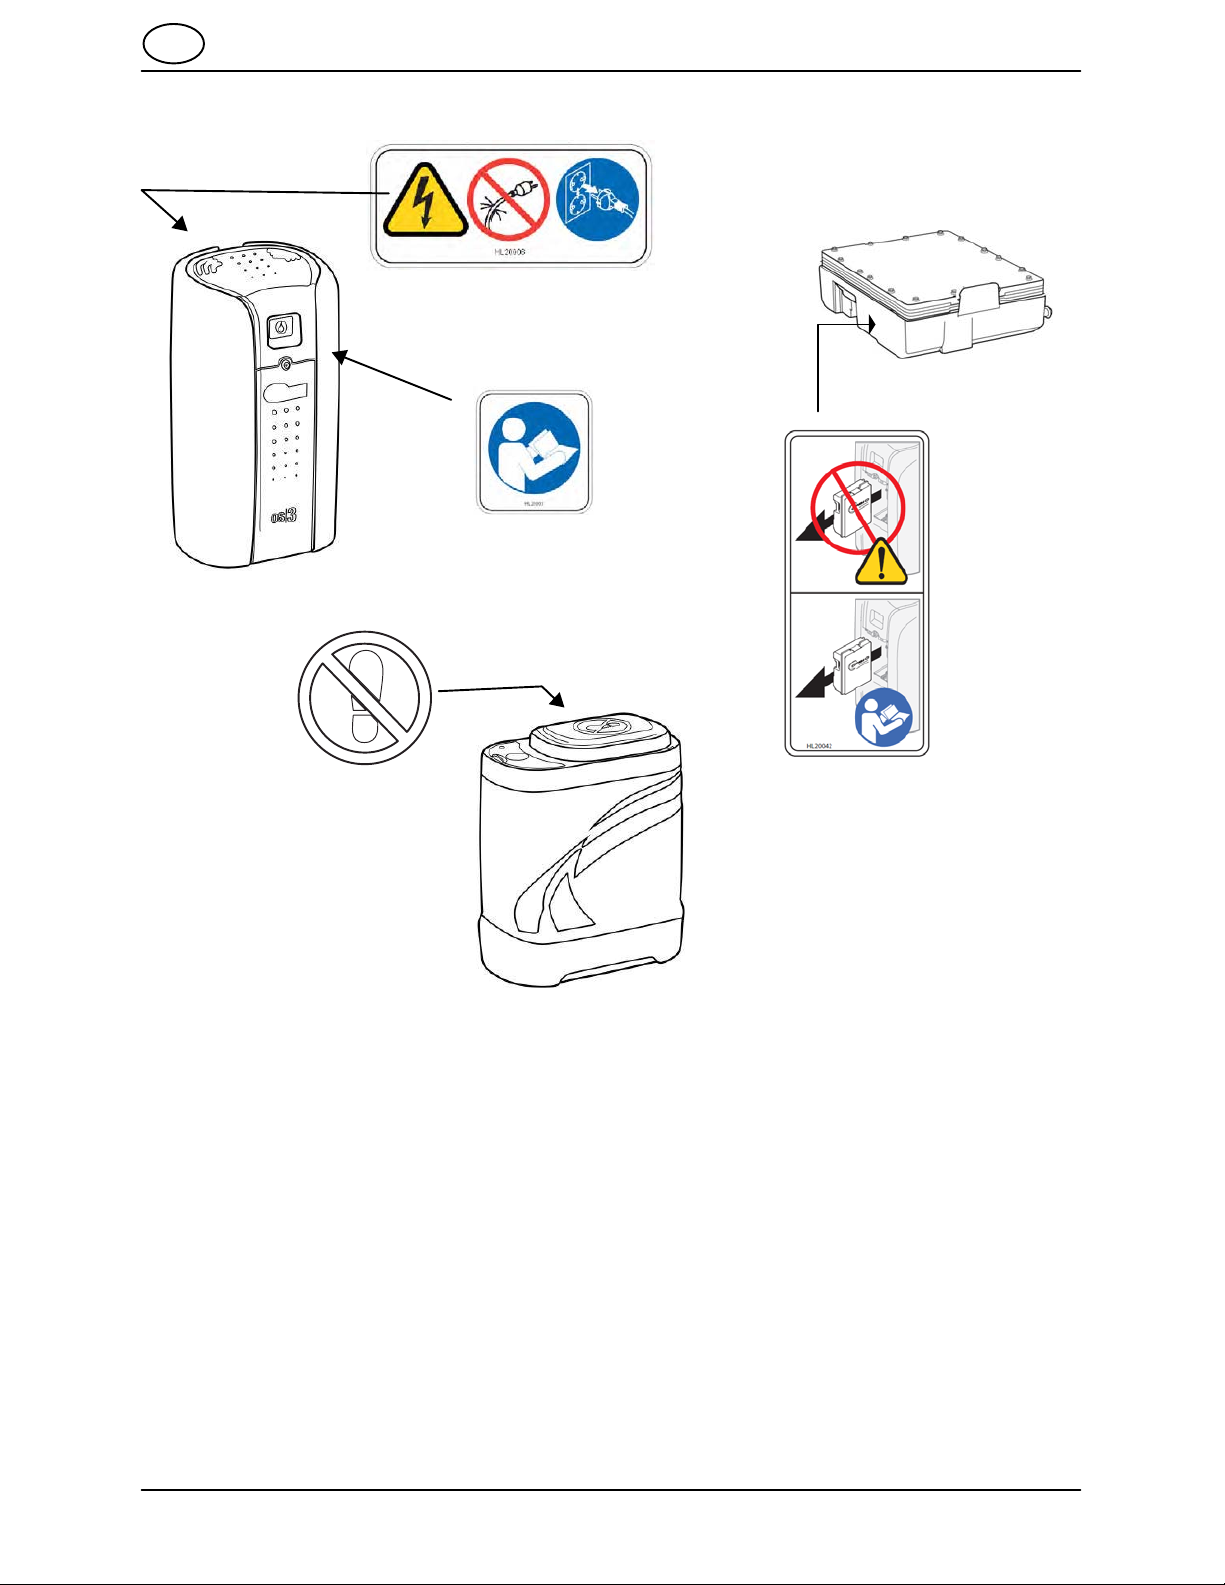
This machine is designed solely for creating,
storing, and dispensing Orbio MultiSurface
cleaner and MultiMicro 200 Solution.
The following information signals potentially
dangerous conditions to the operator or
equipment. Read this manual carefully. Know
when these conditions can exist. Locate all safety
devices on the machine. Then, take necessary
steps to train machine operators. Report machine
damage or faulty operation immediately. Do not
use the machine if it is not in proper operating
condition.
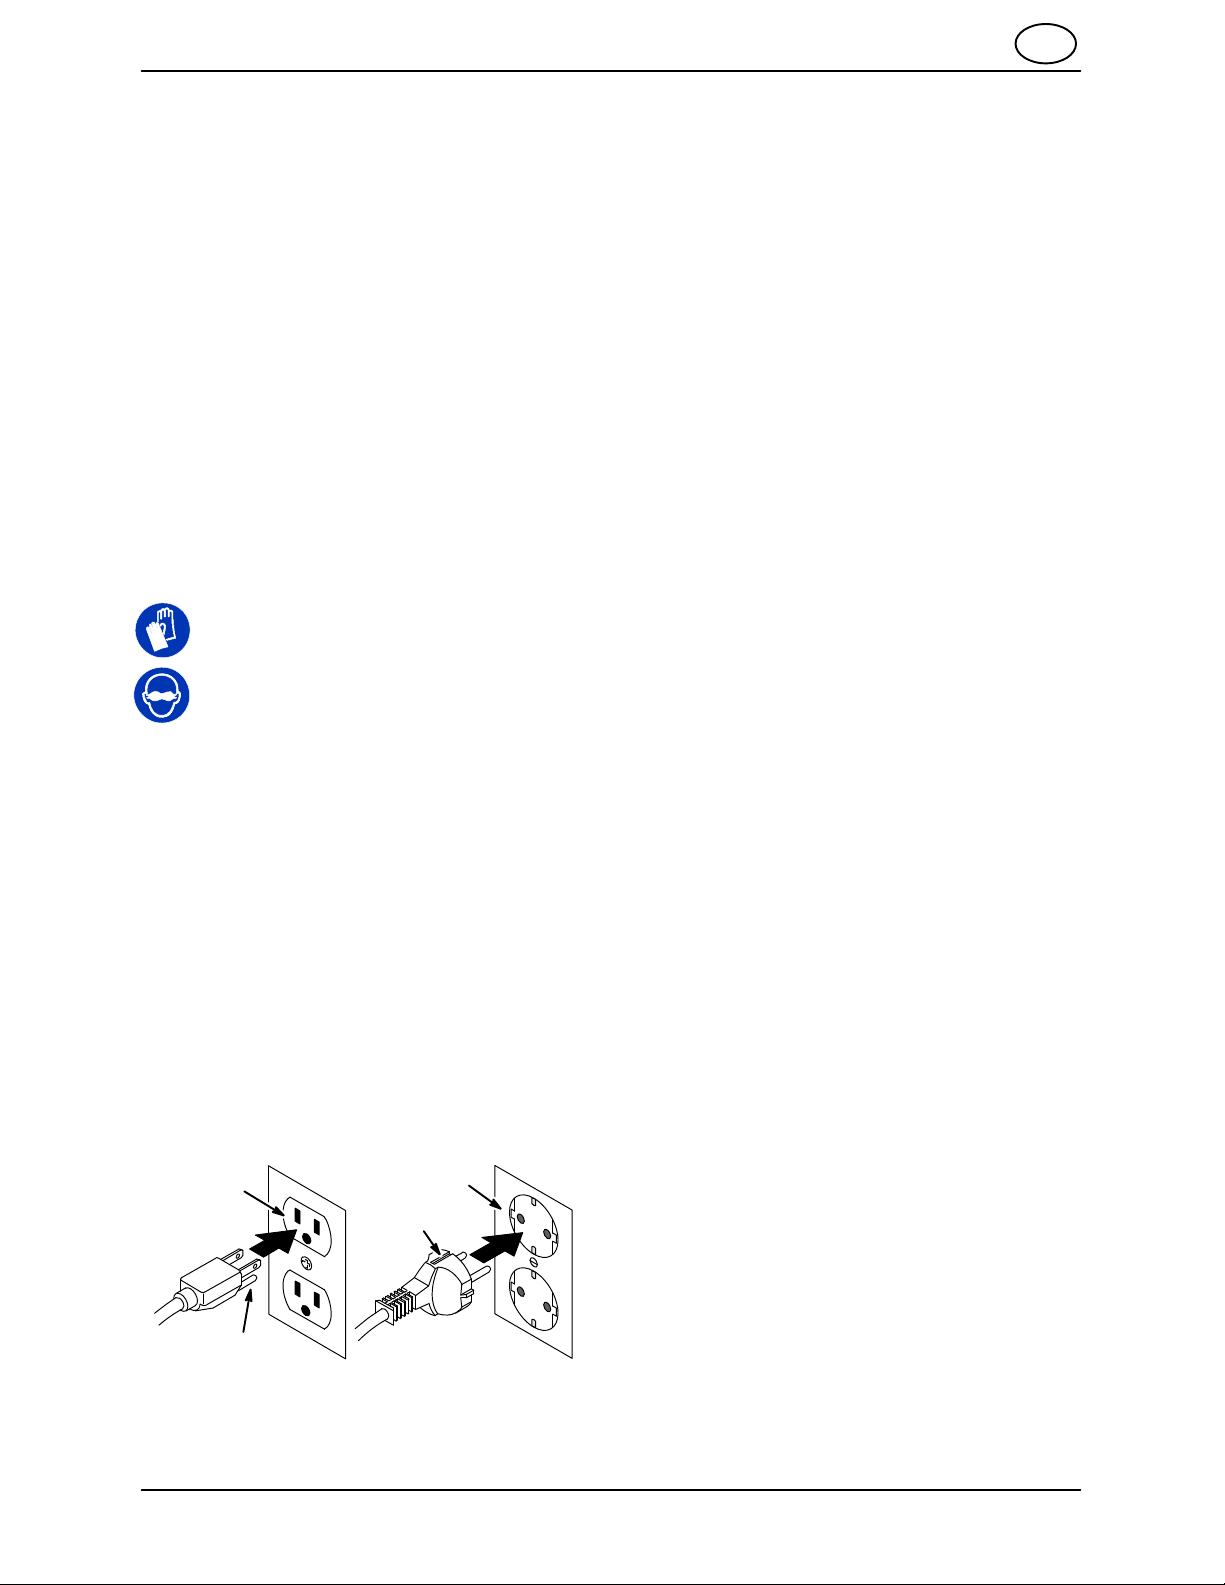
WARNING: Electrical Hazard
−Do not operate with damaged power
cord.
−Unplug power cord before servicing
machine.
−Do not modify plug. If the power cord
is damaged or broken, it must be
replaced by the manufacturer or its
service agent or a similarly qualified
person in order to avoid a hazard.
WARNING: Electrical Shock Hazard.
Do not use outdoors. Do not expose to
rain / moisture. Store indoors.
This machine may be equipped with
technology that automatically communicates
over the cellular network. If this machine will
be operated where cell phone use is restricted
because of concerns related to equipment
interference, please contact a Tennant
representative for information on how to
disable the cellular communication
functionality.
FOR SAFETY:
1. Do not operate machine:
−Unless trained and authorized.
−Unless operator manual is read and
understood.
−Under the influence of alcohol or
drugs
−Unless mentally and physically
capable of following machine
instructions.
−If it is not in proper operating
condition.
−In outdoor areas. This machine is for
indoor use only.
−If water supply is turned off, unplug
machine until water supply is restored,
then plug machine in.
2. When using machine:
−Use only as described in this manual.
−Do not use water softener as a step.
−Keep children and unauthorized
persons away from machine.
−Do not allow to be used as a toy.
−Follow site safety guidelines
concerning wet floors.
3. When servicing machine:
−Unplug cord from wall outlet.
−All work must be done with sufficient
lighting and visibility.
−All repairs must be done by trained
personnel.
−Do not modify the machine from its
original design.
−Use Tennant supplied parts or
approved replacement parts.
−Do not remove e−module unless
operator manual is read and
understood.