Tentipi IT Solo 12630 User manual

För att resa ett innertält
För att resa ett halvt innertält
For pitching an inner tent
For pitching a half inner tent
SE
EN
IT Solo resningssats
IT Solo pitching kit

IT Solo resningssats
För att resa endera ett helt eller ett halvt innertält. Den långa spännremmen behöver
bara användas vid resning av ett halvt innertält. IT Solo resningssats passar för att resa
alla våra modeller av innertält Base, Comfort och Pro i storlekarna 5, 7, 9 och 15.
IT Solo pitching kit
For pitching a whole or a half inner tent. The long fastening strap is only needed when
pitching a half inner tent. The IT Solo pitching kit can be used to pitch all models of Base,
Comfort and Pro inner tent, size 5, 7, 9 and 15.
A.
1. 2. 3. 4.
B. C.
Innehåll
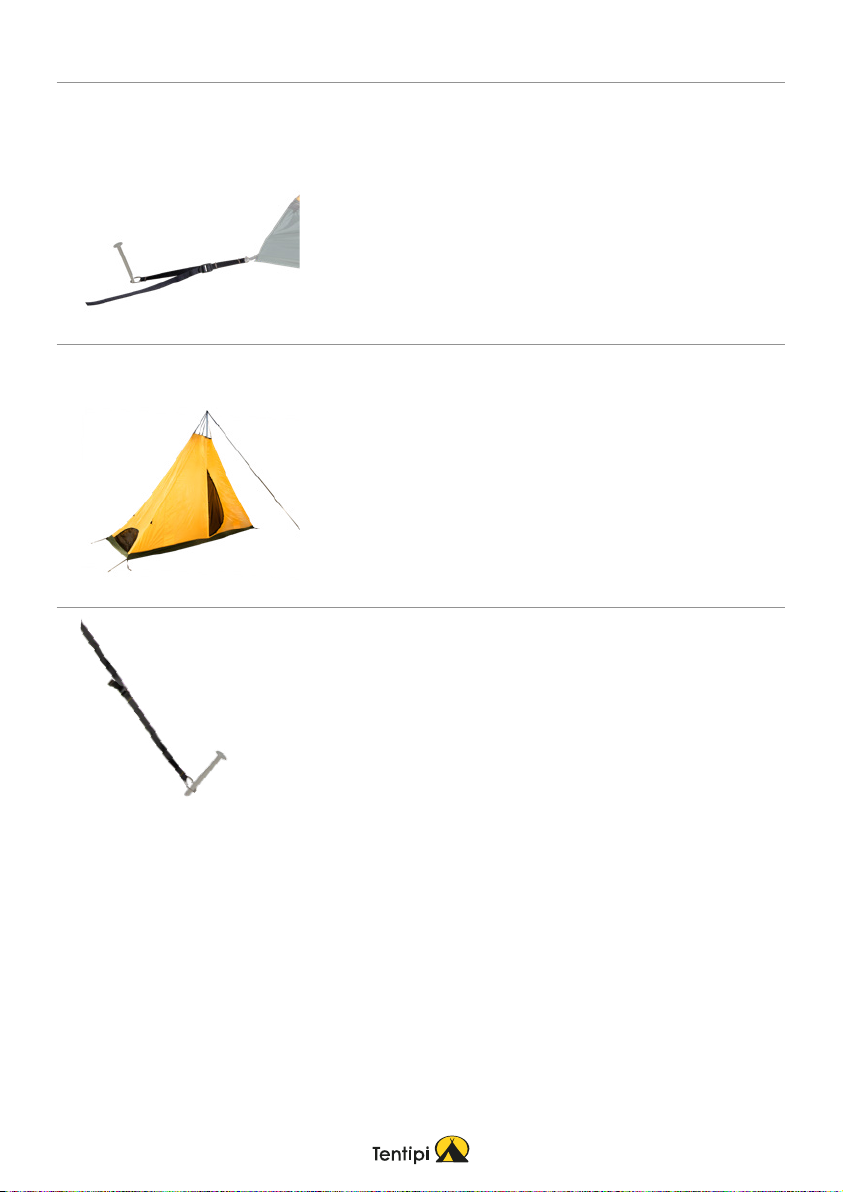
A. Lång spännrem
B. 8 x Marksträckare
C. Toppkoppling
Content
A. Long fastening strap
B. 8 x Ground tensioners
C. Top connector
Du behöver även
1. Mätband
2. Monteringskryss
3. Tältspikar
4. Mittstång
You also need
1. Measuring tape
2. Mounting cross
3. Tent pegs
4. Central pole

1.
2.
3.
4.
SE EN
Fäst de åtta marksträckarna
i innertältets nedre kant
med hjälp av ringarna och
spolknapparna (fem för
halvt innertält).
Attach the eight ground
tensioners to the lower
edge of the inner tent using
the O-rings and the toggles
(five for a half inner tent).
Attach the top connector
to the upper edge of the
inner tent using the O-rings
and the eight toggles (five
for a half inner tent, see the
next page).
Sätt mittstången i topp-
kopplingens mittstångs-
hylsa och res innertältet
genom att trycka stången
uppåt. Ställ ner den mitt i
innertältet. Stäng dörren
och spänn marksträckarna
runtom. Justera tills du är
nöjd.
Put the central pole inside
the sleeve of the top
connector and then pitch
the inner tent by pushing
the pole upwards. Put it
down in the centre of the
inner tent. Close the door
and tighten all the ground
tensioners. Adjust the straps
as required.
Placera ut spikarna med
hjälp av monteringskrysset.
Fäst sedan en marksträckare
i varje spik.
Use the mounting cross
to position the pegs. Then
attach a ground tensioner
to each peg.
Fäst toppkopplingen i
innertältets övre kant med
hjälp av ringarna och de
åtta spolknapparna (fem
för halvt innertält, se nästa
sida).

2.
3.
1.
SE EN
Fäst toppkopplingen i
innertältets övre kant med
hjälp av ringarna och de
fem spolknapparna.
Attach the top connector
to the upper edge of the
inner tent using the O-rings
and the five toggles.
Koppla samman ringarna i
toppkopplingens återstå-
ende tre (främre) remmar
med hjälp av karbinhaken i
den långa spännremmen.
Fasten the O-rings on the
three remaining top
connector straps (the ones
at the front) to the snap-
link on the long fastening
strap.
Innertältets långsida har
en golvsträckare i vardera
änden. Spolknappen här
träs genom den mindre
ringen i marksträckaren
och fästs sedan i ringen på
innertältet.
There is a floor tensioner at
each end of the long side
of the inner tent. Push the
toggle at each end through
the smaller ring on the
ground tensioner and then
attach to the ring on the
inner tent.
IT Solo resningssats, halvt innertält
IT Solo pitching kit, half inner tent
4.
5.
6.
SE EN
Fäst spännremmen i marken
med en spik centrerad en bit
framför det halva innertältet.
Sätt mittstången i topp-
kopplingens mittstångshylsa
och res innertältet genom
att trycka stången uppåt.
Ställ ner den i innertältet.
Stäng dörren och spänn
marksträckarna runtom.
Spänn också den långa
spännremmen så att det
halva innertältet står rakt.
Justera tills du är nöjd.
Attach the fastening strap
to the ground using a peg
in front of the half inner
tent. Put the central pole
inside the sleeve of the top
connector and then pitch
the inner tent by pushing the
pole upwards. Put it down in
the inner tent. Close the door
and tighten all the ground
tensioners.
Tighten the long fastening
strap as well so the half inner
tent stands straight. Adjust
the straps as required.
Attach the other three
ground tensioners to the
lower edge of the inner tent
using the rings and toggles.
Use the mounting cross to
position the five pegs in a
half-circle. Push the pegs
fully down and pull the five
ground tensioners over the
pegs.
Fäst de resterande tre mark-
sträckarna i innertältets
nedre kant med hjälp av
ringarna och spolknapparna.
Använd monteringskrysset
för att placera ut fem spikar
i en halvcirkel. Tryck ner
spikarna helt och trä de
fem marksträckarna över
spikarna.


Tentipi AB, Verkstadsgatan 15, SE-686 30 Sunne, Sweden
+46 (0)960 300 00 | www.tentipi.com | info@tentipi.com
Torkning och förvaring
Hela tältkåtan kan vid till exempel torkning eller förvaring hängas upp i öglan, som finns i
toppen av tältet.
Tältkåta, innertält och golv måste alltid få torka ordentligt innan de packas för längre tids
förvaring, annars kan fukten orsaka mögel och väven skadas.
Drying and storage
The whole Nordic tipi can be hung up by the loop at the top of the tent for drying or
storage, for example.
The Nordic tipi, inner tent and floor must always be allowed to dry properly before being
packed away for long-term storage. Otherwise moisture can cause mildew which will
damage the fabric.
Ventilera vid
eldning
Använd stormlinor i
hård vind
Ta bort snö från
tältduken
Läs säkerhetsföreskrifterna för eld, snö och vind på tentipi.com/support
Follow the safety instructions for fire, snow and wind at tentipi.com/support
Ventilate when
having a fire
Use storm cords in
hard wind
Remove snow from
the canvas
Table of contents


