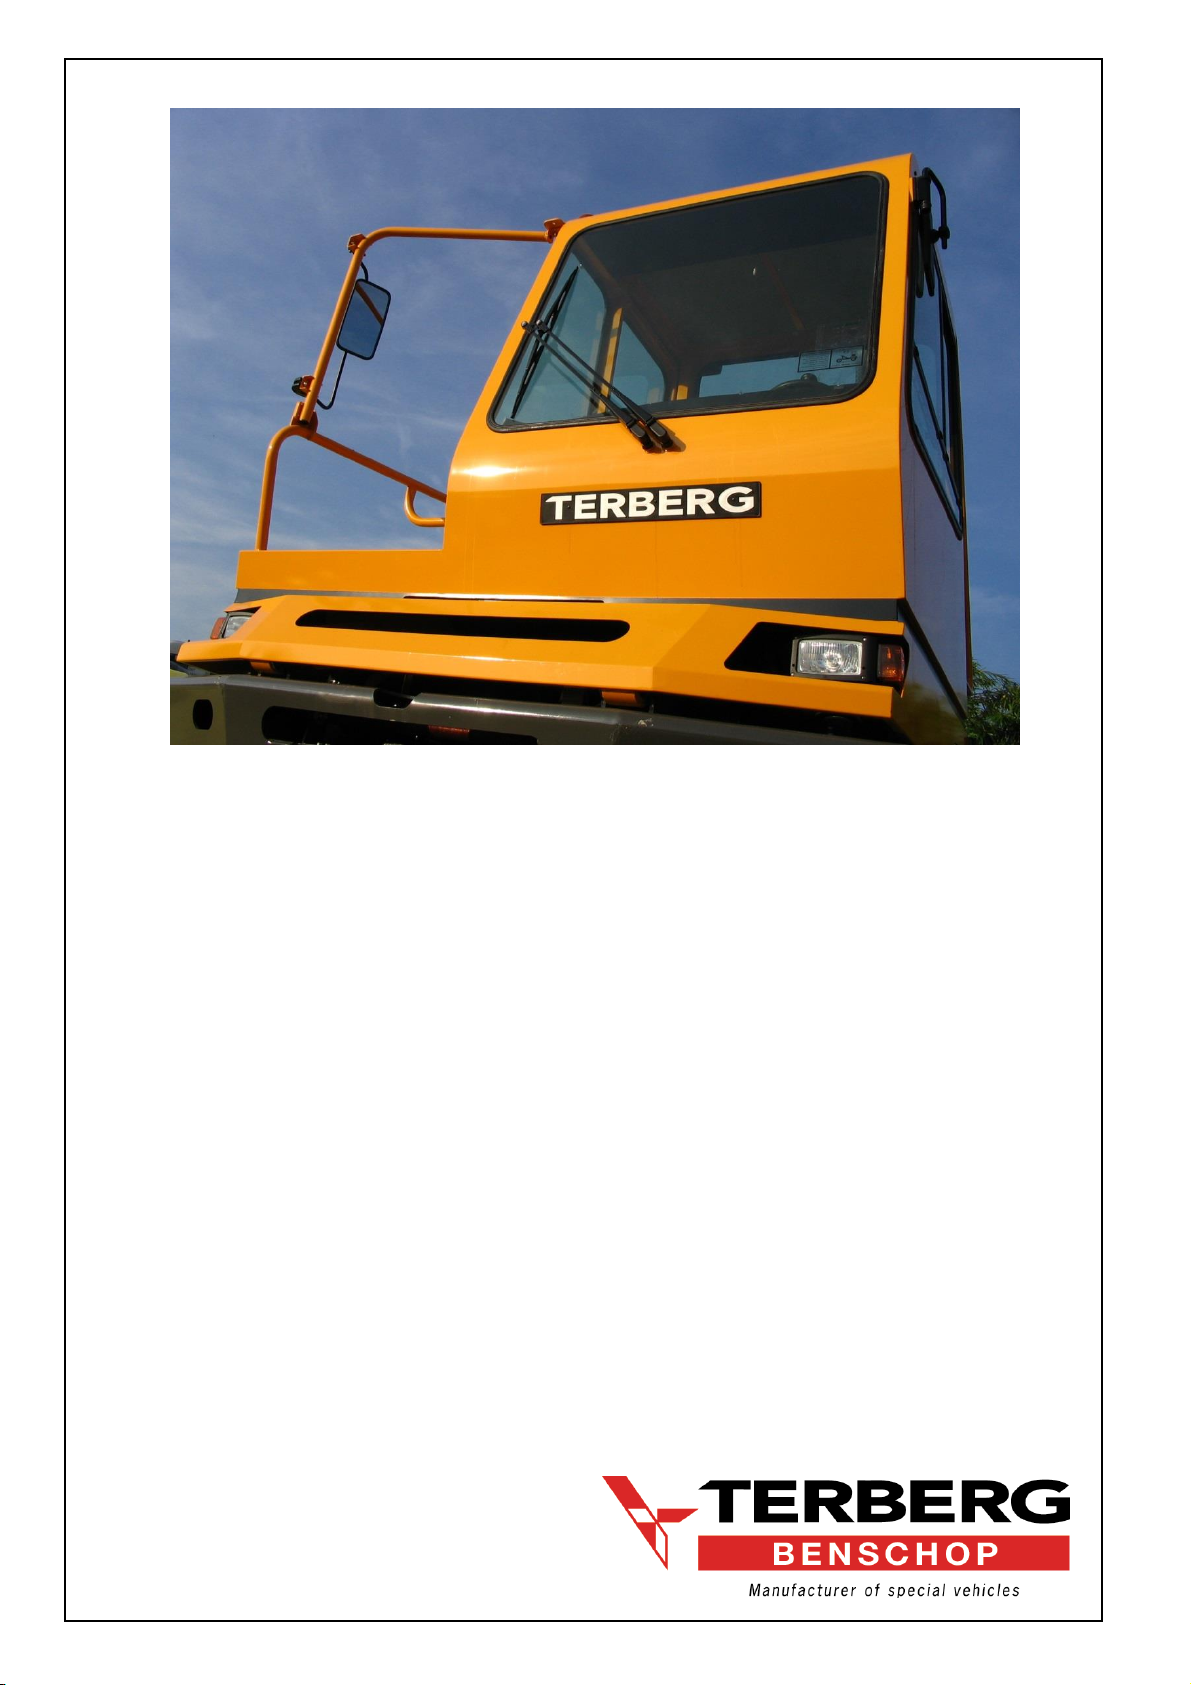
Terberg YT182 User manual

OPERATION MANUAL
YT182 –YT222
YARD TRACTOR
DOCUMENT >TD2303-08EN
EDITION >01-2019


TD2303-08EN YTxx2 2
Introduction
This manual contains important information about the correct and safe use and maintenance
of the Terberg Yard tractor. The manual MUST be read thoroughly before using the tractor.
The instructions, warnings and messages on the stickers, both on the tractor and in the
manual, must be observed at all times. The tractor will meet all your requirements if the
advice and instructions provided in this manual are observed.
This manual is not intended to be a comprehensive technical guide, nor is it intended to
make the reader an all-round motor mechanic. Its purpose is to inform you how to operate
and service your tractor so problems can be avoided.
The better you know your tractor, the better the service you can expect from it.
Because of the wide range of engines and transmissions available, a separate engine and
transmission booklet has been prepared, and has been provided at the back of the driver
instructions. Please read this carefully.
Terberg shall not be liable for any external equipment that does not form part of the supply
contract.
All information markings and symbols on the tractor conform to general operator standards to
the best of our knowledge. However, customers should review this document based on their
own working requirements and standards.
MANUFACTURER
Visitor address
Terberg Benschop B.V.
Oranje Nassaustraat 10
NL-3405XK BENSCHOP
The Netherlands
Phone +31(0) 348 459 211
Fax +31(0) 348 451 934
Postal address
P.O. Box 2
NL-3405ZG BENSCHOP
The Netherlands
Internet address
http://www.terbergbenschop.nl
Terberg Benschop B.V. reserves the right to make changes without prior notice.
This operation manual is originally written in English. This English version is therefore an
original manual.

TD2303-08EN YTxx2 3
Vehicle information
The following information can be found on the tractor. Fill in all data before using the tractor
for the first time.
First date of use:......................................................................................................................
Tractor model:..........................................................................................................................
Chassis number:......................................................................................................................
Year of manufacture: ...............................................................................................................
Engine: ....................................................................................................................................
Transmission: ..........................................................................................................................
Transfer case:..........................................................................................................................
Front axle:................................................................................................................................
Rear axle: ................................................................................................................................
Fifth wheel type:.......................................................................................................................
Tyres:.......................................................................................................................................
Abbreviations and phrases
AdBlue Diesel exhaust fluid. Also known as DEF or Urea.
DIM Driver information Module
ETRTO European Tyre and Rim Trading Organisation.
Regeneration Exhaust cleaning process to burn exhaust particulates using a high
temperature. This process can start automatically or manually.
SCR Selective Catalytic Reduction

TD2303-08EN YTxx2 4
Contents
Introduction..................................................................................................................2
Vehicle information......................................................................................................3
Abbreviations and phrases..........................................................................................3
1Safety...................................................................................................................6
1.1 General.....................................................................................................................................6
1.2 Instructions for safe use ...........................................................................................................7
1.2.1 Permissible loads .............................................................................................................7
1.3 Safety regulations & Warnings.................................................................................................8
1.3.1 Emergency procedures ....................................................................................................9
1.4 Operation of a Terberg tractor–trailer combination ................................................................10
2General lay-out of the tractor..............................................................................11
3Cabin..................................................................................................................12
3.1 Entering and leaving the tractor .............................................................................................12
3.1.1 Opening and closing the door ........................................................................................12
3.2 Driver's seat............................................................................................................................13
3.2.1 ISRI Seat 6000/6500......................................................................................................13
3.2.2 ISRI SEAT 6860.............................................................................................................14
3.2.3 Seat adjustment..............................................................................................................15
3.3 Passenger seat (optional) ......................................................................................................16
3.4 Seat belt .................................................................................................................................17
3.5 Cab heater –Standard...........................................................................................................18
3.5.1 Heater blower control .....................................................................................................18
3.5.2 Circulation control...........................................................................................................18
3.5.3 Heating control ...............................................................................................................18
3.5.4 Cab heater vents............................................................................................................18
3.5.5 Air conditioning (optional)...............................................................................................19
3.6 Cab heater –Electronic Climate Control (optional)................................................................20
3.7 Air blower (optional)................................................................................................................22
3.8 Radio (optional)......................................................................................................................22
4Dashboard instruments......................................................................................23
4.1 Main instruments....................................................................................................................25
4.1.1 Ignition key (1)................................................................................................................25
4.1.2 Parking brake (2)............................................................................................................25
4.1.3 Trailer brake valve (optional)(2A)...................................................................................27
4.1.4 Gear lever (3) .................................................................................................................27
4.1.5 Combined direction indicator, main/dipped beam, horn, wipers (4).............................28
4.1.6 Fifth wheel levelling control (5).......................................................................................28
4.1.7 Additional hydraulic system option (6)............................................................................28
4.2 Driver information module (7).................................................................................................29
4.2.1 Information on the Instrument Panel ..............................................................................30
4.2.2 Additional information.....................................................................................................31
4.2.3 Warning lights.................................................................................................................33
4.2.4 Other pages....................................................................................................................37
4.3 General switches / indicators .................................................................................................38
4.3.1 Light switch (8) ...............................................................................................................38
4.3.2 Hazard warning lights switch (9) ....................................................................................38
4.3.3 Work light switch (10).....................................................................................................38
4.3.4 Rotating beacon switch (11)...........................................................................................38
4.3.5 Rear wiper interval switch (12).......................................................................................38
4.3.6 Rear Wiper switch (13)...................................................................................................38
4.3.7 Differential lock switch (14) ............................................................................................39
4.3.8 Air filter indicator light (15)..............................................................................................39
4.3.9 Fifth wheel indicator light (16) ........................................................................................40
4.3.10 Fifth wheel unlock buttons (17) ......................................................................................40
4.3.11 Air suspension pressure release switch (18) .................................................................41
4.3.12 Regeneration start switch (19) .......................................................................................41
4.3.13 Regeneration stop switch (20)........................................................................................41
4.4 Optional switches / indicators.................................................................................................42

TD2303-08EN YTxx2 5
4.4.1 Rear fog lamp switch (optional) (21)..............................................................................42
4.4.2 Electric outside mirrors (optional) (22)........................................................................... 42
4.4.3 Electric window (23).......................................................................................................42
4.4.4 Heated outside mirror switch (optional) (24)..................................................................42
4.4.5 Rear window heating (optional) (25).............................................................................. 42
4.4.6 Heated seat switch (optional) (26).................................................................................42
4.4.7 Reversing warning buzzer switch (optional) (27)...........................................................43
4.4.8 Single fifth wheel unlock button (optional) (28)..............................................................43
4.4.9 Central greasing system lamp (optional) (29)................................................................ 43
4.4.10 Fifth wheel height override (general purpose) switch (30) ............................................ 43
4.4.11 Water in fuel warning light (optional) (31)......................................................................44
4.4.12 Hydraulic system warning light (optional) (32)...............................................................44
4.4.13 Lock/unlock switch (optional) (33) ................................................................................. 44
4.4.14 Switch/warning light (optional) (34)................................................................................ 44
4.4.15 Cab lock open warning light (optional) (35)................................................................... 45
5Operating the Tractor......................................................................................... 46
5.1 Before driving......................................................................................................................... 46
5.2 Driving....................................................................................................................................46
5.2.1 Starting the engine......................................................................................................... 46
5.2.2 Stopping the engine....................................................................................................... 46
5.2.3 Shifting/changing gears .................................................................................................47
5.2.4 Driving instructions ........................................................................................................ 47
5.3Tractor-trailer (un)coupling .................................................................................................... 48
5.3.1 Using the lifting system of the 5th wheel ........................................................................ 48
5.3.2 Coupling a trailer............................................................................................................49
5.3.3Uncoupling a trailer........................................................................................................49
6Daily maintenance............................................................................................. 50
6.1 Fuel........................................................................................................................................ 50
6.1.1 Diesel.............................................................................................................................50
6.1.2 Natural gas..................................................................................................................... 50
6.2 Engine / Transmission oil level.............................................................................................. 50
6.3 Coolant level.......................................................................................................................... 51
6.3.1 Coolant........................................................................................................................... 51
6.4 Hydraulic level ....................................................................................................................... 52
6.5 Fifth wheel..............................................................................................................................52
6.6 Air tanks and air dryer............................................................................................................ 53
6.7 Instruments and lighting......................................................................................................... 53
6.8 Driver's seat and mirrors........................................................................................................ 53
6.9 Windscreen washers ............................................................................................................. 53
6.10 Wheels and tyres...................................................................................................................53
6.10.1 Tyre pressure and wheel load ....................................................................................... 54
7Repair and maintenance.................................................................................... 56
7.1 Towing or pushing ................................................................................................................. 56
7.2 Cab tilting............................................................................................................................... 56
7.2.1 Cab tilting with hydraulic pump...................................................................................... 57
7.2.2 Electric cab tilting (optional)........................................................................................... 57
7.2.3 Electric/hydraulic cab tilting (optional) ...........................................................................58
7.2.4 Maintenance of cab tilting system.................................................................................. 59
7.3 Starting and stopping the engine from under the cab (optional) ........................................... 59
7.4 Electrical equipment .............................................................................................................. 59
7.4.1 Main switch.................................................................................................................... 59
7.4.2 Emergency stop (optional)............................................................................................. 60
7.4.3 Batteries.........................................................................................................................61
7.4.4 Fuses............................................................................................................................. 62
7.5 Headlamp...............................................................................................................................63
7.5.1 Lamp changing ..............................................................................................................63
7.5.2 Head lamp alignment..................................................................................................... 63
8Warning stickers................................................................................................ 64

TD2303-08EN YTxx2 6
1 Safety
1.1 General
Throughout this manual you will find warnings and cautions such as pictured below.
DANGER
Indicates a potentially imminently hazardous situation which, if not avoided, will result in
death or serious injury.
WARNING
Indicates a potentially hazardous situation which, if not avoided, could result in death or
serious injury.
CAUTION
Indicates a potentially hazardous situation which, if not avoided, may result in minor or
moderate injury.
NOTICE
Throughout this manual you will see notes. Notes will be used to show special procedures
or point out important facts. Notes will also designate important information regarding this
manual and its use.

TD2303-08EN YTxx2 7
1.2 Instructions for safe use
To ensure safe operation of the tractor, read this manual carefully before driving the
machine. The tractors carry a number of stickers warning users of possible hazards.
The instructions, warnings and messages on the stickers and in the manual must be
observed at all times.
Drivers must inspect the tractor visually before commencing work, and check the instrument
panel immediately after starting and regularly while driving. Instruments must display their
normal values. A number of plates showing information about maximum permissible axle and
trailer loads are located inside the cab.
Every driver using this tractor must be suitably trained and qualified in the use of the
equipment and must be fully acquainted with local site regulations and procedures.
Depending on the equipment of the vehicle and the nature of the work, the training should
cover all equipment and all tasks that have to be carried out by the driver.
All drivers must be suitably equipped with full safety clothing and footwear.
The minimum clothing requirements depend on local site regulations.
Terberg Benschop recommends wearing at least safety clothing that enhances driver
visibility and safety shoes with steel toe caps and soles.
1.2.1 Permissible loads
Recommendations for maximum permissible axle and trailer loads are located inside the cab.
The maximum permissible axle loads on level
ground are displayed on the data plate shown.
AXLE LOAD: Maximum permissible axle load.
TURNTABLE LOAD: Maximum permissible
load on the fifth wheel.
Some models are also approved for use on
public roads. In that case the maximum legal
axle loads are also shown in the first column
next to G.V.W., G.C.W. etc.
G.V.W.: (Gross Vehicle Weight)
Total weight of the tractor.
G.C.W.: (Gross Combination Weight)
Total weight of tractor and trailer.

TD2303-08EN YTxx2 8
1.3 Safety regulations & Warnings
(See also the "WARNING STICKERS" section)
NOTICE
Read this manual carefully before using the tractor and always follow the safety and
maintenance instructions in it.
Before driving off:
Never use a faulty tractor.
Always apply the parking brake before leaving the cab.
Keep doors and windows closed during use to minimise the noise level inside the cab.
The air conditioning will only operate properly if all cab windows and doors are closed.
Keep the cab floor clean to prevent slipping, tripping and falling.
Use the sun visor to prevent blinding by sunlight.
Ensure that a clear field of vision is maintained at all times.
Wear the seat belt provided at all times during operation.
Always connect the trailer's brake hoses and lighting cables before driving off. This also
includes connections to a gooseneck if applicable.
Check visually that the tyres on the tractor and trailer are inflated correctly.
Check that the safety bolt in the rear cab support is tight before using the tractor.
While driving:
Ensure that maximum permissible loads are not exceeded.
Keep trailer height to a minimum, but high enough to provide sufficient clearance under
the trailer and the load.
Ensure there is adequate ventilation, especially while working in enclosed spaces.
While driving on ramps:
Ensure that ramps offer sufficient traction before driving onto them.
While driving on ramps, always keep the fifth wheel as low as feasible, select the correct
gear, and be aware of restrictions imposed by the maximum permissible loads. Ramp
speed should never exceed a fast walking pace. Drive steadily on ramps. Do not stop on
ramps. If you have to stop, move off again slowly and steadily.
Parking the tractor with a loaded trailer is prohibited on ramps.
Other warnings:
The tractor must not be used for carrying passengers, either in the cab or on the trailer,
other than on the passenger seat (optional).
Always use two points of contact when walking/working on the tractor to eliminate the risk
of slipping or falling.
In the event of steering pump failure, the tractor will remain steerable but the steering will
be noticeably heavier.
If the engine has to be kept running during maintenance, keep clear of all rotating parts.
Keep clear of the fifth wheel lifting system at all times.
Always close and secure the protection plates and (lift-) covers before driving.
Lift covers should remain easily accessible.
Do not place flammable materials near the exhaust system.

TD2303-08EN YTxx2 9
Keep away from any hot components (e.g. the exhaust system).
Do not lean out of the windows unless it is essential. If you have to, do so with great care
because of passing vehicles and other moving or stationary objects.
All leaks must be reported and fluids be disposed of in accordance with local
environmental requirements.
All oil-related products are flammable and must be kept away from hot components.
Keep body parts and loose articles away from operating controls.
Be aware that a high-pressure water jet can pass through rubber seals. Do not aim the
high-pressure water jet at the cover sealing the electronics.
The parking brake must not be applied while the tractor is moving. However, the parking
brake may be used as an emergency brake if the vehicle's service brakes fail.
The terminal tractor must maintained by trained personnel in accordance with the
manufacturer’s instructions
1.3.1 Emergency procedures
Emergency exit from the cab:
In case of emergency you must be prepared to exit the tractor in the safest possible manner.
Drivers must be familiar with the methods of exiting their particular cab.
Doors must never be locked during operation. It must be possible to enter or exit the cab
quickly in case of emergency.
The possible exit points are:
1. Via the side door.
2. Via the side window.
3. Via the roof hatch (optional).
Emergency steering
In the event of a loss of engine power, stop the tractor unit as soon as is safely practical.
Loss of power will result in the steering becoming heavier, but the steering function will
remain unaffected, however.
Tyre failure
In the event of tyre failure, the driver should brace himself with both hands on the steering
wheel and bring the tractor to a rapid halt.
Fire
In the event of smoke or fire the tractor must be brought to an immediate halt and the engine
and ignition turned off.
Exit the tractor as quickly as possible.
If safe to do so, isolate the main switch.
All drivers must be familiar with procedures in the event of fire, in accordance with site
requirements.

TD2303-08EN YTxx2 10
1.4 Operation of a Terberg tractor–trailer combination
CAUTION
It’s very important that the king pin is firmly in place in the fifth wheel lock. This needs to be
checked with a primary pull and push test (drive up and brake), to physically ensure the
trailer is correctly coupled to the tractor!
When a trailer is coupled to a Terberg tractor ensure that the king pin is
firmly in place in the fifth wheel lock.
It’s very important that a primary pull and push test
(drive up and brake) is done, to physically ensure the
trailer is correctly coupled to the tractor.
If fitted, the green fifth wheel indicator light in the
cabin, can be used as a secondary indicator that a
coupling was successful.
However, the light should never be used as a single
indicator only, but is complementary to the pull and push test.
During operation of the Terberg tractor-trailer combination on a flat, horizontal surface, the
trailer should be kept in a horizontal position.
This to ensure that load distribution is optimal, and stresses in the combination are kept to a
minimum.
If the tractor is equipped with a hydraulic elevating fifth wheel, the lifting frame must be raised
sufficiently to ensure the trailer is at least parallel (as shown in picture).
When driving on uneven ground, obstacles, ramps etc. the trailer can be raised to keep it
sufficiently clear from the ground. Always keep it lowest possible (parallel to the surface it
drives on), which ensures best stability.
A horizontal trailer makes loading/unloading also easier. During loading/unloading of the
trailer, it is for the Terberg tractor not necessary to lower the trailer legs to the ground. It is a
local operational decision wherever this is required or not.
If trailer brakes are available, they MUST be connected. This ensures an optimum braking
with shortest brake distances and avoids possible jack-knifing.

TD2303-08EN YTxx2 11
2 General lay-out of the tractor
Engine oil
5th Wheel
Main switch
Batteries
Trailer
connections
Lifting frame
AdBlue tank
(SCR/DEF fluid)
Fuel tank
(Diesel)

TD2303-08EN YTxx2 12
3 Cabin
3.1 Entering and leaving the tractor
To ensure maximum safety, always take extra care
when entering the tractor. Use the handrails provided
and always ensure that at least two points of contact
are maintained. Only the steps and handrails provided
should be used for access.
WARNING
Take extra care when entering the tractor to avoid personal injury.
Be careful at all times as the steps and decking might be slippery.
3.1.1 Opening and closing the door
Terberg recommends that the door be closed at all times to
ensure safe operation.
To open:
Push in the door handle and open the door using the door
handle and handrails provided until it locks in place.
To close:
Push in the door safety lock and close the door using the
handrails provided until it locks in place.
WARNING
Keep all body parts clear of the door.
9 8 7 6
9 8 7 5

TD2303-08EN YTxx2 13
3.2 Driver's seat
Correct adjustment of the seat is important for operation, safety and comfort. The seat should
always be adjusted to suit the driver's personal requirements and the seat belt should always
be used. Adjust the seat to the correct position before driving.
3.2.1 ISRI Seat 6000/6500
Seat controls:
1 - Height adjustment
Pull the lever: the seat rises.
Push the lever: the seat lowers.
Release the lever when the desired height has
been achieved.
2 - Horizontal adjustment
Pull the lever and move the seat forwards/back.
Release the lever to lock the seat.
3 - Horizontal suspension
Push the lever to the right to release the horizontal
suspension, and to the left to lock it.
4 - Seat cushion front angle adjustment
Pull the lever and adjust the angle by
loading/unloading the front and rear seat cushion
area.
5 - Seat cushion rear angle adjustment
Pull the lever and adjust the angle by
loading/unloading the rear and front seat cushion
area.
6 - Backrest adjustment
Pull the lever and adjust the backrest position while a load is applied to the backrest.
7 - Lumbar adjustment
Air adjustment:
Press the button to vent and bleed the
corresponding air chamber to
give the optimum backrest contour.
8 - Seat cushion adjustment
Pull the lever and move the seat cushion
forwards/back.
9 - Damper adjustment
The damper can be adjusted to change the seat's
suspension characteristics to suit the road surface
and the driver.
Lever up: maximum damping.
Lever down: minimum damping.
10 - Lowering
Pull the lever: the seat lowers and stays down.
Push the lever: the seat rises to its previous
position.
6 7 8 954
3
2
1
STOP
10
1234 5
6
7
1
2348 6
7
9
10

TD2303-08EN YTxx2 14
3.2.2 ISRI SEAT 6860
Seat controls:
1 - Height adjustment
Pull the lever to raise the seat.
Push the lever to lower the seat.
2 - Horizontal adjustment
Pull the lever and move the seat backwards or
forwards.
Release the lever to lock the horizontal position.
3 - Seat tilt adjustment
Pull the lever and tilt the seat by putting pressure on
the cushion or the backrest
Release the lever to lock the tilt angle.
4 - Backrest adjustment
Pull the lever and adjust the angle of the backrest.
Maintain pressure on the backrest to prevent sudden
movement.
Release the lever to lock the angle of the backrest.
5 - Lumbar adjustment (upper/lower)
Use the buttons to pressurise or bleed the air
chambers to provide optimal back comfort.
6 - Seat cushion adjustment
Pull the lever and move the seat cushion backwards or forwards.
Release the lever to lock the horizontal position.
7 - Damper adjustment
The seat damping force can be adjusted to provide appropriate comfort for different
road conditions.
Pull the lever to increase the damping force.
Push the lever to decrease the damping.
8 - Activate suspension
It can be useful to depressurise the seat suspension without losing the preferred
height setting.
Push the lever to lower the seat permanently
Pull the lever to pressurise/re-pressurise the seat suspension
X - Seat heating (optional)
When installed, this switch can be used to activate/deactivate the seat heating.
0 = seat heating deactivated
1 = seat heating activated
WARNING
Do not adjust the seat while the vehicle is moving, only when the tractor is stationary and the parking
brake has been applied. Always wear the seat belt provided.
254
1
7
8
6
3

TD2303-08EN YTxx2 15
3.2.3 Seat adjustment
(1) Seat height adjustment: The upper legs must be almost horizontal with the feet flat on
the floor (the knees a little higher than the hips). Your upper legs must be completely
supported by the seat. The distance between the floor and the lower part of the upper legs
for a person of an average height of 1.78 m should be about 44 cm.
(2) Seat length adjustment: The seat length should be adjusted
in such way that there is a gap of 10 cm (about the thickness of a
fist) between the seat and the back of the knees.
(3) Seat distance adjustment: Press the throttle pedal gently
and then adjust the seat distance to a preferred/desired position.
Note: The legs must not be fully stretched when the accelerator
or brake pedals are fully depressed.
(4) Adjusting the backrest/steering wheel: Press your
shoulder against the backrest and hold your arm fully
stretched on the steering wheel at 12 o’clock’. Adjust the
backrest to the preferred positions and maintain good
visibility. When this adjustment is finished your shoulder
must still be against the backrest and your arm must be
fully stretched at 12 o’clock’ on the steering wheel. The
backrest angle must be between 95 and 115 degrees. If
this is not the case, repeat step 3 so that you get an angle
of between 95 and 115 degrees.
Steering wheel adjustment (optional)
Adjusting the steering wheel is done with the lever on the
left side of the steering column.
Pull the lever up to adjust the height of the steering wheel.
Push the lever down to adjust the angle of the steering
wheel.

TD2303-08EN YTxx2 16
(5) Adjusting the lumbar cushions (ISRI): Use the 2 buttons
highlighted here to pump the 2 lumbar support cushions until your
lower back is gently supported.
(6) Adjusting the shock absorber (ISRI): Use the button
highlighted here to adjust the seat damping force to provide
appropriate comfort for different road conditions. Pull the lever to
increase the damping force and push it to decrease the damping.
3.3 Passenger seat (optional)
A passenger seat can be installed in the cab.
Before using the passenger seat:
Make sure the vehicle is at a complete standstill and apply the parking brake.
WARNING
Always wear the seat belt provided.

TD2303-08EN YTxx2 17
3.4 Seat belt
The driver's seat can be equipped with a two-point or a three-point
seat belt (optional). The passenger seat (optional) is equipped with a
two-point seat belt. The seat belt is a component which, together
with the seat and cab structure, forms a safety system that has been
developed to provide the best protection. Always wear the seat belt
while driving.
Fit the seat belt as follows:
Pull the belt carefully over the shoulder and/or hips. Check that it is
not tangled or twisted. Secure it by sliding the tongue into the
buckle. A click indicates that the belt is locked. Check the lock by
giving it a short tug. Tighten the belt somewhat by allowing it to
retract until the belt is aligned along the drivers’ body.
For maximum protection, avoid wearing the seat belt over
voluminous clothing.
To release the seat belt, grasp the belt and press the red button on
the buckle. Guide the belt with your hand and allow it to retract fully.
The belt will lock when:
it is pulled out quickly
the vehicle is decelerating
the vehicle is cornering
The belt is intended for one person. It must not be drawn over any sharp edges.
Occasionally check the attachments and fittings as well as the condition of the belt itself.
Clean the belt with water. If detergent is absolutely necessary, use only a detergent that will
not affect the belt material.
WARNING
Always wear the seat belt while driving to ensure maximum protection. The seat belt should be
replaced after a collision or an accident, even if it has no visible damage or noticeable defects. Do
not modify, repair or dismantle the seat belt, the seat or the attachments.

TD2303-08EN YTxx2 18
3.5 Cab heater –Standard
3.5.1 Heater blower control
Air flow is adjusted by turning the blower switch, which is infinitely
variable. Turning it clockwise will increase the blower speed, and
turning it anti-clockwise reduces the blower speed.
With the switch in the maximum anti-clockwise position
(noticeable click) the blower is switched off.
3.5.2 Circulation control
This knop controls the source of the air flow, and has two positions:
= Fresh air. Air is taken from outside the cab. This is the
most common position and should be used in humid and
rainy weather.
= Recycled air. Air is taken from inside the cab and is
recirculated. This position should be used to provide rapid
heating or cooling of the cab and to prevent unwanted dust
entering the cab. Using this position for longer periods of
time, is not recommended.
3.5.3 Heating control
This knob is the temperature control. Turning it anti-clockwise
(towards blue) reduces the temperature, and turning it clockwise
(towards red) increases the temperature.
Avoid high temperatures in the cab as this can lead to loss of
concentration.
3.5.4 Cab heater vents
The direction of the air flow can be controlled by the air outlets to the left and
right of the heater controls. The air outlets can be turned and the flaps can be
adjusted to different angles.
By closing the outlets more air flow is directed to the defroster outlets, which
are directed at the windows. This can be used to increase demisting or to get
an indirect air flow.

TD2303-08EN YTxx2 19
3.5.5 Air conditioning (optional)
Press the switch located on the heater panel to turn the air conditioning
on. The air conditioning operates only when the engine is running and
the blower is switched on.
The air conditioning will switch off automatically in the event of a system
failure. If the air conditioning does not operate correctly (low cooling
capacity), this could be the result of a fault in the system.
For optimum use of the air conditioning:
Keep doors and windows closed at all times.
NOTICE
Make sure that staff is properly trained to do maintenance on the air conditioning system.
Hot climate
1. Turn on the air conditioning.
2. Turn the heating control to blue.
3. Turn the circulation control to the recycle position for the first 5
- 10 minutes to assure rapid cooling.
4. Turn the blower control to maximum speed.
When the desired cab temperature has been reached, increase
the fresh air content by turning the air circulation control towards
the fresh position. Adjust the heating control and the blower speed
as required.
Moderate climate
1. Turn the air conditioning off and turn the heating control to blue.
2. Turn the circulation control to the fresh position.
3. Adjust the blower as required.
High humidity and demisting
Although the ambient temperature could be in the comfort zone, air
humidity might reach unacceptable levels. The air conditioning
system can also be used as a dehumidifier.
1. Turn the air conditioning on.
2. Turn the circulation control to the fresh position.
3. Turn the blower control to medium speed.
4. Adjust the heating control as required.
Cold climate
1. Turn the air conditioning off.
2. Turn the heating control to red.
3. Turn the circulation control to the recycle position for 5 - 10
minutes to ensure rapid heating.
4. Turn the blower control to maximum speed.
When the desired cab temperature has been reached, increase
the fresh air content by turning the air circulation control towards
the fresh position. Adjust the heating control and the blower speed
as required.
This manual suits for next models
1
Table of contents