manuals.online logo
Brands
  1. Home
  2. •
  3. Brands
  4. •
  5. Texsport
  6. •
  7. Grill
  8. •
  9. Texsport 15100 User manual

Texsport 15100 User manual

INSTRUCCIONES
#15100 - Mini Charcoal BBQ Grill
Thank you for purchasing this Texsport BBQ grill. Please read and understand each step of the set-up instructions. We encourage you to
set-up this swivel grill at least once prior to your outdoor trip, ensuring that you have a satisfactory understanding of the set-up process.
We hope you enjoy your new BBQ grill and that it will give you many years of outdoor pleasure.
Do not apply excessive force to this product.
STEP 1 - Attach locking clips (F)
to pit (C) using 2 locking clip
screws and nuts (J) as illustrat-
ed. Repeat for the other 2 lock-
ing clips.
Parts List:
A.... Grill
B..... Charcoal grate
C..... Pit
D.... 3 Legs with screws and washers
E..... Lid handle
F..... Locking clips
G.... 2 Lid handle washers
H.... 2 Lid handle screws and nuts
I...... 2 Vent screws and nuts
J..... 6 Locking clip screws and nuts
K.... Ash vent
L..... Lid vent
M.... Ash Tray
N.... Dome lid
STEP 2 - Screw ash vent (K) to
pit (C) using 1 vent screw and
nut (I).
STEP 3 - Remove screws to at-
tach ash tray (M) and legs (D).
ABC
DE
F
G
H
I
J
K
L
M
N
PASO 4 – Deslizar las 3 patas
(D) a través de los orificios del
cenicero (M) como se ilustra.
PASO 7 – Así se debe ver la fosa
(C) de la parrilla para asar en
este punto.
PASO 10 – Poner la rejilla más
chica para carbón (B) en la fosa.
PASO 5 – Poner los tornillos y
las arandelas de las patas (D)
DENTRO de la fosa (C) como se
ilustra.
PASO 8 – Sujetar la rejilla de
ventilación de la tapa (L) a la
tapa tipo domo (N) usando 1
tornillo y tuerca para la rejilla
de ventilación (L).
PASO 11 – Colocar la parrilla
(A). Poner en la fosa (C).
PASO 6 – Apretar los tornillos
para sujetar las patas (D) y el
cenicero (M).
PASO 9 – Sujetar el asa de la
tapa (E) a la tapa tipo domo
(N) usando la arandela del asa
(G) y los tornillos y tuercas de
la misma (H). NOTA: Poner las
arandelas del asa de la tapa (G)
entre el asa (E) y la tapa tipo
domo (N).
PASO 12 - ¡Disfrútela!
Usar los clips de cerrado para
transportar fácilmente la par-
rilla para asar una vez que se
haya enfriado.
Preguntas:
Si tiene preguntas, problemas o
comentarios, por favor comuníquese
con nuestro Departamento de Servi-
cio al Cliente al 1-800-231-1402 o
envíe un correo electrónico a info@
texsport.com. Este departamento
está abierto de lunes a viernes de 8
a.m.–5 p.m. CST.
15100 Instructions 12-14.indd 1 12/9/14 2:09 PM
STEP 4 - Slide 3 legs (D) through
ask tray (M) holes as illustrated.
STEP 7 - This is how the pit (C)
of your BBQ grill should look at
this point.
STEP 10 - Place smaller charcoal
grate (B) in pit.
STEP 5 - Place leg screws and
washers (D) INSIDE pit (C) as
illustrated.
STEP 8 - Attach lid vent (L) to
dome lid (N) using 1 vent screw
and nut (L).
STEP 11 - Place grill (A). Place on
pit (C).
STEP 6 - Tighten screws to attach
legs (D) and ash tray (M).
STEP 9 - Attacj ;od jamd;e (E)
to dome lid (N) using lid han-
dle washer (G) and lid handle
screws and nuts (H). NOTE:
Place lid handle washers (G) be-
tween lid handle (E) and dome
lid (N).
STEP 12 - Enjoy!
NOTE: Use locking clips to easily
transport BBQ grill once cooled. Questions:
If you should have any questions,
problems or comments, please call
our Customer Service Department at
1-800-231-1402 or e-mail
[email protected]. This Department
is open M–F from 8 a.m.–5 p.m. CST.
INSTRUCCIONES
#15100 - Mini parrilla de carbón para asar
Gracias por comprar esta parrilla y asador Texsport. Por favor lea y comprenda cada paso de las instrucciones de montaje. Lo invita-
mos a realizar el montaje por lo menos una vez antes de su viaje al aire libre, asegurándose de que ha entendido satisfactoriamente el
proceso. Esperamos que disfrute su nueva parrilla y asador y que le proporcione muchos años de diversión al aire libre.
Do not apply excessive force to this product.
PASO 1 – Sujetar los clips de
cerrado (F) a la fosa (C) usando
2 tornillos y tuercas para clip (J)
como se ilustra. Repetir para los
otros 2 clips de cerrado.
Lista de partes:
A....... Parrilla
B........ Rejilla para carbón
C........ Fosa
D....... 3 Patas con tornillos y arandelas
E........ Asa de la tapa
F........ Clips de cerrado
G....... 2 arandelas del asa de la tapa
H....... 2 tornillos y tuercas del asa de la tapa
I......... 2 tornillos y tuercas de la rejilla ventilación
J........ 6 tornillos y tuercas del clip de cerrado
K....... Rejilla de ventilación de ceniza
L........ Tapa de la ventilación
M....... Cenicero
N....... Tapa estilo domo
PASO 2 – Atornillar la rejilla de
ventilación de ceniza (K) a la
fosa (C) usando 1 tornillo y tuer-
ca para la rejilla de ventilación
(I).
PASO 3 – Remover los tornillos
para sujetar el cenicero (M) y las
patas (D).
BC
E
F
G
H
I
J
K
L
M
N
15100 Instructions 12-14.indd 2 12/9/14 2:09 PM

Other Texsport Grill manuals

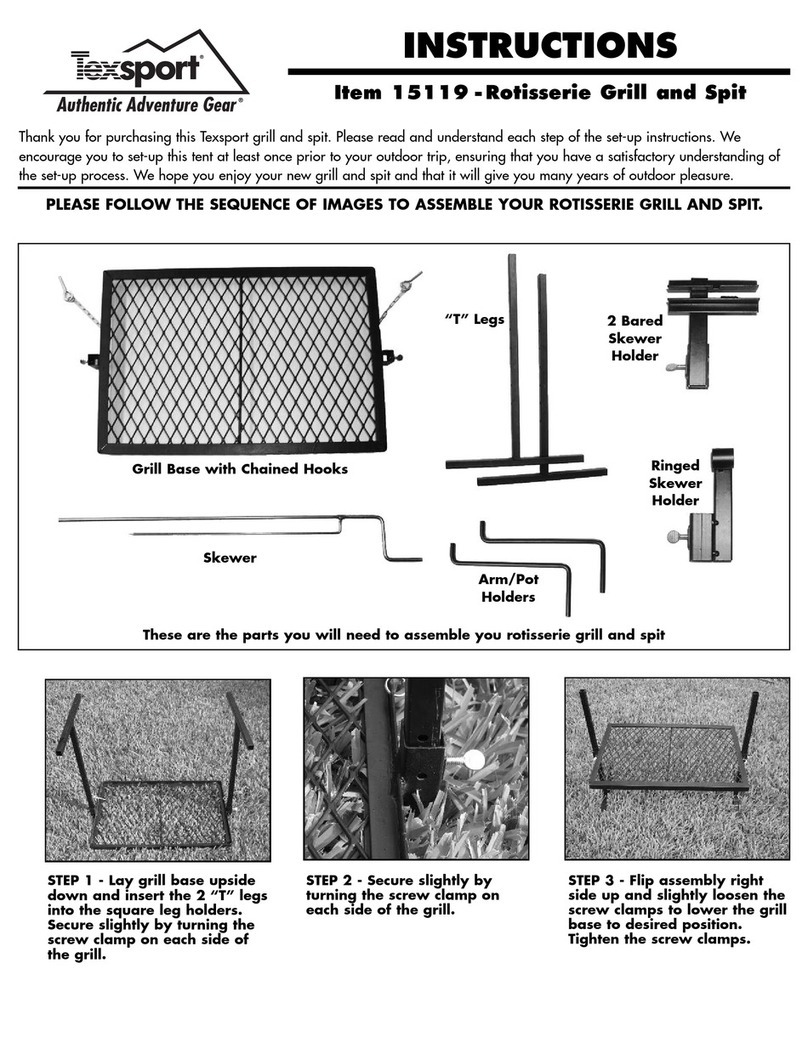
Texsport 15119 User manual

Texsport

Texsport 15119 User manual

Texsport 14444 User manual

Texsport

Texsport 14444 User manual

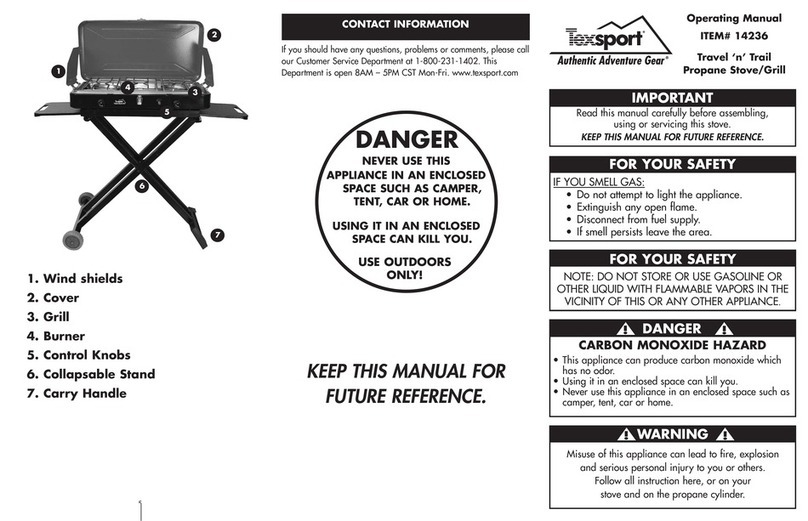
Texsport 14236 User manual

Texsport

Texsport 14236 User manual

Texsport 14228 User manual

Texsport

Texsport 14228 User manual

Popular Grill manuals by other brands

höfats CUBE F quick start guide

höfats

höfats CUBE F quick start guide

Bull Outdoor 54658 Assembly & operating instructions

Bull Outdoor

Bull Outdoor 54658 Assembly & operating instructions

Weber Platinum I 3400 LP operating guide

Weber

Weber Platinum I 3400 LP operating guide

SEVERIN BARBECUE-GRILL PG 8525 Dimensions

SEVERIN

SEVERIN BARBECUE-GRILL PG 8525 Dimensions

Rankam GR2264401-GS-00 Assembly & operating instructions

Rankam

Rankam GR2264401-GS-00 Assembly & operating instructions

Kasanova AIK000007 instruction manual

Kasanova

Kasanova AIK000007 instruction manual

Kenmore 146.56927810 Use & care guide

Kenmore

Kenmore 146.56927810 Use & care guide

Ziegler & Brown ZG3GC operating instructions

Ziegler & Brown

Ziegler & Brown ZG3GC operating instructions

George Foreman Big George GGR50 owner's manual

George Foreman

George Foreman Big George GGR50 owner's manual

Buffalo GF453 instruction manual

Buffalo

Buffalo GF453 instruction manual

BIG JOHN A4P Series owner's manual

BIG JOHN

BIG JOHN A4P Series owner's manual

Bestron AGL11 instruction manual

Bestron

Bestron AGL11 instruction manual

Char-Broil 12301782 Product guide

Char-Broil

Char-Broil 12301782 Product guide

Prince Castle McDonald's 247 Series Operation manual

Prince Castle

Prince Castle McDonald's 247 Series Operation manual

George Foreman GGR200BN owner's manual

George Foreman

George Foreman GGR200BN owner's manual

Kasanova KBO000011NOC instruction manual

Kasanova

Kasanova KBO000011NOC instruction manual

Char-Broil Thermos C45G 461442114 Product guide

Char-Broil

Char-Broil Thermos C45G 461442114 Product guide

Starcraft GR-2314 manual

Starcraft

Starcraft GR-2314 manual

manuals.online logo
manuals.online logoBrands
  • About & Mission
  • Contact us
  • Privacy Policy
  • Terms and Conditions

Copyright 2025 Manuals.Online. All Rights Reserved.