manuals.online logo
Brands
  1. Home
  2. •
  3. Brands
  4. •
  5. The Mandir Store
  6. •
  7. Indoor Furnishing
  8. •
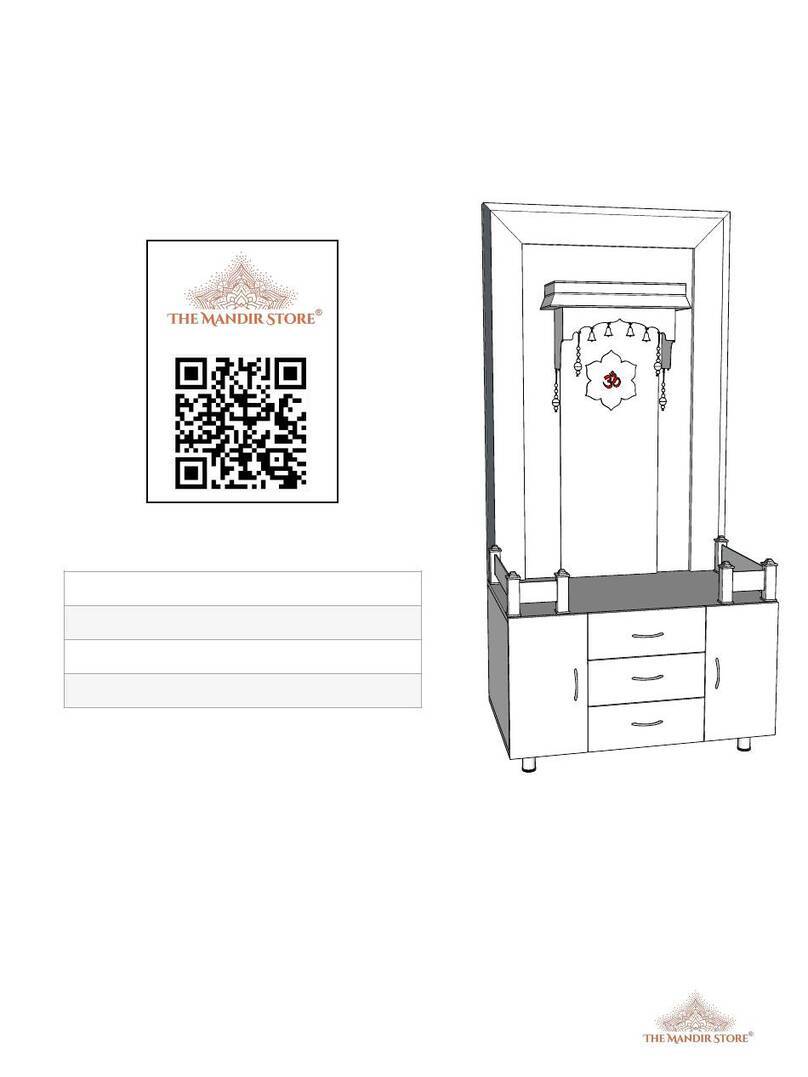
  9. The Mandir Store MWC-08-108-301-603622 User manual

The Mandir Store MWC-08-108-301-603622 User manual

Not to scale
Assembly Guide #04
Page of1 20
Not to scale
v2.0
!
© 2023. The Mandir Store®. All Rights Reserved.
Scan the QR for the digital
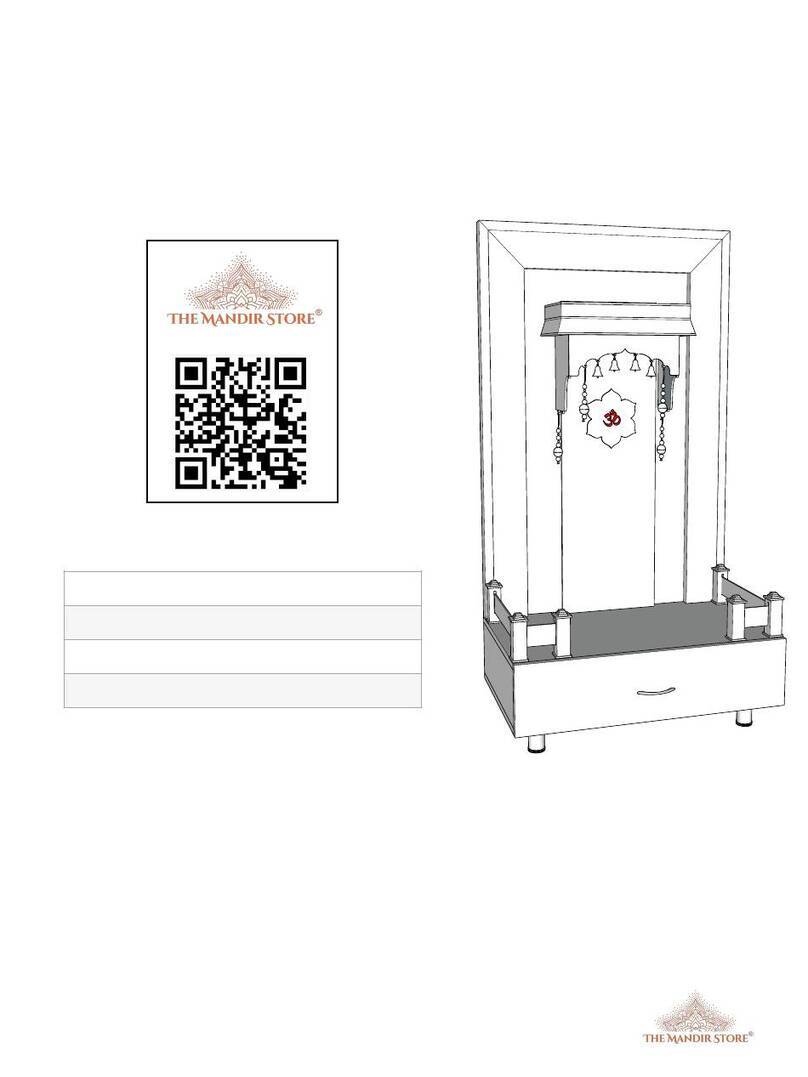
This guide works for the following SKUs
MWC-08-108-301-603622
MWC-08-108-301-634822
Not to scale
Assembly Guide #04
Page of2 20
Not to scale
v2.0
!
© 2023. The Mandir Store®. All Rights Reserved.
Step 1: Assemble the inner drawer(s)!
!
!
handle screw
minifix
pull handle
philips screw driver
x2
x8
x1
x1 | not included
Gather the required planks K, L, M, N, O and P to assemble the inner drawer => Drawer Left.
Required hardware is shown below!
Not to scale
Assembly Guide #04
Page of3 20
Not to scale
v2.0
!
© 2023. The Mandir Store®. All Rights Reserved.
1.a. screw 8 mini fixes into the pre-drilled holes on planks K, Mand O↓
1.b. attach side panels Kand Magainst rear panel Land tighten CAM(s) to secure ↓
Not to scale
Assembly Guide #04
Page of4 20
Not to scale
v2.0
!
© 2023. The Mandir Store®. All Rights Reserved.
1.c. slide the drawer base panel Nalong the routed lines ↓
1.d. secure one handle Son the drawer plank Ousing the provided screws ↓
Not to scale
Assembly Guide #04
Page of5 20
Not to scale
v2.0
!
© 2023. The Mandir Store®. All Rights Reserved.
1.e. attach the drawer front Oon the drawer structure and tighten the CAMs to secure ↓
1.f. simply rest platform extension plank Pon the drawer box ↓
Not to scale
Assembly Guide #04
Page of6 20
Not to scale
v2.0
!
© 2023. The Mandir Store®. All Rights Reserved.
1.g. repeat steps 1.a through 1.f to assemble one more drawer ↓!
Parts for drawer 2 = K1, L1, M1, N1, O1, P1 = Drawer Right
Not to scale
Assembly Guide #04
Page of7 20
Not to scale
v2.0
!
© 2023. The Mandir Store®. All Rights Reserved.
Step 3: Assemble the base structure
Required hardware is shown below!
leg screw
minifix
philips screw driver
x16 | optional
x22
x1 | not included
Not to scale
Assembly Guide #04
Page of8 20
Not to scale
v2.0
!
© 2023. The Mandir Store®. All Rights Reserved.
2.a. (optional) you may choose to replace the rubber legs with SS legs on base plank F↓
2.b. screw 4 mini fixes into the pre-drilled holes on parts G and I↓
Not to scale
Assembly Guide #04
Page of9 20
Not to scale
v2.0
!
© 2023. The Mandir Store®. All Rights Reserved.
2.c. screw 4 mini fixes into the pre-drilled holes on part H↓
2.d. screw 16 mini fixes into the pre-drilled holes on parts Jand F↓
Not to scale
Assembly Guide #04
Page of10 20
Not to scale
v2.0
!
© 2023. The Mandir Store®. All Rights Reserved.
2.e. attach middle plank H1 to rear plank H, tighten CAM(s) to secure in place ↓
2.f. attach side plank Ito the above assembled structure, tighten CAM(s) to secure it ↓
Not to scale
Assembly Guide #04
Page of11 20
Not to scale
v2.0
!
© 2023. The Mandir Store®. All Rights Reserved.
2.g. attach side plank Gto the above assembled structure, tighten CAM(s) to secure it ↓
2.h. attach side plank H2 to the above assembled structure, tighten CAM(s) to secure it ↓
Not to scale
Assembly Guide #04
Page of12 20
Not to scale
v2.0
!
© 2023. The Mandir Store®. All Rights Reserved.
2.i. flip the assembled structure and place plank Jon it, tighten CAM(s), x8 total, to secure it
↓
2.j. extend the drawer slides out and slides the two drawers in place. Drawer with front O
goes on the left and drawer with front O1 goes on the right ↓
Not to scale
Assembly Guide #04
Page of13 20
Not to scale
v2.0
!
© 2023. The Mandir Store®. All Rights Reserved.
Step 3: Affix the back panel to the base structure
Gather the required hardware, back panel Aand the fully assembled base structure
Required hardware is shown below
hex bolt
hex key / allen key
x5 or 6
x1
Not to scale
Assembly Guide #04
Page of14 20
Not to scale
v2.0
!
© 2023. The Mandir Store®. All Rights Reserved.
3.a. align the holes at the back of the panel Awith the holes at the back of the base structure,
then secure the panel in place using the hex bolts provided using the hex key provided along
with the mandir. !
Not to scale
Assembly Guide #04
Page of15 20
Not to scale
v2.0
!
© 2023. The Mandir Store®. All Rights Reserved.
Step 4: Affix the hood and decorate the mandir!
Gather the below shown parts to finish decorating your mandir. The Jharoka hanger design (part C)
may vary based on your mandir design but the same assembly instructions apply"
"
Required hardware is shown below
hex bolt
hex key / allen key
hanger screw
philips screw
driver
S hook
x2
x1
x6+
x1 | not included
x4+
Not to scale
Assembly Guide #04
Page of16 20
Not to scale
v2.0
!
© 2023. The Mandir Store®. All Rights Reserved.
4.a. slide the jharoka hanger onto the placeholder tiles and fasten the screws to secure ↓
4.b. repeat the same for the other jharoka hanger side pieces ↓
Not to scale
Assembly Guide #04
Page of17 20
Not to scale
v2.0
!
© 2023. The Mandir Store®. All Rights Reserved.
4.c. using the hex bolts and hex key secure the hood onto the back panel."
Note: Make sure the hood is completely flush against the back panel and there are no visible
gaps where the hood and the panel meet.
Not to scale
Assembly Guide #04
Page of18 20
Not to scale
v2.0
!
© 2023. The Mandir Store®. All Rights Reserved.
4.d. simply push the center element against the placeholder bullets on the back panel ↓
4.e. identify the single slot and double slot pillars and place them against the edges of the
base. Once the pillars are laid out, peel the double sided tape on the bottom of the pillar to
stick the pillar onto the mandir base. Then slide the longer fences into the provided slots ↓
Not to scale
Assembly Guide #04
Page of19 20
Not to scale
v2.0
!
© 2023. The Mandir Store®. All Rights Reserved.
4.f. slide the smaller fences perpendicular to the longer fence into the other end of the front
pillars. Then slide the remaining 2 pillars in place and before sticking them to the base,
ensure that they are equidistant from both ends of the base. ↓
4.g. use the ’S’ hooks to hang the latkans and brass bells onto the jharoka hanger ↓
Not to scale
Assembly Guide #04
Page of20 20
Not to scale
v2.0
!
© 2023. The Mandir Store®. All Rights Reserved.
4.h. grab the led pin on the power adapter and plug it into the pin receiver on the side of the
back panel. Plug the other end of the power adapter into any socket within the range of "
110V - 230V. !
Note: A socket pin converter may be included in your package based on your delivery location
Congratulations! You have now completed the mandir assembly."
For any questions, comments or suggestions, email us at [email protected]!

This manual suits for next models

1

Other The Mandir Store Indoor Furnishing manuals

The Mandir Store MWC-08-108-301-753622 User manual

The Mandir Store

The Mandir Store MWC-08-108-301-753622 User manual

The Mandir Store MWD-08-117-301-442416 User manual

The Mandir Store

The Mandir Store MWD-08-117-301-442416 User manual

Popular Indoor Furnishing manuals by other brands

ellos 1597644-01 Assembly instructions
ellos

ellos 1597644-01 Assembly instructions

Gautier Office 113-BASIC Assembly instructions
Gautier Office

Gautier Office 113-BASIC Assembly instructions

hogar Casalista BCMC030000WEWEC2 Assembly instructions
hogar

hogar Casalista BCMC030000WEWEC2 Assembly instructions

Blanco BLANCOSPEX 501-205 Specification sheet
Blanco

Blanco BLANCOSPEX 501-205 Specification sheet

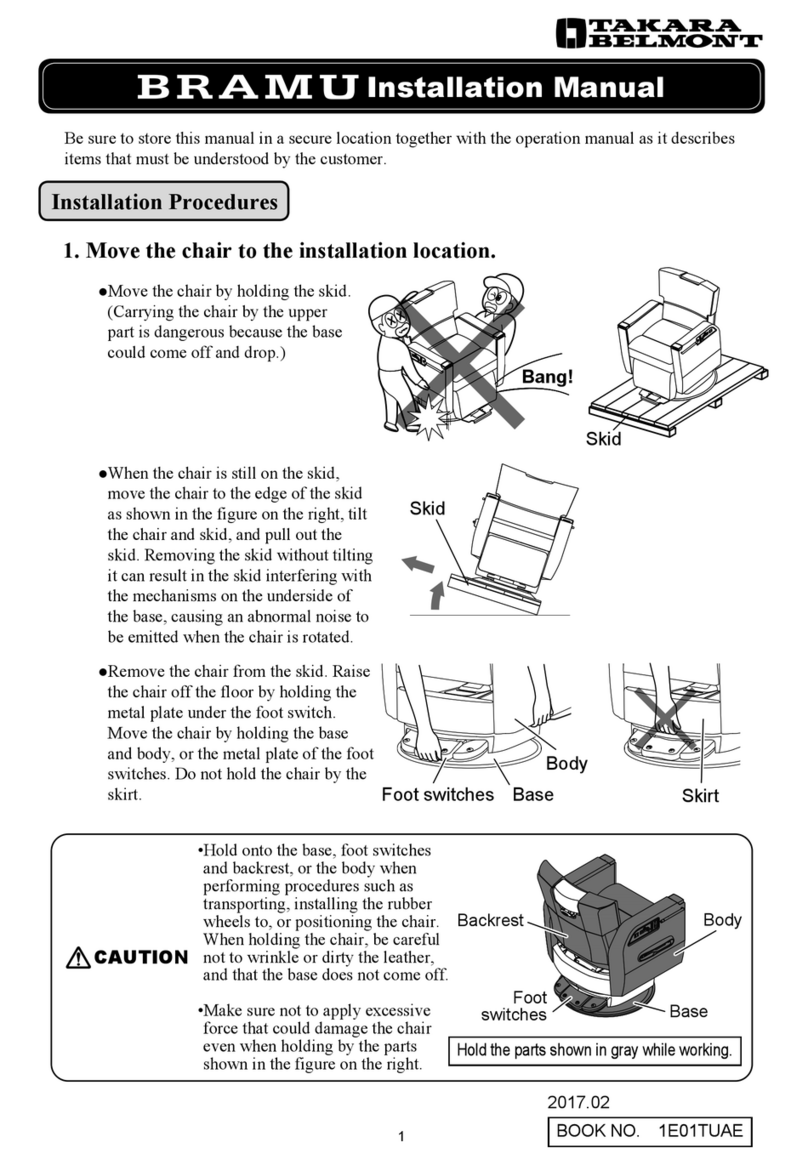
Takara Belmont BRAMU installation manual

Takara Belmont

Takara Belmont BRAMU installation manual

Santec VOGUE 6565VO Series Instruction booklet
Santec

Santec VOGUE 6565VO Series Instruction booklet

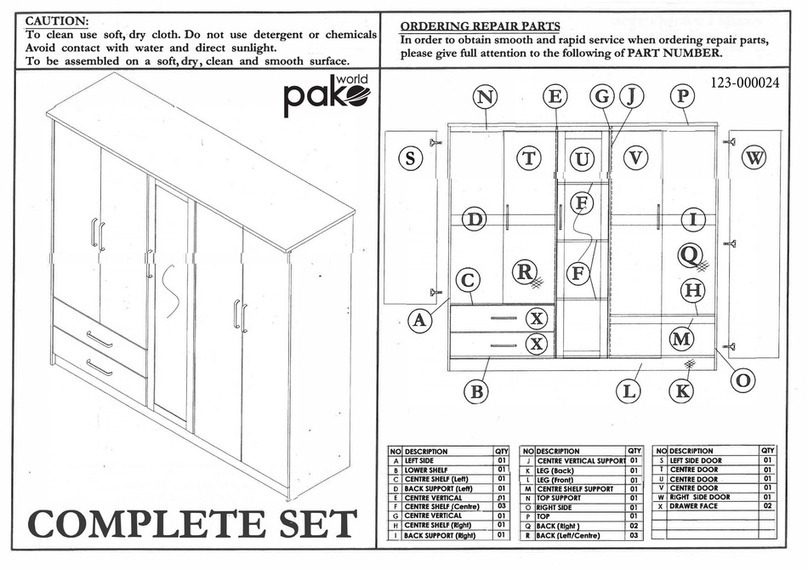
pakoworld OLYMPUS 9267 DM Assembly instruction

pakoworld

pakoworld OLYMPUS 9267 DM Assembly instruction

Bouclair 9399651 Assembly instructions

Bouclair

Bouclair 9399651 Assembly instructions

GALLERY M DUBAI Assembly instructions

GALLERY M

GALLERY M DUBAI Assembly instructions

Furniture of America CM3858PC-2PK Assembly instructions

Furniture of America

Furniture of America CM3858PC-2PK Assembly instructions

Actiforce STEELFORCE PRO SLS HAND CRANK Series Assembly manual

Actiforce

Actiforce STEELFORCE PRO SLS HAND CRANK Series Assembly manual

Core Products TX517 manual

Core Products

Core Products TX517 manual

Multimo A 211 SPAZIO QUEEN Assembly instructions

Multimo

Multimo A 211 SPAZIO QUEEN Assembly instructions

coronaDesking GO2 WorkCenter Assembly manual

coronaDesking

coronaDesking GO2 WorkCenter Assembly manual

Tresanti OT7557 manual

Tresanti

Tresanti OT7557 manual

Stompa W1089-02 Assembly instructions

Stompa

Stompa W1089-02 Assembly instructions

Proslat Edge Series Assembly instructions

Proslat

Proslat Edge Series Assembly instructions

Gima ARIANNA user manual

Gima

Gima ARIANNA user manual

manuals.online logo
manuals.online logoBrands
  • About & Mission
  • Contact us
  • Privacy Policy
  • Terms and Conditions

Copyright 2025 Manuals.Online. All Rights Reserved.