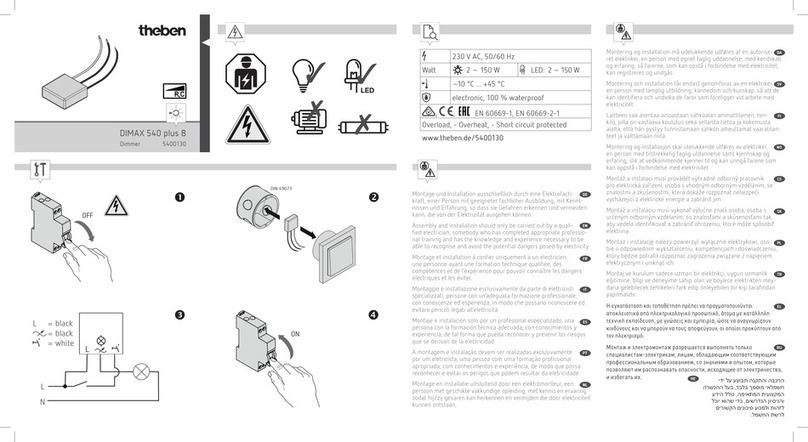
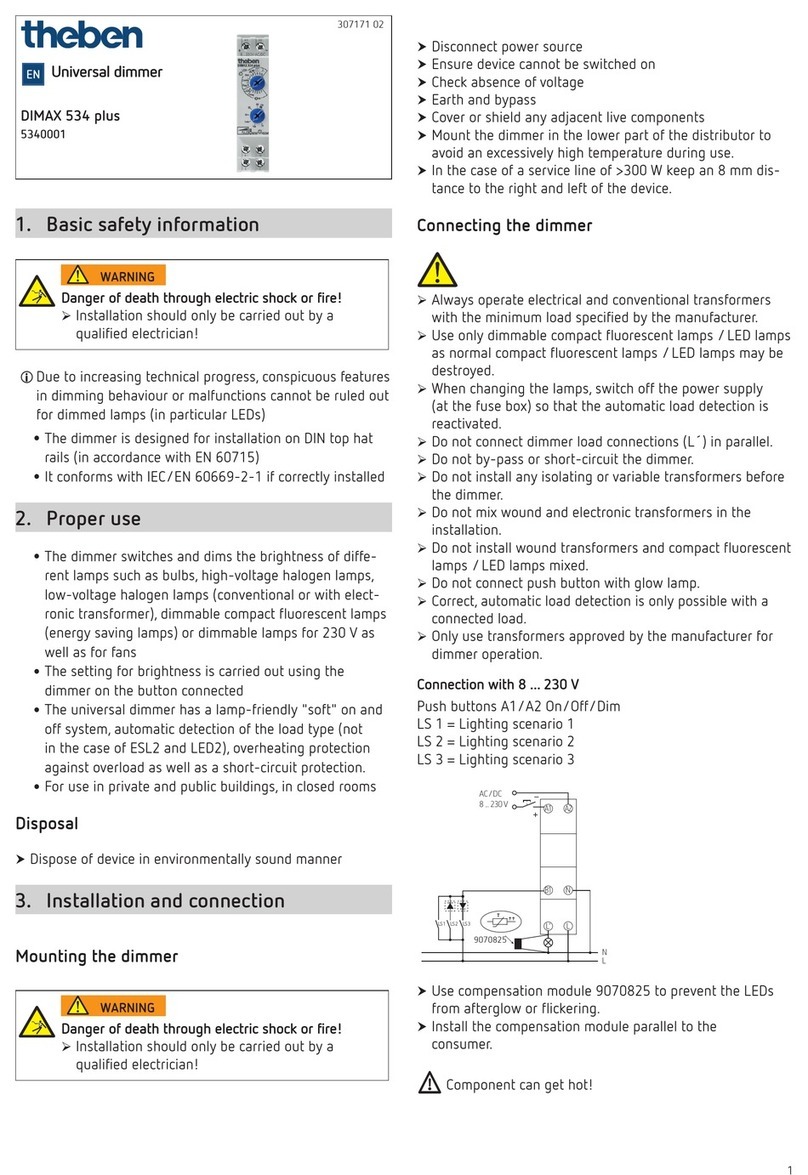
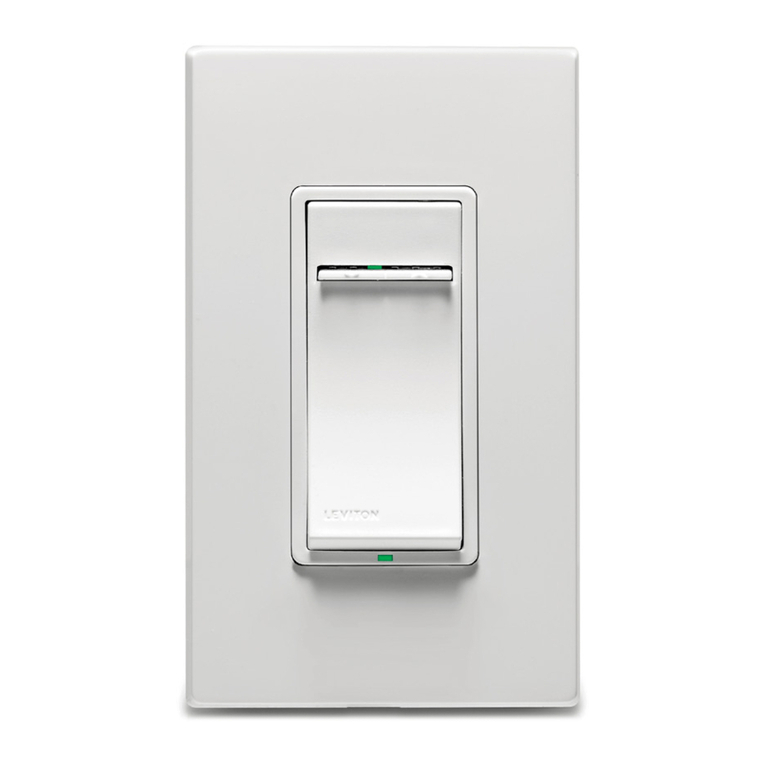
Theben DIMAX 544 plus P User manual

1
DIMAX 544 plus P
5440130
307430
Flush-mounted universal
dimmer
EN
1. Basic safety information 3
2. Proper use 3
Disposal 4
3. Installation and connection5
Mounting the dimmer 5
Connecting the dimmer 6
4. Settings and functions –
operation via app 8
Connecting universal dimmer and
smartphone (via MAXplus app) 8

2
Dimming – brightness levels –
staircase light – comfort –
settings 10
Scenes 15
Assign/change password/
PIN 16
5. Push button operation 18
1. Auto operating mode
(default) 18
2. Staircase light operating
mode 19
6. Technical data 20
7. Contact 21

3
1. Basic safety information
Danger of death through electric shock or fire!
Installation should only be carried out by a
qualied electrician!
WARNING
LDue to continuing technical progress, abnormalities in
dimming response or radio interference cannot be ruled
out when operating dimmed lamps (in particular LEDs)
LIn order to achieve a good result, several dimmable LEDs
should always be of the same type.
•The ush-mounted universal dimmer conforms to EN
60669-2-1 if correctly installed
2. Proper use
•The universal dimmer switches and dims the brightness
of different lamps such as bulbs, high-voltage halogen
lamps, low-voltage halogen lamps (conventional or with
electronic transformer) or dimmable LED lamps for 230 V
as well as fans
•The brightness can be adjusted by using the buttons
connected to the dimmer and/or via app
•The universal dimmer is equipped with a "gentle" lamp
conserving function for switching on and off, automa-
tic detection of the load type, overheating protection
against overload as well as short-circuit protection

4
•For use in private and public residential construction, in
closed rooms
•Suitable for retrotting
•Convenient control via smartphone with Theben MAXplus
app via Bluetooth V4.2
Disposal
Dispose of device in environmentally sound manner

5
3. Installation and connection
LWhen the mains returns, the lamp illuminates briey for
load detection.
Mounting the dimmer
Danger of death through electric shock or fire!
Installation should only be carried out by a
qualied electrician!
WARNING
Disconnect power source
Ensure device cannot be switched on
Check absence of voltage
Earth and bypass
Cover or shield any adjacent live components
Install in conventional ush-mounted boxes (according to
DIN 49073)

6
Connecting the dimmer
N
L
NALL‘
LSeveral dimmers can be controlled with one button.

7
Risk of electric shock!
The device does not have basic insulation around the termi-
nals/plugs!
Protect against accidental contact during installation.
Maintain a minimum distance of 3 mm from live parts or
use additional insulation, e.g. separating strips/walls.
Always operate electronic and conventional transformers
with the minimum load specied by the manufacturer.
Only use dimmable LED lamps, as normal LED lamps may
be destroyed.
When changing the lamps, switch off the power supply
(at the fuse box) so that the automatic load detection is
reactivated.
Do not connect dimmer load connections (L´) in parallel.
Do not bypass or short-circuit the dimmer.
Do not install any isolating or variable transformers before
the dimmer.
Do not mix wound and electronic transformers in the
installation.
Do not mix wound transformers and LEDs in the
installation.
Do not connect buttons with glow lamps.
Correct automatic load detection is only possible with a
connected load.
Only use transformers approved by the manufacturer for
dimmer operation.

8
4. Settings and functions – opera-
tion via app
Connecting universal dimmer and smart-
phone (via MAXplus app)
The universal dimmers can be programmed using an app
(from Android 4.4, iOS 8) on mobile devices. Communication
takes place via Bluetooth BLE.
Download the MAXplus app from the App Store or Google
Play Store.
Start the app and push +at the top right (see Fig.)
▻Device list with serial numbers appears
Select the device
Conrm with OK
▻Window for entering dimming values, brightnesses, etc.
opens
▻Dimmer is now connected and displayed on the start
screen

9
Selection of the known devices
Menu „+“: Search for new device
Settings, software info
Scenes: De ne, delete etc. new
scenes
Devices marked as a favourite
Menu „Known devices“
+ : search for new devices ...
delete
edit: change password, name
update
grey icon ▻ no connection yet
blue icon ▻ connection available
icon with „!“▻ password has been
changed
Select dimmer
Select the device
Con rm with OK

10
▻Window for entering dimming values, brightnesses, etc.
opens
Dimming – brightness levels – staircase
light – comfort – settings
▻
▻Functions as dimming, staircase light, comfort and settings
(with alternative dimming curves) can be selected.
LIf the star is activated (yellow), the device appears as a
favourite on the start screen.

11
1. Dimming
▻ Enter the desired dimming value from 1 – 100%
LThe lightbulb is used for switching on and off; the dim-
ming value can be entered via the bar arrangement, or
directly via the pencil
2. Brightness levels
▻ Minimum, maximum brightness, switch-on brightness in
%, memory function "Save last switch-on brightness"
%, memory function "Save last switch-on brightness"
%, memory function "Save last switch-on brightness"

12
3. Staircase light
LHas to be activated in ▻ Setting ▻ Operating mode
"staircase light"
•You can select the staircase light time, the dimming level
for the switch-off pre-warning and the behaviour when
pressing the button again.
•Long time function 60 mins: activation by pressing the
button for longer (con rmed by change in brightness)

13
30 s
10 s
1 s– 60 min
p
u
Zeit
Helligkeit
Brightness
Time
4. Comfort
LHas to be activated in ▻ Setting ▻ Operating mode
"auto"
▻ Snooze and wake-up function, adjustable in s – min

14
5. Setting
▻ Operating mode selectable:
•Auto (dimmer function with comfort function)
•Staircase light
•Dimming response: standard, LED A, LED B, linear, lea-
ding edge, standard x leading edge, fan
•Factory setting: Settings will be reset to the factory
setting

15
Scenes
Here, you can create, delete or edit a new scene.
LThe current state of the dimmer can be saved as a scene.
If several dimmers are present, various dimmer states can
be combined in one scene.

16
Assign/change password/PIN
If you have activated ▻ „Shared PIN“ under Settings, this
PIN will be suggested for all other devices and can thus be
adopted.
If you want to change the PIN, you can do this in the menu ▻
Edit ▻ Assign password.

17

18
5. Push button operation
1. Auto operating mode (default)
LThe memory function as well as wake-up and snooze
function can be activated/deactivated in the app.
Light is OFF (with button: Input A)
1 x short button
press
< 0.5 s Memory function (if activated in the app)
The dimmer switches on with the last bright-
ness value saved prior to switch-off.
1 x short button
press
< 0.5 s If the memory function is not activated in
the app, the dimmer starts with the learned
switch-on brightness (factory setting: 100%)
1 x long button
press
> 0.5 s Dimming switch-on function
The dimmer switches on with minimum
brightness and dims until the button is
released again, or the maximum brightness
has been reached.
2 x short button
press
Wake-up function
Dimmer switches on with minimum bright-
ness, then dims to 100% within the set
dimming time (factory setting: 5 min).
Light is ON (with button: Input A)
1 x short button
press
< 0.5 s Switch off
1 x long button
press
> 0.5 s Dimmer dims up or down. Dimming stops at
minimum or maximum value. The dimming
direction is changed by pressing the button
again.
2 x short button
press
Snooze function
The dimmer dims to minimum brightness
within the set dimming time and switches off
(factory setting: 5 min).
1 x long button
press
> 15 s all dimmers are off

19
2. Staircase light operating mode
LThe staircase light function must be activated in the app.
Light is OFF (with button: Input A)
1 x short button
press
< 0.5 s Staircase light is activated
1 x long button
press
> 2 s 60 minute extended function is activated
Light is ON (with button: Input A)
1 x short button
press
< 0.5 s can be switched off: off
secondary switching: staircase light time is
restarted
1 x long button
press
> 2 s 60 minute extended function is activated
1 x long button
press
> 2 s If the extended function is active, it will be
switched off

20
6. Technical data
Trailing edge Leading edge
Operating voltage 230 V +10% / –15%
Frequency 50/60 Hz
Standby output 0.2 W
Load types R/L/C
Minimum load 5 W
Incandescent/halogen lamp
load
250 W (up to 25 °C)
200 W (up to 45 °C)
Dimmable LEDs (typical) 250 W (up to 25 °C)
200 W (up to 45 °C)
24 W (up to 25 °C)
12 W (up to 45 °C)
Electronic transformers (C) 250 W (up to 25 °C)
200 W (up to 45 °C)
Inductive transformers (L) 200 W (up to 25 °C)
130 W (up to 45 °C)
Fan –50 W
Cable length max. 50 m
Cable cross-section max. 4 mm2
Pollution degree 2
Permissible ambient
temperature
–25 °C … +45 °C
Radio frequency/transmis-
sion power
BLE 2.4 GHz Class 2 (2.5 mW)
This manual suits for next models
1
Table of contents
Other Theben Dimmer manuals
