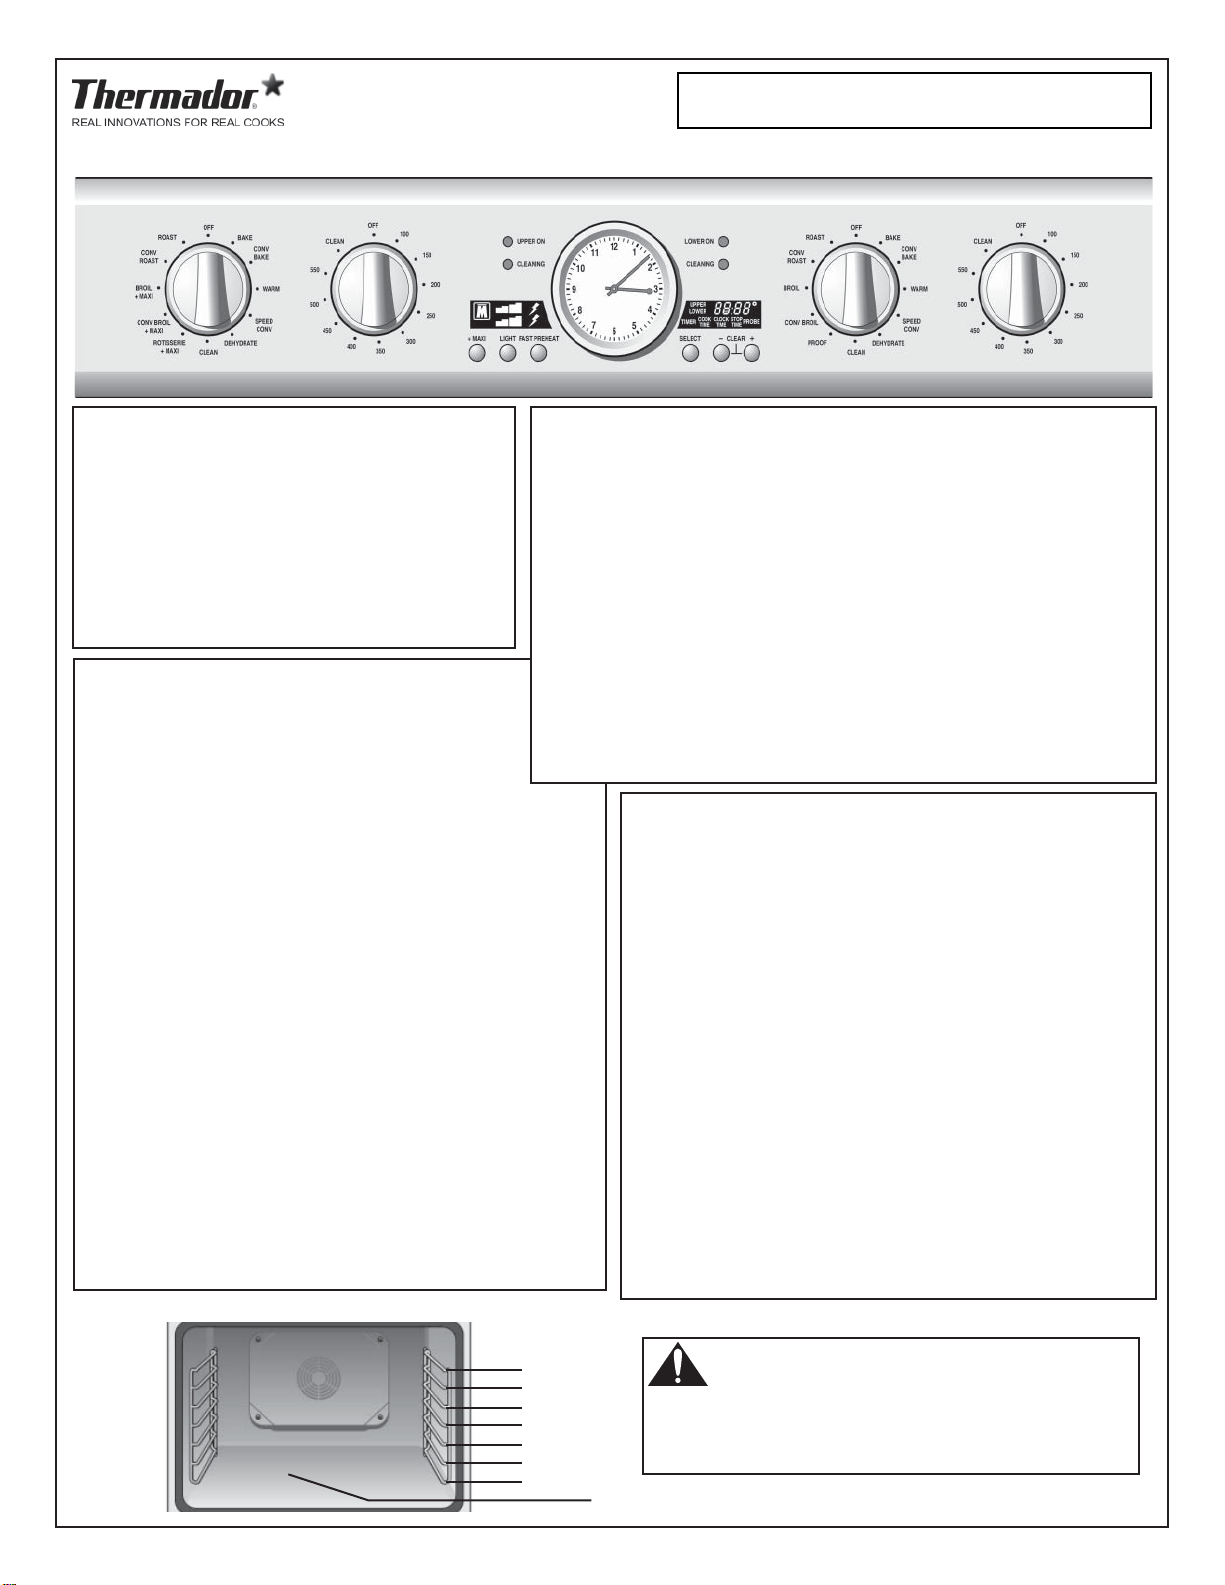
Thermador Professional POD301J User manual

Other manuals for Professional POD301J
2
This manual suits for next models
3
Other Thermador Oven manuals

Thermador
Thermador CMT-18 User manual

Thermador
Thermador MED301LWS User manual

Thermador
Thermador PRO GRAND PRD606RCG User manual

Thermador
Thermador SEC271 User manual

Thermador
Thermador MASTERPIECE series User manual

Thermador
Thermador CM301B User manual

Thermador
Thermador ME301JS Guide

Thermador
Thermador RDFS30 User manual

Thermador
Thermador M301E Series User manual

Thermador
Thermador MASTERPIECE series User manual

Thermador
Thermador ME301YP User manual

Thermador
Thermador M301ES Guide

Thermador
Thermador MES301HS User manual

Thermador
Thermador DM302ES User manual

Thermador
Thermador SC301 Guide

Thermador
Thermador M271ES User manual

Thermador
Thermador ME301YP User manual

Thermador
Thermador MES301HS User manual

Thermador
Thermador CJ302B User manual

Thermador
Thermador Professional POD301J User manual


Popular Oven manuals by other brands


Chefman
Chefman RJ25-4-BLACK-CL manual

GE
GE PT7800 owner's manual

Bartscher
Bartscher 650 SNACK 115.059 Instructions for installation, operation and maintenance

GE
GE JT3000SF1SS installation instructions

Blodgett
Blodgett SG2136E Installation operation & maintenance

Baumatic
Baumatic BCD1020SS instruction manual

Beko
Beko OIF 21101 user manual

GE
GE Monogram ZET857DBSB Dimensions and specifications

DeLonghi
DeLonghi DE91PYROS Installation and service instructions use and care instructions

Electrolux
Electrolux EOC 5630 User information

Hamilton Beach
Hamilton Beach 31207 - Convection 6 Slice Toaster/Oven... use & care

LA NORDICA
LA NORDICA TERMOSUPREMA COMPACT DSA Instructions for installation, use and maintenance