WWW.THERMAFLEX.COM
Thermaflex International Holding b.v
Veerweg 1, 5145 NS Waalwijk
The Netherlands
05.
Clean the fitting by making circular
movements over the entire internal
welding surface of the fitting.
06.
Slide the fitting over the service pipe
on the “fixed” side of the clamping set
and position it right against the
welding clamp.
Important: Don’t use bolts on the
fitting!
07.
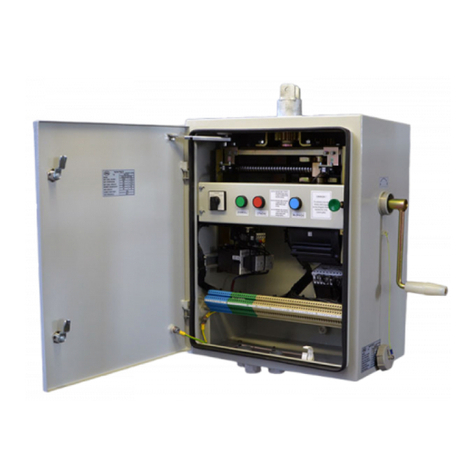
Join the service pipes by turning the
handwheel on the clamping set. Make
sure that the other service pipe slides
into the fitting smoothly. Check that
the correct insertion depth has been
reached.
08.
Connect the welding machine to
power supply and the welding cables
to the fitting - the corresponding
"ready" indicator lights up.
09.
Press “Start” to begin the warming up
process. The "Welding" indicator lights
up.
10.
After the warming up process has
been completed there will be a sound
signal and the "end" indicator lights
up.Now, the welding cables can be
removed carefully from the fitting.
11.
After a cooling time of at least 15 min
(20 min for fittings with OD110mm)
clamping set can be removed.
12.
Check if the welding process was
successful: the welding indicators
came up, the insertion depth markings
are visible directly next to the fitting
and there are no visible damages or
irregularities.
Note: After the last welded connection
is established and cooled down, wait
at least 2 hours before starting the
pressure testing procedure.
Fitting dimension
OD [mm]
