manuals.online logo
Brands
  1. Home
  2. •
  3. Brands
  4. •
  5. thomann
  6. •
  7. Musical Instrument
  8. •
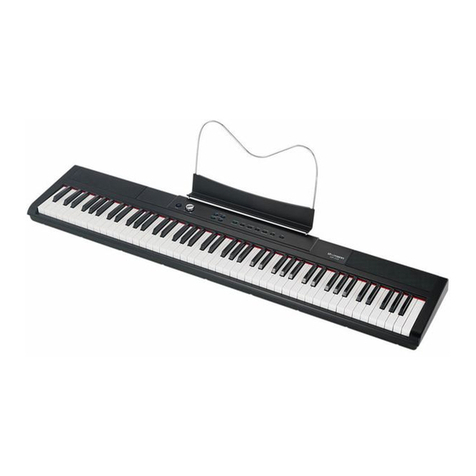
  9. thomann SP- User manual

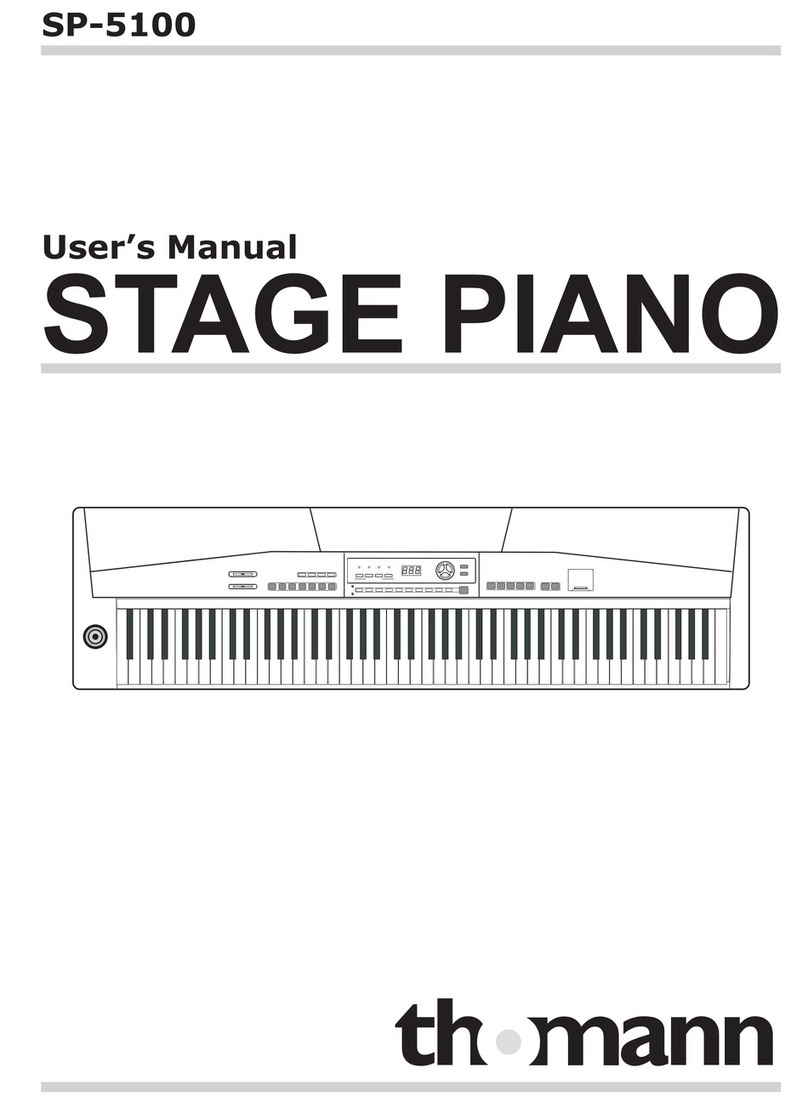
thomann SP- User manual

Other thomann Musical Instrument manuals

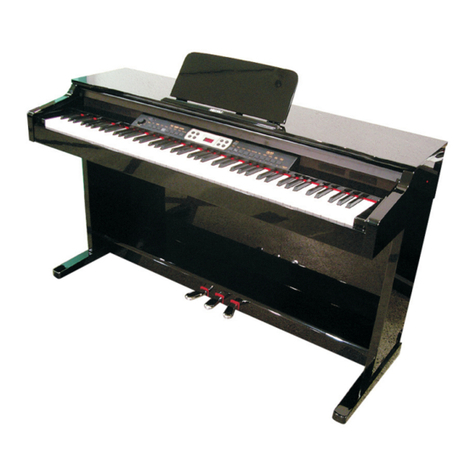
thomann DP-25 User manual

thomann

thomann DP-25 User manual

thomann Dr. Chord Pro User manual

thomann

thomann Dr. Chord Pro User manual

thomann harley benton User manual

thomann

thomann harley benton User manual

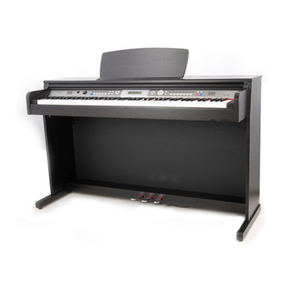
thomann DP-90 User manual

thomann

thomann DP-90 User manual

thomann DP 40 BP User manual

thomann

thomann DP 40 BP User manual

thomann DP-275 GP BP User manual

thomann

thomann DP-275 GP BP User manual

thomann Cajon Construction Kit User manual

thomann

thomann Cajon Construction Kit User manual

thomann Harley Benton TE-LH User manual

thomann

thomann Harley Benton TE-LH User manual

thomann Millenium Youngster User manual

thomann

thomann Millenium Youngster User manual

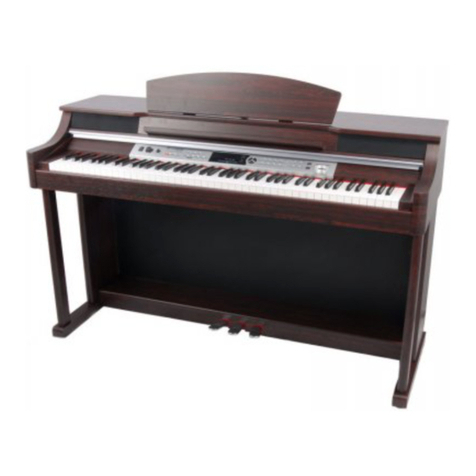
thomann DP-95 B User manual

thomann

thomann DP-95 B User manual

thomann DP-S 307 UP E User manual

thomann

thomann DP-S 307 UP E User manual

thomann DP-26 User manual

thomann

thomann DP-26 User manual

thomann DP-201 MKII User manual

thomann

thomann DP-201 MKII User manual

thomann Hemingway DP-501 MKII User manual

thomann

thomann Hemingway DP-501 MKII User manual

thomann DP-28 Plus User manual

thomann

thomann DP-28 Plus User manual

thomann DP-30 User manual

thomann

thomann DP-30 User manual

thomann Millenium R1 User manual

thomann

thomann Millenium R1 User manual

thomann DP-33 User manual

thomann

thomann DP-33 User manual

thomann DP-85 Arranger User manual

thomann

thomann DP-85 Arranger User manual

thomann Harley Benton HBV 870AM User manual

thomann

thomann Harley Benton HBV 870AM User manual

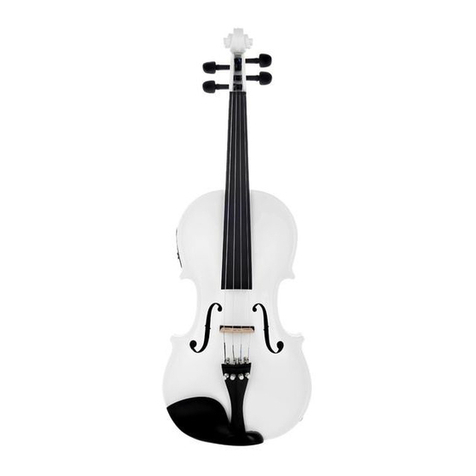
thomann Harley Benton HBV 840BK electric violin User manual

thomann

thomann Harley Benton HBV 840BK electric violin User manual

thomann Ukulele User manual

thomann

thomann Ukulele User manual

thomann SP-120 User manual

thomann

thomann SP-120 User manual

thomann DP-51 B User manual

thomann

thomann DP-51 B User manual

Popular Musical Instrument manuals by other brands

Funkey SP-561 user manual

Funkey

Funkey SP-561 user manual

Kawai CN17 Operation guide

Kawai

Kawai CN17 Operation guide

Yamaha PCY130 owner's manual

Yamaha

Yamaha PCY130 owner's manual

Roland LX-15 Brochure & specs

Roland

Roland LX-15 Brochure & specs

Johannus Rembrandt 200 user manual

Johannus

Johannus Rembrandt 200 user manual

Yamaha Clavinova CVP-609 Reference manual

Yamaha

Yamaha Clavinova CVP-609 Reference manual

Casio celviano ap-700 user guide

Casio

Casio celviano ap-700 user guide

Yamaha PSR-E473 owner's manual

Yamaha

Yamaha PSR-E473 owner's manual

Modulus Quantum Series owner's manual

Modulus

Modulus Quantum Series owner's manual

Gear4music SDP-4 user manual

Gear4music

Gear4music SDP-4 user manual

HOMCOM 390-006 Assembly instruction

HOMCOM

HOMCOM 390-006 Assembly instruction

Xotic Guitars ProVintage Series owner's manual

Xotic Guitars

Xotic Guitars ProVintage Series owner's manual

Sadowsky MetroLine Series operating manual

Sadowsky

Sadowsky MetroLine Series operating manual

Bosendorfer CEUS user manual

Bosendorfer

Bosendorfer CEUS user manual

Yamaha Electone EL-17 owner's manual

Yamaha

Yamaha Electone EL-17 owner's manual

Alesis AHB-1 Assembly guide

Alesis

Alesis AHB-1 Assembly guide

Hotpoint RF512GP How to get the best

Hotpoint

Hotpoint RF512GP How to get the best

Yamaha DGX-530 manual

Yamaha

Yamaha DGX-530 manual

manuals.online logo
manuals.online logoBrands
  • About & Mission
  • Contact us
  • Privacy Policy
  • Terms and Conditions

Copyright 2025 Manuals.Online. All Rights Reserved.

User’s Manual
SP-5100
2
Using the Instruction Manual
Precautions
Please read the following carefully before use:
Do not expose the piano to high temperature, direct sunlight and excessive dusty places.
Do not place the piano too close to other electrical appliances such as television and radio. It may cause interference.
Do not place the piano to excessive humid area. Avoid putting container with liquid on top of the piano in order to
prevent damage of the internal parts of the piano by flowing liquid.
Always unplug AC cord by gripping the plug firmly, but not pulling on the cable.
Do not apply excessive force to the switches and buttons.
When the piano is not in use or in the time of thunderstorm, please disconnect the power supply.
Avoid adjusting the volume level to the maximum or to the levels that you feel uncomfortable, we recommend you to
limit the volume level to two-thirds of the max for preventing the damage of audiory sense.
Unplug the power cable before cleaning the piano. Do not connect or disconnect the power cable with a wet hand.
Check and clean the power plug periodically.
Clean the piano and remove the dust with a dry soft cloth or a slightly damp cloth.
Never use cleaners such as thinner or alcohol. To prevent any damage on the surface of the LED display, please
use lens cleaning tissue to clean the display.
If the piano cable is damaged, please do not use the piano. Otherwise it may cause fire or electrical hazard.
In case of malfunction due to improper handling the piano, please switch off and on again after 30 seconds.
Do not attempt to disassemble or repair the piano. If the piano does not work properly, please contact the
approved repairer.
The piano should not be exposed to dripping or splashing.
Congratulations on your purchase of this stage piano!
The piano is an user friendly piano with fabulous sound quality and advance feature such as scale practise and MIDI
controller. No matter you are adult or children, you will enjoy playing the piano as it provides amazing styles for
accompaniment, expressive tones, and real time record. Other features such as lesson function, variety of songs will
help you better master the playing skil.
This piano also provide with SD card function, you can choose your favorate MIDI song to play;You can also backup
your recording setting to SD card.
You are recommended to study this manual carefully before using the unit.
To avoid damages, turn off the power switches before you disconnect the related devices from the piano.
3
Main Feature
General Guide
Control Panel
The Connectors
- Power Jack
- Headphones Jack
- AUX OUTJack
- Sustain/Soft Jack
- MIDI IN/OUT Jack
Operation
- Power on & Master Volume
- Song
- Voices and Effects
- Metronome
- Style Control
- Record
- Lesson
- SD Function
MIDI
- MIDI Controler
- Command
- Channel
- Value
- MIDI OUT
- What is MIDI
Specifications
Voice List
Style List
Song List
MIDI Implementation Chart
4
5
6
7-8
7
7
7
8
8
9-19
9
9
10
15
15-16
17-18
18
18-19
20-24
20
21
22
23
23
24
25
26
26
27
28-29
Conent
4
Main Feature
Note:
1. Pressing "+" and "-" together when turning on the piano
will put all volume back to default setting.
2. " * ": There is a standard SD external Interface which supports the cards
of 16M ¨ 2G capacity. It is compatible with the file system format of the FAT 16 / 32 only
Top View
Rear View
CONTROL PANEL
MUSIC STAND
AUX OUT L / MONO
HEADPHONES JACKS
PIANO KEYBOARD
POWER JACK
1
2
3
4
5
6
SOFT PEDAL JACK
AUX OUT R
AUX IN
SUSTAIN PEDAL JACK
MIDI IN/OUT JACKS
USB JACK
7
8
9
10
L/MONO RSOFTSUSTAIN
USBAUX OUT AUX IN PEDAL MIDI IN MIDI OUT
12V
L/MONO RSOFTSUSTAIN
USBAUX OUT AUX IN PEDAL MIDI IN MIDI OUT
12V
3
4
56 8 9 10
5
General Guide
711
11
12
12
1
2
3
4
5
6
7
8
9
10
11
12
13
14
15
POWER SWITCH
START/STOP
FILL A/FILL B
BRILLANCE
MASTER VOLUME
ACC.VOL
RECORD
PLAY/STOP
TRACK 1/SONG MELODY OFF
TRACK 2
TRANSPOSE +/-
TEMPO +/-
MIDI CONTROL
- MIDI OUT
- COMMAND
- VALUE
- CHANNEL
16
STYLE
VOICE
SONG
REVERB/CHORUS
SD SLOT
+ & -
VOICE DIRECT SELECT BUTTONS
LED DISPLAY( VOICE, STYLE, SONG)
SCALE
DUAL
SPLIT
TOUCH
METRONOME
SD CONTROL
- PLAY
- STORE
17
18
19
20
21
22
23
24
25
26
27
Control Panel
3456
20
17 18 19
21
1
78
2
24 25 26 27
9
10
11 12 13 14 15 16
22
23
-
6
When an optional set of stereo headphones is
connected with the headphones jack 2, the sound from
speakers will switch off automatically resulting in only
the sound from headphone to be heard.
When jack 1 is connected with the stereo headphones,
the sound can be heard from both headphones and
speakers of the piano.
Headphones
Jack 1
Headphones
Jack 2
1¡
2¡
Headphones Jack
Never use the headphone with high volume, as it may hurt your sense of hearing.
To prevent the damage of the speakers, ensure that the volume is set to the minimum
level before connecting the power and other devices.
AUX OUT Jack
7
Power Jack
This piano can be powered from a standard household
wall outlet by using the specified AC adaptor.
The power jack is located on the rear panel of the piano
body.
Make sure that only the AC adaptor specified for this
piano is used.
The adaptor shall be 12V DC output, and center positive
type.Make sure to turn off the piano before you connect
the adaptor into the AC wall outlet and the cord into the
unit.
The piano is supplied with a music rest that can be
attached to the instrument by inserting it into slot at the
rear of the control panel.
Please set up the music rest as shown.
Cautions£
Use of another type of adaptor creates a danger of fire
and electrical shock.For safety sake, make sure to unplug
the AC adaptor from the wall outlet whenever leaving the
piano unattended for a long time or during a thunderstorm.
Setting Music Rest
To avoid damaging the speakers, please ensure that
volume has set to the minimum level before connecting
the power and other devices.
When you want to listen to the voice with an amplifier,
connect amplifiers to the AUX OUT L/MONO and R jacks
on the rear panel. The volume is adjusted with the
VOLUME button. (For monaural playback, use the L/
MONO jack. For stereo playback, connect both L/
MONO and R jacks.)
L/MONO RSOFTSUSTAIN
AUX OUT AUX IN PEDAL MIDI IN MIDI OUT
12V USB
L/MONO RSOFTSUSTAIN
AUX OUT AUX IN PEDAL MIDI IN MIDI OUT
12V USB
L/MONO RSOFTSUSTAIN
AUX OUT AUX IN PEDAL MIDI IN MIDI OUT
12V USB
8
L/MONO RSOFTSUSTAIN
AUX OUT AUX IN PEDAL MIDI IN MIDI OUT
12V USB
An optional footswitch can be plugged into the SUSTAIN
jack for sustain control. The footswitch function is like
the sustain pedal on a piano.
MIDI stand for Musical Instrument Digital Interface.
MIDI is a world wide standard that makes it possible for
various electronic musical instruments and other devices.
MIDI IN:
MIDI OUT:
Data transmitted from other MIDI instrument via MIDI is
received by this terminal.
Data produced by the Digital Piano is to
other MIDI instruments via MIDI from this terminal.
transmitted
The audio output from a CD player/iPod connected to
the AUX IN jack on the rear panel can be mixed with
the sound of the piano brain. This function is convenient
when you want to play along with a favourite song.
The volume of the external signal is adjusted with
the VOLUME button.
An optional footswitch can be plugged into the SOFT
jack for soft control. Step on the soft pedal , all notes
played on the keyboard have a soft effect.
AUX IN Jack
Sustain Jack
Soft Jack
MIDI IN/OUT Jack
USB Jack
L/MONO RSOFTSUSTAIN
Step the sustain pedal on to open the SUSTAIN
function , it will apply SUSTAIN effect to the piano,
then release the sustain pedal to turn off the effect.
Connect PC or other USB host devices that support
USB Audio.
AUX OUT AUX IN PEDAL MIDI IN MIDI OUT
12V USB
L/MONO RSOFTSUSTAIN
AUX OUT AUX IN PEDAL MIDI IN MIDI OUT
12V USB
You can simply connect the PC and the piano with
a USB cable. For PC that has installed Windows XP,
the USB driver for the piano would be automatically
installed as a USB Audio Device. After the PC
informed you that the driver for the piano has been
properly installed, you can choose the USB Audio
Device in the audio device menu of the control panel
or the MIDI software you are using to ransfer MIDI
data to the piano.
Note: USB connection can only be detected with
Windows XP and Vista¡
Press the [POWER] switch. The LED display lightens
Slide the [VOLUME] bar rightwards, the whole volume
increase, slide it leftwards, the whole volume
decreases.
Press the [+] and the [-] button synchronously, and then
power on the piano. it can reset all the setting to the
default value and erase the record data.
Power on & Master Volume
Song
Press the power switch on
Press first to stop playing the song,
press again to play current song repeatedly.
The level decreases The level increases
NOTE:
If the LED display has not lightened up after you power on the piano, please check the power supply.
If the piano is silent, the volume may be adjusted to its minimum level.
Although Mains switch is in OFF position, the piano is not disconnected from the power supply completely!
VOICE
VOICE
STYLE
STYLE
SONG
SONG
+
Press together
1¡
1¡
2¡
3¡
There are 60 songs in total. (See Appendix 3 ).
PLAY a song:
Press the [SONG] button to enter the song mode, the
SONG flag on LED is lightened. It will play all songs
repeatedly in a cycle.
Press the [START/STOP] button to stop playing the
song, but it will not quit the song mode. The 2nd time
you start playing the song by pressing the [START
/STOP] button, it will play current song repeatedly.
STYLESTYLE
SONGSONG
VOICEVOICE
Enter the song mode
and play all songs circlely.
Song flag
is lightened
9
VOLUME
MAX MIN
up.
SELECT a song:
Use the [+] or [-] button to select the song you want.
If you select the new song, LED will display it's
number at first and then display introductory beat and
the measure count.
INTRODUCTORY BEAT:
After pressing [START/STOP] , the measure count
begins from negative value to 1, and then begins to
play the song.
Press the [TRACK1] button to enter self-learning mode,
and turn on/off the main melody of the song.
While the song stop playing, you can press the [VOICE]
and the [STYLE] button to exit.
VOICE
VOICE
STYLE
STYLE
SONG
SONG
Select a song
Display the measure count
The beat LED indicators
are lightened in turn.
The LED indicator is lightened.
STYLESTYLE
STYLESTYLE
SONGSONG
SONGSONG
VOICEVOICE
VOICEVOICE
Exit the song mode
2¡
2¡
3¡
3¡
4¡
4¡
5¡
Voices and Effects
There are 20 voices in total (See Appendix 1).
Voice Select
When power is on, LED lightens the VOICE flag and
displays the 001 voice number.
Press the [VOICE] button to enter the voice mode,
LED displays the VOICE R1 number.
Press the [DUAL] button to enter the dual voice mode,
LED displays the VOICE R2 number.
you can select other voice by pressing the [+] and the
[-] or voice Direct Select buttons.
VOICE
VOICE
STYLE
STYLE
SONG
SONG
Display VOICE R1
Display VOICE R2
Select a voice
Press the first time to select GRD.PIANO
Press the second time to select BRT.PIANO
Use Direct Select buttons to select
There are 10 voices Direct Select buttons to select 20
voices. Each Direct Select button can be used to choose
2 different voices.
Press the first time to select upper layer voice , press the
second time to select the lower layer voice.
When you select the upper layer voice, the upper layer
indicator turns on.
When you select the lower layer voice, the lower layer
indicator turns on and the upper layer indicator turns off.
1¡
10