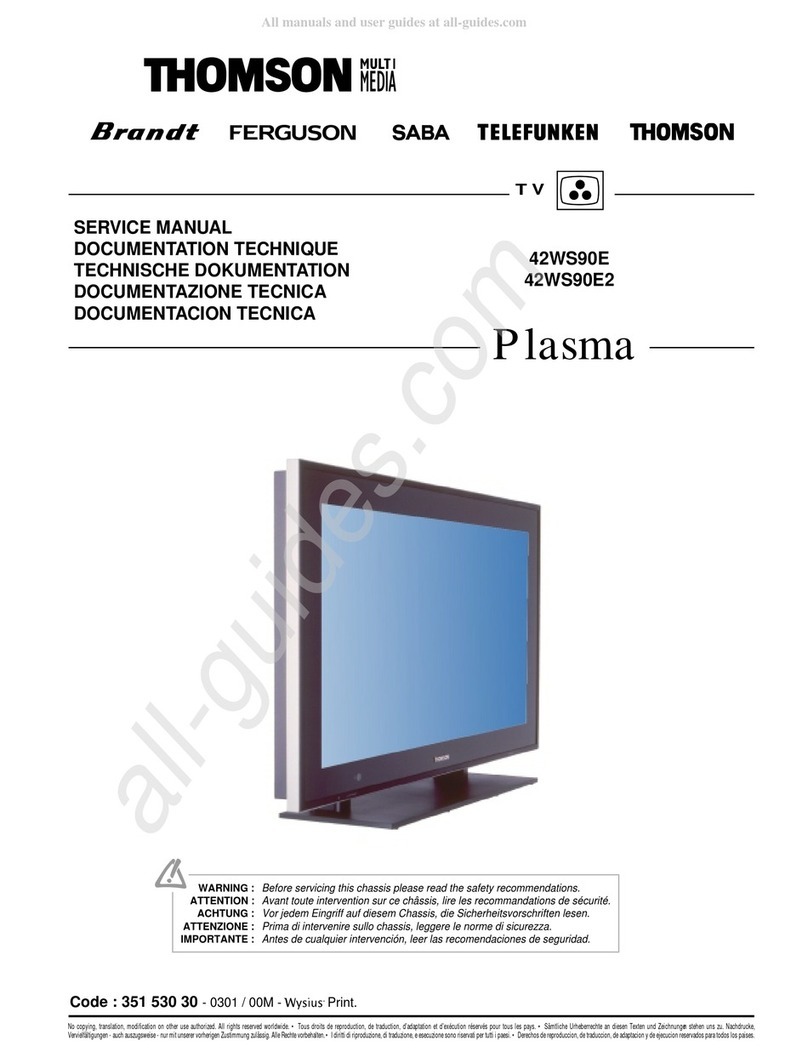
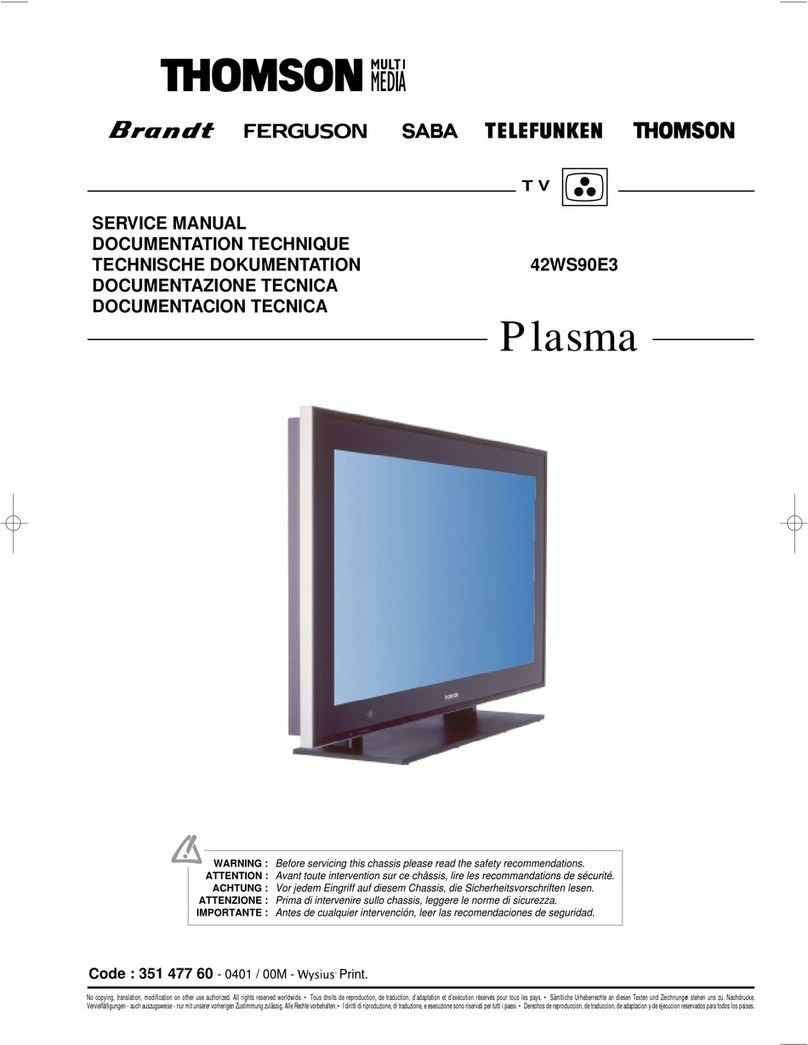
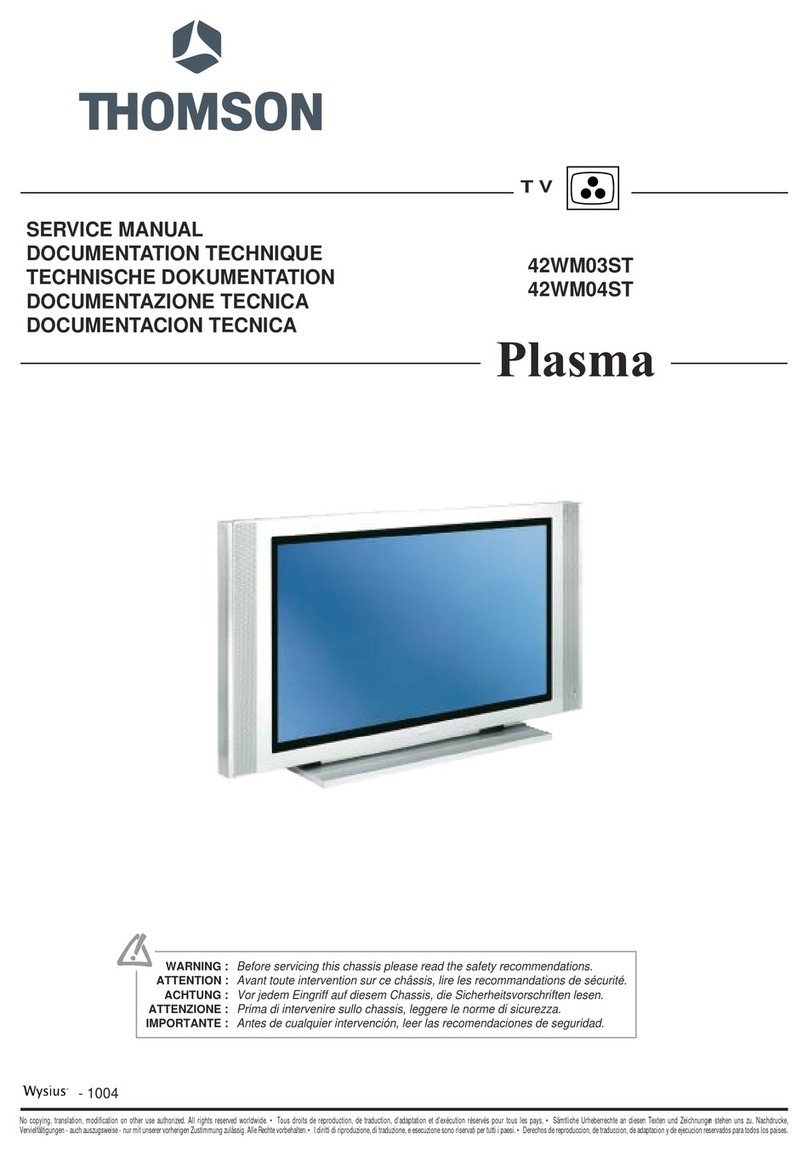
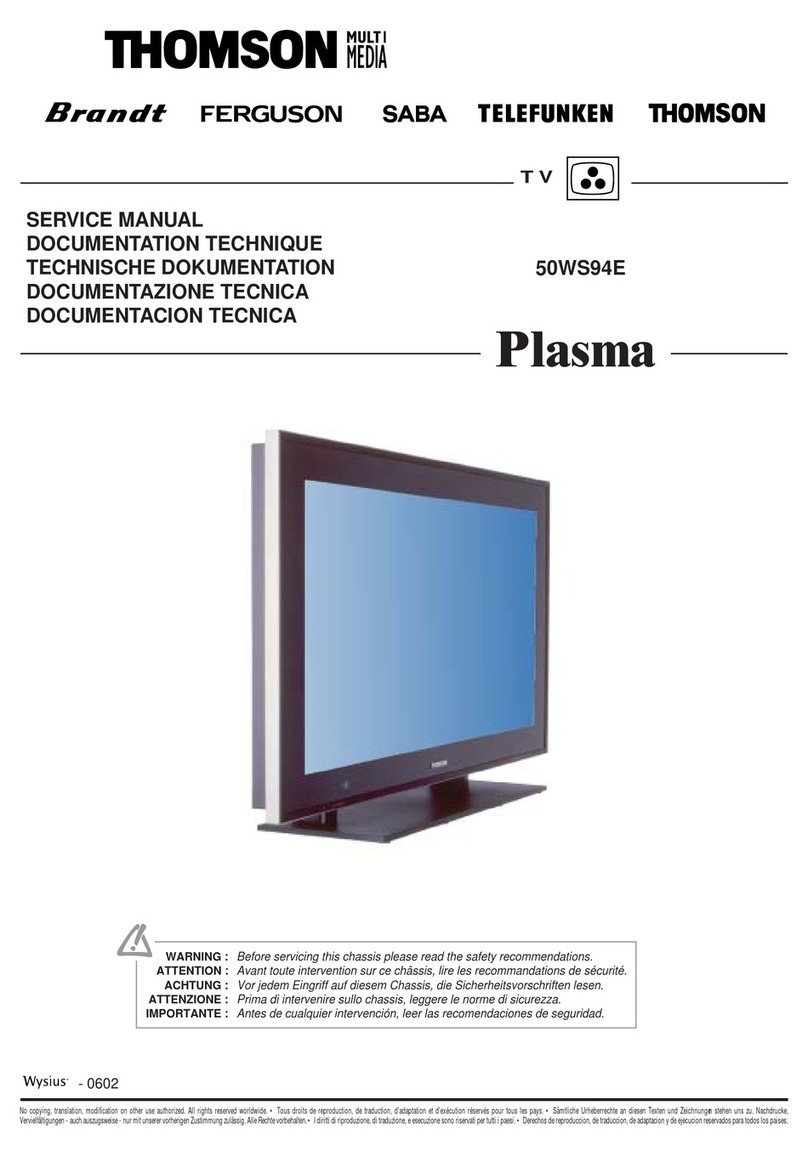
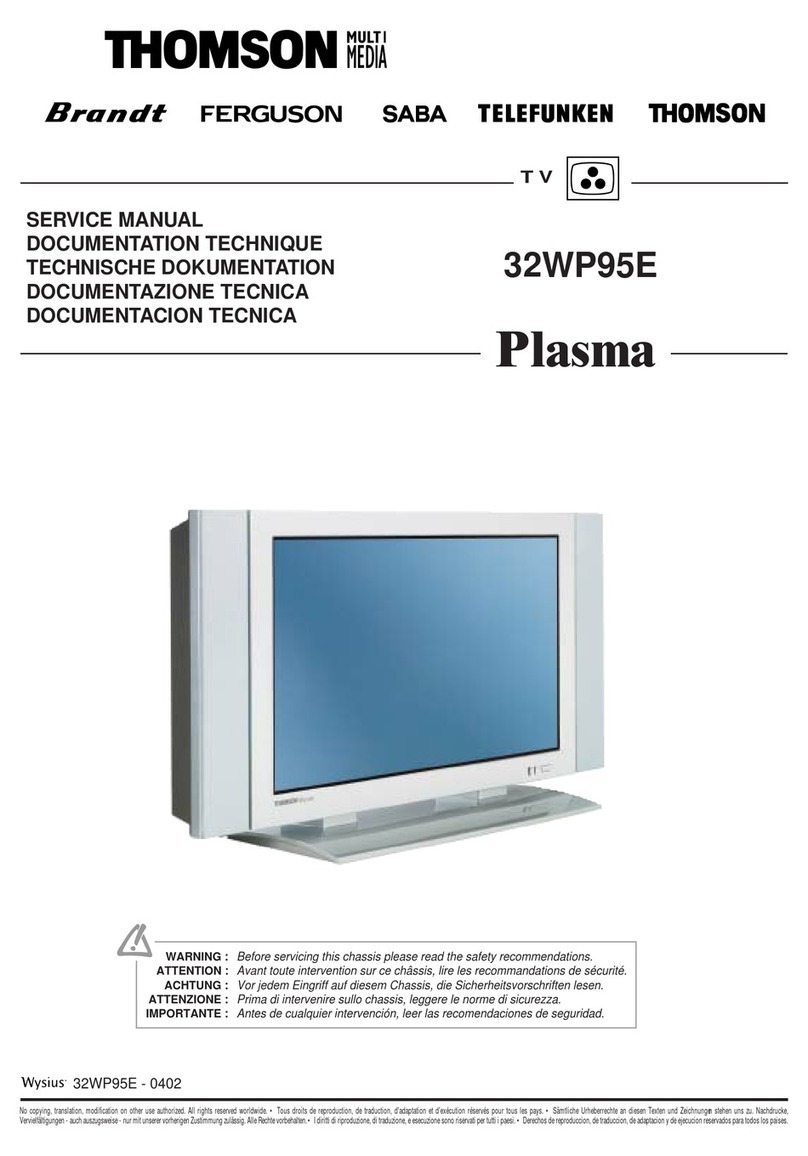
THOMSON 42WM02L User manual

SERVICE MANUAL
DOCUMENTATION TECHNIQUE
TECHNISCHE DOKUMENTATION
DOCUMENTAZIONE TECNICA
DOCUMENTACION TECNICA
No copying, translation, modification on other use authorized. All rights reserved worldwide. • Tous droits de reproduction, de traduction, d'adaptation et d'exécution réservés pour tous les pays. • Sämtliche Urheberrechte an diesen Texten und Zeichnungen stehen uns zu. Nachdrucke,
Vervielfältigungen-auchauszugsweise-nurmitunserervorherigenZustimmungzulässig.AlleRechtevorbehalten.•Idirittidiriproduzione,ditraduzione,eesecuzionesonoriservatiper tutti i paesi. • Derechos de reproduccion, de traduccion, deadaptacion y de ejecucionreservadospara todoslos paises.
WARNING : Before servicing this chassis please read the safety recommendations.
ATTENTION : Avant toute intervention sur ce châssis, lire les recommandations de sécurité.
ACHTUNG : Vor jedem Eingriff auf diesem Chassis, die Sicherheitsvorschriften lesen.
ATTENZIONE : Prima di intervenire sullo chassis, leggere le norme di sicurezza.
IMPORTANTE : Antes de cualquier intervención, leer las recomendaciones de seguridad.
- 0603
42WM02L
TV
Plasma

Indicates critical safety components, and identical components should be used for replacement. Only then can the
operational safety be garanteed.
Le remplacement des éléments de sécurité (repérés avec le symbole ) par des composants non homologués selon la
Norme CEI 65 entraine la non-conformité de l'appareil. Dans ce cas, la responsabilité du fabricant n'est plus engagée.
Wenn Sicherheitsteile (mit dem Symbol gekennzeichnet) nicht durch Original - Ersatzteile ersetzt werden, erlischt die
Haftung des Herstellers.
La sostituzione dei componenti di sicurezza (evidenziati con il segno ) con componenti non omologati secondo la
norma CEI 65 comporta la non conformitá dell'apparecchio. In tal caso è "esclusa la responsabilità " del costruttore.
La sustitución de elementos de seguridad (marcados con el simbolo ) por componentes no homologados segun la
norma CEI 65, provoca la no conformidad del aparato. En ese caso, el fabricante cesa de ser responsable.
MEASUREMENT CONDITIONS - CONDITIONS DE MESURES - MESSBEDINGUNGEN
CONDIZIONI DI MISURA - CONDICIONES DE MEDIDAS
RICEVITORE :
In UHF, livello d'entrata 1 mV, monoscopio barre :
- PAL, norma G. bianco 100%.
Via SCART, livello d'entrata 1 Vpp, monoscopio barre :
Colore, Contrasto, Luminositá media, Suono minimo.
Programma selezionato PR 01.
Tensioni continue rilevate rispetto alla massa con un voltmetro digitale.
RECEIVER :
On UHF,input level : 1 mV, bar test pattern :
- PAL, I standard, 100% white.
Via the scart socket, input level : 1 Vpp, bar test pattern :
Colour, contrast and brightness at mid-position, sound at minimum.
Programme selected : PR 01.
DC voltages measured between the point and earth using a digital
voltmeter.
EMPFÄNGER :
Bei UHF Eingangspegel 1 mV, Farbbalken :
- PAL, Norm G, Weiss 100%.
Über die Scartbuchse : Eingangspegel 1 Vss, Farbbalken :
Farbe, Kontrast, Helligkeit in der Mitte des Bereichs, Ton auf Minimum.
Zugeordnetes Programm PR 01.
Gleichspannungen mit einem digitalen Voltmeter zur Masse gemessen.
RECEPTEUR :
En UHF, niveau d'entrée 1 mV mire de barres
- SECAM, Norm L, Blanc 100%.
Par la prise Péritélévision, niveau d'entrée 1 Vcc, mire de barres .
Couleur, contraste, lumière à mi-course, son minimum.
Programme affecté PR 01.
Tensions continues relevées par rapport à la masse avec un
voltmètre numérique.
RECEPTOR :
En UHF, nivel de entrada 1 mV, mira de barras :
- PAL, norma G, blanco 100%.
Por la toma Peritelevision, nivel de entrada 1 Vpp mira de barra.
Color, Contraste, luz a mitad de carrera, Sonido minimo.
Programa afectado PR 01.
Tensiones continuas marcadas en relacion a la masa con un voltimetro digital.
Do not disconnect modules when they are energized!
Repairs on power supply section are to be carried out only with isolating transformer.
Ne pas retirer les modules lorsqu' ils sont sous tension. N'effectuer les travaux de maintenance sur la partie reliée
au secteur (Switch Mode) qu'au travers d'un transformateur d'isolement.
Module nicht bei eingeschaltetem Gerät entfernen!
Servicearbeiten am Netzteil nur unter Verwendung eines Regeltrenntrafos durchführen.
Non scollegare le piastre quando sono alimentate!
Per le riparazioni sulla sezione alimentatore, utilizzare un trasformatore isolatore.
No desconectar los módulos cuando están activados. Las reparaciones en la sección de alimentación de energía
deben ser ejecutadas solamente con un transformador de separación.
- 2 -
CONTENTS
Contents ................................................................................................................. 2
Safety Precautions ............................................................................................3
Specifications ..................................................................................................... 4
Control Descriptions ........................................................................................ 5
Adjustment Instructions ............................................................................... 9
Trouble Shooting ............................................................................................... 11
Block Diagram .................................................................................................... 13
Exploded View .................................................................................................. 16
Exploded View Parts List ..............................................................................17
Replacement Parts List ................................................................................ 18
SVC. Sheet ................................................................................................................

- 3 -
SAFETY PRECAUTIONS
Many electrical and mechanical parts in this chassis have special safety-related characteristics. These parts are identified by in
the Schematic Diagram and Replacement Parts List.
It is essential that these special safety parts should be replaced with the same components as recommended in this manual to
prevent X-RADIATION, Shock, Fire, or other Hazards.
Do not modify the original design without permission of manufacturer.
General Guidance
An lsolation Transformer should always be used during
the servicing of a receiver whose chassis is not isolated from
the AC power line. Use a transformer of adequate power rating
as this protects the technician from accidents resulting in
personal injury from electrical shocks.
It will also protect the receiver and it's components from being
damaged by accidental shorts of the circuitary that may be
inadvertently introduced during the service operation.
If any fuse (or Fusible Resistor) in this monitor is blown, replace
it with the specified.
When replacing a high wattage resistor (Oxide Metal Film
Resistor, over 1W), keep the resistor 10mm away from PCB.
Keep wires away from high voltage or high temperature parts.
Due to high vacuum and large surface area of picture tube,
extreme care should be used in handling the Picture Tube.
Do not lift the Picture tube by it's Neck.
Leakage Current Cold Check(Antenna Cold Check)
With the instrument AC plug removed from AC source,
connect an electrical jumper across the two AC plug prongs.
Place the AC switch in the on positioin, connect one lead of
ohm-meter to the AC plug prongs tied together and touch other
ohm-meter lead in turn to each exposed metallic parts such as
antenna terminals, phone jacks, etc.
If the exposed metallic part has a return path to the chassis, the
measured resistance should be between 1MΩ and 5.2MΩ.
When the exposed metal has no return path to the chassis the
reading must be infinite.
An other abnormality exists that must be corrected before the
receiver is returned to the customer.
Leakage Current Hot Check (See below Figure)
Plug the AC cord directly into the AC outlet.
Do not use a line Isolation Transformer during this check.
Connect 1.5K/10watt resistor in parallel with a 0.15uF capacitor
between a known good earth ground (Water Pipe, Conduit, etc.)
and the exposed metallic parts.
Measure the AC voltage across the resistor using AC
voltmeter with 1000 ohms/volt or more sensitivity.
Reverse plug the AC cord into the AC outlet and repeat AC
voltage measurements for each esposed metallic part. Any
voltage measured must not exceed 0.75 volt RMS which is
corresponds to 0.5mA.
In case any measurement is out of the limits sepcified, there is
possibility of shock hazard and the set must be checked and
repaired before it is returned to the customer.
Leakage Current Hot Check circuit
1.5 Kohm/10W
To Instrument's
exposed
METALLIC PARTS
Good Earth Ground
such as WATER PIPE,
CONDUIT etc.
AC Volt-meter
IMPORTANT SAFETY NOTICE
0.15uF

SPECIFICATIONS
Note : Specification and others are subject to change without notice for improvement.
OMONITOR
OVideo receiving system:
PAL
SECAM
NTSC-M
NTSC 4.43
OInput Voltage : 42PZ17 : AC 200~240V, 50/60Hz
OInput Voltage : 42PZ15 : AC 110~240V, 50/60Hz
OPower consumption : 300W
Stand-By : 5W
OPDP Module : PDP42WVSN3
OSpeaker Impedance : 8 ohm
OSound output : 10W max
OFeature : AV Input (Bottom)
Component Input (Bottom)
RGB Input (Bottom,D-Sub 15pin)
External SPK Out (Bottom,SPK Jack)
RS-232C
OFuntion : PIP
DRP
OExternal Interface
AV/COMPONENT Output
COMPONENT Mode ( Y,Cb/Pb,Cr/Pr)
- 4 -
ITEM
AV Video in
AV SYNC in
AV Burst in
AV Video in,L/R
AV Audio in,L/R
Component Video in
RGB/HV in
MIN
0.85
0.24
0.14
0.47
0.47
0.6
0.6
TYP
1.00
0.29
0.28
0.63
0.63
0.7
0.7
MAX
1.15
0.32
0.35
0.79
0.79
0.8
0.8
UNIT
Vpp
Vppz
Vpp
V
V
Vpp
Vpp
PIn No
1
2
3
4
5
6
7
8
9
Spec.
NC
3.0~4.5Vpp
3.0~4.5Vpp
4Vpp !0.5
GND
High/Low
NC
NC
NC
Pin Name
DCD
RXD
TXD
DTR
GND
DSR
RTS
CTS
RI
REsolution
640*480
704*480
1280*720
1280*720
1920*1080
1920*1080
H-Freq(Khz)
15.73
31.47
45.00
44.96
33.75
33.72
V-Freq(hz)
60
59.94
60
59.94
60
59.94
Proposed
SDTV,DVD 480I
SDTV 480P
HDTV 720P
HDTV 720P
HDTV 1080I
HDTV 1080I
RS-232C Signal

- 5 -
CONTROL DESCRIPTIONS
ON/OFF INPUT VOLUME
SELECT
ON/OFF
VOLUME
INPUT
SELECT
<Front Panel>
MAIN POWER BUTTON
Switchs On or Off
INPUT SELECT BUTTON
REMOTE CONTROL SENSOR
POWER/STANDBY INDICATOR
Illuminates red in standby
Illuminates green when the Monitor is switched on POWER BUTTON
Standby
Start
VOLUME (FF,GG) BUTTON
To preserve your Wysius™ screen
Your Wysius™ could be damaged if a bright fixed
picture is displayed on its screen for too long. The
plasma screen of your Wysius™, like any television
or computer monitor screen, could be permanently
imprinted with this fixed image. It is therefore
recommended to avoid displaying the same fixed
picture (like a DVD or a VCR menu) for more than 10
minutes.

- 6 -
AC INPUT
RGB PC INPUT(VGA/SVGA/XGA)
(+) ( ) (+)( )
EXTERNAL SPEAKER
R L R
AUDIO INPUT
RS-232C
L
(+) ( ) (+)( )
AC INPUT
EXTERNAL SPEAKER
R L R
AUDIO INPUT
RS-232C
L
RGB PC INPUT(VGA/SVGA/XGA)
PB R
Y P
AV INPUT S-VIDEO
R L
AUDIO
<MONO>
VIDEO
COMPONENT (480i/480p)
(DVD INPUT)
PB
YR
P
AV INPUT S-VIDEO (DVD INPUT)
COMPONENT (480i/480p)
R L
AUDIO VIDEO
(MONO)
<Back Panel>
EXTERNAL
SPEAKER (8Ω)
KNOBS
AV INPUT /
COMPONENT (480i/480p)
DVD INPUT SOCKETS
GThe Interface board
VB02L is optional (not supplied).
RGB PC INPUT
(VGA/SVGA/XGA) /
AUDIO INPUT /
RS-232C SOCKET
POWER INPUT
SOCKET
This Monitor operates
on an AC mains supply,
the voltage is as indicat-
ed as inside back cover
of this manual. Never
apply DC power to the
Monitor.
Tips
•The RS-232C socket is for production purpose only. Do not connect anything on it.

- 7 -
Accessories
D-sub 15 pin cable
Manueld’utilisation
Usermanual
Bedienungsanleitung
Manualedi utilizzazione
Manualde utilización
42 WM 02 L - 42 WM 02 LU
User Manual
Power cord Remote control handset
Optional Extras
- Optional extras can be changed or modified for quality improvement without any notification new
optional extras can be added.
- Contract your dealer for buying these items.
VB02L (Interface board)
P
B
Y
R
P
R L
AUDIO VIDEO
(MONO)
AV INPUT S-VIDEO (DVD INPUT)
COMPONENT (480i/480p)
ACC912
(Wall mounting bracket)
TBST4292
(Desktop stand)
ACC143
(Speakers)
SCART/RCA cable

- 8 -
Illuminates the keys of the remote control.
Standby
Start
Navigating Up in a menu.
Navigating Down in a menu.
Validation.
Right / Left selection in the menus.
Selection of connected devices (connectors).
Accessing (
menu
) and quitting (
exit
) the
menus.
The remote control of your Wysius™ controls your monitor as
well as the functions of other devices described on page 9.
To control the monitor, switch this
key to the
plasma
position.
Video S-Video
RGB Component
To select pictures from a PC.
To select the Sleep Timer.
Format control.
To go back to your preferred Sound
settings.
To go back to your preferred Picture
settings.
4/3 16/9 Zoom

- 9 -
1. Application Object
These instructions are applied to all of the PDP monitor, NF-
01DC.
2. Notes
(1) Because this is not a hot chassis, it is not necessary to use
an isolation transformer. However, the use of isolation
transformer will help protect test instrument.
(2) Adjustment must be done in the correct order.
(3) The adjustment must be performed in the circumstance of
25±5°C of temperature and 65±10% of relative humidity if
there is no specific designation.
(4) The input voltage of the receiver must keep 220/230V,
50/60Hz in adjusting.
(5) The receiver must be operated for about 15 minutes prior
to the adjustment.
1) After receiving 100% white pattern, the receiver must be
operate prior to adjustment.(Or white condition in HEAT-
RUN mode)
2) Enter into HEAT-RUN mode
- Select the HEAT-RUN by pressing ADJ button on
Remote Control for adjustment.
- Press the VOL + button in HEAT-RUN OFF.
(OSD display HEAT-RUN WHITE and screen display
100% full WHITE PATTERN)
3) Set is activated HEAT-RUN without SET TOP BOX or
signal generator in this mode.
[Single color pattern of HEAT-RUN mode uses to check
PANEL.(RED/BLUE/GREEN)
[Caution] If you turn on a still screen more than 20 minutes, a
afterimage may be occur in the black level part of the
screen.
3. POWER PCB Assy Voltage Adjustment
[Replace PDP Module or Power Board, adjust certainly Power
PCB Assy Voltage.
3-1. Test Equipment
D.M.M 1EA
3-2. Connection Diagram for Measuring
Refer to Fig 1.
3-3. Adjustment Method
(1) Va Adjusment(Address Voltage Adjusment)
1) Connect pin 1 of CN806 or CN811 to (+) jack of D.M.M.
2) After turning the VR351(Va Adj), voltage of D.M.M
adjustment as same as Va voltage which on label of
panel right/top.(Deviation : ±0.5V)
(2) Vs Adjustment
1) Connect pin 1 of CN803 to (+) jack of D.M.M.
2) After turning the VR551(Vs Adj), voltage of D.M.M adjust
as same as Vs voltage which indicated on label of panel
right/top.(Deviation : ±0.5V)
(3) V-y Adjustment
1) Connect pin 1 of CN802 to (+) jack of D.M.M.
2) After turning the VR751(V-y Adj), voltage of D.M.M
adjust as same as Vs voltage which indicated on label
of panel right/top.(Deviation : ±0.5V)
(4) Vsetup Adjustment
1) Connect pin 5 of CN802 to (+) jack of D.M.M.
2) After turning the VR651(Vsetup Adj),voltage of D.M.M
adjust as same as Vs voltage which indicated on label
of panel right/top.(Deviation : ±0.5V)
(5) 5V Adjustment
1) Connect pin 3 of CN809 to (+) jack of D.M.M.
2) Adjust the voltage data of D.M.M to 5.1V by
turning.(Deviation : ±0.05V)
(6) STBY-5V Adjustment
1) Connect pin 3 of CN808 to (+) jack of D.M.M.
2) Check the voltage(5V) of D.M.M.
3) Adjust the voltage data of D.M.M so that voltage data of
D.M.M is 5V.(Deviation : ±0.05V)
ADJUSTMENT INSTRUCTIONS
Vs
Va CTL
- Vy CTL
VR751
Vsetup CTL
VR651
- Vy Vsetup
Vs
- Vy CTL
VR751
Vsetup CTL
VR651
- Vy Vsetup
Va
CN811
CN809
CN808
5V
CN806
CN802 CN803
STBY 5V
VR 351
Va CTL
VR 253
5V
VR 151
STBY 5V
Va CTL
VR 551
Vs CTL
<Fig 1> Connection Diagram of Power Adjustment for Measuring
Refer to Typical Voltage
Va
Vs
Vy
Vsetup
60 ~ 75V
170 ~ 185V
-60 ~ -90V
210 ~ 240V

- 10 -
4. Adjustment of White Balance
4-1. Required Equipment
Color analyzer(CA-100 or same production)
4-2. Connection Diagram of Equipment for
Measuring
[After stop the Micom by pressing IN-START Key on Remote
Control, insert the P1002 with automatic adjustment of
connector.
After remove connector, move the Micom by pressing ENTER
Key.
4-3. Adjustment of White Balance
• White Balance should be done after RGB cut-off become
adjustment.
• Operate the Zero-calibration of the CA—100, then stick
sensor to PDP module surface when you adjust.
(1) Select WHITE PATTERN of HEAT RUN mode by pressing
ADJ button on Remote Control for adjustment then operate
HEAT RUN more than 15 minute.
(2) Supply 10 step gray scale bar signal in pattern generater.
(A/V Input)
(3) To adjust Low Light, stick sensor to 9th pattern(Dark),
select the W/B by pressing ADJ button on Remote Control
for adjustment and press the VOL + button enter
Adjustment Mode.
After select the G cut and B cut, press the VOL +/- Key
and adjust it until color coordination becomes (R cut
fixation)
color coordination : X=0.270±0.003, Y=0.280±0.003
color temperature : 10,000cK ± 500cK
(4) To adjust High Light, stick sensor to 2th pattern(White),
select the W/B by pressing ADJ button on Remote Control
for adjustment and press the VOL + button enter
Adjustment Mode.
After select the R GAIN and G GAIN, press the VOL +/-
Key and adjust it until color coordination becomes (B GAIN
fixation)
color coordination : X=0.270±0.003, Y=0.280±0.003
color temperature : 10,000cK ± 500cK
(5) Confirm the result of the High Light adjustment.
If the deviation of High Light occur, operate the adjustment
of Low Light and High Light again.
(6) Exit adjustment mode using Enter button.
COLOR
ANALYZER
TYPE; CA-100
Window Pattern
CVBS Signal Input
High Light
85±5cd/m2
Low Light
8±3cd/m2 PDP MONITOR
MSPG-2100 or
MSTG-5200
<Fig 3> Connection Diagram of Automatic Adjustment
- Vy
Vsetup
Vs
Va
Vsetup ADJ
VR8104
Va ADJ
VR8105
Vs ADJ
VR8102
- Vy ADJ
VR8103
<Fig 2> Connection Diagram of POWERWEL Power Adj. for Measuring

- 11 -
TROUBLESHOOTING
1. No Video
2. No Sound
Abnormal Picture
Input PC signal.
Normal
Abnormal
Check CXA2101
IC203
Normal
Check ADV7123
IC406
Check JAGASM
IC501
Check 74F541D
IC902~IC905
Check cable of pin 41
P902
Normal
Check FLI2220
IC404
Normal
Check FLI2200
IC403
Normal
Check VPC3230
IC201
Normal
Check Input jack & Connector.
Check connector
speaker to set. Check MSP3401
IC601 Check LA4282
IC603 Check Input
Jack.

- 12 -
3. No Video
4. No Sound
Nothing output of image.
Check Input of AC.
(90~225V)
Normal
Abnormal
Abnormal
Abnormal
Check ST-BY LED ON
Main S/W ON.
Normal
Check LED YELLOW
Sub S/W ON.
Connect plug with the set.
Check AC Line Fuse.
Check OPEN with
CN802,CN803,CN804.
Check the Vs voltage
and Q603,Q703 short.
Abnormal Replace Q603,Q703
Normal
Check a connective condition
and various connector.
Check a connective
condition of power cable. Check voltage of sound
terminal. Check Open with F8811
Fuse. Check connection
line of speaker.

- 13 -
BLOCK DIAGRAM
1. VSC
MICOM
EEPROM
X2416P
AUDIO
L
R
AUDIO AMP
LA4282
(L & R)
5
RGBHV
COLOR DECODER
(VPC3230D)
DEINTERLACE
(FLI2200)
MEMORY
(4M-BYTE)
ENHANCER
(FLI2220)
COLOR CONTROL
&
VIDEO SWITCH
(CXA2101Q)
3Y,Pb,Pr(MNT)
SCALER
(JAGASM)
MEMORY
(8M-BYTE)
EPLD
(GEN. CLAMP)
Buffer
(74F574 x 4)
H
V
Clamp
2H/V
H
5H/V/CLK/
HBLK/VBLK
4
H/V/DE/CLK
5
RGBHV
3RGB
AUDIO
SWITCH
(LA7222)
2
H/V
PORT EXP
(M62320X4)
ROM
(AT29C010)
(74HCT373)
YCbCr/
YPbPr
CVBS
Y/C
41P
4
4
H/V/
FIELD/
LLC1
2H/V
DAC
(ADV7123) 5
RGBHV
16
YUV
30
RGB
RGB
30
YUV
16
24
RGB
2
Rx,Tx
Digital Line
Analog Line
H/V/DE/CLK
24
RGB

- 14 -
2. POWER
RELAY_ON
5V_MONI
Vs_ON
AC_ON
5V (MAIN)
GND
Va
GND
Vs
GND
GND
Vsetup
GND
-Vy
GND
GND
15V
GND
12V
30V
INPUT
110~220VAC
RECTIFIER
FILTER
(FOR EMI) RECTIFIER AC
MONITOR RECTIFIER
& FILTER
RECTIFIER
5V
MONITOR
MICOM
5V (ST-BY)
GND
DC/DC CONV.
REGULATOR
DRIVE &
RCC SWITCHING
O.V.P, U.V.P
DETECTOR
DRIVE
PFC
CONTROL
& DRIVE
PFC
SWITCHING
RECTIFIER
&
FILTER FILTER
DRIVE &
FLYBACK
SWITCHING
DRIVE &
FLYBACK
SWITCHING
DRIVE &
FORWARD
SWITCHING
DRIVE &
RCC SWITCHING

MEMO
- 15 -

- 16 -
EXPLODED VIEW
301
303
302
200
203
201
202
205 211
204
207
208
209
206
400
540
401
550
551
530
560
570
300
212
305
520
580

- 17 -
EXPLODED VIEW PARTS LIST
200 35689470 PDP 42” 16:9 852*480 FOR DND INTER
201 35689540 PWB ASSY,DISPLAY ZCNT ASSY HAND INSERT
202 35689550 PWB ASSY,DISPLAY ZSUS ASSY HAND INSERT
203 35689560 PWB ASSY,DISPLAY ZCNT ASSY HAND INSERT
204 35689570 PWB ASSY,DISPLAY XRRT ASSY HAND INSERT
205 35689580 PWB ASSY,DISPLAY XRLT ASSY HAND INSERT
206 35689590 PWB ASSY,DISPLAY YSUS ASSY HAND INSERT
207 35689600 PWB ASSY,DISPLAY YDRV ASSY SMD BOTTOM INSERT
208 35689610 PWB ASSY,DISPLAY YDRV ASSY SMD TOP INSERT
209 35689620 PWB ASSY,DISPLAY CTRL ASSY HAND INSERT
300 35689710 CABINET ASSY
301 35689720 SUPPORTER ASSY FILTER TOP
302 35689730 SUPPORTER ASSY FILTER BOTTOM
303 35689740 SUPPORTER ASSY FILTER SIDE
305 35689750 FRONT GLASS FILTER
400 35689870 BACK COVER ASSY
520 35689630 PWB ASSY,MAIN
530 35689640 BOARD ASSY,PDP POWER LINE-FILTER
540 35689650 PWB ASSY,MNT CONT
550 35689660 PWB ASSY,MNT POWE
560 35689670 PWB ASSY,MNT SPK
570 35689680 BOARD ASSY,POWER BOARD
No. Part No. Description

P/N: 3854VA0100B-S1(1/2)
2002.03.05

P/N: 3854VA0100B-S1(2/2)
2002.03.05
Table of contents
Other THOMSON Plasma TV manuals

THOMSON
THOMSON 42WS90E User manual

THOMSON
THOMSON 42 WM 03 L User manual

THOMSON
THOMSON 50WB03P User manual

THOMSON
THOMSON 42WS90E3 User manual

THOMSON
THOMSON 42WM03ST User manual

THOMSON
THOMSON 50WS94E User manual

THOMSON
THOMSON 37PB220S4 User manual

THOMSON
THOMSON 42PB120S4 User manual

THOMSON
THOMSON 42PB120S5 User manual

THOMSON
THOMSON 42WS90E User manual