- 8 -
NICAM DIGITAL STEREO
NICAM (Near Instantaneous Companded Audio
Multiplex) digital audio.
The digital signal broadcast together with the
existing sound and pictures of terrestrial
television are decoded by this receiver to enable
high quality stereo sound to be reproduced with
advantages similar to those of compact discs. i.
e. extended dynamic range and channel
separation with low noise and low distortion.
These are considerable benefits compared with
the current standard system. The digital channel
separation will allow the Broadcasters to
transmit dual languages as an alternative feature
after the service is established.
You will be able to take full advantage of this
exciting new facility. The increase in overall
realism and ambience created by this new
dimension in television sound will bring
increased viewing enjoyment to all forms of
programme material-to sport as well as the more
obvious advantages to all forms of musical
entertainment.
In the absence of NICAM signals or if the
NICAM signal becomes extremely weak, the
receiver will select the standard system
automatically.
The standard signal can also be chosen by
selecting the mono mode using the appropriate
IMC on-screen graphics display. This is known
as forced mono.
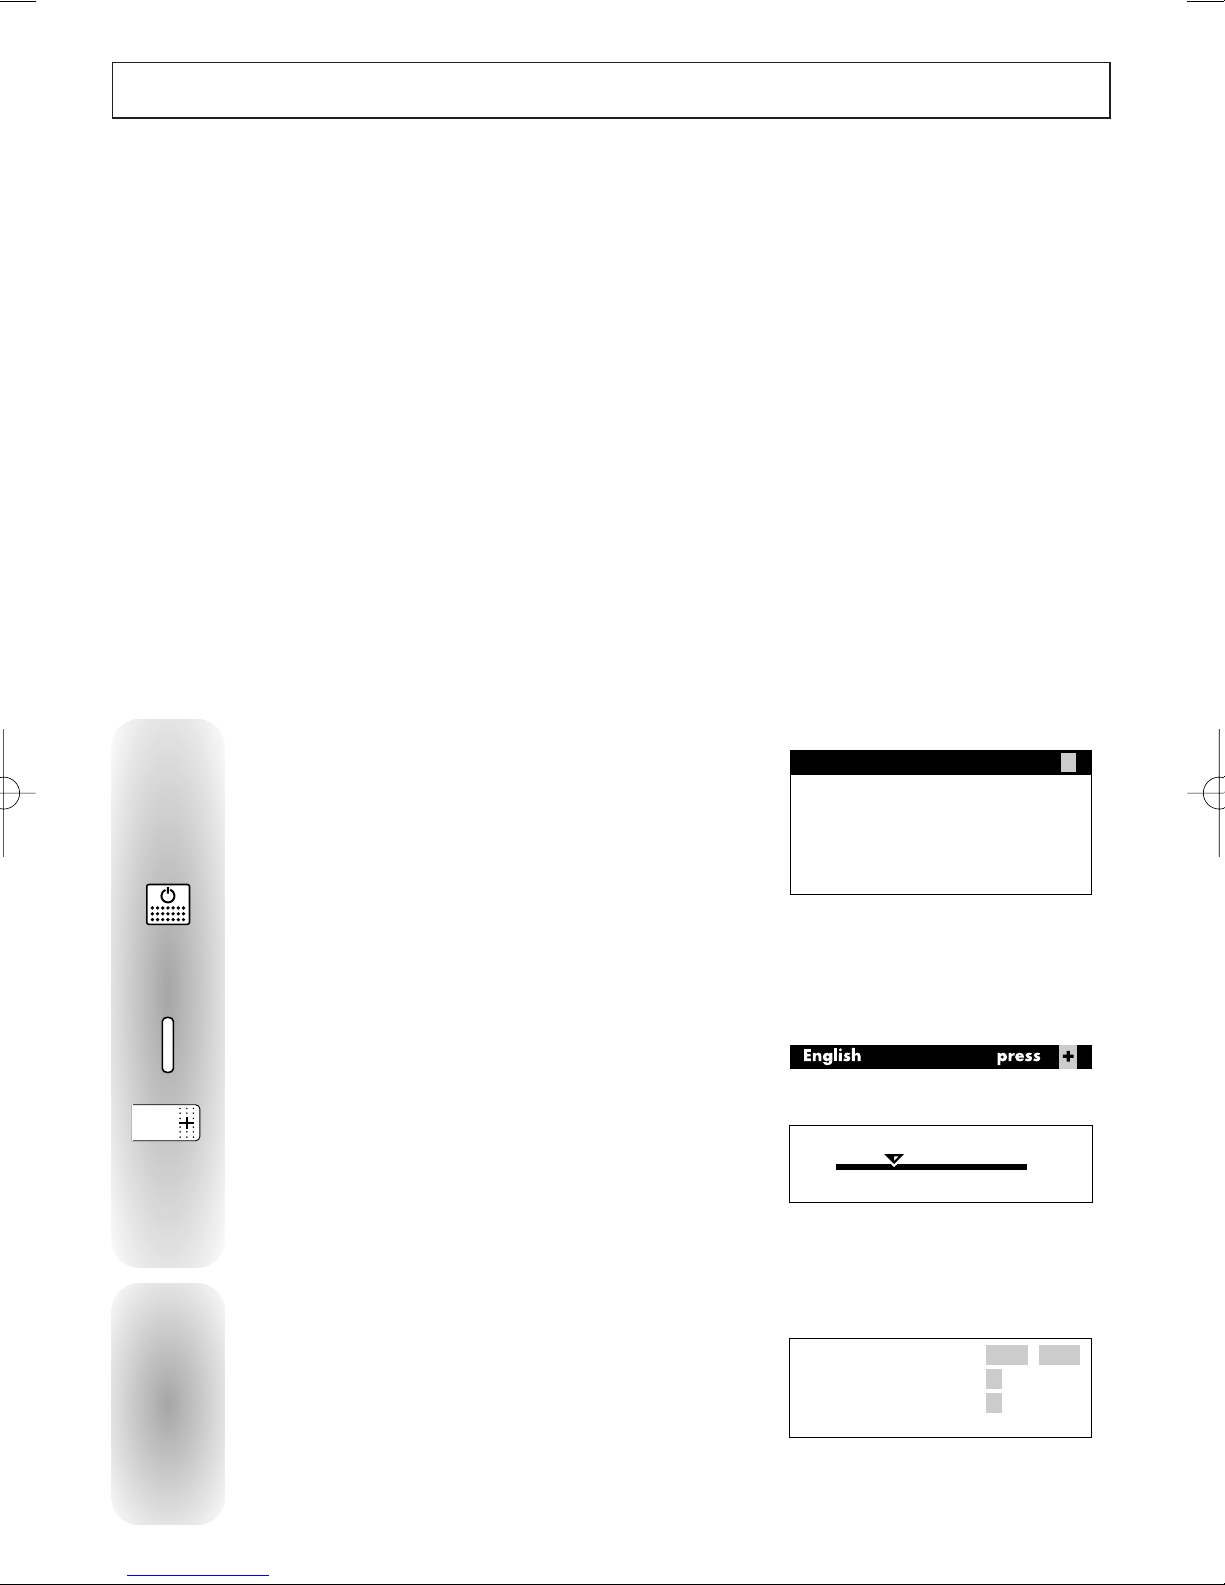
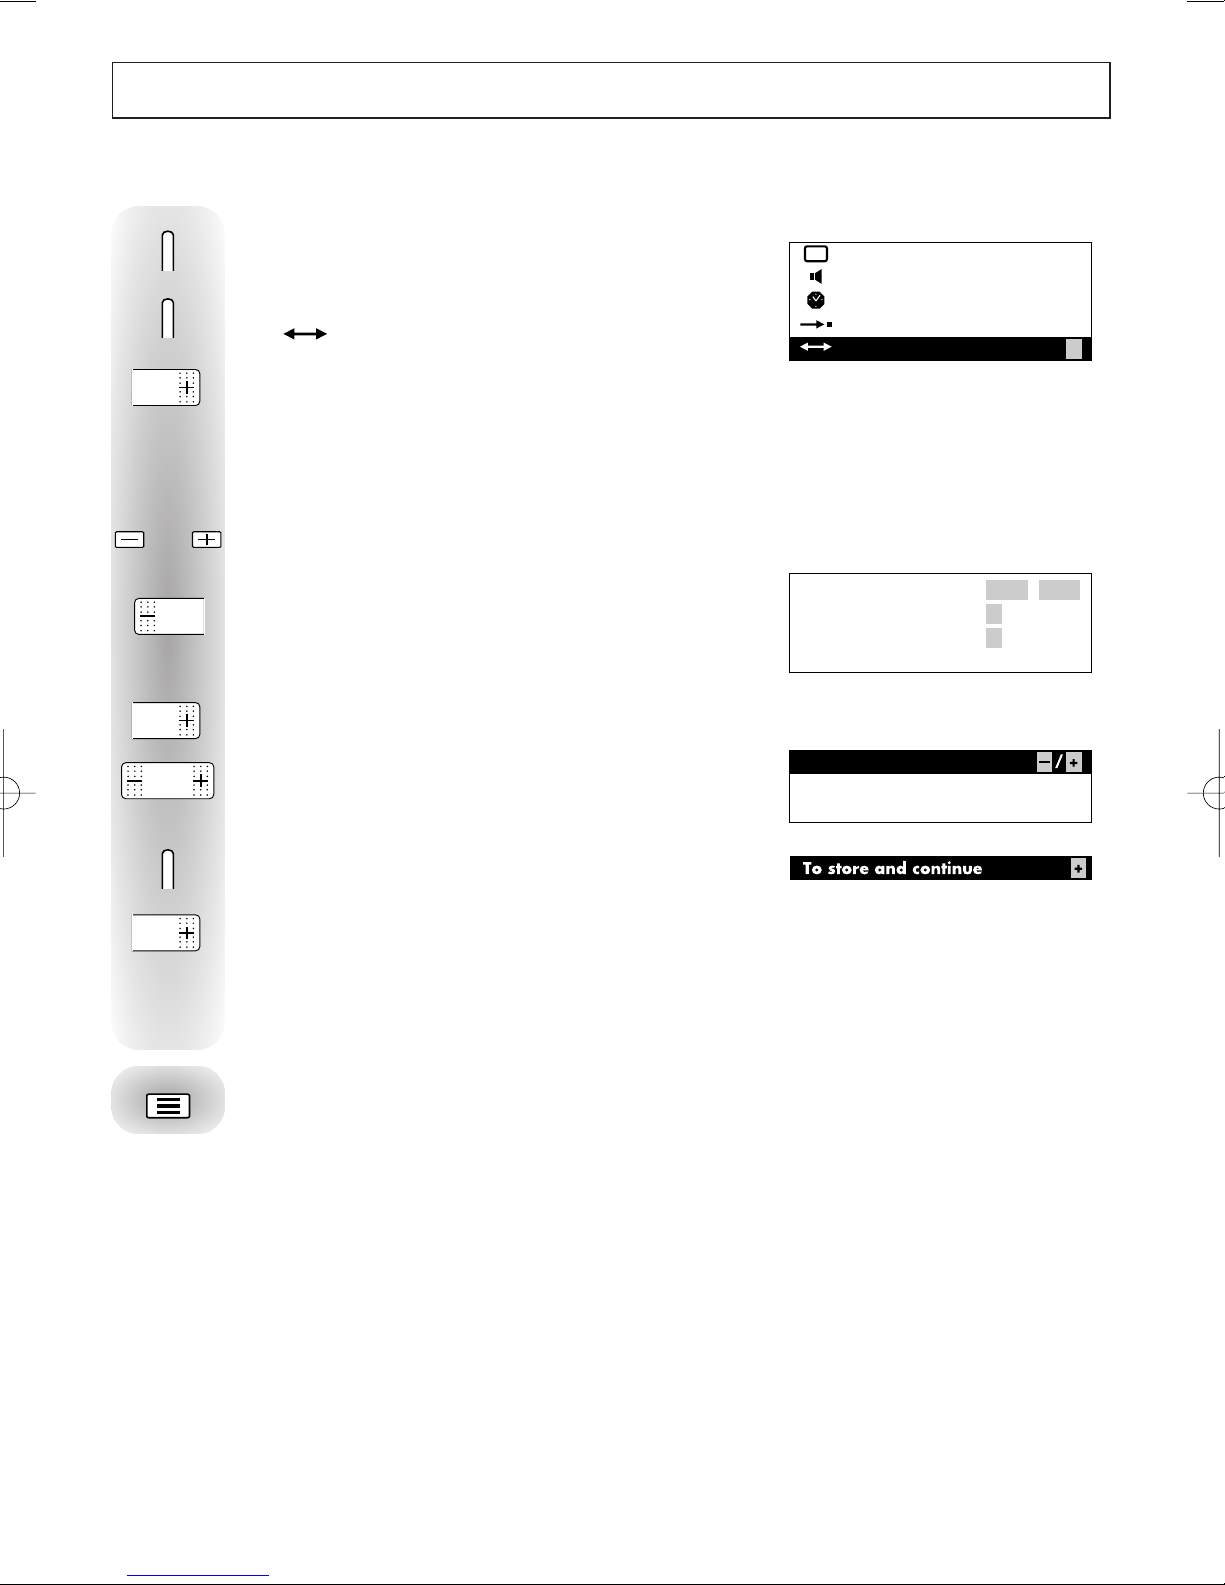
Press briefly to call up the main menu.
The
PREF.
line is selected.
Press briefly to select the PREF. line.
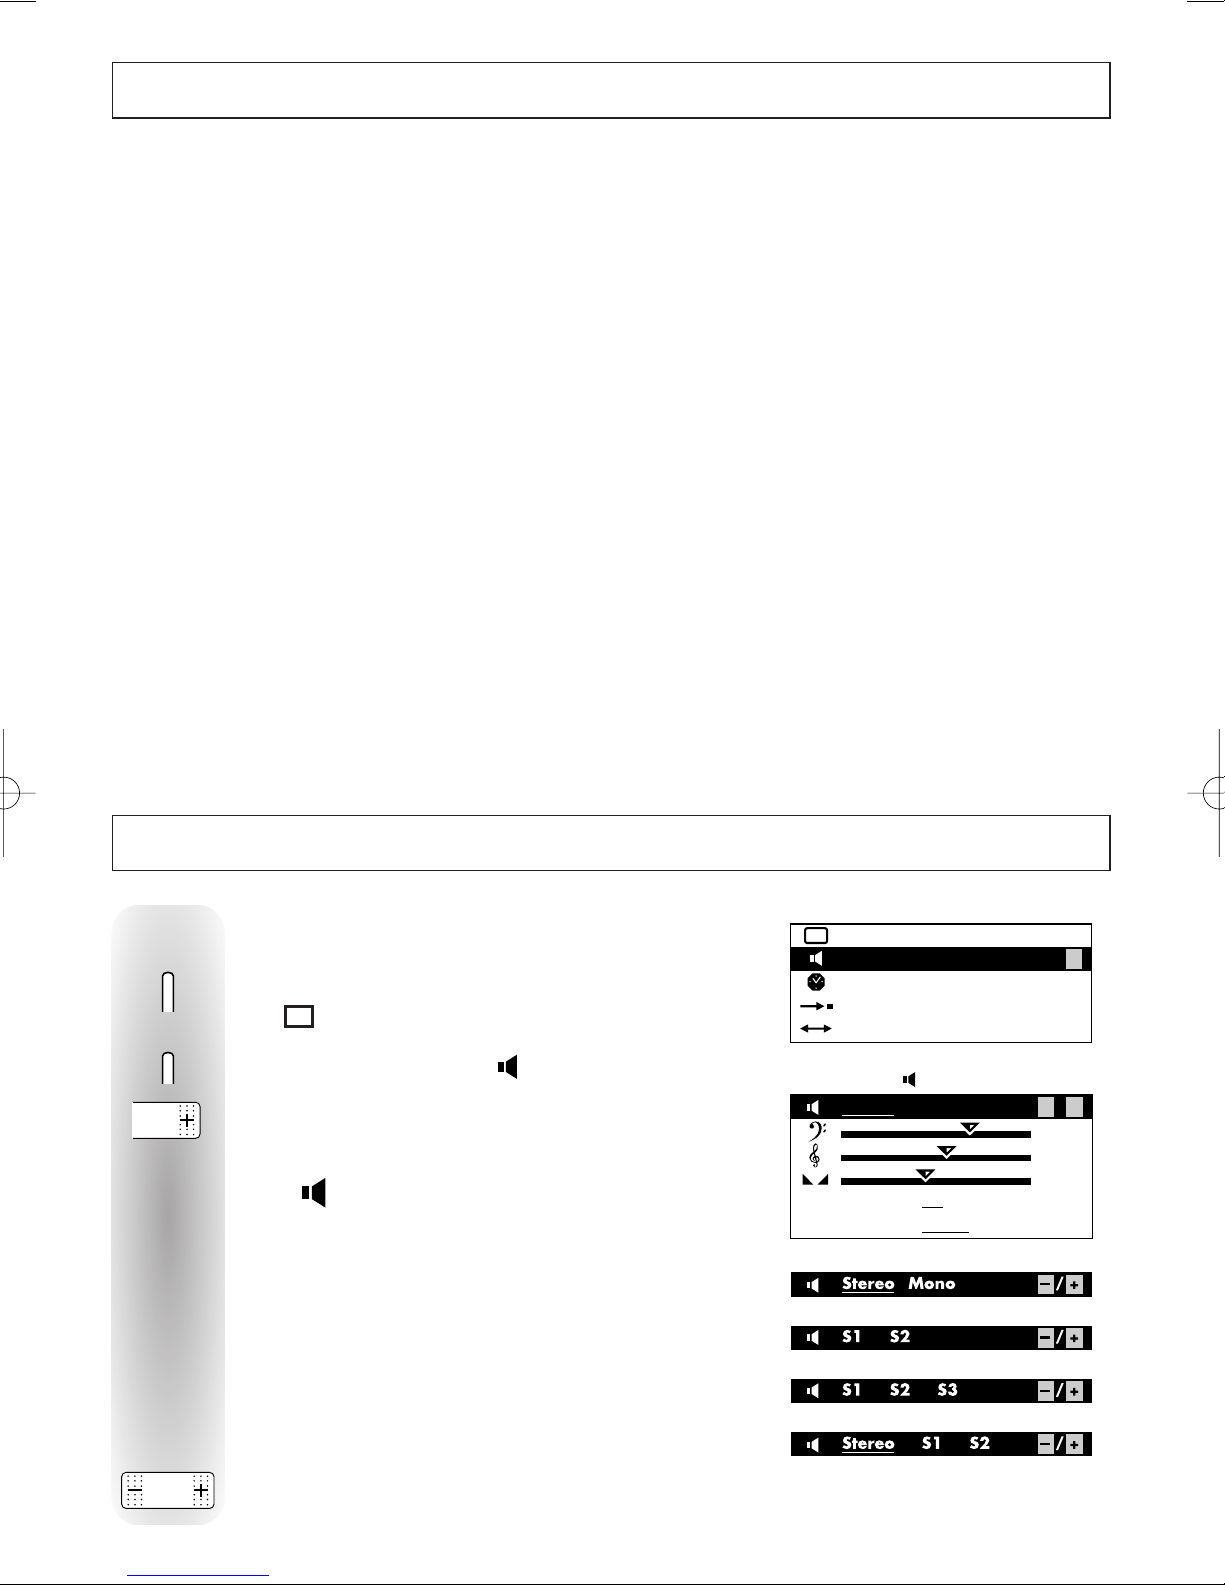
Press briefly and the Sound menu appears.
The line is selected.
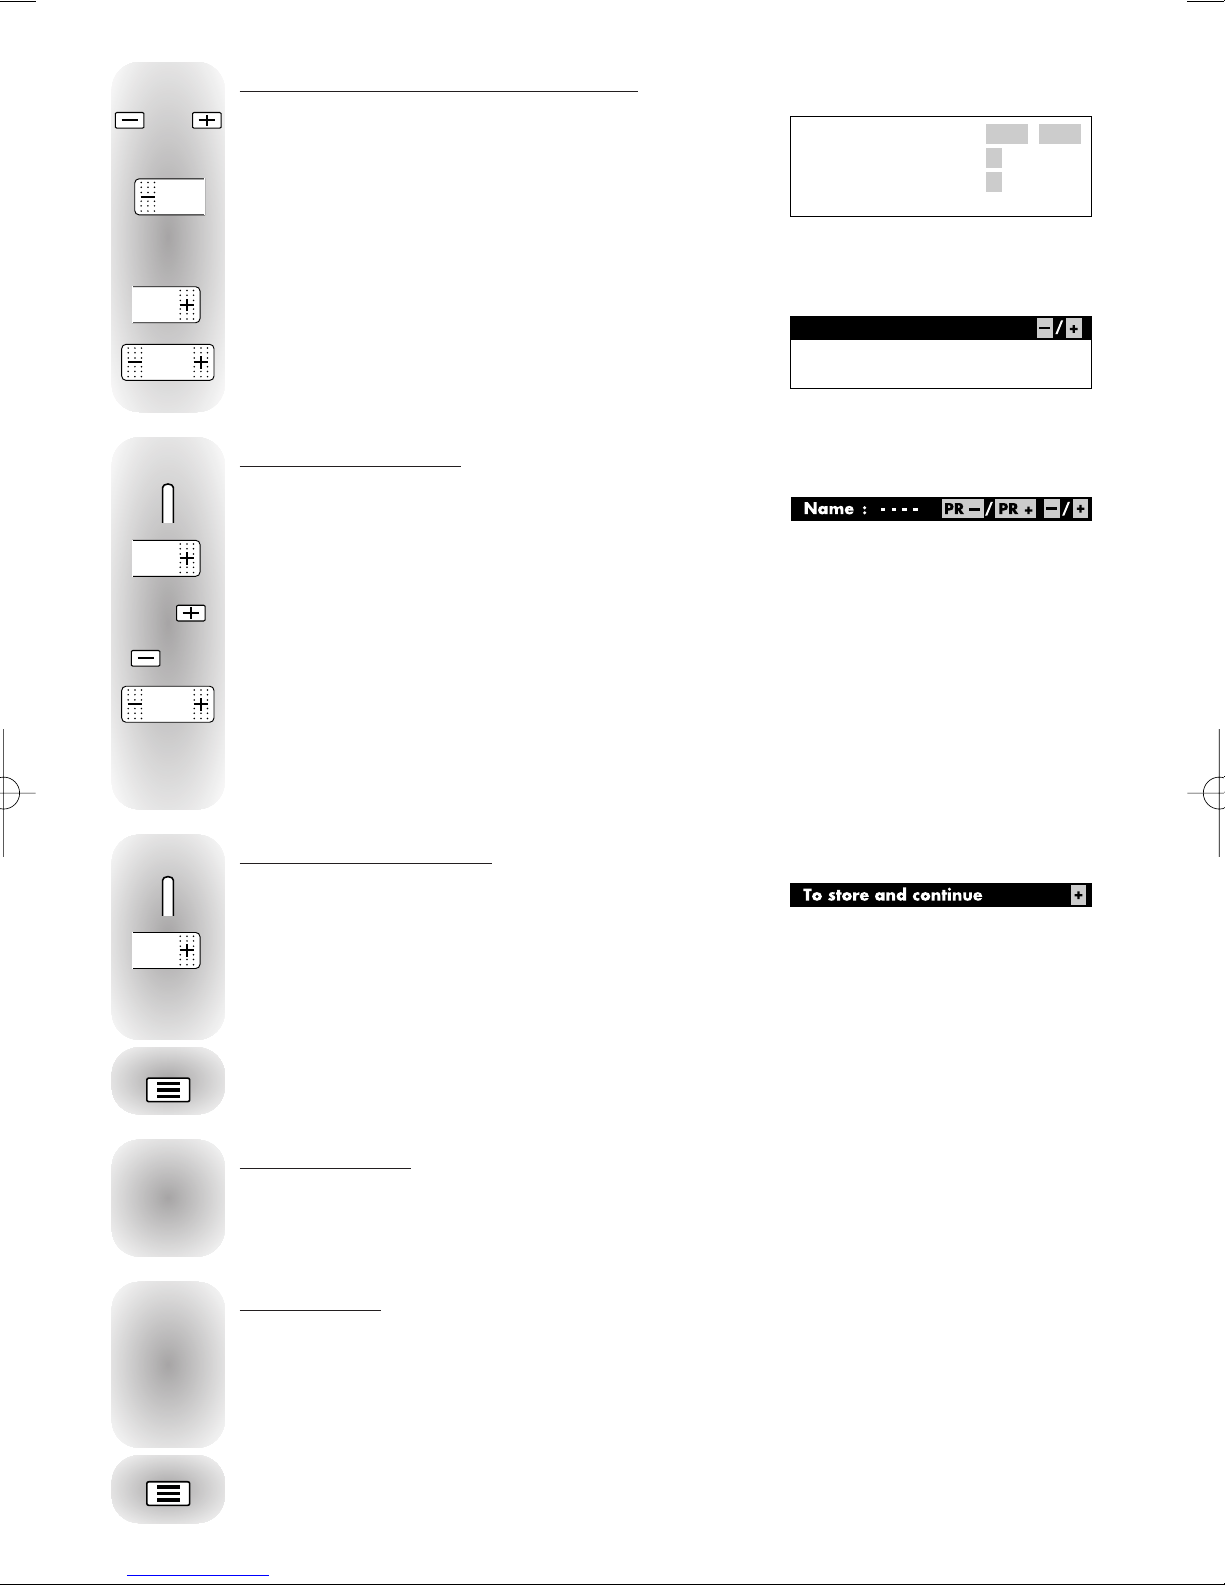
This varies depending on the sound type received.
NICAM STEREO or MONO SOUND
DUAL SOUND
NICAM 3 SOUND
AV SOUND
Select the desired sound for the loudspeakers.
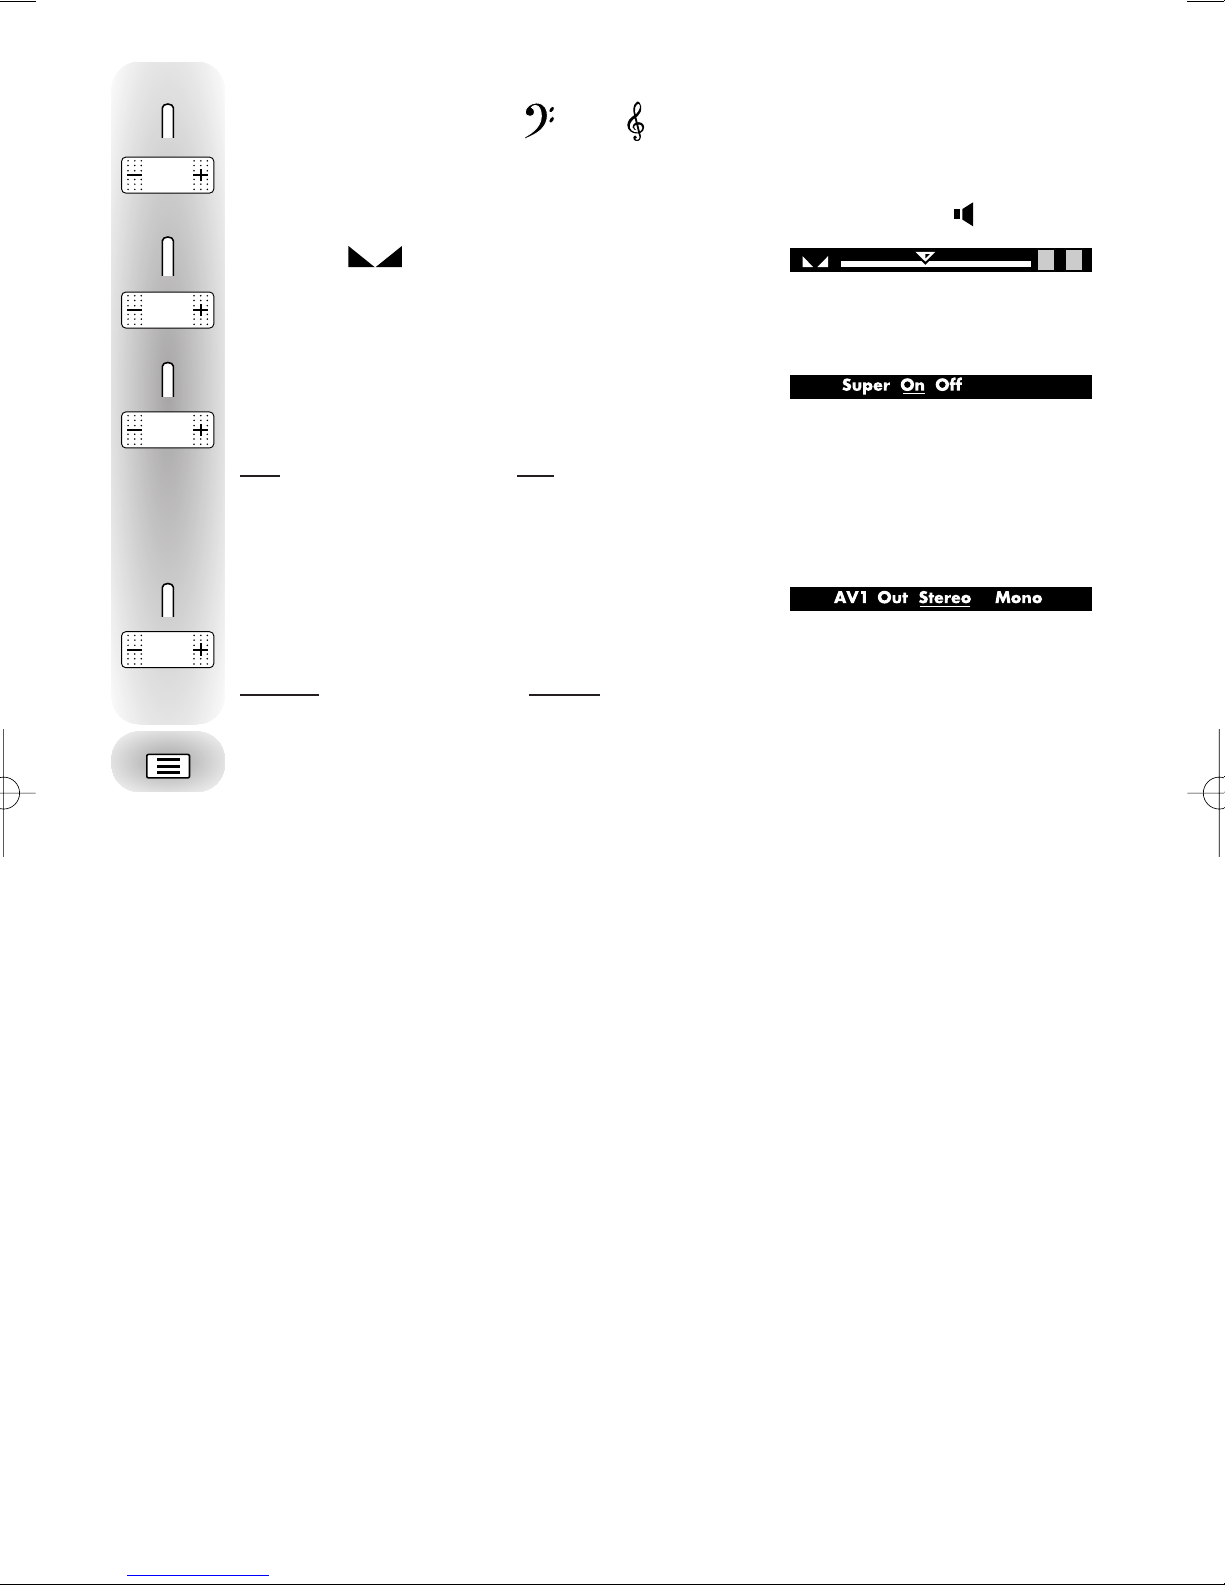
SOUND ADJUSTMENTS
Stereo Mono
—
/ +
Super On Off
AV1Out Stereo Mono
PREF.
PREF.
PREF.
—
—
:
—
—
Program.
Organis.
+
MENU
14 MS 73 F GB 22/10/1997 17:09 Page 8