TIG SB-10-P User manual

TIG
TIG
Cold Wire Feeder

3-SB-10
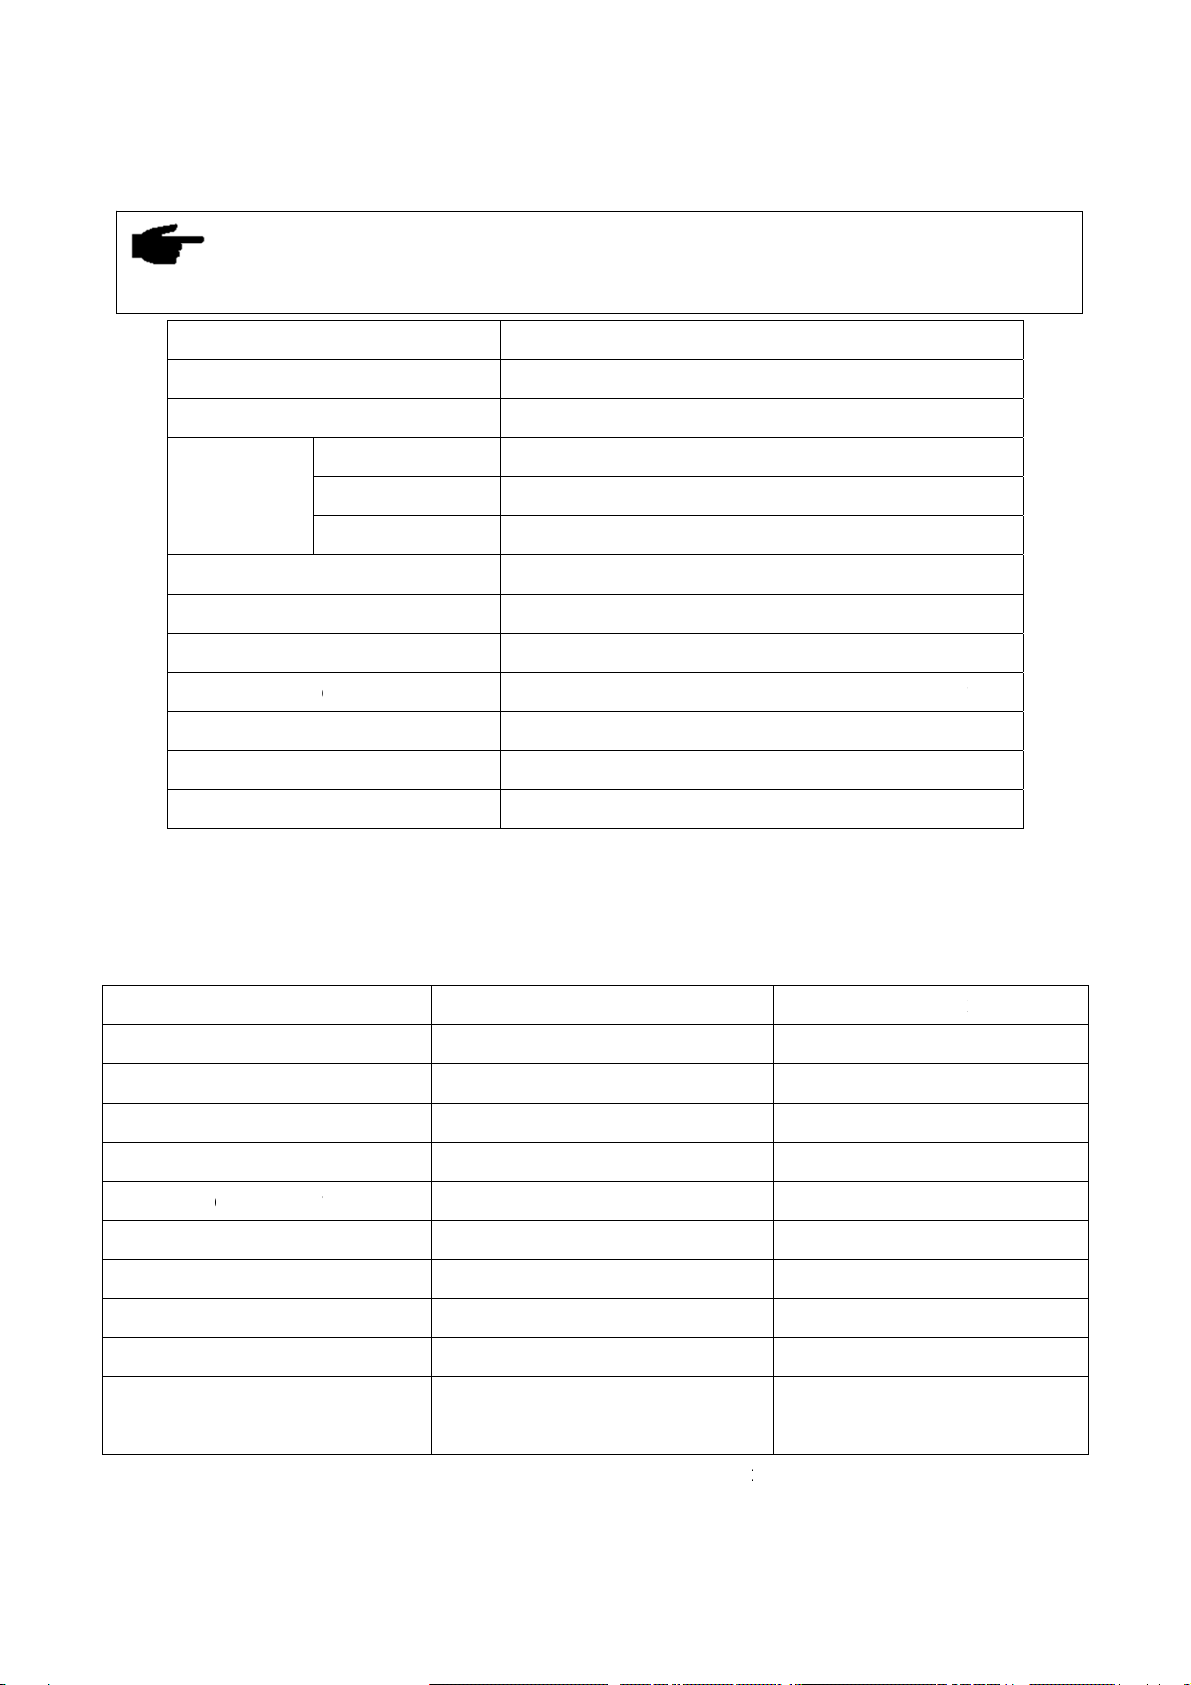
3-1 Syste
This series
special sit
e
3-2 Basic
Basic equi
p
-P
m compo
n
of machin
e
e
s with diffe
r
equipme
n
p
ments are
- Welding
- Welding
n
ents
e
s can be e
q
r
ent configu
r
n
ts for wel
d
needed for
n
machine
cable
uipped with
r
ations. Ple
a
Fig. 3-1-1
d
ing
n
ormal wel
d
many diffe
r
a
se refer to
: System c
o
d
ing. Below
a
r
ent access
o
Fig. 3-1-1.
Welding
o
mponents
a
re the lists
o
ries and c
a
SB-10-P
TIG torch
Ground c
a
Gas hose
Welding c
a
machine (T
I
:
a
n be used i
n
a
ble
able
IG series)
n
various

3-3 Interf
a
zFront
1. Curren
t
Can not us
2. Voltag
e
Can not us
3. Wire w
i
Preset wir
e
4. Wire fe
Preset wir
e
5. Wire fe
6. Manua
l
Switch on
m
- Ground
- Welding
- Welding
- Gas reg
a
ce
panel
t
adjustmen
e now.
e
adjustmen
e now.
i
thdraw adj
u
e
withdraw
s
e
eding spee
d
e
feeding sp
e
e
ed/wire wit
h
l
wire feedi
n
m
anual posi
1
2
3
4
5
6
7
cable
wire
torch
ulato
r
, gas
h
t knob
t knob
u
stment kno
s
peed.
d
adjustme
n
e
ed.
h
draw switc
h
n
g/auto wire
tion, wire w
i
h
ose, gas c
y
Fig.
b
n
t knob
h
feeding swi
i
ll feed out
o
y
linde
r
(to s
u
3-3-1: Fro
n
i
tch
o
r withdraw.
u
pply the m
a
n
t panel
a
chine with
shielding g
a
a
s)

Switch on
a
7. 2-pin t
o
Connect w
i
zSide
v
Left side
v
Right side
a
uto positio
n
o
rch trigger
s
i
th welding
t
v
iew
v
iew
view
n
, press tor
c
s
ocke
r
t
orch conne
c
c
h trigger, w
c
tor. This s
o
Fig. 3
-
Fig.
3
ire will feed
o
cket receiv
e
-
3-2: Left si
d
3
-3-3: Right
s
out or with
d
e
s the trigg
e
d
e view
s
ide view
d
raw.
e
r signal fro
m
4-pin
5A fuse
m
the torch
control soc
k
t
rigger.
k
et

Note: If wi
r
replace, b
u
1. Con
t
2. Wir
e
3. Hex
4. Flat
5. Knu
r
6. Wir
e
7. Hex
hex
8. Inne
9. Inne
10. Pre
s
3-4 Conn
e
r
e guide ho
s
u
tton will res
t
act tip: sta
n
e
filling devi
c
nut
square nut
r
led nut: adj
e
guide noz
z
nut: releas
e
nut.
r hex screw
r hex screw
s
sure cover:
e
ction
s
e is damag
et by upspri
n
dard isΦ1.
0
c
e goose ne
ust knurled
z
le pipe sle
e
e
hex nut, in
s
: release to
pressure w
ed, just pre
s
ng automat
i
Fig. 3-
3
0
~Φ2.5.
ck
nut, weldin
g
ve
s
tall wire fe
e
adjust angl
e
ell after wel
d
s
s this butt
o
ically.
3
-4: Wire fill
g
torch barr
e
e
ding hose
i
e
.
d
ing torch i
n
o
n, then you
ing device
e
l can fine a
d
i
nto wire gu
i
n
stallation.
can pull ou
d
just up an
d
de nozzle p
u
t wire guid
e
d
down, ran
g
p
ipe sleeve,
e
hose. Afte
r
g
e is 10mm
.
then tighte
n
r
.
n

Torch t
r
4-pin c
o
3-5 Instal
l
W
mains
e
damag
e
- the
w
- the
w
r
igger soc
k
o
ntrol sock
e
l
ation and
W
arning! E
e
lectricity s
u
e
. Only carr
y
w
elding mac
h
w
elding mac
h
k
et
e
t
operation
lectric shoc
k
u
pply durin
g
y
out work o
n
h
ine mains
s
h
ine is unpl
u
Table
k
is very da
n
g
installatio
n
n
the machi
n
s
witch is in
t
u
gged from
1
2
1
3
3-4-1: Con
n
n
gerous. If t
h
n
, there is
a
ne when
t
he “OFF” p
o
the mains.
2
2
4
Power
supply
Soc
k
pi
n
1,
2
1,
2
3,
4
n
ection
h
e welding
m
a
high risk
o
sition,
box
k
et
n
2
T
2
4
W
e
s
m
achine is
p
o
f very seri
Descripti
o
T
orch trig
g
AC36V
e
lding ma
c
s
witch sig
n
p
lugged into
i
ous injury
a
o
n
g
e
r
c
hine
n
al
the
a
nd

z
Install
The prope
r
feed roller
s
Type 1: for
Type 2: for
Type 3: for
Important
!
wire crush
e
increase th
Suitable pr
e
ation of wi
r
r
wire feed r
o
s
as Fig. 3-5
hard wire,
s
soft wire, s
u
flux-cored
w
!
When use
e
d, and the
e wire feedi
e
ssures for
r
e feed roll
e
o
llers must
b
-2:
s
uch as car
b
u
ch as alu
m
w
ire
pressure h
a
wire coatin
ng resistan
c
wires of dif
f
Fig.
3
e
rs
b
e chosen
a
b
on steel wi
r
m
inum and a
Fig. 3-
5
a
ndle to adj
u
g be dama
g
c
e.
erent mater
3
-5-1: Instal
a
ccording to
re, stainles
s
luminum all
o
5
-2: Wire fe
e
u
st wire fee
g
ed, and it
r
ials and dia
m
lation
the size an
d
s
steel wire.
o
ys, also fo
r
e
d rollers
l roller pres
s
will cause t
m
eters are
a
d
material o
f
r
copper an
d
s
ure, too m
u
he wearing
a
s shown in
f
the wire. T
y
d
copper all
o
u
ch pressu
r
out of fee
d
Fig. 3-5-3.
y
pes of wir
e
o
y wire.
e will caus
e
rollers an
d
e
e
d

Installatio
n
1. Power o
f
2. Open th
e
3. Press th
e
4. Pull up t
h
5. Remove
6. Replace
7. Fix the
w
Important
!
through th
e
the condu
c
Important
!
n
step
f
f the wire f
e
e
side pane
l
e
pressure
h
h
e pressur
e
the fixed w
i
by the pro
p
w
ire pressur
e
!
Regulatin
g
e
guiding tu
b
c
tive tip to a
v
!
There is
a
h
a
n
d
l
e
d
Fig. 3-
5
e
ede
r
;
l
;
h
andle dow
n
e
device;
i
re pressur
e
p
e
r
wire pre
s
e
roller o
r
w
g
the press
u
b
e smoothl
y
v
oid the wir
e
a
scale for
w
i
a
l
5
-3: Wire fe
e
Fig.
n
ward;
e
roller or wi
r
s
sure roller
o
ire feeding
r
u
re of feedi
y
, and there
e
feed roller
s
w
ire feedin
g
e
d rollers in
s
3-5-4: Side
r
e feeding r
o
o
r wire feed
i
r
oller by the
i
ng rollers
w
should be
a
s
skidding.
g
pressure
o
s
tallation p
a
view
o
ller by the
s
i
ng roller;
screw driv
e
w
ith the pr
e
a
bit brake f
o
o
n the Pre
s
ramete
r
s
crew drive
r
er
.
ssure hand
o
rce where
s
sing Handl
e
r
;
d
le, ensure
the wire co
m
e
(Fig. 3-5-
t
he wire g
o
m
e out fro
m
3), differen
t
o
m
t

materials
a
adjustmen
t
N
o
will cause
t
z
Install
W
firmly.
Installatio
n
1. Power o
f
2. Open th
e
3. Screw o
f
4. Fix the
w
5. Insert dr
6. Adjust t
h
N
o
ensured to
avoid mot
o
7. Twist th
e
8. Open si
d
9. Pull pre
s
10. Pull up
11. Take t
h
12. Straigh
13. Insert t
h
14. Press t
15. Push t
h
16. Adjust
t
17. Straigh
18. Conne
c
19. With o
n
20. With th
e
21. Switch
22. Press t
a
nd sizes
o
t
standard i
s
o
te! Too mu
t
he wearing
ation of wi
r
W
arning! Th
e
n
steps:
ff
the wire f
e
e
cover of
w
f
f the end-c
o
w
ire spool in
iving lever i
n
h
e force by
a
ote: To twi
s
avoid wire
s
o
r overload.
e
end-cover
d
e panel of
w
s
sure handl
e
the pressu
r
h
e end of wi
r
ten the fron
t
h
e wire into
he pressur
e
h
e pressure
t
he pressur
e
ten the wel
d
c
t 4-pin con
t
n
e end of c
o
e
other end
on the weld
he auto wir
e
of
the wire
s
s
according
t
ch pressur
e
out of feed
r
e spool
e
drop of wi
r
e
ede
r
;
w
ire spool (t
h
o
ver of shaf
t
to the shaft
n
to reserve
d
a
djust contr
o
s
t control sc
r
s
catter whe
n
of the shaft
w
ire feede
r
;
e
forward;
r
e device;
r
e, cut off th
t
15 cm par
t
wire tube,
a
e
device do
w
handle bac
k
e
force;
d
ing torch a
n
t
rol socket
o
o
ntrol cable
c
of control c
a
ing machin
e
e
feeding b
u
s
are corre
t
o torch cab
e
will cause
w
rollers and i
r
e spool will
h
is cover is
o
t
;
and make
s
d
hold of wir
e
o
l screw;
r
ew by scre
w
n
wire spool
.
e curve par
t
t
of wire;
a
nd also int
o
w
nward;
k
to vertical;
n
d detach t
h
o
n wire feed
e
c
onnects wi
t
a
ble conne
c
e
;
u
tton and ho
e
sponding t
o
le length, t
o
w
ire crushe
d
ncrease th
e
cause dan
g
o
ptional);
s
ure of the
c
r
e spool;
w
wrench c
a
stops runn
i
t
;
o
the tube o
f
;
h
e contact ti
e
r with cont
r
t
h wire feed
c
ts with po
w
ld until the
w
o
different
o
rch type, wi
d
, and the
w
e
wire feedi
n
g
er! Ensure
c
orrect direc
t
a
n adjust br
a
i
ng. But the
f
wire filling
d
p
of wire filli
r
ol cable;
er control s
o
w
er supply b
o
w
ire comes
o
pressures
v
r
e feed con
d
w
ire coating
w
n
g resistanc
e
the wire sp
o
t
ion;
a
king force.
force cann
o
d
evice abo
u
ng device;
o
cket on we
o
x;
o
ut from th
e
v
alue. Actu
d
ition and
w
w
ill be dam
a
e
.
o
ol fixed in
t
Proper forc
o
t be too str
o
u
t 5cm;
e
lding machi
e
wire filling
al pressur
e
w
ire type.
a
ged, and it
t
he bracket
e should be
o
ng so as t
o
ne;
d
evice;
e
o
3-6 Tech
n
Wi
3-7 Main
c
S
C
o
Wir
e
Middl
e
machine
n
ical data
M
Moto
r
Wire
d
re spool
Rated
Wire fee
d
Cabl
e
Wir
e
Wire spo
o
Wire feed
e
Dimen
s
c
ompone
n
Item
S
pring piec
e
Nut
Main roller
Nut
opper slee
v
e
feeding r
o
Washer
Spring
e
wire guid
e
Motor
Note! Plea
s
will not wel
d
odel
r
voltage
d
iamete
r
Shaft dia
m
External di
a
Widt
h
traction
d
ing speed
e
length
e
type
o
l weight (kg
e
r weight (k
g
s
ion (mm)
n
ts list
e
v
e
o
lle
r
e
tube
s
e use the
w
d
and even
m
m
ete
r
a
mete
r
h
St
a
)
g
)
Table
3
Table 3-7-
1
w
ire feeder
w
m
achine wil
a
inless stee
l
3
-6-1: Tech
n
Quantity
2
2
1
1
2
2
2
1
1
1
1
: Main co
m
w
ith suitabl
e
l be damag
e
SB
-
D
C
Φ0.8m
m
Φ
5
Φ3
0
10
3
2
0
0.15
~
3
l
or mild ste
e
2
1
480*
2
n
ical data
m
ponents lis
t
e
welding m
a
e
d.
-
10-P
C
24
m
~Φ2.4mm
5
0mm
0
0mm
3
mm
0
0N
2m/min
3
m
e
l solid wire
2
0
1
0
2
00*270
1
SB-10-
P
t
a
chine. Use
(aluminum
w
Remar
k
M4
Φ12
M12X1.2
1
0X15.1X1
9
1.2-1.6
10X20X2
19X2.5X
2
Φ5XΦ3X
P
motor red
u
120SN10-
C
with impro
p
w
ire)
k
5
9
X12
.
4
2
7
3
0
u
cer1:150,
C
S
p
er welding

4-TRO
U
Item
Pressure
handle
dial
Wire
guide tube
Wire
feeding
roller
Wire
pressure
roller
Cable
that mig
h
U
BLE SH
O
● Wh
e
mat
c
● Wh
e
aro
u
tub
e
● Wh
e
agr
e
mar
k
rolle
● Con
t
bet
w
and
● Wh
e
● Wh
e
bro
k
Note! The
f
h
t happen.
O
OTING
Descript
i
e
ther set pr
e
c
hes with wi
e
ther there i
s
u
nd inlet of
w
e
and wire f
e
e
ther wire di
a
e
ed with wir
e
k
ed on wire
r
t
act face co
n
w
een wire fe
wire
e
ther rotate
s
e
ther cable i
s
k
en
f
ollowing tro
u
Table 4
-
i
on
e
ssure
re diamete
r
s
dust
w
ire guide
e
ed roller
a
meter is
e
diameter
feeding
n
dition
eding roller
s
moothly
s
worn or
u
bles and c
a
-1: Trouble
Press
u
pressu
wears
Too
m
wire fe
If not,
w
Conta
c
feedin
g
If not,
w
If yes,
a
uses are u
n
s
hooting
Probl
e
u
re is small
e
re is strong
e
easily
m
uch dust
eding is not
w
ire feedin
g
c
t face is w
o
g
is not smo
w
ire feedin
g
local heats
s
n
certain. H
o
e
m
r, roller ski
d
e
r, roller
accumulati
o
smooth
is not smo
o
o
rn, wire
oth
is not smo
o
s
eriously
o
wever, duri
n
d
s; Adju
s
acco
r
pres
s
adju
s
o
n, Rem
o
o
th Repl
a
feedi
n
Repl
a
feedi
n
o
th Repl
a
pres
s
Repl
a
ng the nor
m
Remedy
s
t pressure
r
ding to
s
ure handle
s
tment meth
o
o
ve dust
a
ce wire
n
g rolle
r
a
ce wire
n
g rolle
r
a
ce wire
s
ure rolle
r
a
ce new ca
b
m
al welding,
o
d
b
le

5- CAR
E
zPeriod
wire f
e
zBlow
o
zPeriod
norma
z
Keep
w
zMotor
with s
a
E
AND M
A
ically clean
e
eding roller
o
ut or vacuu
ically clean
l wire feedi
n
w
ire in venti
and reduce
r
a
les depart
m
Powde
r
Rust
A
INTEN
A
wire guide
h
will influen
c
m the insid
e
wire feedin
g
n
g.
lated, dry pl
r
do not ne
e
m
ent or man
r
A
NCE
h
ose and wi
c
e normal w
e
of the fee
d
g
hose. Wir
e
eace. Rust
e
e
d refuel an
d
ufacturer.
Ke
e
re feeding r
ire feeding.
d
e
r
.
e
powder a
n
e
d, dirty wir
e
d
maintain u
e
p in ventila
t
olle
r
and re
p
n
d dirt insid
e
e
will influen
sually. If th
e
t
ed, dry ple
a
p
lace i
f
wor
n
e
of wire fee
d
c
e welding
s
e
y have pro
b
a
ce
n
. Dirt and
s
d
ing hose
w
s
eam forma
b
lem, pleas
e
s
erious wor
n
w
ill influence
tion.
e
contact
n
This manual suits for next models
1
Popular Welding System manuals by other brands


Lincoln Electric
Lincoln Electric CLASSICII SVM125-A Service manual

CHICAGO
CHICAGO 3223 Assembly and operating instructions

Kemppi
Kemppi MinarcTig Evo 200 quick start guide

MK Products
MK Products CobraTig-150 CALIBRATION PROCEDURE

Miller Electric
Miller Electric Two Fifty AC owner's manual

Miller
Miller MILLERMATIC 70A owner's manual