3.4 Current
Calibration
CAUTION:
Disconnect
DC power supply and/or DMM from their
power
source until an Arc is
established.
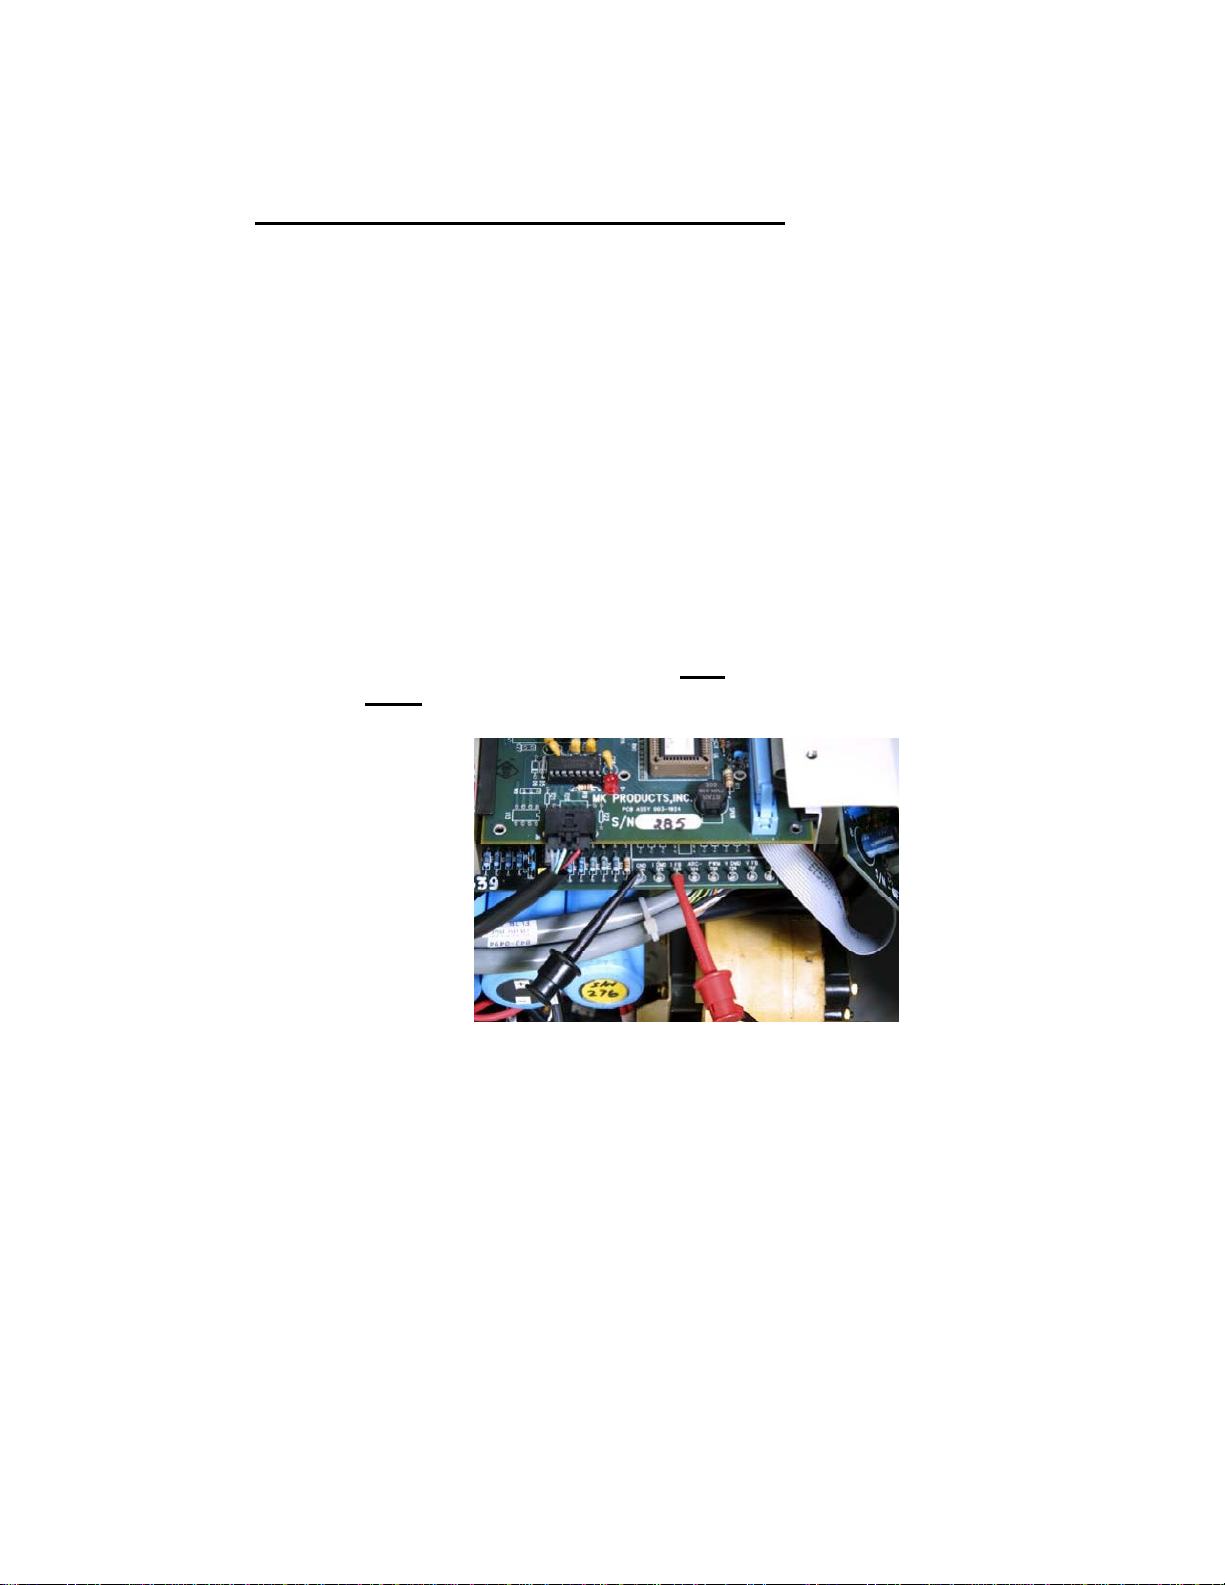
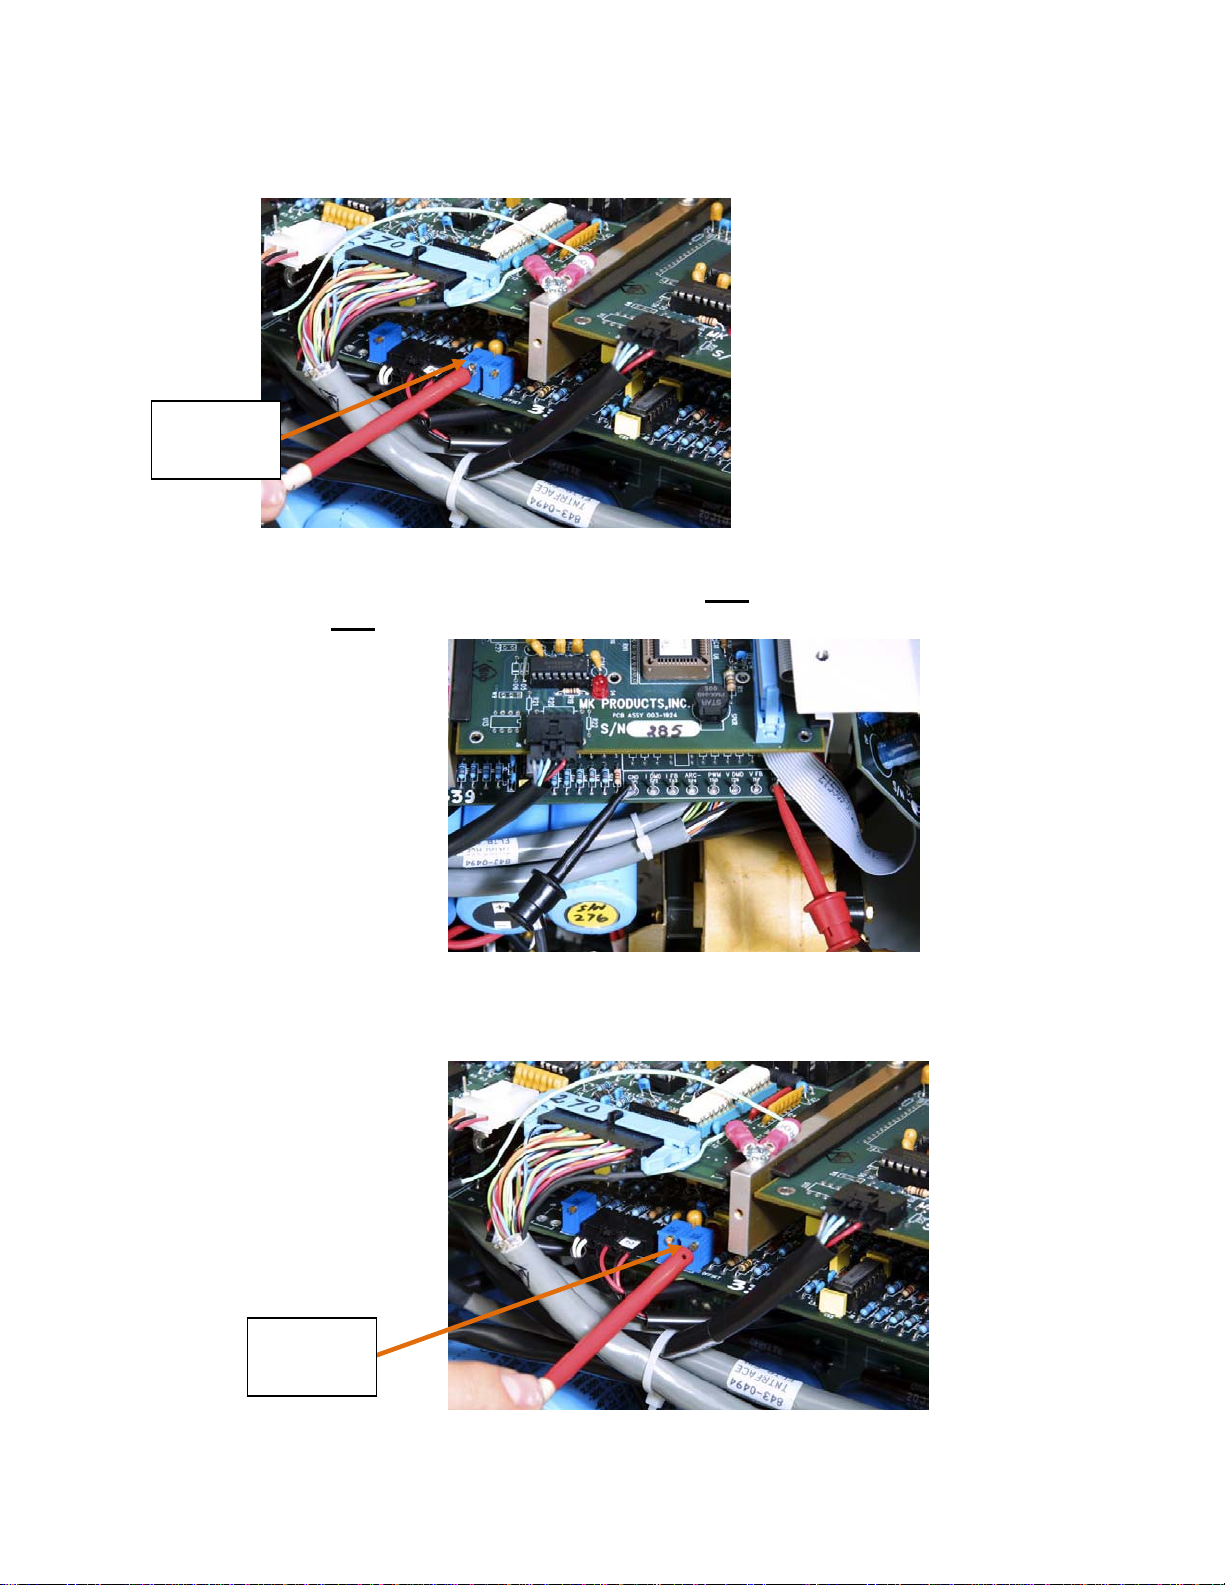
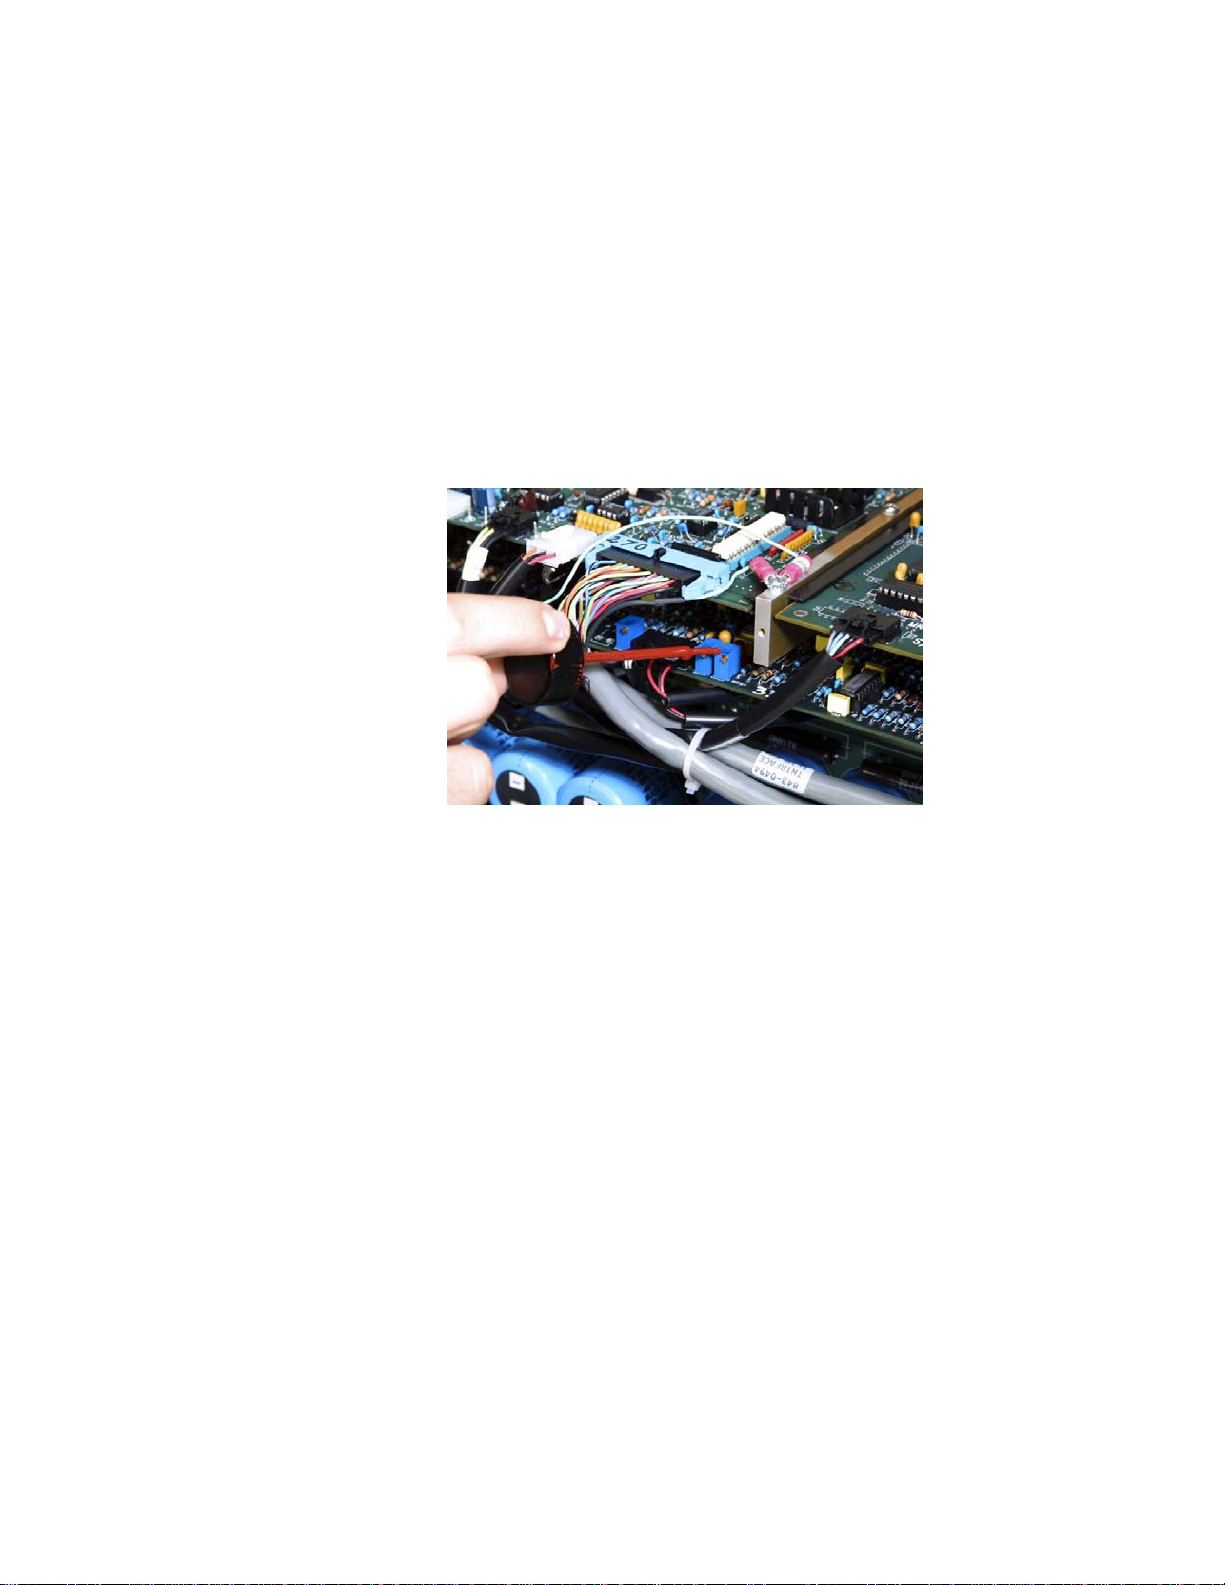
3.4.1 Connect leads from the DMM (POS to RED+) (NEG to BLACK-)
to the Current Shunt of the Calibration Kit Shunt Box, make sure
meter is off until weld arc is started. Verify that the Calibration Kit is
connected to the CobraTig150 weld terminals. (See
Appendix
D)
3.4.2 From the CALIBRATION MENU, press the CURRENT START
[F7] key to start the Current Calibration sequence. Once an Arc is
established, turn the DMM back on.
Meter (DMM) Setting - Scale: mV, Mode: DC
3.4.3 The current output should now be at approximate 10 Amps. Adjust
the output current as read across the Calibration Kit shunt with the
DMM by pressing ADJUST UP [F5] or ADJUST DOWN [F10]
keys until it is in the range of (2.50mV to 2.59mV). The voltage
reading should be as close to 2.59mV as possible without going
over. Then press the 10A CALIB [F8] key to accept when right.
3.4.4 The current output should now be at approximate 80 Amps. Adjust
the output current as read across the Calibration Kit shunt with the
DMM by pressing ADJUST UP [F5] or ADJUST DOWN [F10]
keys until it is in the range of 19.97mV to 20.034mV. Then press
the
80A
CALIB [F9]key to accept when right.
Repeat 3.4.3 ~ 3.4.4 for second time, unit should acknowledge completion.
NOTE: The Current
Calibration
is updated only after
pressing
the
80A
CALIB [F9]key the second time.
Aborting
at any time before this will
cause
the Weld Current to be
un-calibrated.
3.4.5 Press the MAIN MENU [F2] key. Press the PRINT MENU
[F6
]
key. Press CALIB REPORT [F9] key. Save the printout
for reference.
Disconnect all Test Equipment from CobraTig150, your MK Welder is now
calibrated and ready to weld.