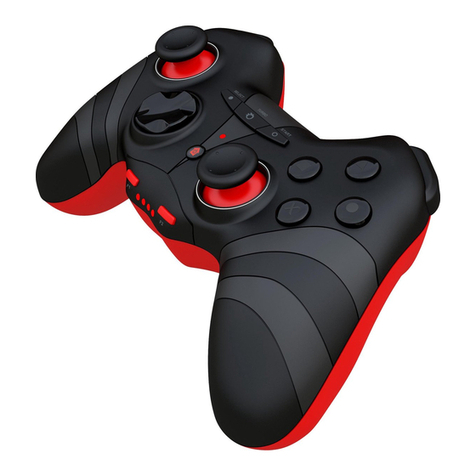
tne TNE-603040 User manual

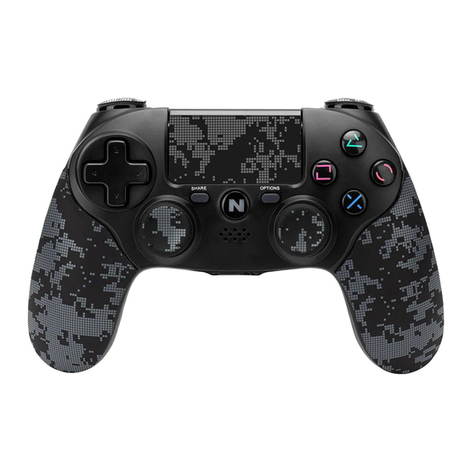
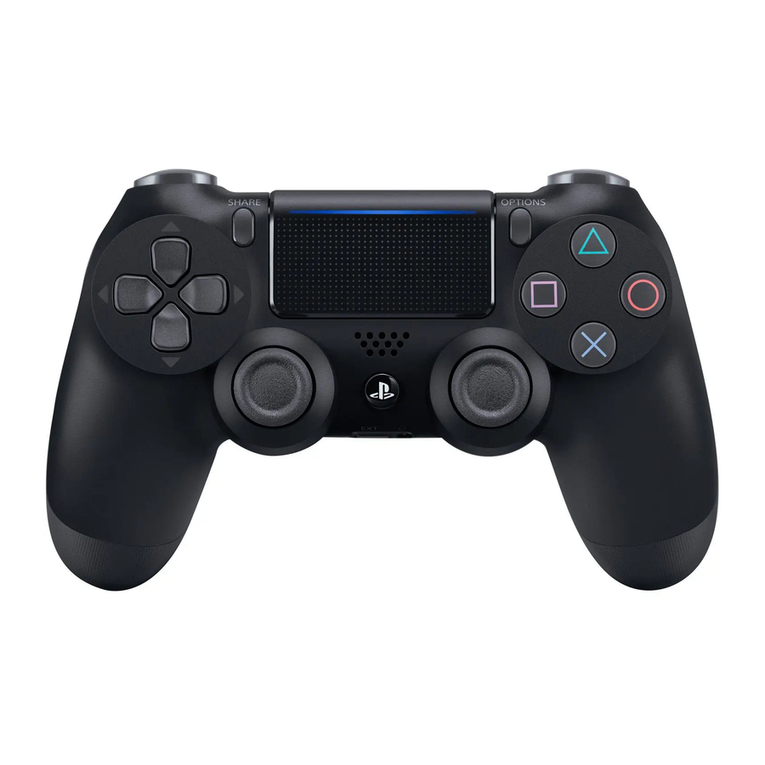
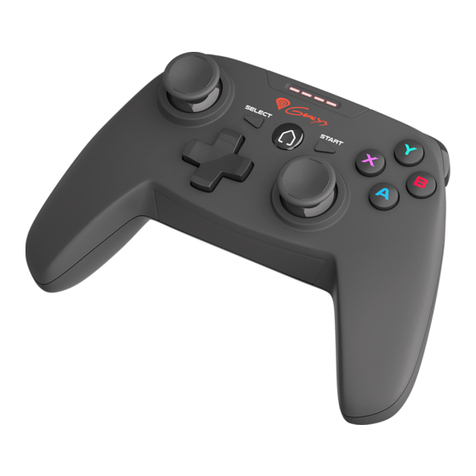
Switch Lite Wireless controller
TNE-603040
Application Introduction:
1. This gamepad is used for playing N-Switch games;
2. Support connect with N-switch console via wireless connection,also support wired connect with N-switch Dock
to playing N-switch games.
3. Function button of this gamepad is one-one corresponding with N-Switch pro gamepad;. The gamepad support
TURBO and six-axis gyroscope function and vibration function;
*Due to the official game platform software upgrade or source code changes and other not resist
factors caused of some games can not be played or connected with our gamepad.Our company has no
responsibility ,we reserves the right of final interpretation for this.

Basic Operation:

Wireless connection mode
1. Click 'Controller'→‘Change grip/Order’ in the main menu interface of the N-switch ,enter gamepad pairing
mode;
2. Press and hold the 'Y+HOME' button for 4 seconds to enter the pairing status. LED blink rapidly in the form of
marquee ,the gamepad auto pairing with the console,the corresponding LED of the gamepad always on after
successfully connecting.
3. IF the gamepad connected before,you can press 'HOME' directly,LED quick slow in from of marquee,it will auto
re-connect.
4. Note: If the host is too difficult to pair the Controllers, it may be that the console has too many Bluetooth
devices connected, you need to manually clear the Bluetooth information.The steps are: (System

Setting→Controllers and Sensors→Disconnect Controllers)
5. In the connected state, you can press and hold the R, L, ZR, and ZL buttons at the same time for 3 seconds to
adjust the vibration intensity. Each time you press and hold 4 buttons together, the intensity is increased by a level.
There are three levels in total, divided into strong / medium / weak, (note that after the product sleeps or shuts
down, the previously set vibration intensity will be cleared, need to be reset)
Wired connection mode
1.Please ensure 'Pro Gamepad wired connection' are in the open position in the system settings of N-switch
console before using wired connections;
2.Gamepad connect with Switch Dock via USB data cable, can be used as a wired gamepad,the corresponding LED
of the gamepad slow blink;
3.Unplug the USB cable,gamepad enter wireless mode,will auto re-connect with the console.
TURBO Function
1. Action buttons include (A/B/X/Y/L/ZL/R/ZR), all the 8 buttons can be set manually with TURBO function ;
2. Setting method: Press and hold down one of the action button,and then press the TURBO button to enable the
TUBRO function; hold down the action button,then press TUBRO button to cancel the TURBO function ;
3. TURBO speed setting: press and hold '↑' button of the D-pad,then press and hold the TURBO button to switch the
TURBO acceleration. There are three levels, 4/8/16 times per second, press the '↓' button of the D-pad and

TURBO button,each time you press it will lower by a level.
4. When gamepad is power off,shut down or restarted,the Turbo function is automatically cleared.To enable the
TURBO mode,you need to reset it.
Controller charging / sleep / wake up / shutdown function:
Charging function:
a. When the power is low, the LED indicator flashes quickly;
b. When charging, the LED indicator flashes slowly;
c. When the battery is fully charged at work, the LED indicator light is on;
d. When the battery is fully charged after shutdown, the LED indicator is off;
Sleep/wake up/off function:
a. The controller automatically shuts down when there is no button operation within 5 minutes or the console
screen is turned off ;
b. In the power on state, press and hold the HOME button for 5 seconds, the product is turned off, and all the LED
indicators are off;
c. When you need to re-use, you need to press the HOME button to wake up and you can reconnect;
Controller calibration method

1. Without connected to the N-SWITCH console
a. Level the controller, first press the '-' and 'A' button, while holding down the 'HOME' button, LED1&LED2 and
LED3&LED4 flash alternately up and down, then press the '+' button, the LED light flashes and then goes out, the
calibration is successful. The controller cannot be moved while correcting.
2. Connecting the N-SWITCH console
a. Correct controller stick: When the controller is successfully connected to the Switch console,in ‘Settings’→
‘Controller and Sensors’→‘ Correct Gyro Sensors’‘ Correction stick’, go to the calibration mode of the stick, and
then follow the prompting steps to calibrate the stick;
b. Correct controller gyro sensor: When the controller is successfully connected to the Switch console, go to the
controller gyro calibration mode in 'Settings' →'Controller and Sensors' →'Correct Gyro Sensors' →'Calibration’ ,
Level the controller, long press '-' or '+'button,after the calibration is successful, the controller gyroscope calibration is
completed (occasionally, the uncorrected success is prompted, after disconnecting the controller from the host,
re-connect and then step by step to correct)
Product Specifications:
Input voltage / current: DC5V/500mA;
Normal operating voltage / current: DC3.7V/20mA;
Max working current: ≤300mA;

Continuous use time: ≥8H;
Charging time: About 3 hours
Transmission distance: ≤8M;
Battery capacity: 600mAh;
Notes:
1. Please do not store the product in a humid or hot place;
2. Do not knock, beat, puncture or attempt to disassemble the product to avoid unnecessary damage to the product;
3. Non-professionals should not disassemble this product, otherwise it will not be included in the after-sales warranty
service;
4. If the product is not used for a long time, or other illegal operation causes abnormal work, you can reset the
product. The reset button is in the back hole of the product, and can be operated with slender sharp objects.
Accessories List:
1. game controller ×1;
2. User Manual ×1;
3. Type-C Charging cable ×1;

FCC Caution:
This device complies with part 15 of the FCC Rules. Operation is subject to the following two conditions: (1) This device may not cause harmful
interference, and (2) this device must accept any interference received, including interference that may cause undesired operation.
Any Changes or modifications not expressly approved by the party responsible for compliance could void the user's authority to operate the
equipment.
Note: This equipment has been tested and found to comply with the limits for a Class B digital device, pursuant to part 15 of the FCC Rules.
These limits are designed to provide reasonable protection against harmful interference in a residential installation. This equipment generates
uses and can radiate radio frequency energy and, if not installed and used in accordance with the instructions, may cause harmful interference to
radio communications. However, there is no guarantee that interference will not occur in a particular installation. If this equipment does cause
harmful interference to radio or television reception, which can be determined by turning the equipment off and on, the user is encouraged to try to
correct the interference by one or more of the following measures:
- Reorient or relocate the receiving antenna.
- Increase the separation between the equipment and receiver.
- Connect the equipment into an outlet on a circuit different from that to which the receiver is connected.
- Consult the dealer or an experienced radio/TV technician for help.
The device has been evaluated to meet general RF exposure requirement. The device can be used in portable exposure condition without
restriction.
Table of contents
