Chapter 1
SYSTEM SUMMARY
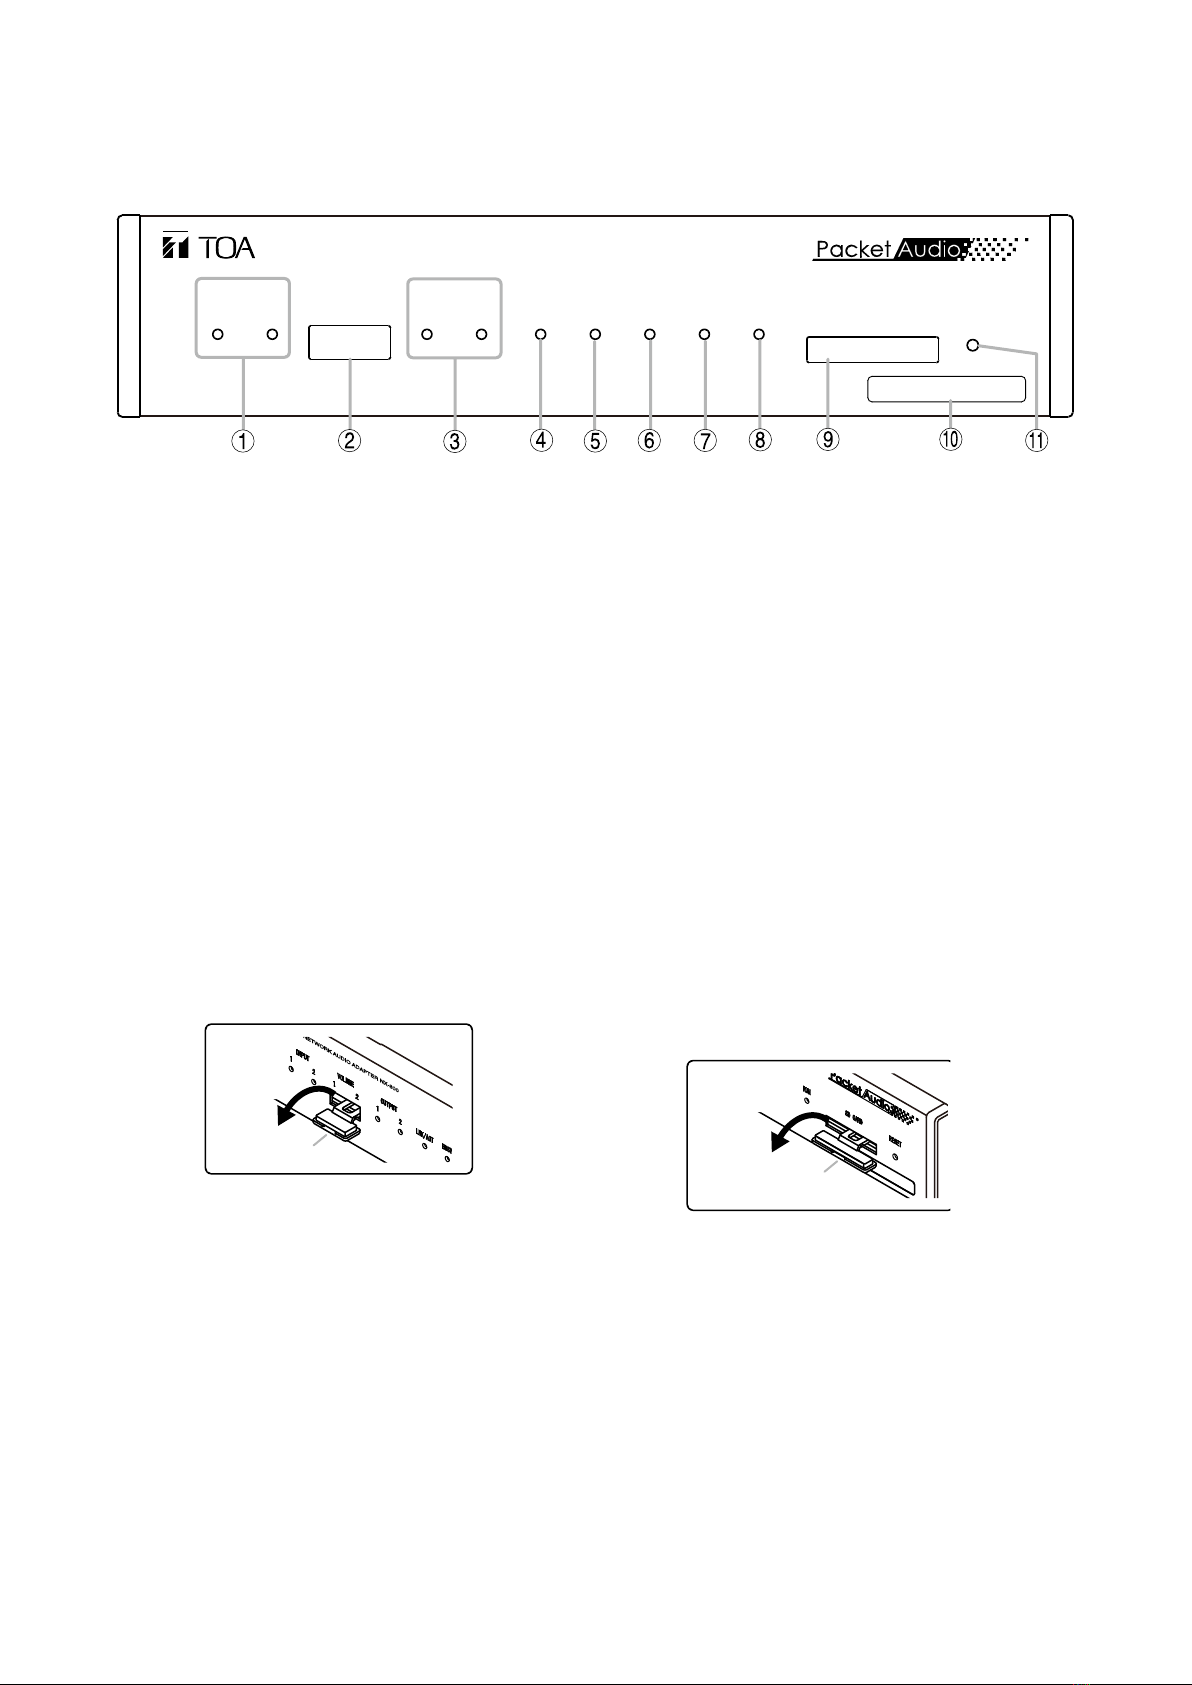
1-
[Rear]
1
2
ECH
AUDIO OUTPUT
ECH
AUDIO INPUT
ECH ECH
GND
SIGNAL
LAN
AC ADAPTERDC INPUT
DC INPUT
109
CONTROL INPUT
CONTROL OUTPUT
12345 8C67
12345 8C67
ON
12345678
1212
GND LIFT LINE
PAD
MIC
NORMAL
12. Signal GND terminal
e sure this terminal is securely grounded.
Note: This terminal is not for protectie ground.
13. DC power input terminal
A input.
14. AC adapter terminal
onnects to the optional A- A Adapter or
the euialent.
As for the usable adapter, consult your TOA
dealer.
15. Network connection terminal
onnects to 10AS-T or 100AS-TX netorks.
- thernet ack
16. Control output terminal (9, 10)
elay contact outputs ithstand oltage 30
, control current 0. A maimum.
17. Control output terminal (1 – 8)
An open collector output ithstand oltage 30
, control current 0 mA maimum.
18. Audio output terminal
0 d, under 00 , balanced type.
roide audio signals of line signal leel.
ot, old, arth shield
19. Cord clamp
inches and securely holds the A adapter cord
to preent its plug from detaching.
20. Control input terminal
No-oltage make contact input short-circuit
current under mA open-circuit oltage .
21. Audio input terminal
0 d for line signal leel, 0 d for microphone
signal leel, k, balancedunbalanced sitchable.
eceie audio signals of microphone or line signal
leel.
ot, old, arth shield
22. DIP switch for equipment settings
sed hen performing audio input settings.
[Default DIP switch setting]
• i t h
Ground lift selection switch
(NORMAL/GND LIFT)
A ground loop can potentially be created hen
the NX-300 is connected to other euipment,
resulting in a hum noise. round loops can be
cut off by setting this sitch to N T loer
position. Settings are common to both Audio
nputs 1 and . This sitch is factory-preset to
NOA upper position.
• i t h e s
Not used.
These sitches are factory-preset to O loer
position. Alays keep them to the O loer
position.
• i t h e s
Audio input pad setting switch (PAD)
nables or disables the audio input pad 1
d. hen the input leel is large, set the A
to ON upper position. These sitches are
factory-preset to O loer position. Sitch
A 1 corresponds to Audio nput 1 and
Sitch A corresponds to Audio nput .
• i t h e s
Audio input level selection switch
(MIC/LINE)
Set these sitches to upper position hen
a microphone is connected, and to N loer
position in other cases.
These sitches are factory-preset to N
loer position. Sitch 1 corresponds to
Audio nput 1 and Sitch corresponds
to Audio nput .
0 d 1
ON
12345678
GND LIFT LINE
PAD
1212
MIC
NORMAL