manuals.online logo
Brands
  1. Home
  2. •
  3. Brands
  4. •
  5. Toshiba
  6. •
  7. Software
  8. •
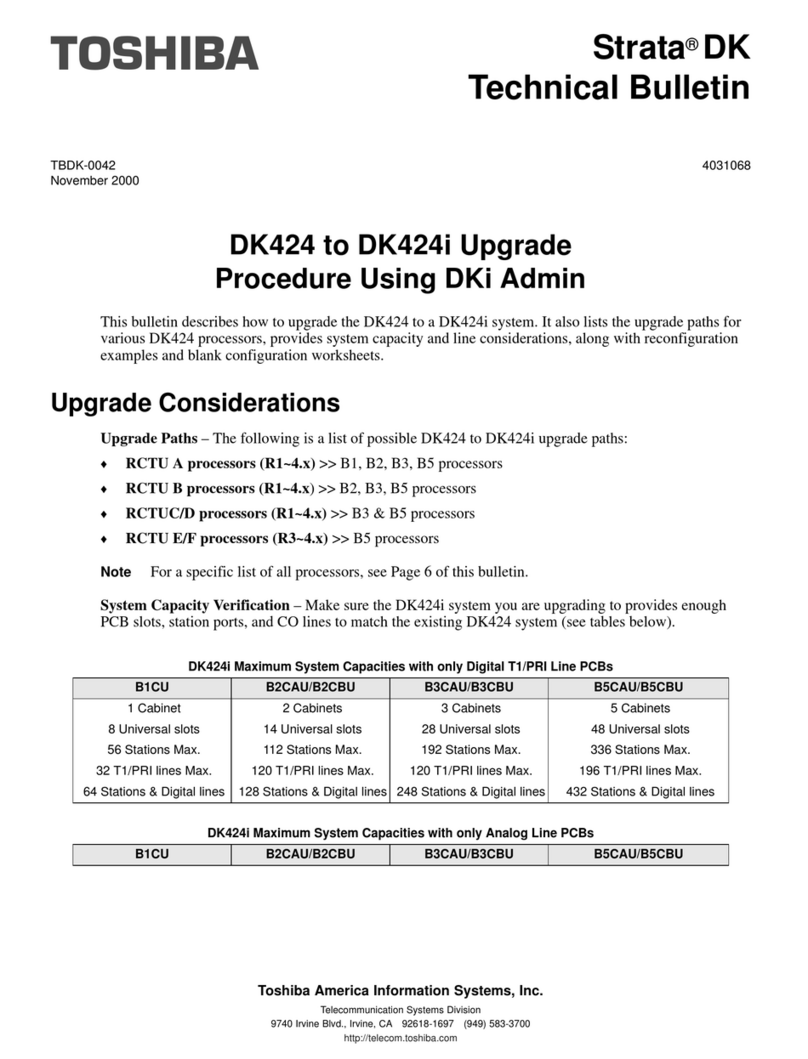
  9. Toshiba Strata CIX SIP Trunking User manual

Toshiba Strata CIX SIP Trunking User manual

Strata® CIX™
Product Bulletin
© Copyright 2007
Toshiba America Information Systems, Inc.
Telecommunication Systems Division
9740 Irvine Blvd., Irvine, CA 92618-1697 (949) 583-3700
www.telecom.toshiba.com © 2007 All rights reserved
TOSHIBA
PBCIX-0056
Dec. 7, 2007
Businesses Save Money with Toshiba’s New
SIP Trunking Feature
For business trying to save money on telecommunications tariffs, conventional technology requires
separate services for data and voice. This can be inefficient because data isn’t carried over the un-used
voice service, and voice isn’t carried over the available data service. Session Initiation Protocol (SIP)
Trunking allows the two services to be combined onto a single more efficient service. Unlike gateway
based solutions, Toshiba’s MIPU card with SIP trunking costs less and allows SIP Trunking to be
supported natively in the phone system along with remote IP phones, softphones, WiFi phones, IP based
voicemail and IP based ACD applications.
SIP Trunking allows the CIX to get PRI like services from an Internet Telephony Service Provider using
Session Initiation Protocol.
SIP (Session Initiation Protocol) is an application layer protocol used for establishing sessions in an IP
network. SIP is a very rich and extensible protocol and, similar to HTTP and SMTP, SIP is a text-based
protocol. The power of SIP lies in the fact that it allows a user on a SIP enabled device to communicate
with other users on SIP enabled devices (IP PBX, SIP phone, SIP Softphone) regardless of geography.
SIP Trunking harnesses the power of the SIP protocol to route a VoIP call over the carrier’s IP backbone to
any IP address worldwide.
Toshiba implements SIP trunking using our new MIPU card. The MIPU is designed from the ground up as
a VoIP card able to support IP stations, Strata Net IP, and now SIP trunking. With the SIP Trunking
capability of the new MIPU card, companies are no longer committed to having to purchase different types
trunk cards and the bundles of physical wires to host analog, PRI and BRI trunks. With the MIPU
implementation of SIP Trunking, companies are able to leverage their existing Toshiba CIX R4.x (and later)
PBX systems with just the purchase of MIPU cards, an update to R5.10 MS18 software, and
corresponding license. SIP Trunking is meant to simplify IP PBX trunking capability by replacing all of
these traditional PSTN lines with one SIP Trunking device hosted by SIP Trunking provider on the internet.
For companies that already have a networking infrastructure, there are no additional networking devices
required to implement SIP Trunking.
In essence, SIP Trunking offers ISDN-like features over a data connection (i.e. T1 circuit). However, unlike
a traditional T1 circuit, a SIP Trunking enabled circuit does not have to be physically provisioned and
divided to separate the voice channels from the data channels.
MIPU SIP Trunking implementation Benefits
Businesses Save Money with Toshiba’s New SIP Trunking Feature
2 of 14
MIPU SIP Trunking implementation Benefits
• IP stations, Strata Net IP networking and SIP Trunking can all be hosted using the same MIPU card.
• The MIPU card comes in a 16 channel version and the new 24 channel version without having to use a
daughter-board.
• SIP Trunking using the MIPU replaces having to purchase analog trunk cards, PRI, T1 and BRI cards.
• The MIPU SIP Trunk is scalable. Simply add additional MIPU cards as your needs grow.
• For companies with an existing network infrastructure, there is no additional networking hardware to
purchase to implement SIP Trunking using the MIPU card.
• One MIPU card can be configured for multiple service providers simultaneously.
Requirements
• CIX Hardware: CIX40, CIX100, CIX200, CIX670
• CIX Software: R5.10 MS18 or higher
• MIPU: MIPU01_07 or higher
• eManager: V5.10 A07 or higher
• Service provider: Contact Toshiba Sales Applications Desk
• Soft Switch: Contact Toshiba Sales Applications Desk
• License: LIC-CIX-SIPT-CH
SIP Trunking Network Configuration Example
Businesses Save Money with Toshiba’s New SIP Trunking Feature 3 of 14
SIP Trunking Network Configuration Example
There are many ways to set up a public IP address for the MIPU. The most common way is to simply run
an ethernet cable from one of the WAN interfaces on the router straight to the MIPU.
Router
Public IP Address
LAN
SIP
Provider
Switch
CIX
Processor
CIX
MIPU
Programming
Businesses Save Money with Toshiba’s New SIP Trunking Feature
4 of 14
Programming
Programming the MIPU card
1. Set the card type for the slot holding the MIPU
2. Choose the type of MIPU for use in the system. The number of channels entered must match the
number of channels on the card.
Programming
Businesses Save Money with Toshiba’s New SIP Trunking Feature 5 of 14
Programming the Incoming Line Group
1. For SIP trunk programming you start with an ILG and OLG assignment.
2. For ILG Programming create an ILG group (In this example Group Number 8).
3. FB01 - Trunk type- select SIP
4. FB03 - CO service type- DID
5. FB11 - Number of DID Digits- number of incoming digits to use from the dialed number to route the
call.
DID routing must be set up to route incoming SIP calls to their desired destinations. That programming is
the same as any other trunk group type. If that routing is not set up incoming INVITEs (calls) will fail.
Note:SIP trunking requires a license for each trunk. No channel group can successfully be programmed
without a license.
SIP trunking is supported by the MIPU card only. It can share connections of its ports between stations and
IPTs and other IPU devices. The IPTs are the only devices that are can be assigned equipment number
0000. That is, SIP stations, VM ports, SIP trunks and attendant consoles are fixed resources. IPTs do not
need to be fixed assignments (unless they are assigned a fixed equipment number, not 0000).
Programming
Businesses Save Money with Toshiba’s New SIP Trunking Feature
6 of 14
Programming the Outgoing Line Group
1. Create a new OLG and designate it as SIP.
2. FB01 - Group type: SIP
3. The rest are left at the default value.
4. An OLG access code must be created for this group.
Programming
Businesses Save Money with Toshiba’s New SIP Trunking Feature 7 of 14
Creating the Channel Group
1. Go to IP Telephony > SIP trunking. The first tab is Channel Group setting, Program 326.
2. Channel Group Setting - In this example SIP Trunk Channel Group 8 is created.
3. FB01 - Equipment Number - Enter the Cabinet number and slot number (four digits). In this example
0203.
4. FB02 - LAN interface number = 1 (MIPU only has one interface)
5. FB03 - Strata Net Channels – The TOTAL number of ports on this card that are going to be dedicated
to SIP Trunking. On further tabs, each OLG or ILG can be for a different service provider and still be in
the same channel group. This entry is the total number of trunks from ALL the service providers
6. FB04 - RBT tone on incoming call - Enable for the CIX to provide RBT (ring back tone). Coordinate this
response with the Internet Service Provider (ISP) trunk provider
Programming
Businesses Save Money with Toshiba’s New SIP Trunking Feature
8 of 14
Service definition
The Service Definition tab is where the ISP providing the SIP trunk service is defined. There may be
several ISPs per channel Group.
Required Entries:
1. Create the Service Kind Table Index - start with index 1 if desired
2. FB01 – Registration Mode: Client (default)
3. FB02 – ILG: Use the previously created ILG number
4. FB03 – OLG: Use the previously created OLG Number
5. FB04 – Effective Channel Number: Number of SIP trunks provided by this ISP
6. FB05 – Domain Name: FQDN (fully qualified domain name) of this ISP.
7. FB06 – SIP Server: The IP address of the ISP. This can be found by doing a NSLOOKUP of the FB05
domain name. The entry can be the FQDN or IP address of the SBC (Session Border Controller) or
ALG (Application Layer Gateway). If you are not using SBC or ALG leave this entry blank.
8. These are the only mandatory program entries. The rest can be default for now.
Programming
Businesses Save Money with Toshiba’s New SIP Trunking Feature 9 of 14
Service Assignment
The Service Assignment tab must be completed before entries are made on the next tab. If not completed,
entries attempted in the URI tab will not save.
Important! After URI entries are made in URI tab changing this program will DELETE all the URIs
programmed. Once this is set, do not change it.
1. FB01 – Channel Group (8 in this example)
2. FB02 – Select the “service number” by clicking on one of the table’s line entries. Use the drop down
box to select the ISP to which the URIs belong. This is to match the “service kind table index” number
of the desired ISP. On the next tab programming will begin to enter the URIs (directory numbers) that
are associated with this ISP.
Programming
Businesses Save Money with Toshiba’s New SIP Trunking Feature
10 of 14
URI Programming
The SIP URI is effectively the DN that the ISP is going to provide. The MIPU is going to register each DN
as a UA (User agent). Each UA will appear to the ISP like a SIP station. When the URI DN is dialed (from
outside) the ISP will send a SIP INVITE, as if it were a call to a SIP station. But, an outbound call using one
of the UAs does not busy-out the UA against an incoming call, that is a key difference of SIP trunks. Refer
to the program screen on the next page.
1. FB00 – SIP URI Trunk Service Index: The service Kind index that defines the ISP. If for instance, the
service kind is Cbeyond, enter the DNs provided from Cbeyond.
2. FB01 – SIP URI Index: Click the “index” line in the table to select one of the indexes (1-160), for
CIX100 select from 1 - 72.
3. FB02 – SIP URI: This will be the DN of the URI
4. FB03 – SIP URI User Name: Typically this is the DN but, could be a name provided by the ISP.
5. FB04 – SIP URI password, the same as the authentication password, if required. If the ISP is set for
authentication when registering a URI the SIP registration is sent to the ISP (without password). Then
the ISP will “challenge” the registration. The MIPU will send the registration again with the password
encoded by the method indicated in the challenge. This registration is accepted based on the
password entered here. When an outbound call is made the same challenge will occur.
6. FB05 – Channel Group Number- this will be filled in automatically when the ADD button is clicked. It
cannot be entered manually.
Important! URIs will register as soon as they are ADDed or MODIFIed. Otherwise all the URI will
register when the MIPU is reset. The UAs will re-register as required before the expiry
time-out occurs.
Programming
Businesses Save Money with Toshiba’s New SIP Trunking Feature 11 of 14
Programming
Businesses Save Money with Toshiba’s New SIP Trunking Feature
12 of 14
Configuring the MIPU
1. Go to IP Telephony > IPU Config. Enter the public IP address of the MIPU card provided by the SIP
trunk provider.
2. FB01 – MIPU IP address. Must be a public IP address. The IP address can be static assignment or
assigned by a DHCP server.
3. FB02 – Subnet Mask. As applicable.
4. FB03 – Default Gateway Address. From IT department.
5. There is only one interface on an MIPU, leave the second interface blank.
Programming
Businesses Save Money with Toshiba’s New SIP Trunking Feature 13 of 14
Configuring the MIPU continued
For a static IP enter the DNS server address. This is critical to SIP trunking. The DNS server is used every
time a call is made as well as during the registration process. After making all these programming entries,
press the reset button on the MIPU. The new data will be absorbed by the MIPU. The MIPU will begin
registration to the ISP.
• FB 22 – Primary DNS IP address
• FB 23 – Secondary DNS IP address
Compatibility
Businesses Save Money with Toshiba’s New SIP Trunking Feature
14 of 14
Compatibility
• MIPU16 and MIPU24
•CIX670
•CIX200
•CIX100
•CIX40
Licensing
There is a new license associated with SIP Trunking.
• LIC-CIX-SIPT-CH
Toshiba is a registered trademarks of Toshiba Corporation.
Strata, eManager, and CIX are registered trademarks of Toshiba America Information Systems, Inc.
Windows and Microsoft are registered trademarks of Microsoft.
Cbeyond is a trademark of Cbeyond Communications, LLC
Broadsoft is a trademark of Broadsoft, Inc.
Trademarks, registered trademarks, and service marks are the property of their respective owners.

Other Toshiba Software manuals

Toshiba Strata CTX Insight CTX User manual

Toshiba

Toshiba Strata CTX Insight CTX User manual

Toshiba Strata CIX WinCIX Service manual

Toshiba

Toshiba Strata CIX WinCIX Service manual

Toshiba STRATA CIX Owner's manual

Toshiba

Toshiba STRATA CIX Owner's manual

Toshiba Strata CIX Database Assistant Service manual

Toshiba

Toshiba Strata CIX Database Assistant Service manual

Toshiba VIPedge User manual

Toshiba

Toshiba VIPedge User manual

Toshiba Strata CIX SoftIPT 2.1.2 User manual

Toshiba

Toshiba Strata CIX SoftIPT 2.1.2 User manual

Toshiba HDWC110XK3J1 User manual

Toshiba

Toshiba HDWC110XK3J1 User manual

Toshiba STRATA CIX Remote Call Control User manual

Toshiba

Toshiba STRATA CIX Remote Call Control User manual

Toshiba Strata CTX ACD Application User manual

Toshiba

Toshiba Strata CTX ACD Application User manual

Toshiba STRATA CS Commutation Server User manual

Toshiba

Toshiba STRATA CS Commutation Server User manual

Toshiba STRATA CIX Effective Call Center Management User manual

Toshiba

Toshiba STRATA CIX Effective Call Center Management User manual

Toshiba T-PSV User manual

Toshiba

Toshiba T-PSV User manual

Toshiba Strata CIX SoftIPT 2.2 User manual

Toshiba

Toshiba Strata CIX SoftIPT 2.2 User manual

Toshiba TDP-TW350U User manual

Toshiba

Toshiba TDP-TW350U User manual

Toshiba AF 512E Instruction Manual

Toshiba

Toshiba AF 512E Instruction Manual

Toshiba Strata CS Release 7.0 Manual

Toshiba

Toshiba Strata CS Release 7.0 Manual

Toshiba Strata AirLink DK424 User manual

Toshiba

Toshiba Strata AirLink DK424 User manual

Toshiba PFW008U-1ABW User manual

Toshiba

Toshiba PFW008U-1ABW User manual

Toshiba Strata CTX SoftIPT Service manual

Toshiba

Toshiba Strata CTX SoftIPT Service manual

Toshiba STRATA CIX Remote Call Control Service manual

Toshiba

Toshiba STRATA CIX Remote Call Control Service manual

Toshiba MEG50AS User manual

Toshiba

Toshiba MEG50AS User manual

Toshiba STRATA CIX Net Server Service manual

Toshiba

Toshiba STRATA CIX Net Server Service manual

Toshiba IPedge Software Release R1.5 User manual

Toshiba

Toshiba IPedge Software Release R1.5 User manual

Toshiba STRATA CIX Remote Call Control User manual

Toshiba

Toshiba STRATA CIX Remote Call Control User manual

Popular Software manuals by other brands

Brother ImageCenter ADS-2000 manual

Brother

Brother ImageCenter ADS-2000 manual

AVIRA ANTIVIR WEBGATE SUITE Installation and configuration

AVIRA

AVIRA ANTIVIR WEBGATE SUITE Installation and configuration

Brocade Communications Systems StoreFabric SN6500B Documentation update

Brocade Communications Systems

Brocade Communications Systems StoreFabric SN6500B Documentation update

OCZ ATV-TURBO - WINDOWS 98 installation guide

OCZ

OCZ ATV-TURBO - WINDOWS 98 installation guide

AVG 8.5 INTERNET SECURITY - V 85.8 user manual

AVG

AVG 8.5 INTERNET SECURITY - V 85.8 user manual

Canon EOS-1Ds Mark III instruction manual

Canon

Canon EOS-1Ds Mark III instruction manual

HP BladeSystem bc2000 - Blade PC Administrator's guide

HP

HP BladeSystem bc2000 - Blade PC Administrator's guide

Symantec ALTIRIS SECURITY EXPRESSIONS datasheet

Symantec

Symantec ALTIRIS SECURITY EXPRESSIONS datasheet

Avid Technology Artist Series Guide

Avid Technology

Avid Technology Artist Series Guide

Sony F35 Cinealta user guide

Sony

Sony F35 Cinealta user guide

Novell GROUPWISE 7 - TROUBLESHOOTING 2 troubleshooting guide

Novell

Novell GROUPWISE 7 - TROUBLESHOOTING 2 troubleshooting guide

Hitachi MK-96RD617-08 user guide

Hitachi

Hitachi MK-96RD617-08 user guide

Canon Studio Solution user guide

Canon

Canon Studio Solution user guide

Samsung MFP SCX-6345N user manual

Samsung

Samsung MFP SCX-6345N user manual

MicroLinks Tech microscope user manual

MicroLinks Tech

MicroLinks Tech microscope user manual

Novell LINUX ENTERPRISE DESKTOP 10 SP2 Installation

Novell

Novell LINUX ENTERPRISE DESKTOP 10 SP2 Installation

Polycom ConferenceSuite release note

Polycom

Polycom ConferenceSuite release note

Kyocera TASKalfa 8000i Operation guide

Kyocera

Kyocera TASKalfa 8000i Operation guide

manuals.online logo
manuals.online logoBrands
  • About & Mission
  • Contact us
  • Privacy Policy
  • Terms and Conditions

Copyright 2025 Manuals.Online. All Rights Reserved.