manuals.online logo
Brands
  1. Home
  2. •
  3. Brands
  4. •
  5. TP
  6. •
  7. Toy
  8. •
  9. TP TP952 Bubble Bouncer Quick guide

TP TP952 Bubble Bouncer Quick guide

TP952
Bubble Bouncer
BATTERY ACID AND LEAKAGE CAN CAUSE PERSONAL
INJURY AND CAUSE DAMAGE TO YOUR PRODUCT AND
SURROUNDING PROPERTY. IF BATTERY LEAKAGE OCCURS,
THOROUGHLY WASH ANY AFFECTED SKIN, MAKING SURE
TO KEEP BATTERY ACID AWAY FROM EYES, EARS, NOSE,
MOUTH. IMMEDIATELY WASH ANY CLOTHING OR OTHER
SURFACE THAT COMES INTO CONTACT WITH LEAKED
BATTERY ACID. LEAKING BATTERIES MAY MAKE POPPING
SOUNDS.
ELECTRICAL AND ELECTRONIC EQUIPMENT SHOULD NEVER
BE DISPOSED OF WITH GENERAL HOUSEHOLD WASTE BUT
SHOULD BE SEPARATELY COLLECTED FOR THEIR PROPER
TREATMENT AND RECOVERY.
TOY MUST BE ASSEMBLED BY AN ADULT BEFORE USE.
REMOVE ALL PACKAGING BEFORE GIVING TO YOUR
CHILDREN.
ONLY FOR DOMESTIC USE. FOR INDOOR AND OUTDOOR
USE.
ADULT SUPERVISION IS REQUIRED.
THIS PRODUCT IS INTENDED FOR USE BY CHILDREN FROM
AGES 12 MONTHS TO 3 YEARS.
DO NOT LEAVE A CHILD UNATTENDED WITH THIS
PRODUCT. WIPE THE MAT AND SURROUNDING AREA
REGULARLY WITH A CLEAN TOWEL. THIS WILL ENSURE THE
MAT OF THE BOUNCER AND SURROUNDING AREA DOES
NOT BECOME SLIPPERY WITH BUBBLE RESIDUE.
NEVER WALK OR PLAY ON SLIPPERY SURFACES.
NEVER INSERT FINGERS INTO WORKING PARTS OF THE
BUBBLE MACHINE.
DO NOT SWALLOW BUBBLE SOLUTION.
IF BUBBLE SOLUTION IS SWALLOWED, DRINK PLENTY OF
WATER.
AVOID CONTACT WITH EYES.
IF BUBBLE SOLUTION COMES INTO CONTACT WITH EYES OR
SKIN, RINSE WELL WITH WATER.
BUBBLE SOLUTION WILL STAIN. PROTECT CLOTHES AND
FURNISHINGS. STAINS CAN SOMETIMES BE REMOVED BY
SOAKING OVERNIGHT BEFORE WASHING.
WARNING: MAXIMUM USER WEIGHT 20KGS
MADE IN CHINA
WARNING!
INSTRUCTIONS FOR ASSEMBLY MAINTENANCE AND USE
IMPORTANT! THESE INSTRUCTIONS MUST BE FOLLOWED FOR SAFE ASSEMBLY AND USE
PLEASE RETAIN FOR FUTURE REFERENCE.
TP952 Bubble Bouncer 4pp In2195 Issue -A 12 13:TP952 Bubble Bouncer 4pp In2195 Issue -A 12 13 12/12/2013 09:43 Page 1
Contents - Please check
✔
Bubble
Solution
x 1
BATTERY INSTRUCTIONS
This product is not supplied with batteries. 3 x AA 1.5V batteries
are required. Please note batteries must be inserted or replaced
by an adult. To insert batteries for the first time or replace
exhausted batteries:
1. Remove bubble solution tank.
2. Using a Philips screwdriver, unscrew the battery compartment
screw on the battery compartment door which is located on
the underside of the product.
3. Lift the battery compartment door and set aside carefully with
the screw.
4. Remove the old batteries if necessary
5. Carefully insert 3 x AA 1.5V batteries. Please insert the new
batteries correctly according to the (+) and (-) symbols located
on the battery compartment.
6. Re attach the battery compartment door into place and
retighten the small Philips screw until secure.
IMPORTANT INFORMATION
1. Do not mix old and new batteries.
2. Do not mix alkaline, standard (Carbon-Zinc) or rechargeable
(Nickel Cadmium) batteries.
3. Rechargeable batteries must be removed from the toy before
being recharged and recharged by an adult.
4. Do not attempt to recharge non rechargeable batteries.
Non-rechargeable batteries are not to be recharged.
5. Batteries are to be inserted with the correct polarity.
6. Always remove weak or exhausted batteries from the product.
7. Do not short circuit battery terminals
8. Only batteries of the same or equivalent type as
recommended are to be used.
9. Remove batteries if the product is to be stored for an extended
time
10. When the product is not working, the batteries need to be
changed.
Keep packaging for reference as it contains important
information.
In an effort to continually improve our products, contents may vary
slightly from that shown on the packaging. We reserve the right to
alter the specification on this product without prior notice.
Screwdriver
Tools - You will need
Batteries - not supplied
3 x
AA 1.5V batteries
Battery Installation
2
1
x 1
TP Bubble Bouncer
2
TP952 Bubble Bouncer 4pp In2195 Issue -A 12 13:TP952 Bubble Bouncer 4pp In2195 Issue -A 12 13 12/12/2013 09:43 Page 2
200cm 200cm
1
2x12
Bubble
Solution
Storage
4
Tank removal / filling / operation
3
Bubble
Solution
Maxiumum
level
Freespace/Safe Play Diagram
5
After prolonged use elastic tension can be adjusted
6
Recommended Free Space:
The Safe Play Area refers to the zone extending 200cm (2
metres) beyond the toy on all sides and 700cm
(7 metres) above the toy. The Safe Play Area must be free
from all structures, landscaping, trees and branches,
rocks, wires, sprinkler heads and other similar obstacles
to safe play. Children can be seriously injured running or
colliding into such obstacles.
1
OFF
ON
2 3
4
5
DO NOT LEAVE A CHILD UNATTENDED WITH THIS PRODUCT. WIPE THE
MAT AND SURROUNDING AREA REGULARLY WITH A CLEAN TOWEL.
THIS WILL ENSURE THE MAT OF THE BOUNCER AND SURROUNDING
AREA DOES NOT BECOME SLIPPERY WITH BUBBLE RESIDUE.
TO PRESERVE BATTERY LIFE TURN OFF PRODUCT WHEN NOT IN USE.
TP Bubble Bouncer
3
TP952 Bubble Bouncer 4pp In2195 Issue -A 12 13:TP952 Bubble Bouncer 4pp In2195 Issue -A 12 13 12/12/2013 09:43 Page 3
TP Part No: In2195 Issue -A 12 13
Register your new TP product on line now at
www.tptoys.com/product registration
Thank you for purchasing this TP product. To find out all about your product guarantee and
register your purchase, please visit www.tptoys.com/productregistration.
We want to give you the very best service. By registering your purchase now, we will be able to
deal with any guarantee issues very quickly and efficiently in the future. Thank you.
Designed in the UK by Robovision Ltd t/as TP Toys
Unit 11, Enterprise Way, Flitwick, Bedfordshire, MK45 5BX.
www.tptoys.com
Your TP Guarantee
Number/Product Batch No is
TP952 Bubble Bouncer 4pp In2195 Issue -A 12 13:TP952 Bubble Bouncer 4pp In2195 Issue -A 12 13 12/12/2013 09:43 Page 4

Other TP Toy manuals

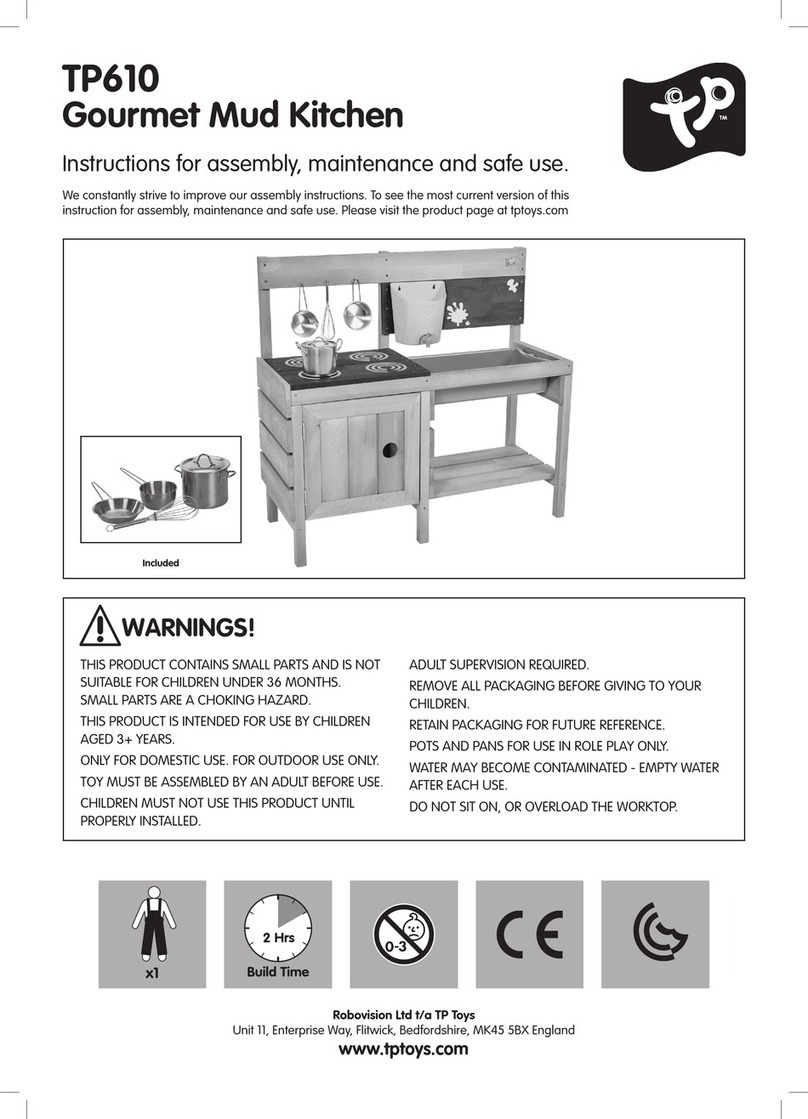
TP TP609 Quick guide

TP

TP TP609 Quick guide

TP TP671 User manual

TP

TP TP671 User manual

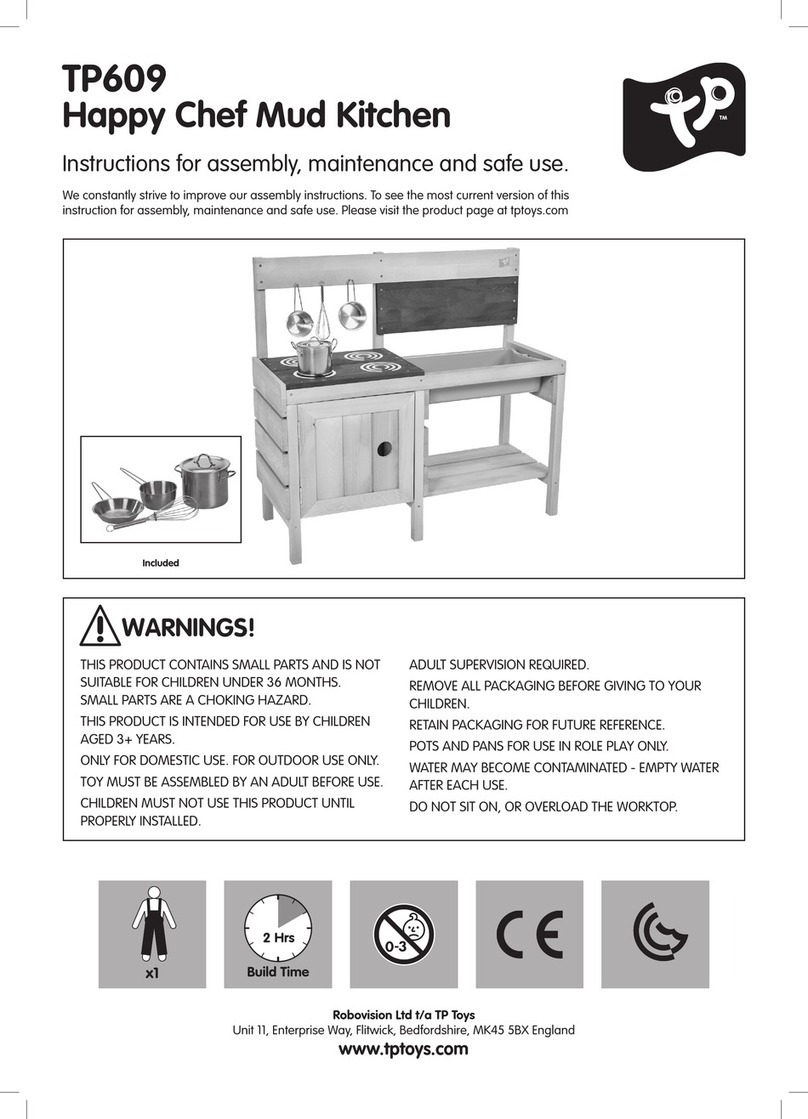
TP TP610 Quick guide

TP

TP TP610 Quick guide

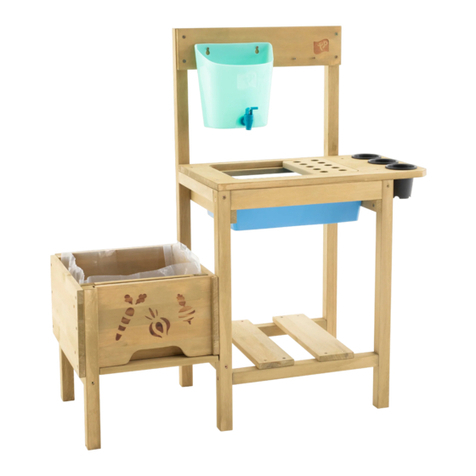
TP Wooden Potting Bench Quick guide

TP

TP Wooden Potting Bench Quick guide

Popular Toy manuals by other brands

Turnigy SU-26 EP Assemble manual

Turnigy

Turnigy SU-26 EP Assemble manual

Fisher-Price M0411 Owner's manual with assembly instructions

Fisher-Price

Fisher-Price M0411 Owner's manual with assembly instructions

Mega Bloks Thomas & Friends Deluxe Starter Set Instruction

Mega Bloks

Mega Bloks Thomas & Friends Deluxe Starter Set Instruction

AzurPoly Bede BD-5J Quick reference guide

AzurPoly

AzurPoly Bede BD-5J Quick reference guide

Kyosho MXW002R instruction sheet

Kyosho

Kyosho MXW002R instruction sheet

Destination Science Millennium Starship Directions

Destination Science

Destination Science Millennium Starship Directions

Trix Re 4/4 II Series manual

Trix

Trix Re 4/4 II Series manual

Vollmer 45740 Mounting instruction

Vollmer

Vollmer 45740 Mounting instruction

Abell Adrenaline 3D V2 manual

Abell

Abell Adrenaline 3D V2 manual

LEGO City 60051 Building instructions

LEGO

LEGO City 60051 Building instructions

marklin Gea 2/4 manual

marklin

marklin Gea 2/4 manual

Bontempi 14 3343 instruction manual

Bontempi

Bontempi 14 3343 instruction manual

Eduard EKA-3 Skywarrior undercarriage quick start guide

Eduard

Eduard EKA-3 Skywarrior undercarriage quick start guide

ROBBE AMX-Jet Assembly and operating instructions

ROBBE

ROBBE AMX-Jet Assembly and operating instructions

PR Dassault Rafale B 37/2022 Build instructions

PR

PR Dassault Rafale B 37/2022 Build instructions

Fisher-Price GeoTrax K3116 manual

Fisher-Price

Fisher-Price GeoTrax K3116 manual

Seagull Models Super Tucano T-27 Assembly manual

Seagull Models

Seagull Models Super Tucano T-27 Assembly manual

Fisher-Price M4042 Consumer information

Fisher-Price

Fisher-Price M4042 Consumer information

manuals.online logo
manuals.online logoBrands
  • About & Mission
  • Contact us
  • Privacy Policy
  • Terms and Conditions

Copyright 2025 Manuals.Online. All Rights Reserved.