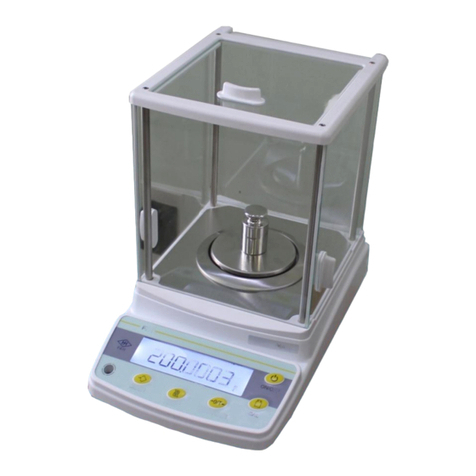
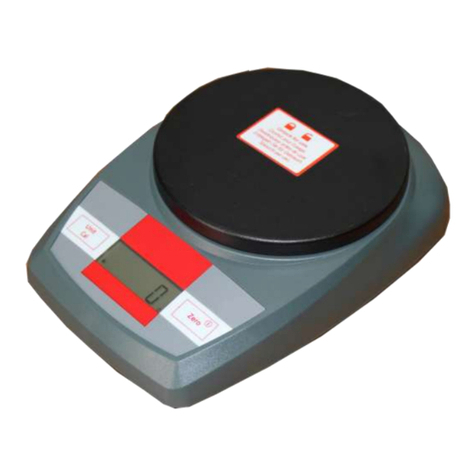
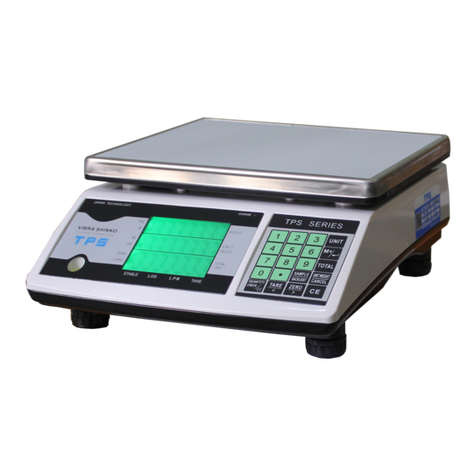
TPS FRH300 User manual

FRH300
1
HƯỚNG DẪN SỬDỤNG VÀ VẬN HÀNH CÂN KỸTHUẬT FRH 300
HƯỚNG DẪN SỬDỤNG VÀ VẬN HÀNH CÂN KỸTHUẬT FRH300
(CÂN ĐIỆN TỬTHỊNH PHÁT biên soạn dựa theo tài liệu hãng).
Cân kỹthuật FRH300 do TPS OEM Original Equipment Manufacturer được Công ty CổPhần Cân Điện Tử
Thịnh Phát có trụsởchính tại số57 Đường Nguyễn Văn Thương, Phường 25, Quận Bình Thạnh, TP.HồChí
Minh Nhập Khẩu và phân phối.
Các bước chuẩn bịthiết bị.
- Đặt cân ởvịtrí tránh gió, tránh luồng máy lạnh, tránh cửa ra vào.
- Lắp lồng nhựa chắn gió vào cân, trước khi sửdụng giúp tăng độ ổn định cho cân.
- Sửdụng cân đúng nguồn điện và nguồn phải ổn định.
- Khi cần hiệu chuẩn cân nên sửdụng quảcân cấp chính xác F1.
Hướng dẫn cách cân.
- Mởcân bằng cách nhấn phím ON/OFF (phím cơ bên hông phía dưới cân), chờkhi cân hiển thị0.00g.
- Đặt vật cân lên chính giữa đĩa cân và đọc kết quả.

FRH300
2
TrừBì.
- Khi cân ởtrạng thái 0.00g, đặt bì lên bàn cân rồi nhấn phím TARE cân tựđộng trừbì và hiển thị0.00g. Đặt
mẫu vào bì và cân bình thường.
Lưu ý: Khi lấy bì ra khỏi cân, nhớnhấn phím TARE để cân vềtrang thái ban đầu trước khi tắc cân.
Ý nghĩa các phím chức năng.
Phím ON/OFF Là phím tắc mởcân cân.
Phím ZERO Là phím trảcân vềđiểm 0 và là phím trừbì.
Phím PRINTS Là phím thiết lập chếđộ in cho cân, khi nào cân kết nối với máy in thì sửdụng chức năng này.
Phím UNIT Là phím chuyển đổi đơn vị cân.
Phím PCS Là phím đếm mẫu.
Đèn báo.
Khi đèn báo sáng ở đâu thì cân hiển thịởđó.
1. Đèn báo STABLE cân đang ở chếđộ ổn định.
2. Đèn báo ZERO cân đang ở chếđộ 0 tải.
3. Đèn báo TARE cân đang ở chếđộ trừbì.
4. Đèn báo LO-BAT cân đang sắp hết PIN.
5. Đèn báo g: Cân đang ở đơn vị “g”
6. Đèn báo ct: Cân đang ở đơn vị “ct”
7. Đèn báo oz: Cân đang ở đơn vị “oz”
8. Đèn báo tl.t: Cân đang ở đơn vị “tl.T”, là đơn vị sửdụng trong ngành vàng gồm 0.0000 lượng. chỉphân ly
zem với zem=2 rất chính xác.
9. Đèn báo sạc pin in charge.
Hướng dẫn hiệu chuẩn nhanh Cân kỹthuật FRH300.
Chuẩn bịquảcân cấp chính xác F1.
Có 2 cách hiệu chuẩn
Cách 1 Hiệu chuẩn thông thường: Mởcân bằng nút "On/OFF" cân sẽhiển thịTPS trước và đợi cân test
từFFFFF, EEEE, dddd, ccccc, bbbbb, AAAAA sau đó test từ 9999999 về0000000 khi nào màn hình hiển thị-
------ ta nhấn phím ZERO cân hiện hiển thịCAL ta nhấn phím ZERO cân hiện thị00200 chóp chóp
(BộnhớAD sẽvào chương trình hiệu chuẩn cân, muốn tăng hoặc giảm mức hiệu chuẩn ta nhấn phím TARE).
Ta bỏquảcân 200g lên cân đợn khi nào đèn báo ổn định sau đó nhấn phím ZERO cân hiệu chuẩn xong. Tắc
mởcân và kiểm tra lại.
Cách 2 hiệu chuẩn nhiều mức.
Bật cân chờcân nhảy tới „----------“
Sau đó nhấn cùng lúc 2 phím “zero” và phím “Unit”
Màn hình hiện ra “ C – 300 “
Bấm tiếp “zero” màn hình hiện “ d 0.01”
Bấm tiếp “zero” màn hình hiện “ E 2” ( nếu ko hiện ra “E 2” thì ta bấm “unit” để chỉnh vềlại)

FRH300
3
Bấm tiếp “zero” lúc này màn hình hiện ra “0.-------”kếtiếp màn hình hiện ra “1.---------“
Lúc này ta bỏ200g lên chờcho ổn định ta bấm tiếp “zero” màn hình hiện “2.--------“
Ta bỏtiếp 200g lên. Chờkhi ổn định ta bấm “zero” màn hình hiện 200.00
Kết thúc.
Pin sạc
Cân kỹthuật FRH300 sửdụng pin sạc 6V/1.3AH kích thước (97 x 24 x 52) mm, sửdụng trong 80 giờcho 1 lần
sạc đầy.
Khi cân ởvịtrí có biểu tượng PIN xuống nấc cuối cùng thì nên sạc nguồn cho cân, thời gian xạc lần đầu là 8
giờliên tục, các lần sạc sau là 1 giờ, khi đang sạc, biểu tượng của PIN hiển thịsẽbáo trạng thái nạp bình, khi
nạp đấy thì biểu tương sẽ ngừng lại.
Lưu ý:Tránh bịchai bình và làm hỏng mạch xạc, tuyệt đối không được dùng hết sạch bình accu rồi mới cắm
xạc, khi xạc đầy thì phải rút nguồn xạc. Sửdụng đúng sạc theo cân, không cắm xạc liên tục khi bình đã đầy, khi
không sửdụng cân trong thời gian dài thì nên xạc định kỳmổi tháng ít nhất một lần.
Vệsinh bảo trì định kỳcân.
Ngắt nguồn điện trước khi vệsinh cân, chắc chắn không có chất lỏng bên trong, vệsinh cân bằng khăn ẩm hoặc
sửdụng các chất tẩy rửa nhẹ. Không sửdụng cân trong môi trường dung môi, hóa chất khắc nghiệt.
Khi có sựcốvui lòng liên hệngay Điện thoại: (028) 62.888.666 di động 0915.999.111 địa chỉtrụsởchính tại
số57 Đường Nguyễn Văn Thương, Phường 25, Quận Bình Thạnh, TP.HồChí Minh.

FRH300
4
COMPACT SCALE/BALANCE
INSTRUCTION MANUAL

FRH300
5
SAFETY PRECAUTIONS
All safety messages are identified by the words "WARNING" and "CAUTION". These words mean the
following:
△
!WARNING
Important information to alert you to a situation that might cause
serious injury and damage to your property if instructions are not
followed.
△
!CAUTION
Important information that tells how to prevent damage to the equipment.
When using the scale, the following safety precautions should always be followed.
△
!WARNING
Use only the correct AC adaptor with the scale. Other adaptors may cause permanent electrical damage.
△
!CAUTION
Avoid placing the scale in direct sunlight, this may cause discoloration or malfunction.
Replace all batteries at the same time –Do not replace only a portion of the 4 batteries as this may cause a
malfunction.
If the scale is not to be used for a long period of time, remove all batteries from the battery compartment to
avoid leakage, which may cause damage to this scale.

FRH300
6

FRH300
7
CAUTIONS:
1. When the recharging sign “ ” indicates, please charge the battery for 8 to 10 hours. When the charging is done, the
Orange indicate lights will turn into Green. Over-time charging will cause permanent damage.
2. To use only the charger (adapter) supplied with the indicator.
3. If after recharging and the battery does not last long, replace with new battery.

FRH300
8
FUNCTION SETTINGS
1.Press [ON/OFF] to turn on the scale, the display will show flash digits and then --------, press
[PRINT] ( this function is selectable), the display will show b XXXX value ( press [UNIT] to select among
1200,2400,4800,9600), our default setting is 9600. Press [ZERO] to enter Parity mode, the display will show P
XXX, press [UNIT] to select odd, even, none (odd stands for 7 data bits with odd parity, even stands for 7 data
bits with even parity, none stands for 8 data bit without parity)our default setting is none.
Press [ZERO] to enter Print mode, the display will show n XXX, press [UNIT] to select con, off, key, stb (OFF
stands for serial data output disabled, KEY stands for demand mode by press [PRINT], STB stands for
automatic print when scale is stable, con stands for continuous print, our default setting is KEY. press [ZERO]
again to return to weighing mode.
2.Switch the power to “ON”and than press [ON/OFF] to turn on the scale。The display shows F-E-9 to 0
and than “- - - - - - -”,press [TARE] key to enter ZERO track function setting,display shows ZRD x.x,
press [UNIT] key to select ZERO track value(0.0d-0.2d-0.4d-0.6d-0.8d-1.0d-1.5d-2.0d)our default setting is
0.8; press [ZERO] key to enter ZERO track time function setting,display shows ZRT x.x,press [UNIT] key
to select ZERO track time(05. to 4.0 seconds)our default setting is 2.0; press [ZERO] key to enter ZERO
setting,display shows RZD XX, press [UNIT] key to select ZERO value(0.8d-1.8d-2.8d-3.8d)our default
setting is 0.8;press [ZERO] key to enter FIL setting, press [UNIT] key to select filter range amend (0-1-2-3-4-
5-6-7),”2”is default setting; press [ZERO] key to select zero range when turn on the scale, press [UNIT] key to
select percent (2,3,4,5,8,10,20) our default setting is 20; press [ZERO] key to set zero range, press [UNIT] key
to select percent (KZR 3,4,5,10) our default setting is 4; press [ZERO] key to set TARE range, press [UNIT]
key select percent (KTR 50 or KTR 100) our default setting is 50; press [ZERO] key to enter overload
protection setting, press [UNIT] key to select overload protection value (OVR 9d OVR 2 OVR 5 OVR 10) our
default setting is 9d; press [ZERO] key to set beep function, press [UNIT] key to choose turn on or turn off the
beep, “bz ON” means activate the beep, “bz OFF” means inactivate the beep; press [ZERO] key to unite the
function of TARE and ZERO, press [UNIT] to switch between them. “Zt ON” means unite function activate,
“Zt OFF” means unite function inactivate our default setting is Zt OFF.
Press [ZERO] key to enter auto off function setting,display shows Axx,press [UNIT] key to select auto –
off time(3,5,10,off)our default setting is 10.press [ZERO] key again to enter into LED brightness function,
display shows L x,press [UNIT] key to select brightness(0,1,2,3,)our default setting is 2.
3. Press [ZERO] to return to weighing mode.
FRH300
9
WEIGHING
Before weighing
Whenever possible, please allow the balance to warm up for 10 minutes after first turning to power on, so that the
balance will function properly and accurately.
Error messages
Err-O: Overload
: Low battery
Calibration may be required before weighing.
Read "CALIBRATION" first and if necessary, calibrate your scale/balance for accurate weighing.
Weighing procedures
1. Press [ON/OFF] to turn on the balance.
When power is turned on, all display segments appear on LED for a few seconds and finally "0" will appear on the
display.
2. Select the weighing unit with [UNIT].
Press [UNIT] to select a weighing unit, e.g. "g"、…….
Once the unit has been selected, the selected unit will be displayed to the weight value.
3. Start weighing
If you do not use a container for weighing
Verify the reading is "0". If not, press [ZERO] to display "0".
Place objects on the weighing platform to weigh.
When the reading becomes stable, the stable indicator is displayed.
If you use a container for weighing
Place an empty container on the platform.
Wait for the stability indicator to be displayed and press [TARE].
Place the objects to be weighed in the container.
When the reading becomes stable, the stable indicator is displayed.
FEATURES
Auto calibration ● Auto shut off (selectable)
Auto zero tracking ● Auto backlight (selectable))
Low battery indication ●g/…. conversion
Lager LED Display
Net weight/stability indication

FRH300
10
1/120000&1/200000 division available
CALIBRATION
When to calibrate
Calibration may be required when it is initially installed, if the scale/balance is moved to a substantial distance. This is
necessary because the weight of a mass in one location is not necessarily the same in another location. Also, with time
and use, mechanical deviations may occur.
How to calibrate
1. Before entering calibration mode, there is a switch key on the bottom of the scale. Turn on the switch key first,
press [ON/OFF] to turn the power on for 1minutes.
2. Enter calibration mode
Press [ON/OFF] to turn the power on. the display will show flash digits and then “--------”, Press [ZERO] , the display
will show “CAL..” , Press [ZERO] again , the display will show “X0000 CAL”, Xis flash digit. Press [UNIT] key the flash digit
will move to right; Press [TARE] key to increase the flash digit. (X is the calibration weight which can be set according to
your requirement).
3. Calibration by the weight
When you selected the calibration weight, and then place the calibration weight on platform. Then press [ZERO] key,the
display returns to the weight value. Now the calibration is complete.
4. Press [ON/OFF], turn off the power, press [ON/OFF] to turn on the power again, place the weight on the platform to
make sure whether weighing is correct, if not, repeat steps 2-4.
5. Return to weighing mode
Press [ON/OFF] to turn the power off. Press [ON/OFF] again to turn on the power and the scale/balance return to the
weighing mode.

FRH300
11
SPECIFICATIONS
Model
VB302B
VB302B
FRH300
FRH600
Capacity
300 g
600 g
300 g
600 g
Readability
0.01 g
0.01 g
0.01 g
0.01 g
Pan Size
Ø 115 mm
Overall Size
(260 x 185 x 90) mm.
Weighing Units
g, lb, tl.T, PCS
Stabilization Time
< 3 seconds
Calibration
Digital with external weight
Display Mode
Large LED display
Power supply
Recharge or AC/DC , Adapter 10V/500mA, 6v/1.3ah
Operation Temp.
0-40℃
Net Weight
1350g
Shipping Weight
1500g
Standard carton
(340 x 220 x 140) mm
Package
6 Units in one box: (475 x 385 x 450) mm
Brand
VMC
Product
FURI
This manual suits for next models
2
Table of contents
Languages:
Other TPS Scale manuals

TPS
TPS OS Series User manual

TPS
TPS OCS-TPS User manual

TPS
TPS VIBRA HAW SERIES User manual

TPS
TPS JS Series User manual

TPS
TPS JADEVER JPT User manual

TPS
TPS FEJ SERI User manual

TPS
TPS FPA Series User manual

TPS
TPS VIBRA TPS SERI C User manual

TPS
TPS VIBRA SHINKO GS Series User manual

TPS
TPS FGH300 User manual