Trader BEAR BESMOKEY10REM User manual

Remote control user manual Model:
BESMOKEY10REM
Product Specications
Function
Product Introduction and Pairing
BATTERY
WARRANTY
LED Indicator
Thank you for purchasing a Trader Remote control.
Please read the user manual thoroughly and
familiarize yourself before setting up and using the
BESMOKEY10REM in the alarm network and save it for
future reference.
The BESMOKEY10REM works with the BESMOKEY10 with Wireless
Module (BESMOKEY10WM) installed and also BESMOKEY10BW
Wireless Smoke Alarm. Set up the network for wireless connection
and set one of the alarms as the “MASTER” as per the instructions
for the BESMOKEY10 and BESMOKEY10WM units. With the master
alarm set in pairing mode, remove the battery isolation tab on the
BESMOKEY10REM then press the “NET” button on the remote once
and the LED will remain on for 30 seconds. It is then connected
to the Master alarm and the remote LED will ash approximately
every 30 seconds and enter standby status. Note: Press the device
“Network button” again to exit networking status
TEST Button: Press the“Test” button once, LED ash 8 seconds.
Meanwhile, the device sends the test alarm signal to smoke alarm.
The smoke alarm received the RF signal, then enters remote test
status (smoke alarm beeps for 10 seconds and the LED
ash 5 minute).
Note: Use this button to test the product monthly.
LOCATE Button: When alarm is sounding and operating in the
alarm status, press the“Locate” button, the wireless remote alarm
will enter normal status. The alarm which detected the smoke is still
beeping. This allows the user quickly determine whether the alarm
really detected smoke or other particles causing the units to sound.
HUSH Button: If the alarms are sounding in alarm mode, locate the
alarm that has initiated the situation and has detected smoke then
press the “Hush” button, the LED will ash for 10 seconds, the smoke
alarm will enter hush for 10 minutes.
SOS Button: Press the “SOS” button once to activate the alarm
network to use them to alert people to a non-re related
emergency. The alarms will sound in alarm mode for 1 minute.
Press the“Locate” button to stop this alarm.
NET (Network) Button: First set up one of the smoke alarms as the
'Master'. Once Master is created: Press the NET button on the remote
control once to enter pairing mode. The red indicator light on
remote will illuminate and if pairing is successful, will ash briey.
5
Warranty
5
Warranty
Yr
Yr
Power DC 3V (CR2450) Lithium
Button Battery
Standby current ≤3uA Operation
Current ≤30mA
Wireless frequency 433.42MHz
Wireless distance > 5 metres depending on
surroundings
Humidity Range ≤95% relative humidity (RH)
Temperature Range 0~45˚C
Low battery 2.5V±0.1V
Battery Lifetime 10 years
Interconnect num. max. 40 devices
Size 53 mm x 62 mm x 17mm
COMPLIES WITH AS/NZS 4268
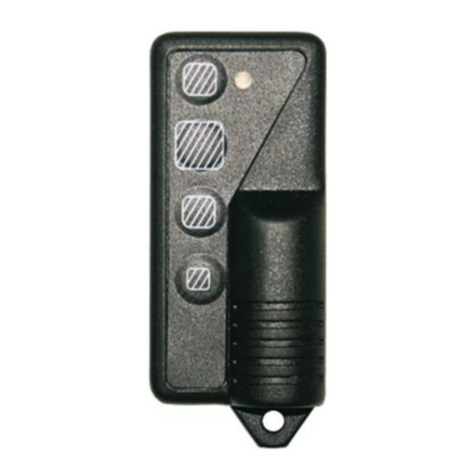
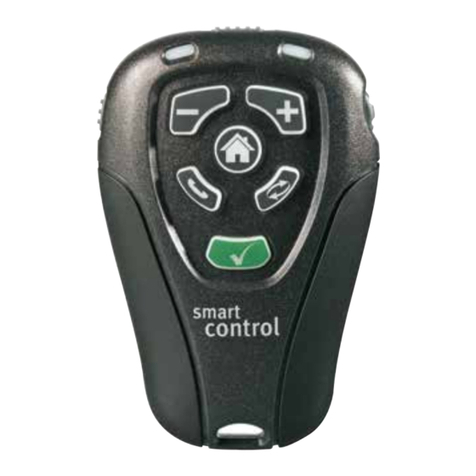
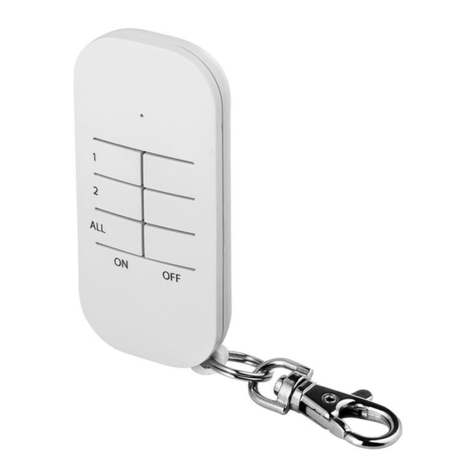
Network Button
Hush Button Locate Button
SOS Button
Test Button
LED Indicating

Pack comes with a wearable lanyard and double sided tape to allow
it to be stuck to a surface as another option.
Warning:
The BESMOKEY10REM is not a toy and should be used carefully.
Do not immerse in water or liquids.
The product contains a Lithium button battery that is hazardous
and should be kept away from children. The battery may cause
fatal injury if swallowed and immediate medical attention should
be sought.
If the BESMOKEY10REM is not functioning, please ensure the plastic
tab has been removed from the battery compartment. If there is
a need to change the battery for any reason, do not handle the
battery surfaces with ngers as this may aect the performance as
shown below.
Warranty
This product has been manufactured to the highest
quality standards.
This product is warranted to the original purchaser
and is not transferable.
The product is guaranteed to be free from defects in workmanship
and parts for a period of 5 Years from the date of purchase. 1
Year warranty for battery included. Defects that occur within this
warranty period, under normal use and care will be repaired,
replaced or refunded. The benets conferred by this warranty
are in addition to all other rights and remedies of the consumer
under Commonwealth, State and Territory laws in relation to the
goods or services to which this warranty relates and Australian
Consumer Law. Risk in regard to the product to be repaired shall
at all times remain with the Purchaser. The warranty is given on
the condition that the product to which it applies is used for the
purpose and in the manner intended by its construction and for no
other purposes whatsoever. GSM Electrical (Australia) Pty Ltd shall
not be responsible for damage of any kind, caused by accidents,
power surges, electrical storm damage, incorrect power current,
infestation (vermin or insect), incorrect installation, incorrect
electricity or plumbing installation, improper use of controls
or failure to use the product in accordance with the operating
instructions, general misuse or abuse or from normal wear and tear.
Any attempt by an unauthorised person to repair or tamper with
the equipment shall render the warranty null and void.
GSM Electrical (Australia) Pty Ltd’s liability under this warranty is
limited to the replacement and/or repair of the defective parts
within the warranty period and does not extend to installation or
removal of the product. Acceptance of liability by GSM Electrical
(Australia) Pty Ltd contained herein is to the exclusion of any
other remedy whatsoever and howsoever arising in respect of any
equipment to which it applies.
Function Summary
Note: Short press time is 100ms~3s
Function Button RED LED Other
Standby / /
Test Short press Flash 8s
Network
(Master) Short press On 30s Short press
again exit
Network
(Slave) Short press Flash some
times
Locate Short press On 100ms
Hush Short press Flash 10s
SOS Short press Flash 60s Short press
again exit
Low battery /Flash once
every 10s
