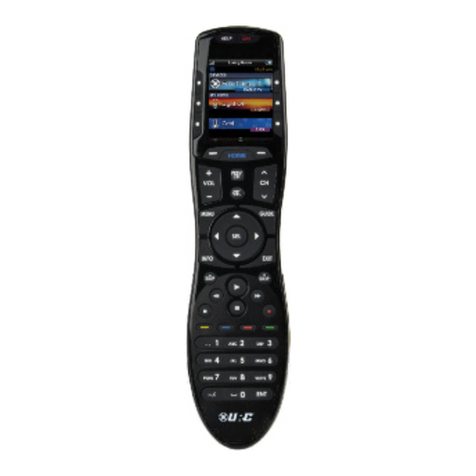
URC HCM-R1 User manual

Order Number : GETEC-C1-14-411 FCC Part 15 subpart C
Test Report Number : GETEC-E3-14-075 Page 1 / 1
EUT Type: Remote Control
FCC ID.: OZ5URCHCMR1
APPENDIX H
: USER’S MANUAL

HCM-R1
Remote Control
Owner’s Manual

HCM-R1 Remote Control Owner’s Manual
© 2014 Universal Remote Control, Inc. All rights
reserved.
The information in this manual is copyright
protected. No part of this manual may be
copied or reproduced in any form without prior
written consent from Universal Remote Control.
Universal Remote Control SHALL NOT BE
LIABLE FOR OPERATIONAL, TECHNICAL OR
EDITORIAL ERRORS/OMISSIONS MADE IN
THIS MANUAL. The information in this manual
is subject to change without prior notice.
HCM-R1 Owner's Manual © 2014 Universal
Remote Control, Inc.
URC - Control the Experience is a registered
trademark of Universal Remote Control, Inc.

Congratulations! 1
Before Getting Started 2
Parts Guide 2
Connecting the Battery 3
Using the Charger 3
Two-Way via Wi-Fi 3
Using the HCM-R1 3
Settings Screen 4
Network Settings 5
Base Station Setup 5
iControl Account Info 6
Sleep Timers 7
Brightness 8
System 9
Button Light 10
Power 11
Sound 12
Pickup 12
Firmware Update 13
Factory Default 14
Exit 14
Remote Control ID 15
URC Programming ey 15
Specifications 16
Limited Warranty Statement 17
End User Agreement 20
Precautions and Information Concerning
Rechargeable Lithium Polymer Batteries 21
Federal Communication Commission
Interference Statement 22

Congratulations!
Thank you for purchasing the HCM-R1 Wi-Fi
remote control for your home automation
system. This remote offers two-way control of
your connected devices throughout the home or
small office space. Controlling and monitoring
your home’s devices is simple using the HCM-
R1’s Wi-Fi communication.
Features and Benefits
● Quick Connect Wi-Fi
The HCM-R1 connects to Wi-Fi within
moments of picking up the remote, quickly
giving you control of your home audio/video
equipment.
● Two-way meta-data feed ack
Experience two-way feedback right on the
remote's screen when used with compatible
home devices like thermostats, lighting, or
selection of IP Cameras. Enjoy the same
feedback when used in conjunction with an
ever expanding line of third-party products.
● Pick-up sensor
The HCM-R1 remote control has a built-in
sensor which quickly awakens the remote
when picked up. Immediately, the remote’s
backlight, and LCD turn on then connects to
your local Wi-Fi for control of your home
system.
● Rechargea le Lithium Polymer Battery
Save money and protect the environment by
using the included charger and
rechargeable lithium polymer battery.
Page 1
Before Getting Started
●Designed for use on your local wireless
network
The HCM-R1 Remote Control works with
your local wireless network. This feature
gives you control of your system by sending
commands over your home network without
being in line-of-sight of the equipment.
Expand your system to also control your
home’s audio/video devices by adding a
HCM-C1 Base Station.
● Programma le via a simple we page
interface
Use the URC web based programming
page to fully automate your home
entertainment, comfort and security system.
Download and save the setup file on the
URC µCloud. All that is needed is basic
knowledge of your devices, and the settings
of your local area network.
Parts Guide
What’s included in the HCM-R1 box:
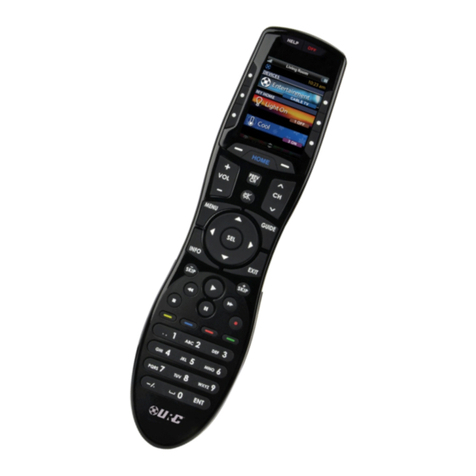
● HCM-R1 Wi-Fi Remote Control
● Rechargeable Battery
● AC Power Adapter
● Owner’s Manual
Page 2

Connecting the Battery
The lithium polymer battery can be removed by
pressing the spring lock down to unlock and
remove the cover. The battery is included in the
box when shipped from the factory. Place the
battery into the battery compartment, making
sure to align the contacts on the battery to the
contacts on the HCM-R1. The battery snaps
into place when aligned properly. Replace the
cover.
Using the Charger
Plug the charger into a power outlet and to the
bottom of the HCM-R1 Remote Control. There
is no harm in leaving the HCM-R1 Remote
Control on its charger when it is not in use.
Two-Way via Wi-Fi
To use the HCM-R1 with any two-way
companion product, it must be configured to be
part of a LAN (local area network) via a Wi-Fi
b/g access point or router.
Using the HCM-R1
The HCM-R1’s Home Menu pages display the
activities and devices in your system. Press the
Home page button to view your activities and
devices. Navigate the Home page by using the
up and down buttons. Press any button
adjacent to the screen to select an activity or
device. Press the Home button to return to that
page and select a new device or activity.
Page 3

Settings Screen
You can enter the Settings menu by pressing
and holding the Home and Enter (ENT) buttons
for three seconds. When the Settings menu
appears, any further action must be completed
within 60 seconds, at which point the remote
reverts to the Home Menu screen. Use the Up
and Down buttons to navigate between the
Settings items. Select a setting when a line item
is highlighted, by pressing the adjacent button
on the LCD screen, or the Select button. Press
the Home button to return to a previous step or
exit the Settings menu.
The expanded view of the HCM-R1 Settings
Menu, displays all available Setup Menu
options.
Page 4

Network Settings
The screen displays network information about
your HCM-R1 Remote Control and the wireless
network it is connected to. Within this screen,
you can scan for a Wi-Fi Network, select a
network to connect to, and enter any required
custom network settings.
Base Station Setup
After connecting the HCM-C1 Base Station to
the local network, select the Base Station Setup
item to view a list of available HCM-C1’s within
the home. Base Stations are identified by their
MAC Address, which is displayed on a sticker
attached to the HCM-C1 Base Station.
Select an HCM-C1 Base Station to view and
configure its network properties.
Page 5

iControl Account Info
The iControl® Account Info item allows the
entry of an account username and password.
iControl® is a provider of home comfort, lighting
and security products. The HCM-R1 Remote
Control provides a two-way interface to these
devices, over the local wireless Ethernet
network.
Contact your subscription television service to
acquire iControl® home lighting, comfort and
security products to use with your HCM-R1
Remote Control.
Page 6

Sleep Timers
Adjust the amount of time the LCD remains ON
when the remote is not in use. The time can be
set independently based on whether the remote
is using battery power or connected to the
charger.
Select LCD on Battery Power or LCD on
Charger to setup their Sleep Timer value. Once
the Sleep Timers are adjusted, press the Save
button. Pressing the Go Back button will revert
to the remotes last saved setting.
Page 7

Brightness
Select Brightness to view and configure the
LCD screen’s brightness level.
Adjust the screen brightness by pressing the
adjacent hard buttons to increase or decrease
the brightness level. Press the Save button
when you have finished adjusting the level.
Pressing the Go Back button will revert to the
remotes last saved setting.
Note: The higher the brightness, the faster the
batteries will deplete.
Page 8

System
The System Information screen displays data
about your HCM-R1’s Operating System,
Memory, among other information. Press the
More button to view further system information.
Pressing the Go Back button will exit to the
remote’s settings menu.
Page 9

Button Light
Adjust the remote’s button backlight by
pressing the adjacent hard buttons to increase
or decrease the light level. Press the Ok button
when you have finished adjusting the level.
Pressing the Go Back button will revert to the
remote’s last saved setting.
Page 10

Power
View the remote’s remaining battery power
percentage level and indicate how low the
percentage should be before you receive a Low
Battery warning screen. Press the Save button
when you have finished adjusting the power
level. Pressing the Go Back button will revert to
the remote’s last saved setting.
Page 11

Sound
Adjust the remote’s sound by pressing the
adjacent hard buttons which increases or
decreases the button’s volume level. Press the
Save button when you have finished adjusting
the sound level. Pressing the Go Back button
will revert to the remotes last saved setting.
Pickup
You can set the HCM-R1 to turn ON when it is
picked up. Simply select Yes (Turn ON) or No
(Turn OFF). The System Menu is displayed
after the pickup is adjusted.
Page 12

Firmware Update
Select Firmware Update to check for the latest
firmware version available for the HCM-R1
remote control and HCM-C1 base station (if
necessary).
The screen, shown below, appears when a
firmware update is available:
Select Yes to begin the firmware update
process. Selecting No reverts the remote to the
HCM-R1 System Menu.
The screens, shown below, appear when a
firmware update is not available:
Page 13

Factory Default
WARNING! Selecting this button resets the
memory of the HCM-R1 to the factory settings.
All your programming will be lost! Selecting Yes
shall set the HCM-R1 to factory default.
Selecting No shall return the HCM-R1 to the
Setup Menu screen.
Exit
When you have finished adjusting the remote’s
Settings, simply press the Exit button to return
to normal operation.
Page 14

Remote Control ID
If this is the first time the HCM-R1 Remote
Control is being used, out of the box, an Initial
Launching process will be shown. The process
will guide you to acquiring a Remote Control ID,
and a URC Programming ey. When using the
Programming Web Page, the Remote Control
ID is used to identify the HCM-R1 Remote
Control(s) within your system
URC Programming Key
After completing the Initial Launching process,
a 16-digit URC Programming ey is displayed.
This key is required to access the URC
Programming Web Page.
The primary base station model name used
within the system is also displayed on this
screen. This information is required, when
prompted for system validation when using the
URC Programming Web Page.
Note: This information is not displayed after the
system has been successfully programmed by
the URC Programming Web Page.
Page 15

Specifications
Microprocessor: ARM9 454MHz
RAM: 64Mbyte Mobile DDR
NAND: 128Mbyte
LCD: 2 Inch Screen (240 by 320) LCD
Backlighting by LED
Devices: Supports up to 255 Devices with text,
less with heavy graphics
Usage Pages: Supports up to 255 Pages on
each Device with text, less with heavy graphics
usage
Macro Capa ility: Up to 255 steps each,
however nesting is allowed
Wi-Fi: IEEE 802.11b/g/n
Battery: Lithium polymer, 1,960mAh
Battery Charging Time: 5 Hours
Size: 8.66” H x 2.04” W x 1.19” D
Battery Warranty: 1 Year
Weight (with attery loaded): 5.6 oz
SMPS: 5V/1A
USB Connector: Use only for charging
Page 16
Table of contents
Other URC Remote Control manuals
Popular Remote Control manuals by other brands

ModelCraft
ModelCraft 20 50 66 operating instructions

Universal Electronics
Universal Electronics ATLAS OCAP 5 user guide

Barthelme
Barthelme CHROMOFLEX PRO KNX instruction manual

Vivanco
Vivanco TITAN UR 2300 instructions

Harbor Breeze
Harbor Breeze KUJCE9603 Operation and installation instructions

Sony
Sony RM-P352 Programming guide