Trafomatic Audio EOS Series User manual

1

2

EOS
StereoIntegratedTubeAmplifier
StereoPowerTubeAmplifier
User’sManual
http://www.trafomaticaudio.com/ Rev.1
3

TableofContents
Section PageNo.
SafetyPrecautions 3,4
GettingStarted
AboutYourAmplifier 5
ConstructionandTesting 5
Packaging/Unpacking 5,6
Accessories 6
PreparationforUse 6
OperatingProcedures 6
ControlsandTheirFunctions 7
VacuumTubeLayout: 8
TubeReplacement 8,9
Servicing 9
TechnicalSpecifications 9
4

SAFETYPRECAUTIONS
IMPORTANTSAFEGUARDS
PLEASEREADCAREFULLYALLTHE
FOLLOWINGIMPORTANTSAFEGUARDSTHAT
AREAPPLICABLETOYOUREQUIPMENT
CAUTION!
TOREDUCETHERISKOFELECTRICSHOCK,DONOTREMOVESCREWS.NO
USER
SERVICEABLEPARTSINSIDE.REFERSERVICINGTOQUALIFIEDSERVICE
PERSONNEL.
SAFETY
1) Read the User’s Manual and refer to it frequently during use of this product All the
safetyandoperatinginstructionsshouldbereadbeforetheproductisoperated.
2) RetaintheUser’sManualThesafetyandoperatinginstructionsshouldberetainedfor
futurereference.
3) FollowInstructionsAlloperatingandinstructionsforuseshouldbecloselyfollowed.
4) Power Sources This product should be operated using only the type of power source
indicated on the marking label. If you are not sure of the type of power supply in your home,
consultyourproductdealerorlocalpowercompany.
5)GroundingThisproductisequippedwithathreeprongIECconnector.Alwaysusepowera
cordwithanadequatewirecrosssectionandanelectricaloutletthatisgrounded.Ifyoudonot
knowwhethertheoutletisgrounded,consultyourelectricianorlocalpowercompany.
6) Power Cord Protection – Power supply cords should be routed so that they are not likely
to be walked on or pinched. Pay particular attention to the cords at near their plugs, convenience
receptacles and where they exit from the product. Always use power cords with adequate current
ratingsandsafetycertifications(UL,CE,TÜV,CSA,etc.)
7) Fuses For continued protection against fire hazard, replace fuses with the same type
and rating of the fuses specified. When changing fuses, completely unplug the AC cord from the
5

walloutlet.
8) Tubes During operation the tubes get very hot. Do not touch the tubes since this may
result in a severe burn. Allow at least 10 minutes after removing power from the tubes for them to
cooldownbeforetouching..
9) Turnoff when not using Turn off the unit as soon as you stop actively using it. Unplug
the power supply from the wall during a lightning storm or when the product is to be left
unattendedandunusedforlongerdurations..
ENVIRONMENT
1) Water and Moisture Do not use this product near water i.e. near a bathtub, sink, laundry tub;
ornearaswimmingpooletc.Dampbasementsshouldbeavoided.
2) Heat The product should be situated away from heat sources such as radiators, heat registers,
stovesorotherappliancesthatproduceheat.Alsoavoidputtingtheunitinthedirectraysofthesun.
3)Forindooruseonly.
PLACEMENT
1) Accessibility It is normal for a vacuum tube power amplifier to run warm if used for prolonged periods.
Tubes are very hot when operating and should not be touched for at least ten minutes after the unit is turned off
topreventburns.Alwaysplaceyouramplifierawayfromchildrenandpetstopreventburns.
2) Ventilation This product should not be placed in a builtin installation or rack unless proper
ventilation is provided or the manufacturer's instructions have been followed. Never place anything
on top your amplifier that could obstruct the airflow and cause the electron tubes to overheat and
damage the amplifier. Do not place your amplifier in a closed bookcase; overheating could occur.
Ensurethatthereisatleast8”(200mm)ofopenspaceabovetheamplifier.
3) Surface Place the unit on a flat level surface. Care should be taken to prevent objects from falling on or
intotheunit.Donotsubjecttheunittoexcessivesmoke,dust,vibrationorshock.
MAINTENANCE
1) Cleaning Unplug this product from the wall outlet before cleaning. Do not use liquid cleaners or
aerosol cleaners. Use a dry cloth for cleaning. Do not use any type of abrasive pad, scouring
powderorsolventsuchasalcoholorbenzene.
2) Tube replacement – The electron output tubes have a lifespan of 20003000 hours. We strongly
recommend replacing the output tubes at 2030 months interval (depending on your listening habits) and
signal tubes at every other power tube replacement (after 2436 months). This will ensure that the amplifier
alwaysperformsatitsbestandtubefailurewillnotoverstressotherparts.
3) Biasing the amplifier The EOS
amplifier uses tubes in a fixedbiasing configuration and requires
adjustment after changing your output tubes(the KT120s). Follow the easy instrucions below to get
thembiased.
WelcometoYourFirstUseandTheBiasSettingofYourEos.Manyofyoumayneverhavesetbiason
anampbefore.Well,you'reinluck.SettingthebiasonyourEosisverysimpleandrequiresnothing
morethantheincludedscrewdriver.
6

Ifyouhavealreadyplacedyourcleartubeguardontothefrontofyouramp,removeitnowforeaseof
accesstothetubes.You'llnoticeameterdeadcenteronthefrontfaçadeoftheamp.It'smorethanjust
the'O'inEOS,it'salsothemeteryou'llusewhenbiasing.You'llnoticethatyouroutputtubes(thebig
ones)aremarkedV1throughV4.Examineyourpowertubesandplacethemintotheappropriately
marked
sockets.Ifyou'vealreadyremovedthetubesfromtheirmarkedboxes,don'tworry,thetubesarealso
markedontheirbases.Onceyouroutputtubesareinstalled,installthefoursmallertubes.Thetaller
onesontheoutsideandshorteronesontheinside.(doesn'tmatterwhichside)
Nextyou'llwanttolocatetheincludedscrewdriver.MakecertainthatyourEos'on/offswitch(located
ontheleftsideofyouramp)istoggledto'off'.Next,connectyourampandpowersupplyusingthe
includedumbilical.Plugthepowersupplyintothewall.Turntheswitchonthepowersupply(notthe
amp)On.Connectyourspeakers.Ifyouwanttobereadytolistentomusicdirectlyafterbiasing,go
aheadandconnectasource.Turnonthesourcebutkeepthevolumeofyoursourceatnilorzero.
IfyouhavetheintegratedversionoftheEos,andhavepluggedyoursourceintoinputs1or2,Iwould
puttheinputselectoronaninputnotbeingused.Again,turnonyoursource.Itneednotbeplaying,and
again,keepthevolumesettozero.
LookingattherightsideofyourEos,you'llfindabiasplate.Initare4holeswhichcorrespondtothe4
outputtubesandaresomarked.Ifyouarecomfortablewithusingtheholes,doso,manyofyoumay
finditeasiertoremovetheplatesoyoucanactuallyseethescrews.(Ido)You'llalsowanttohave
comfortablespacearoundthatareawhenbiasingtheamp.Giveyourselfagood12inchesandthiswill
beaneasierexercise.Nowyou'rereadytoswitchonyouramp.Iliketolettheampsetforatleast3
minutes.Oncethattimehaspassed,wewillbeginthebiasing.You'llseethebiasknobdeadcenteron
thetopofyouramp.Thetubesgetalittlehot,soyou'llwanttousecaution.That'swhyweleftthetube
guardoff,soonecanmoreeasilyreachinandturntheknobwiththetubesheated.
Whentheknobisdeadcenter,pointedstraightback,theampisinoperationalmode.Switchthebias
knobtwoclickstoyourleft,orV1.You'llseethetheneedleonthebiasmeter(onthefrontfacade)
jumpintoaction.Usingyourscrewdriver,goaheadandadjustthecorrespondingscrew.You'llseewith
aturnortwotheneedlewillmove.Don'tworryaboutthingsbeingtooawfullyhighorlowthisisasturdy
ampwithsturdytubes.Foroptimaluse,weliketheampsetat50mA.Onceyou'vesetthefirsttube
turnthebiasswitchtoV2andaccordinglyadjusttheV2screwonyourbiasplatealsoto50mA.Repeat
thesameforV3andV4.Returnthebiasswichtothecenterposition.Onceset,you'rereadytolistento
somemusic.Selectyoursourceandturnupthevolume.Forthisfirsttime,Iliketoleavetheplateoff,
andreset,afterabout23hoursofplay.Ifyoudon'thavetimetowait,don'tworry,justrepeatthebias
sectionafteryournextlonglisteningsession.Oncethatisdone,reattachthebiasplate(ifyou
removedit).
Oncebiasisset,you'regoodtolistentoyourEosforalongtimebeforeanyrebiasingneedoccur.With
regularusage,biasingneedonlyoccurafewtimesayear,andafteroneortwogoroundsofpractice,
theprocedurewon'ttakeyoumorethan5minutes.
WehopeyouenjoyyournewEosfromTrafomaticAudio.It'sdesignedtobringthetruepassionand
spiritofmusicintoyourhomeformanymanyyearstocome.
●
●
7

●Figure1:Biasplateontherightsideofamplifier
SERVICE
1) Replacement Parts When replacement parts are required, be sure that the service technician uses
replacement parts specified by the manufacturer or parts with the same characteristics as the original
part.Unauthorizedsubstitutionsmayresultinfire,electricalshockorotherhazards.
2) TubeReplacementShoulditbecomenecessarytoreplaceyourtubes,removetheACpowerplugfrom
thewallandallowthirtyminutesforthehighvoltagecapacitorstodischarge.Followinstructionsoutlinedinthis
manual.
3)Modifications–Modificationstotheamplifierarestronglydiscouraged.Theunitwasdesignedby
experiencedengineersandtestedforsafeandreliableoperation.Anymodificationmayposeasafetyproblem
andresultinreducedlifetimeoftheproduct.Anyremovalofthecoverwillvoidthewarranty.
GettingStartedAboutYourAmplifier
Your EOS
amplifier was designed to provide a significant value based on a high performance to price ratio that
willexceedthesonicqualityofgoodsolidstateamplifierswithitsmusicalaccuracy.
The EOS
uses four Tungsol KT120 power output tubes , two 6N6PEV drive tubes and two 5687 input
tubes.The EOS
is designed to work in a PushPull class A.. Parts are carefully chosen for the optimum sound
qualityandtheoverallcircuitlayoutismaximizedforsonicpurity.
HandlingVacuumTubes
Many people have never had experience handling vacuum tubes. The process is very similar to handling
incandescent light bulbs. As with light bulbs, you should not touch a vacuum tube when it is operating since you
can burn yourself. Similarly, if a tube is dropped on a hard surface it will break. When replacing the tubes allow
8

sufficient time, (a minimum of 30 minutes), for the tubes to cool down and the internal capacitors to discharge.
Before you insert a tube you should make certain that the unit is disconnected from the AC outlet and that the
tubes have cooled down. Inspect the tubes for cracks or any physical damage. Make sure that the pins are
straight. If you need to straighten the pins, be very careful as it may cause the glass envelope to break, causing
the tube to lose the vacuum and fail as soon as the amplifier is powered on. Carefully align the pins with the
socket and gently insert the tube. Never force a tube into a socket.Should you decide to buy replacement
tubesfromTrafomaticAudio,restassuredthattheywerefullytestedbeforetheshipment.
Packaging
Save all the packaging in a dry place. Your amplifier is a precision electronic instrument and should be properly
packaged any time shipment is made. Because of its weight it is highly probable that the unit will be damaged
duringshipmentifrepackagedinaboxandpackingotherthanthatdesignedfortheunit.
PreparationforUse
Placeyouramplifieronaflatsurface.
Before inserting the tubes, inspect them for cracks and physical damage. Make sure that the pins are straight. If
you need to straighten the pins, be very careful as that may cause the glass envelope to break, causing the tube
to lose the vacuum and fail as soon as the amplifier is powered on. Refer to the drawing below to locate each
tubes correct location.. Carefully align the pins with the sockets and gently insert the tubes according to the
drawingbelow.Neverforceatubeintoasocketandneverruntheamplifierwithoutthetubes
9

Figure2:EOS
tubelayout
Neveruseexcessiveforcewheninsertingthetubesintotheirsocket.
OperatingProcedure
1. Makesurethatyouhavereadtheinstructionsbeforeattemptingtooperateyourunit.
2. Attachtheaudiosourcesandspeakers(refertothepicturebelow).Neverruntheamplifierwithout
speakersconnectedsincethatmaydamagethetransformers.Speaker’sminusterminalshouldbe
connectedtothespeakerterminalmarkedaszero(0)andpositiveterminalshouldbeconnectedtotheterminal
thatcorrespondstothespeaker’snominalimpedance(4or8ohms).Theamplifierisoptimizedforthese
impedances.Higherorlowerimpedanceswillresultinhigherdistortionorlossofpower.Donotuseaspeaker
withimpedanceslowerthan2ohmsoneitheroftheoutputs.Makesuretoavoidshortcircuiting(whereyoucross
+andwiththepoweron)attheamplifier’sspeakerterminalsasthatwilldamagetheamplifier.
10

Figure3:EOS
speakersconnection
NOTE:4ohmsand8ohmsspeakerscannotbeconnectedtothespeakerterminalsatthesametime!
Makesureyouramplifierisproperlyconnectedtoahighcurrentpowerreceptacle.
3. WARNING:The EOSarepoweramplifiers.Thismeansthattheyarealwaysonatfullpower.
Applyinganunattenuatedlinesignal,orasignalfromapreamplifierwithvolumecontrolfullyopenwillresultin
fullpoweroutput.Thiscandamageyourspeakersorears.Alwaystakecarethatvolumecontrolsareinthe
properposition(asinturneddown)andthatyouuseacontrollablesource.
4. Theamplifierwillbefullyfunctionalafteronlyacoupleofminutes.However,asitwarmsupover30
minutes,youmaynoticeaslightimprovementinthesoundquality.
5. Attheendofyourlisteningsessionmakesuretoturntheamplifieroff.Leavingitondoesnothingforthe
soundqualityanditreducesthelifeofthevacuumtubes.
Theamplifiershouldalwaysbeturnedonandoffviaitsownpoweronoffswitch.
ControlsandTheirFunctions
11

LeftSidePanel
Power Switch:Press the power switch to (1) turn the power on. Within 1020 seconds, as the heaters reach
operating temperature the tubes will begin to glow a soft orange light. Press the power switch to (0) to turn the
unitoff.Astheheaterscooloff,theorangeglowwillslowlydisappear.
It is normal for a vacuum tube equipment to run warm if used for prolonged periods. Tubes are
operating at much higher temperature and should not be touched for at least ten minutes after the unit
is turned off to prevent burns. Always place your amplifier away from children and pets to prevent
burns.
AudiosignalconnectionjacksUsethesejackstoconnecttheaudiointerconnectsfromyour
componentstotheamplifier.
Speaker terminals Your amplifier has two output channels, the Right Output and the Left Output. Each
output channel is designed to handle one speaker. Follow the instructions outlined in the Operating Procedure
forthecorrectspeakerconnections.
TUBEREPLACEMENT
YourEOS
amplifier’sconservativedesignmaximizestubelife.YoucanexpectthatyourTungsolKT120tubes
willlastinexcessof2000hours,whilethedrive6N6PEVtubesand5687preamplifiertubesshouldlast
approximately3500hours.Duetomostpeople’slackofdesireandinabilitytotimeeverylisteningsession,,we
stronglyrecommendreplacingtheoutputtubesat2030months,(dependingonyourlisteninghabits)andyour
signaltubesateveryotherpowertubereplacement(every2436months).Thiswillensurethattheamplifier
alwaysperformsatitsbestandtubefailurewillnotoverstressotherparts.
Before you begin tube replacement you should make certain that the unit is turned off and disconnected from
the AC outlet and that the current tubes have cooled down. Allow sufficient time, 30 minutes is plenty, for the
tubes to cool down and the internal capacitors to discharge. Before inserting a new tube, inspect the tube for
cracks and physical damage. Make sure that the pins are straight. If you need to straighten the pins, be very
careful as it may cause the glass envelope to break, causing the tube to lose the vacuum and fail as soon as the
amplifier is powered on, possibly damaging the amplifier as well. Also, make sure to inspect the tube sockets for
cracks and pin inserts. Carefully align the pins with the socket and gently insert the new tube. Never force a
tube into a socket. Should you decide to buy replacement tubes from Trafomatic Audio, rest assured that they
werefullytestedbeforetheshipment.
Only KT120 power tubes can be used. Regarding the preamplifier and drive tubes, the 6N6P and 5687 tubes
CANNOT be replaced with other tube such as the ECC81,82, 83, or 88. No other tube types should be used as
thismaycausedamagetotheamplifier,dasmagewhichisnotcoveredbythewarranty.
We do not recommend frequent changes of the tubes, as the sockets are sensitive mechanical parts
andareratedforarelativelysmallnumberofinsertions.
12

Servicing
Because of its careful design and high manufacturing standards, your amplifier should normally require
onlyminimalservicetomaintainitshighlevelofperformance.
CAUTION: Lethal voltages are present inside the amplifier. Do not remove the amplifier’s bottom
cover and do not tamper with components inside the unit even with the power turned off.
Servicingshouldbeleftonlytoauthorizedandtrainedpersonnel.
13

TechnicalSpecifications:
Stereotubeamplifier
Maximumoutputpower:100W
Classofoperation:A
THD:3.5%max(100W/1kHz)
Bandwidth:10Hz85kHz
Inputs:4xRCAinputsforintegratedversionand1xRCAand1xXLRforpoweramplifier
Inputsensitivity:0.8Vef
Inputimpedance:100kohm
S/N:83dB(1KHz/1W)
Output(speaker)impedance:Speakerterminalsfor4and8ohms
Tubes:4xKT120,2x6N6PEV,2x5687
InputVoltage:120V,60Hzor230V,50Hz(asmarkedontherealplateofpowersupply
box)
Maximuminputcurrent:4Aat120V,2Aat230V
Dimensions:WidthxDepthxHeight:450mmx350mmx240mm
Weightofamplifier:25kg
Weightofpowersupplybox:12kg
14
Table of contents
Other Trafomatic Audio Amplifier manuals
Trafomatic Audio
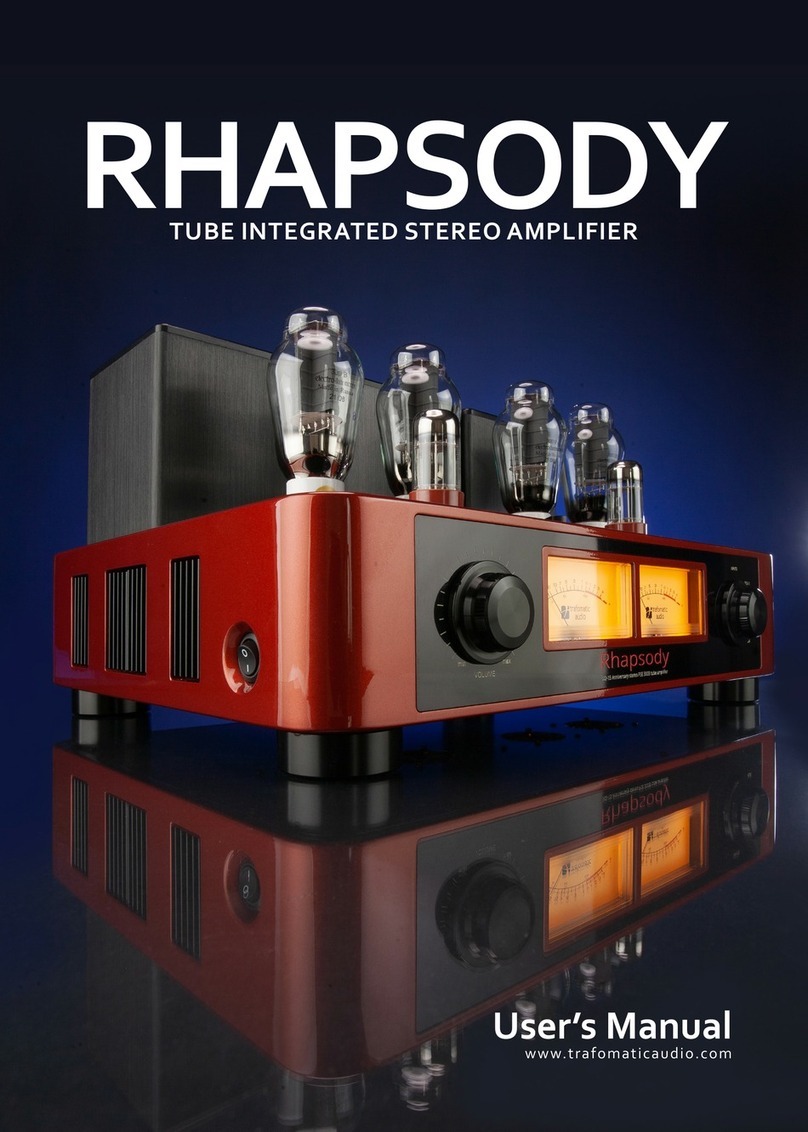
Trafomatic Audio RHAPSODY User manual
Trafomatic Audio
Trafomatic Audio TARA 30A User manual

Trafomatic Audio
Trafomatic Audio Premise User manual

Trafomatic Audio
Trafomatic Audio EVOLUTION PHONO ONE User manual
Trafomatic Audio
Trafomatic Audio Premise Evolution User manual
Trafomatic Audio
Trafomatic Audio Primavera User manual

Trafomatic Audio
Trafomatic Audio LARA User manual
Trafomatic Audio
Trafomatic Audio ELYSIUM User manual
Trafomatic Audio
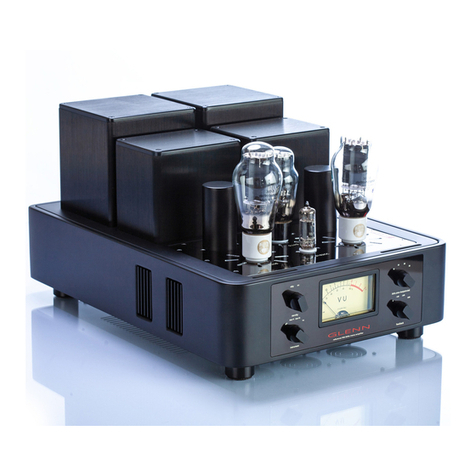
Trafomatic Audio GLENN User manual

Trafomatic Audio
Trafomatic Audio Experience Elegnce User manual
