Trafomatic Audio Premise User manual

Premise
Stereo Integrated Tube Amplier
User’s Manual
www.trafomaticaudio.com rev. 1
Trafomatic Audio

2
2
Table of Contents
Section Page No.
Safety Precautions 3, 4
Getting Started
AboutYourAmplier 5
ConstructionandTesting 5
Packaging/Unpacking 5,6
Accessories 6
PreparationforUse 6
OperatingProcedures 6
Controls and Their Functions 7
Vacuum Tube Layout: 8
Tube Replacement 8, 9
Servicing 9
Technical Specications 9
Trafomatic Audio
Premise
Stereo Integrated Tube Amplier
Trafomatic Audio

3
3
SAFETY
1) Read the User’s Manual and refer to it
frequently during use of this product
All the safety and operating instructions should be
read before the product is operated.
2) Retain the User’s Manual
The safety and operating instructions should be re-
tained for future reference.
3) Follow Instructions
All operating and instructions for use should be close-
ly followed.
4) Power Sources
This product should be operated using only the type
of power source indicated on the marking label. If you
are not sure of the type of power supply in your home,
consult your product dealer or local power company.
5) Grounding
This product is equipped with a three prong IEC con-
nector. Always use power cord with adequate wire
cross section and an electrical outlet that is grounded.
If you do not know whether the outlet is grounded,
consult your electrician or local power company.
6) Power Cord Protection
Power supply cords should be routed so that they are
not likely to be walked on or pinched. Pay particular
attention to cords at plugs, convenience receptacles
and where they exit from the product. Always use
power cords with adequate current ratings and safety
certications(UL,CE,TÜV,CSA,etc.)
7) Fuses
Forcontinuedprotectionagainstrehazard,replace
fuses with the same type and rating of the fuses
specied.Whenchangingfuses,completelyunplug
the AC cord from the wall outlet.
8) Tubes
During operation the tubes get very hot. Do not
touch the tubes since this may result in a severe
burn. Allow at least 10 minutes after removing pow-
er for tubes to cool down before touching them.
9) Turn-off when not using
Turn off the unit as soon as you stop actively using
it. Unplug the power supply from the wall during a
lightning storm or when the product is to be left unat-
tended and unused for longer periods of time.
Trafomatic Audio
Trafomatic Audio
Premise
CAUTION!
TOREDUCETHERISKOFELECTRICSHOCK,DONOTREMOVE
SCREWS.NOUSERSERVICEABLEPARTSINSIDE.REFERSERVICING
TOQUALIFIEDSERVICEPERSONNEL.
SAFETY PRECAUTIONS
IMPORTANT SAFEGUARDS
PLEASE READ CAREFULLY ALL THE FOLLOWING
IMPORTANT SAFEGUARDS THAT ARE APPLICABLE TO
YOUR EQUIPMENT
Stereo Integrated Tube Amplier

4
4
ENVIRONMENT
1) Water and Moisture
Do not use this product near water - i.e. near a bath-
tub, ash bowl, kitchen sink or laundry tub; in a wet
basement; or near a swimming pool or the like. Damp
basements should be avoided.
2) Heat
The product should be situated away from heat sourc-
es such as radiators, heat registers, stoves or other
appliances that produce heat. Also avoid putting the
unit in the direct rays of the sun.
3) For indoor use only.
PLACEMENT
1) Accessibility
Itisnormalforavacuumtubepowerampliertorun
warm if used for prolonged periods. Tubes are very
hot when operating and should not be touched for at
least ten minutes after the unit is turned off to pre-
vent burns.Always place your amplier away from
children and pets to prevent burns.
2) Ventilation
This product should not be placed in a built-in installa-
tion or rack unless proper ventilation is provided or
the manufacturer’s instructions have been followed.
Neverplaceanythingontopyouramplierthatcould
obstructtheairowandcausetheelectrontubesto
overheatanddamagetheamplier.Donotplaceyour
amplierinaclosedbookcase;overheatingcouldoc-
cur.Ensurethatthereisatleast8”(200mm)ofopen
spaceabovetheamplier.
3) Surface
Placetheunitonaatlevelsurface.Careshouldbe
taken to prevent objects from falling and liquids from
spilling into the unit. Do not subject the unit to exces-
sive smoke, dust, vibration or shock.
MAINTENANCE
1) Cleaning
Unplug this product from the wall outlet before clean-
ing. Do not use liquid cleaners or aerosol cleaners.
Use a dry cloth for cleaning. Do not use any type of
abrasive pad, scouring powder or solvent such as al-
coholorbenzene.
2) Tube replacement
Electron tubes have their life in the 2000-3000 hrs
range.Westronglyrecommendreplacingtheoutput
tubesat 20-30months interval(depending onyour
listeninghabits)andsignaltubesateveryotherpow-
er tube replacement (after 24-36 months). This will
ensurethattheamplieralwaysperformsatitsbest
and tube failure will not overstress other parts.
3) Biasing the amplier
ThePremiseamplierusestubesinself-biasingcon-
gurationanddoesnotrequireanyadjustments.The
only requirement is to ensure that matched tubes are
usedinbothchannels.Matchedtubesareavailable
from multiple vendors as well as directly from Trafo-
matic Audio.
SERVICE
1) Replacement Parts
Whenreplacement partsarerequired, besurethat
the service technician uses replacement parts speci-
edbythemanufacturerorpartswiththesamechar-
acteristics as the original part. Unauthorized sub-
stitutions may result in re, electric shock or other
hazards.
2) Tube Replacement
Should it become necessary to replace your tubes,
remove the AC power plug from the wall and allow
thirty minutes for the high voltage capacitors to dis-
charge. Follow instructions outlined in this manual.
3) Modications
Modications to the amplier are strongly discour-
aged. The unit was designed by experienced engi-
neers and tested for safe and reliable operation. Any
modicationmayposeasafetyproblemandresultin
reduced lifetime of the product. Any removal of the
cover will void warranty.
Trafomatic Audio
Trafomatic Audio
Premise
Stereo Integrated Tube Amplier

5
5
Your Premise Integrated amplierwasdesignedto
provideasignicantvaluebasedonahighperform-
ance to price ratio that will exceed the sonic quality of
goodsolidstateamplierswithitsmusicalaccuracy.
The Premise Integrated amplier uses four
EL84/6BQ5 output tubes per channel, driven from
antwoECC81.ThePremiseIntegratedamplieris
designed to work in a Push-Pull class A Triode/Ultra-
linerar mode. Parts are carefully chosen for the op-
timum sound quality and the overall circuit layout is
maximizedforsonicpurity.
Handling Vacuum Tubes
Many people have never had experience handling
vacuum tubes. Process is very similar to handling
incandescent light bulbs. As with light bulbs, you
should not touch a vacuum tube when it is operat-
ing since you can burn yourself. Similarly, if a tube is
droppedonahardsurfaceitwillbreak.Whenreplac-
ingthetubesallowsufcienttime,minimum30min-
utes, for tubes to cool down and internal capacitors to
discharge.Beforeyouinsertatubeyoushouldmake
certain the unit is disconnected from the AC outlet
and that the tube has cooled down. Inspect the tube
forcracksandphysicaldamage.Makesurethatthe
pins are straight. If you need to straighten the pins,
be very careful as it may cause the glass envelope
to break, causing the tube to lose the vacuum and
failassoonastheamplierispoweredon.Carefully
align the pins with the socket and gently insert the
tube. Never force a tube into a socket. Should
you decide to buy replacement tubes from Trafomatic
Audio, rest assured that they were fully tested before
the shipment.
Packaging
Saveallthepackaginginadryplace.Youramplieris
a precision electronic instrument and should be prop-
erlypackagedanytimeshipmentismade.Because
of its weight it is highly probable that the unit will be
damaged during shipment if repackaged in a box and
packing other than that designed for the unit.
Preparation for Use
Placeyouramplieronaatsurface.
Before inserting the tubes, inspect them for cracks
and physical damage. Make sure that the pins are
straight. If you need to straighten the pins, be very
careful as that may cause the glass envelope to break,
causing the tube to lose the vacuum and fail as soon
astheamplierispoweredon.Refertothedrawing
below to locate correct location for each tube. Care-
fully align the pins with the socket and gently insert
thetubeaccordingtothedrawingbelow.Neverforce
a tube into a socket.
Trafomatic Audio
Trafomatic Audio
Premise
Getting Started - About Stereo Tube Amplier
Triode Triode
4xEL84 ECC81
UL UL
ECC81 4xEL84
Made by Trafomatic Ltd
Figure 1: Premise tube layout
Never use excessive force when inserting the tubes into their socket.
Stereo Integrated Tube Amplier

6
6
Operating Procedure
1. Make sure that you read instructions before attempting to operate your unit.
NOTE: 4 ohms and 8 ohms speakers cannot be connected to the speaker terminals at the same time!
Makesureyouramplierisproperlyconnectedtoahigh-currentpowerreceptacle.
3. WARNING.Alwaystakecarevolumecontrolisintheproperposition.Theamplierwillbefullyfunctional
afteronlyacoupleofminutes.However,asitwarmsupovertherst30minutesofoperationyoumaynotice
slight improvement in the sound quality.
4.Attheendofyourlisteningsessionmakesuretoturntheamplieroff.
Leavingitondoesnothingforsoundqualityanditreduceslifeofthevacuumtubes.
Theampliershouldalwaysbeturnedonandoffviaitsownpoweron-offswitch.
The amplier should always be turned on and off via its own power on-off switch.
2.Attachtheaudiosourcesandspeakers(refertothepicturebelow).
Never run the amplier without speakers connected since that may damage the transformers.
Speaker’sminusterminalshouldbeconnectedtothespeakerterminalmarkedaszero(0)andpositivetermi-
nalshouldbeconnectedtotheterminalthatcorrespondstothespeaker’snominalimpedance(4or8ohms).
Theamplierisoptimizedfortheseimpedances.Higherorlowerimpedancewillresultinhigherdistortionor
lossofpower.Donotuseaspeakerwithimpedancelowerthan2ohmsoneitheroftheoutputs.
Makesuretopreventshortcircuitattheamplier’sspeakerterminalsasthatwilldamagetheamplier.
Trafomatic Audio
Trafomatic Audio
Premise
Figure 2:PremiseamplierFrontpanel
Figure 3: Premiseamplierspeakersconnection
Stereo Integrated Tube Amplier

57
7
Back Panel
Power Switch: Press the power switch to (I)
turnthepoweron.Within10-20seconds,asthe
heaters reach operating temperature the tubes
will begin to glow a soft orange light. Press the
power switch to (0) to turn the unit off.As the
heaters cool off, the orange glow will slowly dis-
appear.
It is normal for a vacuum tube equipment
to run warm if used for prolonged periods.
Tubes are operating at much higher tempera-
ture and should not be touched for at least
ten minutes after the unit is turned off to pre-
vent burns.
Always place your amplier away from chil-
dren and pets to prevent burns.
Audio signal connection jacks - Use these
jacks to connect the audio interconnects from
yourcomponentstotheamplier.
Speaker terminals -Youramplierhastwoout-
putchannels,theRightOutputandtheLeftOut-
put.
Each output channel is designed to handle one
speaker. Follow the instructions outlined in the
Operating Procedure for the correct speaker
connections.
Trafomatic Audio
Trafomatic Audio
Premise
Controls and Their Functions
Stereo Integrated Tube Amplier

8
8
TUBE REPLACEMENT
Your Premise Integrated amplier’s conservative
designmaximizeslifeofthetubes.
YoucanexpectthatyourEL84/6BQ5tubeswilllastin
excessof3000,whiletheECC81preamplivertubes
should last approximately 4000 hrs.
Lackingtheaccuratetimemeasurement,westrong-
ly recommend replacing the output tubes at 20-30
monthsinterval(dependingonyourlisteninghabits)
and signal tubes at every other power tube replace-
ment(every24-36months).
This will ensure that the amplier always performs
at its best and tube failure will not overstress other
parts.
Beforeyoustartreplacementyoushouldmakecer-
tain that the unit is turned off and disconnected from
the AC outlet and that the tubes have cooled down.
Allowsufcienttime,minimum30minutes,fortubes
to cool down and internal capacitors to discharge.
Before inserting a new tube, inspect the tube for
cracks and physical damage.
Makesurethatthepinsarestraight.Ifyouneedto
straighten the pins, be very careful as it may cause
the glass envelope to break, causing the tube to lose
thevacuumandfailassoonastheamplierispow-
eredon,possiblydamagingtheamplieraswell.
Also, make sure to inspect the tube sockets for cracks
and pin inserts. Carefully align the pins with the sock-
etandgentlyinsertthenewtube.Neverforceatube
into a socket. Should you decide to buy replacement
tubes from Trafomatic Audio, rest assured that they
were fully tested before the shipment.
Only EL84/6BQ5 power tubes can be used.
Regardingpreampliertubes,the ECC81cannotbe
replacedwithanyotherECCtubetype(ECC82,83,88).
No other types of tubes can be used as they may
cause damage to the amplier, which is not cov-
ered by the warranty.
We do not recommend frequent changes of the
tubes, as the sockets are sensitive mechanical
parts and are rated for relatively small number of
insertions.
Servicing
Becauseofitscarefuldesignandhighmanufactur-
ingstandards,yourampliershouldnormallyrequire
only minimal service to maintain its high level of per-
formance.
CAUTION
Lethal voltages are prvesent inside the amplier.
Do not remove the amplier’s bottom cover and
do not tamper with components inside the unit
even with the power turned off. Servicing should
be left only to authorized and trained personnel.
Trafomatic Audio
Trafomatic Audio
Premise
Stereo Integrated Tube Amplier

59
9
Trafomatic Audio
Trafomatic Audio
Premise
Technical Specications:
Stereo Integrated Tube Amplier
Stereo Integrated tube amplier
Class of operation: Push Pull class A Triode/ Ultralinerar mode
Tubes complement: 8xEL84,2xECC81
Inputs: CD, Tuner, Aux
Outputs: 4 , 8 ohms
Input sensitivity:0.85Vrms
THD: 0.25%-1W/1KHz
Bandwidth: 10Hz(-1dB)-50KHz(-3dB)
S/N ratio:88dB
Input impedance: 100K
Power consumption:250VA
Input voltage:230V/50Hz(100-120-220-240Vavailableonrequest)
Size:430x2900x1900mm
Weight:22kg

10
10
Trafomatic Audio
Notes
Trafomatic Audio

Trafomatic Ltd.
AndijeHabusa15
11400Mladenovac,Serbia
www.trafomatic.com
Trafomatic Audio®is a registered trademark of the Trafomatic LTD.
Copyright2007-2012byTrafomatic.Allrightsreserved.
Trafomatic Audio
Table of contents
Other Trafomatic Audio Amplifier manuals

Trafomatic Audio
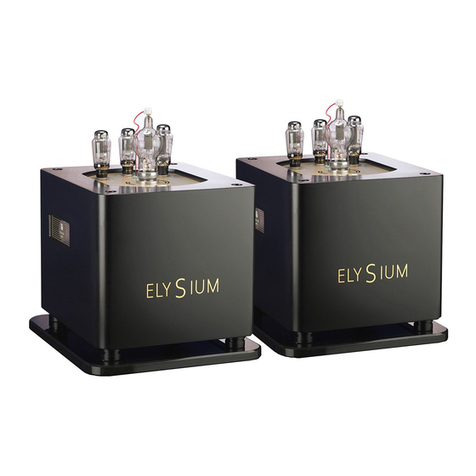
Trafomatic Audio LARA User manual
Trafomatic Audio
Trafomatic Audio ELYSIUM User manual

Trafomatic Audio
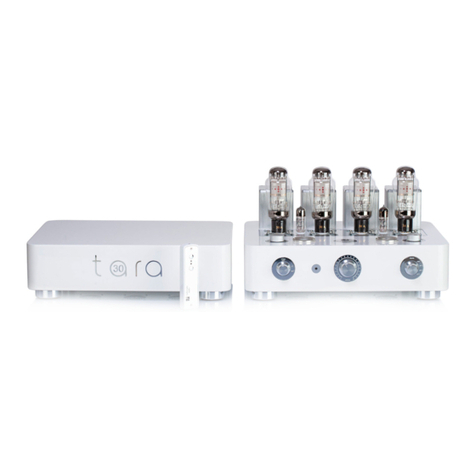
Trafomatic Audio EOS Series User manual
Trafomatic Audio
Trafomatic Audio TARA 30A User manual
Trafomatic Audio
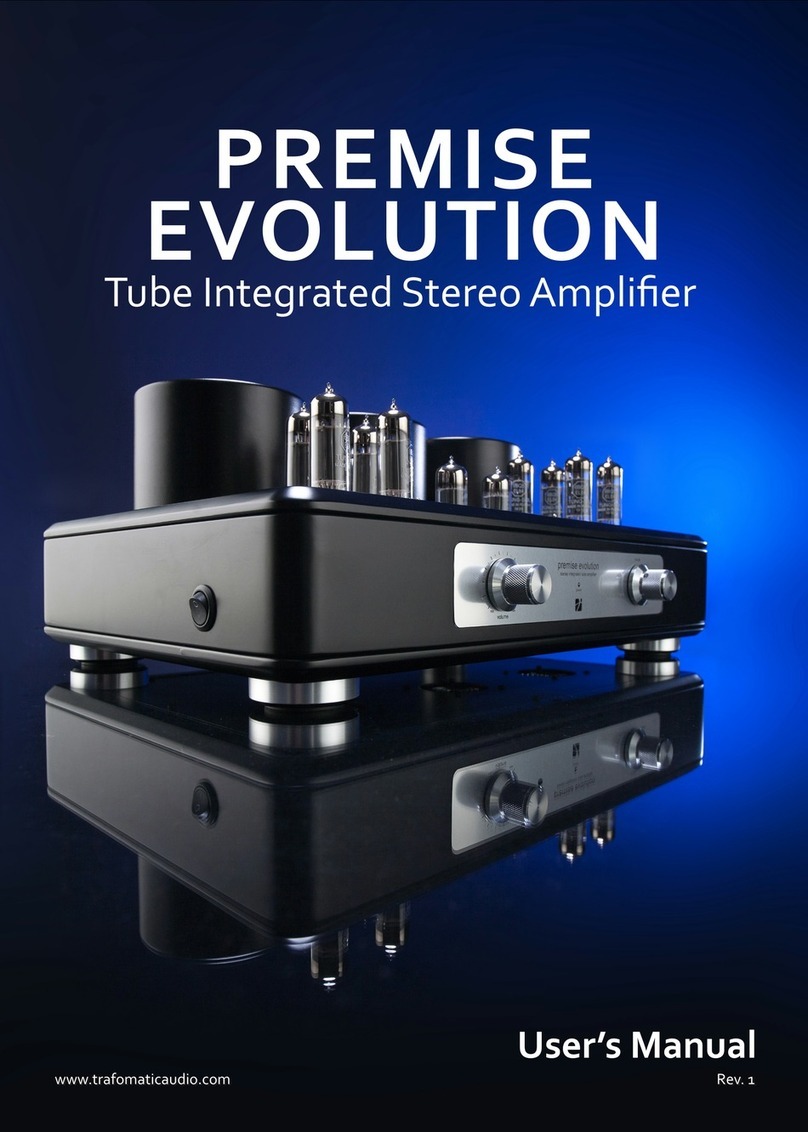
Trafomatic Audio Premise Evolution User manual
Trafomatic Audio
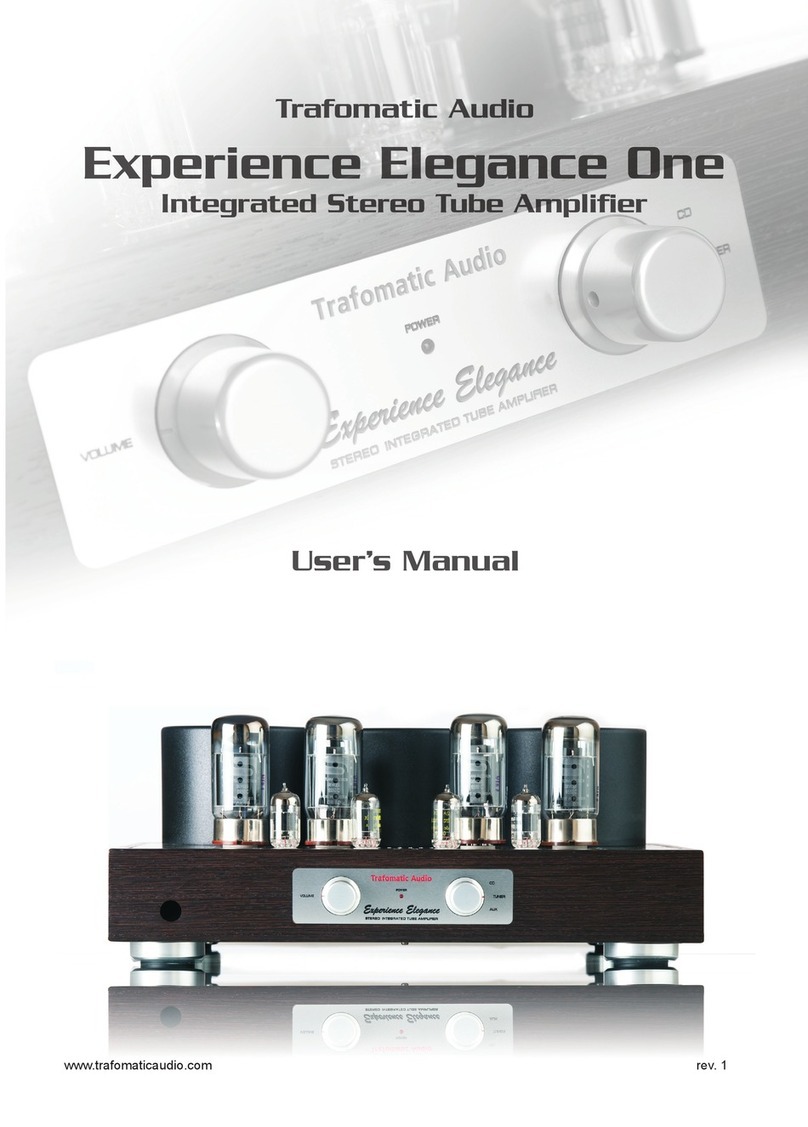
Trafomatic Audio Experience Elegance One User manual
Trafomatic Audio
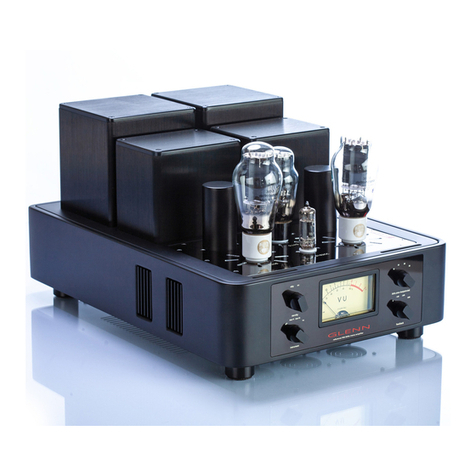
Trafomatic Audio GLENN User manual

Trafomatic Audio
Trafomatic Audio EVOLUTION PHONO ONE User manual
Trafomatic Audio
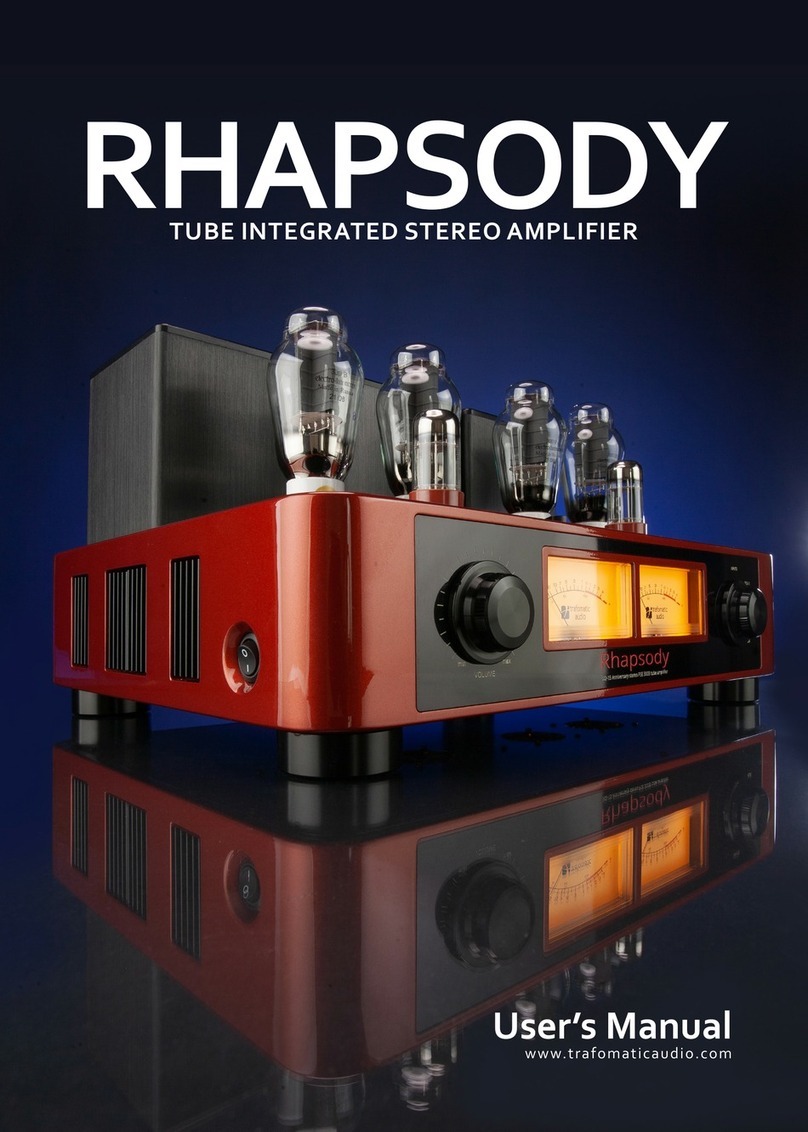
Trafomatic Audio RHAPSODY User manual

Trafomatic Audio
Trafomatic Audio Experience Elegnce User manual
