Trailboss QTFD962L User manual
Tow bar Fitting Instructions
To Suit Ford Ute AU, BA, BF & FG (TUB BODY) XR6 & XR8 Only
Part Number QTFD962L
Rating 2300 kg Max Static Ball Load 230Kg
Page 1 of 3 Issue Date 3/3/10
THE WORKHORSE OF AUSTRALIA’S TOWBARS
WARNING
1. Do not, drill, cut, weld or otherwise modify the tow bar.
:
2. If you are using electric welding on a motor vehicle, always check that the vehicle is not equipped with electronic
engine or instrument management equipment. Failure to do so could destroy
any onboard computers. If in
doubt, check with the vehicle's manufacturer.
General
1. Ensure all hardware items have been included refer to assembly diagram.
:
2. It is recommended that the instructions are read through and completely understood before making any attempt to
fit this product.
3. Be wary of any changes to vehicle designs or other accessories that may conflict with the installation of this
product.
4. Before drilling ensure that the area is clear of fuel, electrical & other components.
5. All holes drilled into the body panels shall have all burrs & swarf removed then coated with a suitable rust
preventative paint.
6. The high tensile fasteners supplied with this product were used to achieve the specified rating. If replacement is
required ensure that fasteners of the same rating & quality are used. Contact an authorized Trailboss dealer if
further information is required.
7. Ensure that all hardware is fastened to torque list below check fasteners on regular basis.
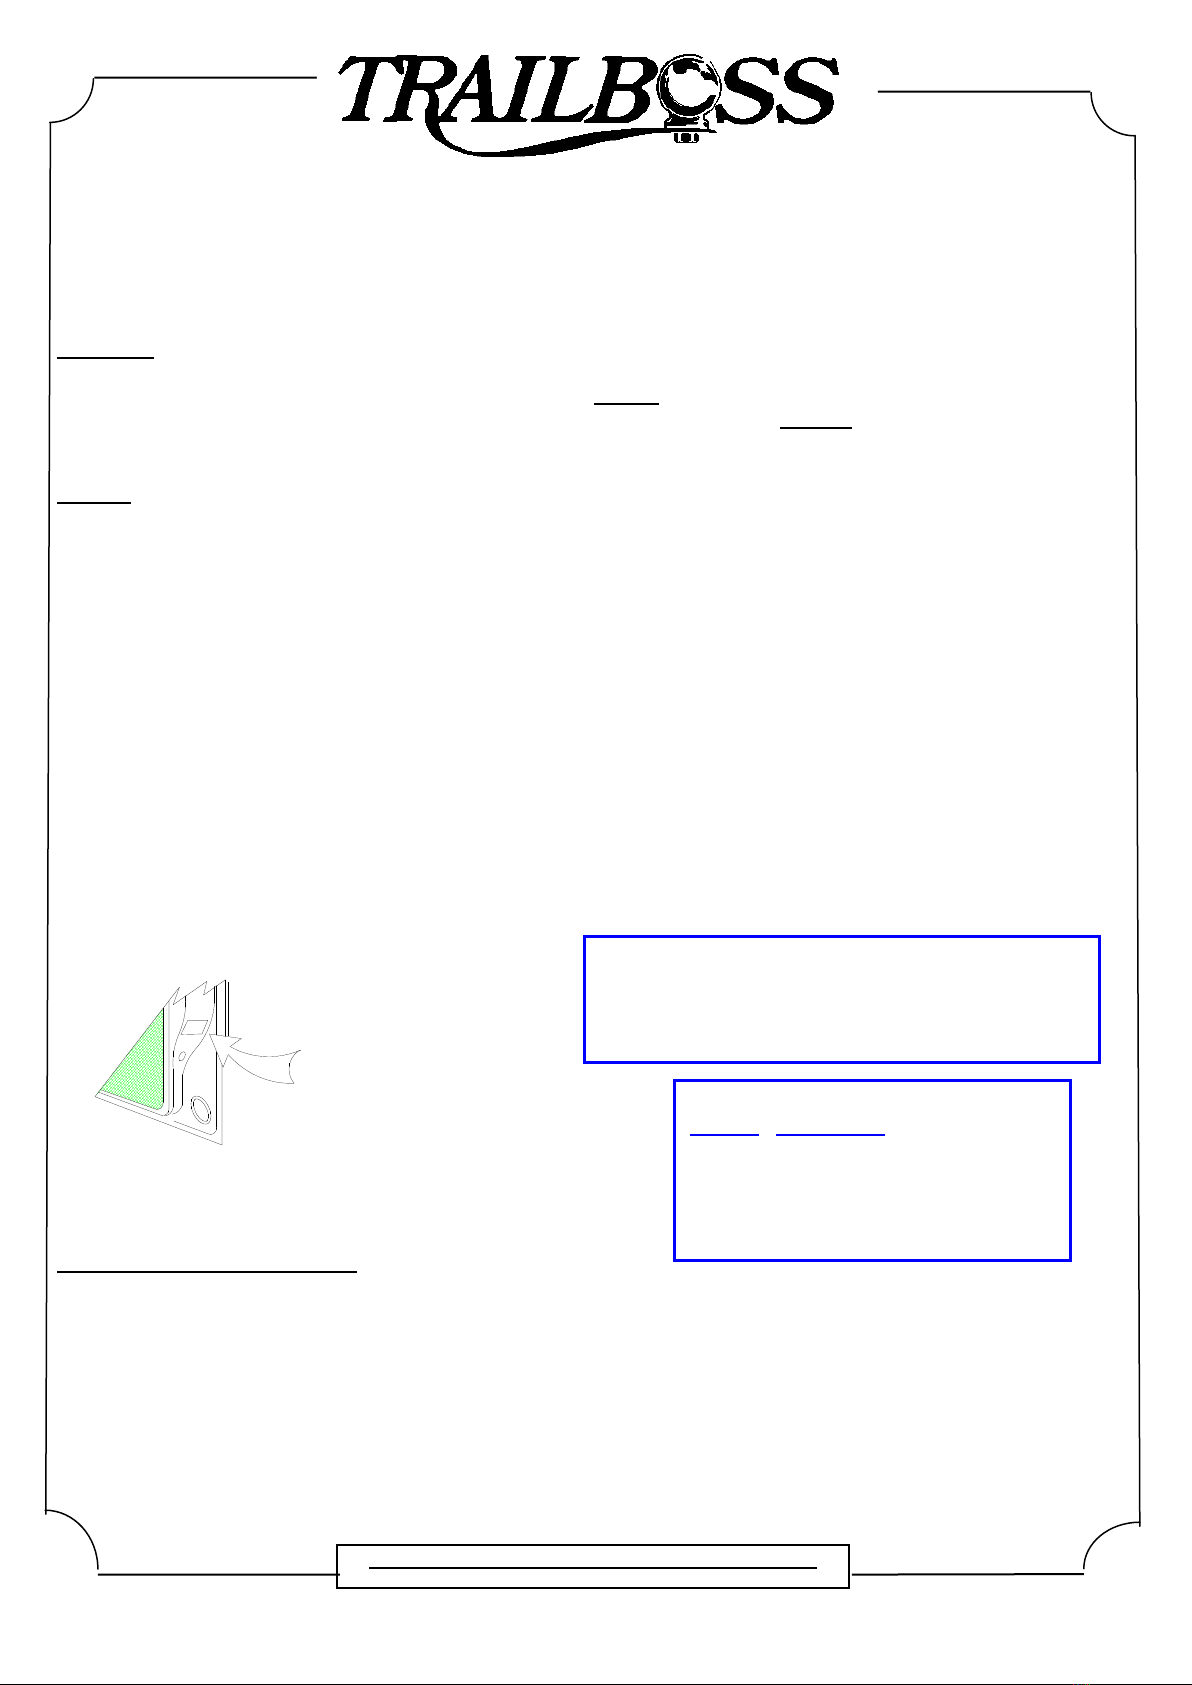
8. Tow bar load rating sticker provided with this product shall be conspicuously located on inside rear end of the
driver's door. (See diagram below).
9. Trailboss recommends that you check your tow ball to ensure that it complies with the Australian standards AS
4177.2.
10. PLEASE NOTE: It is advised to remove your lug or tbm when not actually towing so as to produce a clear view of
the vehicles registration plate if obscured, and to also provide maximum available departure angle
Tow bar Maintenance and Care.
Trailboss recommends that bolt torque’s, as listed below, are routinely and regularly inspected and checked for correct
tension. Replace any worn or defective parts.
We recommended to remove Tow Ball Mounts (TBM’s, tongues or lugs) when not being used for any considerable length
of time.
So as to avoid injury, when not towing it is suggested that the tongue, Pull Pin and R-clip are removed then stored in a
safe, clean and dry place, away from excessive moisture.
Hitch Pull Pins and spring “R” clips are regularly checked for proper installation. Replace any worn or defective parts.
Place load rating sticker
inside driver’s door here
FOR TOWING PURPOSES ONLY
For towing capacity details please refer to vehicle owner’s
manual or to the manufacturer. Overloading can void your
warranties.
RECOMMENDED ASSEMBLY TORQUE LISTING
Diameter Grade 8.8 Bolt
M6 9.5 Nm
M8 21.7 Nm
M10 43.4 Nm
M12 77.3 Nm
M16 189.8 Nm

Tow bar Fitting Instructions
To Suit Ford Ute AU, BA, BF & FG (TUB BODY) XR6 & XR8 Only
Part Number QTFD962L
Rating 2300 kg Max Static Ball Load 230Kg
Page 2 of 3 Issue Date 3/3/10
THE WORKHORSE OF AUSTRALIA’S TOWBARS
1.
2. Remove spare wheel.
INSTRUCTIONS
3. Cut bumper if fitting to either a BA-BF or FG XR series vehicle, as shown in diagrams 2, 3 or 4
respectively.
4. Remove exhaust from three rear most rubber hangers,
5. Fit loose angle mounting brackets to under side of rear cross member using four M10x30 taptite bolts
supplied. Semis tight see tow bar assembly detail for correct component orientation.
6. Lift tow bar into position and fit six M12 x 100 bolts, loose plates through chassis and tow bar loosely.
7. Fit four M10 x 30 bolts to angle mounting brackets loosely.
8. Fit four M10 x 30 taptite bolts through tow bar and into vertical holes in under side of chassis rail.
9. Tighten all taptite bolts to torque listing.
10. Tighten four M10 x 30 bolts to angle mounting bracket to torque listing.
11. Tighten six M12 x 100 bolts to torque listing.
12. Using holes in tail mounting plate as guide drill 11mm hole.
13. Fit tapped plate on wire through larger hole forward of hole drilled, fit bolt and torque to listing.
14. Refit exhaust and spare wheel.
NOTE: Safety chains may have to be extended, so as not to touch bumper bar.
Diagram-2 Location and size of bumper cut out required when installing the tow bar on a BA XR series vehicle.
Diagram-3 Location and size of bumper cut out required when installing the tow bar on a BF XR series vehicle.

Tow bar Fitting Instructions
To Suit Ford Ute AU, BA, BF & FG (TUB BODY) XR6 & XR8 Only
Part Number QTFD962L
Rating 2300 kg Max Static Ball Load 230Kg
Page 3 of 3 Issue Date 3/3/10
THE WORKHORSE OF AUSTRALIA’S TOWBARS
Diagram-4 Location and size of bumper cut out required when installing the tow bar on a FG XR series vehicle.
10mm
Top of Ford factory indent
on the inside face of the
bumper bar skin
Measure down 10mm from
top as shown then mark
From the 10mm line
marked below the top
of the indent cut all the
way around factory
indent with small saw or
suitable device.
Ensure that all
swarf & burrs
are removed
from cut so that
cut is neat.
Inside face of FG
XR6 bumper bar
shown

Wiring Loom Fitting Instructions
To Suit Ford
AU/BA/BF/FG (tug body) XR6/XR8
Falcon AU Cab Chassis (July 1999 onwards)
Falcon AU Cab Chassis (8ft tray)
Falcon Ute Tub Body AU – FG
RTV Cab Chassis & Tub Body
Page 1 of 2 Issue Date 12-02-10
Cequent Customer Service
Ph: 1800 812 017 Fax: 03 9797 3299
Email: inf[email protected]
Post: PO Box 4050, Dandenong South VIC 3175
Wiring Loom Installation Instructions
Ford
Part No: 100023-WL
Tail Harness Length Required: 1200mm
RPA Override Switch Part No: 04848 (If Fitted)
Wiring Loom Installation Time: Approx 10 Mins

Wiring Loom Fitting Instructions
To Suit Ford
AU/BA/BF/FG (tug body) XR6/XR8
Falcon AU Cab Chassis (July 1999 onwards)
Falcon AU Cab Chassis (8ft tray)
Falcon Ute Tub Body AU – FG
RTV Cab Chassis & Tub Body
Page 2 of 2 Issue Date 12-02-10
Cequent Customer Service
Ph: 1800 812 017 Fax: 03 9797 3299
Email: inf[email protected]
Post: PO Box 4050, Dandenong South VIC 3175
1. Locate the vehicle 8-way Breakout connector underneath the rear of the vehicle.
2. Connect the Trailer Harness Patch (P/N 100023-WL) connector to the 8-way Breakout
connector.
3. Secure the Trailer Socket to the vehicle with M4 Fasteners.
4. Connect the Tail Harness (Length 1200mm) to the Trailer Harness Patch.
5. Bundle the excess Tail Harness length up and secure to the existing vehicle harnesses
with cable ties (not supplied).
6. Test the Tail Harness socket using a light board or multimeter.
7. Secure the all harnesses using cables ties (not supplied).
8. Refit all removed parts and secure all fasteners.
9. Place instructions in glove box after fitment.
Other Trailboss Automobile Accessories manuals

Trailboss
Trailboss QTSB318L User manual

Trailboss
Trailboss QTHD519L User manual

Trailboss
Trailboss KM23L User manual

Trailboss
Trailboss QTHD722L User manual

Trailboss
Trailboss QTBM115L User manual

Trailboss
Trailboss QTHY263L User manual

Trailboss
Trailboss QT1134L User manual

Trailboss
Trailboss QTHD774L User manual

Trailboss
Trailboss HD86 User manual

Trailboss
Trailboss TT163L User manual


Popular Automobile Accessories manuals by other brands


Ridewell Suspensions
Ridewell Suspensions RCA-215T-Trailer Installation and service manual

Kargo Master
Kargo Master 4A815 installation guide

mimsafe
mimsafe 45-90 CORNER KIT Assembly instructions

Nokia
Nokia CARK-91US installation guide

PS
PS TMB PS 026 Fitting instructions

Sony Ericsson
Sony Ericsson HCB-700 Important information


