Trailboss QTMA437 User manual
Tow bar Fitting Instructions
To Suit Mazda CX7 & Luxury ER 4 DR Wagon Turbo 11-06-on
Part Number QTMA437
Rating 1600 kg Max Static Ball Load 85 Kg
Page 1of 2 Issue Date 23-04-07
THE WORKHORSE OF AUSTRALIA’S TOWBARS
WARNING:
1. Do not, drill, cut, weld or otherwise modify the tow bar.
2. If you are using electric welding on a motor vehicle, always check that the vehicle is not equipped with electronic
engine or instrument management equipment. Failure to do so could destroy any onboard computers. If in doubt,
check with the vehicle's manufacturer.
General:
1. Ensure all hardware items have been included
2. It is recommended that the instructions are read through and completely understood before making any attempt to
fit this product.
3. Be wary of any changes to vehicle designs or other accessories that may conflict with the installation of this
product.
4. Before drilling ensure that the area is clear of fuel, electrical & other components.
5. All holes drilled into the body panels shall have all burrs & swarf removed then coated with a suitable rust
preventative paint.
6. The high tensile fasteners supplied with this product were used to achieve the specified rating. If replacement is
required ensure that fasteners of the same rating & quality are used. Contact an authorized Trailboss dealer if
further information is required.
7. Ensure that all hardware is fastened to torque list below check fasteners on regular basis.
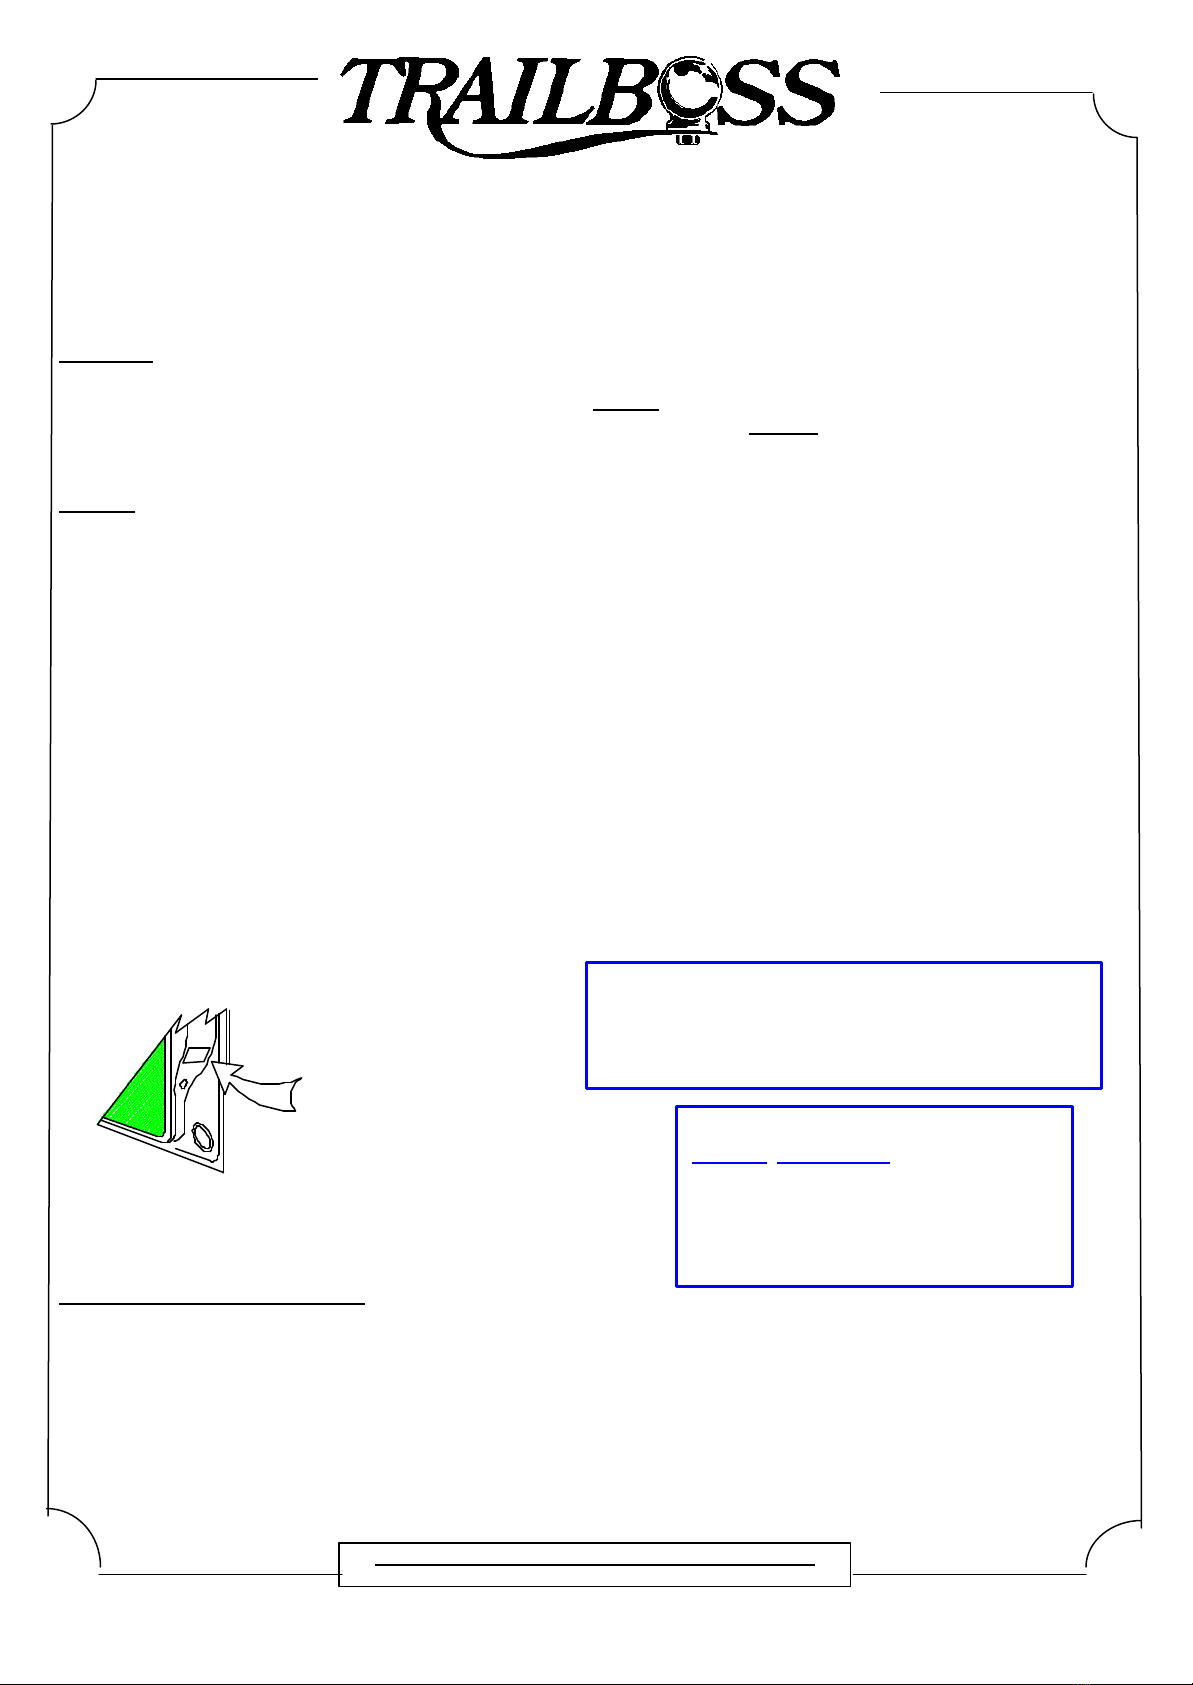
8. Tow bar load rating sticker provided with this product shall be conspicuously located on inside rear end of the driver's
door. (See diagram below).
9. Trailboss recommends that you check your tow ball to ensure that it complies with the Australian standards AS
4177.2.
10. PLEASE NOTE: It is advised to remove your lug or tbm when not actually towing so as to produce a clear view of
the vehicles registration plate if obscured, and to also provide maximum available departure angle
Tow bar Maintenance and Care.
Trailboss recommends that bolt torque’s, as listed below, are routinely and regularly inspected and checked for correct
tension. Replace any worn or defective parts.
We recommended to remove Tow Ball Mounts (TBM’s, tongues or lugs) when not being used for any considerable length of
time.
So as to avoid injury, when not towing it is suggested that the tongue, Pull Pin and R-clip are removed then stored in a safe,
clean and dry place, away from excessive moisture.
Hitch Pull Pins and spring “R” clips are regularly checked for proper installation. Replace any worn or defective parts.
Place load rating sticker
inside driver’s door here
FOR TOWING PURPOSES ONLY
For towing capacity details please refer to vehicle
owner’s manual or to the manufacturer. Overloading
can void your warranties.
RECOMMENDED ASSEMBLY TORQUE LISTING
Diameter Grade 8.8 Bolt
M6 9.5 Nm
M8 21.7 Nm
M10 43.4 Nm
M12 77.3 Nm
M16
189.8 Nm

Tow bar Fitting Instructions
To Suit Mazda CX7 & Luxury ER 4 DR Wagon Turbo 11-06-on
Part Number QTMA437
Rating 1600 kg Max Static Ball Load 85 Kg
Page 2of 2 Issue Date 23-04-07
THE WORKHORSE OF AUSTRALIA’S TOWBARS
11. Remove rear tail lights via
a. Pull the trim then remove trim each side to expose inner tail light cavities so that access can be gained to
remove 3 x M6 nuts each side see figs 1& 2.
b. Unplug tail lights in 3 places each side.
c. Pull lights rearward some force may be required to remove store in a safe location
12. Remove rear bumper bar skin via
a. Remove 4 plastic trim buttons from the top of bumper inside the tail light cavity 2 each side see fig 3.
b. Remove 4x M 5 screws inside wheel arch 1 at the top of the wheel in the vertical plane each side of the wheel
arch see fig 4.
c. Remove 2 x M5 screws 1 each side from the under side of the wheel arch see fig 5.
d. Remove mudguards each side & store in a safe location.
e. Remove 2 x plastic trim buttons from underneath the bumper bar see fig 6.
f. Flex bumper out at the sides then pull rearward to remove some force may be required then store bumper in a
safe location CAUTION two person lift required.
Fig 1
Trim panel inside rear
luggage compartment
Remove trim panel
Remove x 3 M6
nuts each side
Unplug taillights in
3 places each side
Fig 2
Passenger side of vehicle shown
repeat for drivers side
Remove 4 x M 5
screws from inside
each wheel arch
Remove 2 x M5 screws
from underside of wheel
arch
Remove 2 x plastic
trim plugs from
underside of bumper.
Fig 3 Fig 6
Fig 4 Fig 5
Remove 2 x plastic
trim plugs from each
side

Tow bar Fitting Instructions
To Suit Mazda CX7 & Luxury ER 4 DR Wagon Turbo 11-06-on
Part Number QTMA437
Rating 1600 kg Max Static Ball Load 85 Kg
Page 3of 2 Issue Date 23-04-07
THE WORKHORSE OF AUSTRALIA’S TOWBARS
13. Remove rear impact beam & fitment of chassis plates via
a. Remove four M10 nuts from each side of rear impact beam see fig 7.
b. Remove the impact beam pulling reward some force may be required.
c. Retain the impact beam & M10 nuts so that the impact beam can re-install after tow bar fitment.
d. Insert the chassis plates assemblies inside the access hole at the rear face of panel one each side of the
vehicle see fig 8.
e. Once chassis plates are inserted inside the chassis rails align the M11 hole up with the forward most existing
hole on the outer side of the chassis see fig 9.
f. Then feed in M10 bolts on wire up through the end of chassis to align with holes in chassis plates & existing
holes trim excess wire from bolts on so not to petrude past end of chassis.
g. Then fasten loosely with flat & spring washers and nuts supplied see diagram on the last page for correct
orientation of components & hard ware.
14. Fitment of tow bar via
a. The rear muffler can be lowered to aid fitment of the tow bar but is not entirely necessary.
b. Dismantle the chassis brackets from the tow bar & discard the M10 x 40 bolt & nut for shipping purposes see
diagram below.
c. Offer the tow bar to the underside of the chassis so that the holes in the side plates align with captive nuts in
the chassis plates.
d. Fasten loosely with M12 bolts, flat & spring washers supplied see diagram for correct hard ware orientation.
e. Once all hardware is fitted tighten all fasteners to torque listing.
15. Re-install the impact beam
a. Fit the impact beam & M10 nuts in the reverse of steps 13b to 13a.
b. Re fit the rear muffler if lowered.
c. Mark the bumper out as shown in fig 10 then cut out section as shown in bumper cut detail.
16. Bumper cut detail
a. Establish centre line of bumper bar then mark out as detailed in fig 10
b. Cut section of bumper with modified hacksaw or similar device.
Impact beam
Remove M10 nuts 4
each side to remove
impact beam
Access hole at rear
face of panel maneuver
chassis plate to fit
inside chassis rails
Chassis plate assembly insert
Remove tape then
align chassis
bracket with hole,
then feed through
bolt on wire
Fig 7
Fig 8
Fig 9
80mm
140mm
Measure up from the
bottom edge of the
bumper bar 140mm; note
measurements are taken
from the inside of the
bumper.
Establishcentre line of
bumper bar then
measure out 40mm each
side from centre line so
over all cut is 80mm
wide.
Fig 10

Tow bar Fitting Instructions
To Suit Mazda CX7 & Luxury ER 4 DR Wagon Turbo 11-06-on
Part Number QTMA437
Rating 1600 kg Max Static Ball Load 85 Kg
Page 4of 2 Issue Date 23-04-07
THE WORKHORSE OF AUSTRALIA’S TOWBARS
17. Re-install the bumper bar via
a. CAUTION two person lift required
b. Re fit the bumper bar in the reverse of steps 12f through to 12 a.
c. Re fit the rear tail lights in the reverse of steps 11c through to 11 a.
QTMA437 AS SHIPPED FROM
WAREHOUSE
QTMA437 COMPLETE ASSEMBLY
Other Trailboss Automobile Accessories manuals

Trailboss
Trailboss QTMA662L User manual

Trailboss
Trailboss QTMA660L User manual

Trailboss
Trailboss QTHY263L User manual

Trailboss
Trailboss QTFD962L User manual

Trailboss
Trailboss TT163L User manual

Trailboss
Trailboss HD86 User manual

Trailboss
Trailboss KM23L User manual

Trailboss
Trailboss QTHD722L User manual

Trailboss
Trailboss QTBM115L User manual

Trailboss
Trailboss QT1122L User manual


