B1
B1
B2
B2
B3
B3
B4
B4
B5
B6
B7
B7
B6
B5
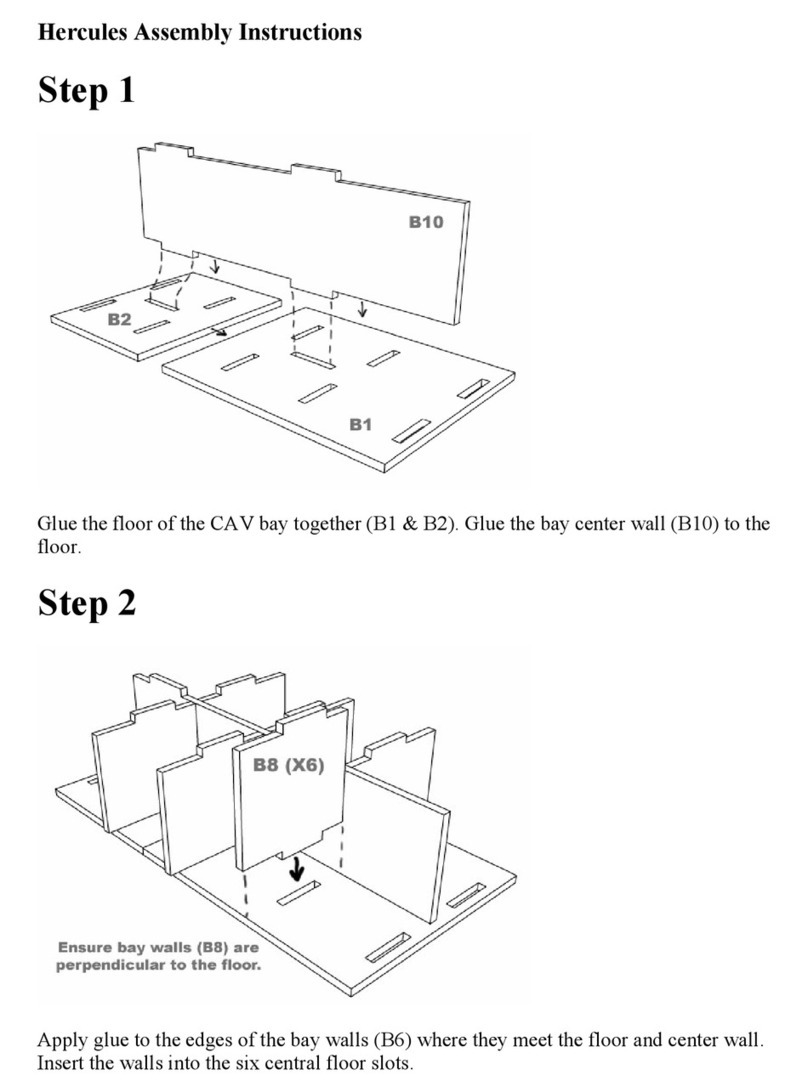
B8
B8
STEP 1: BASE
Assemble the base
as shown using the
key numbers for
placement.
STEP 2:
FENCE POSTS
& INCLINE
SUPPORTS
Assemble incline supports as shown in insets.
Position fence posts and incline supports on base
as shown but do not glue yet.
Note that gate posts (P2) are taller
than fence posts (P1).
STEP 3:
CROSS SUPPORTS, DIAGONAL
BRACING, LOADING DOCK
Attach crossbars and diagonal
supports to uprights as shown.
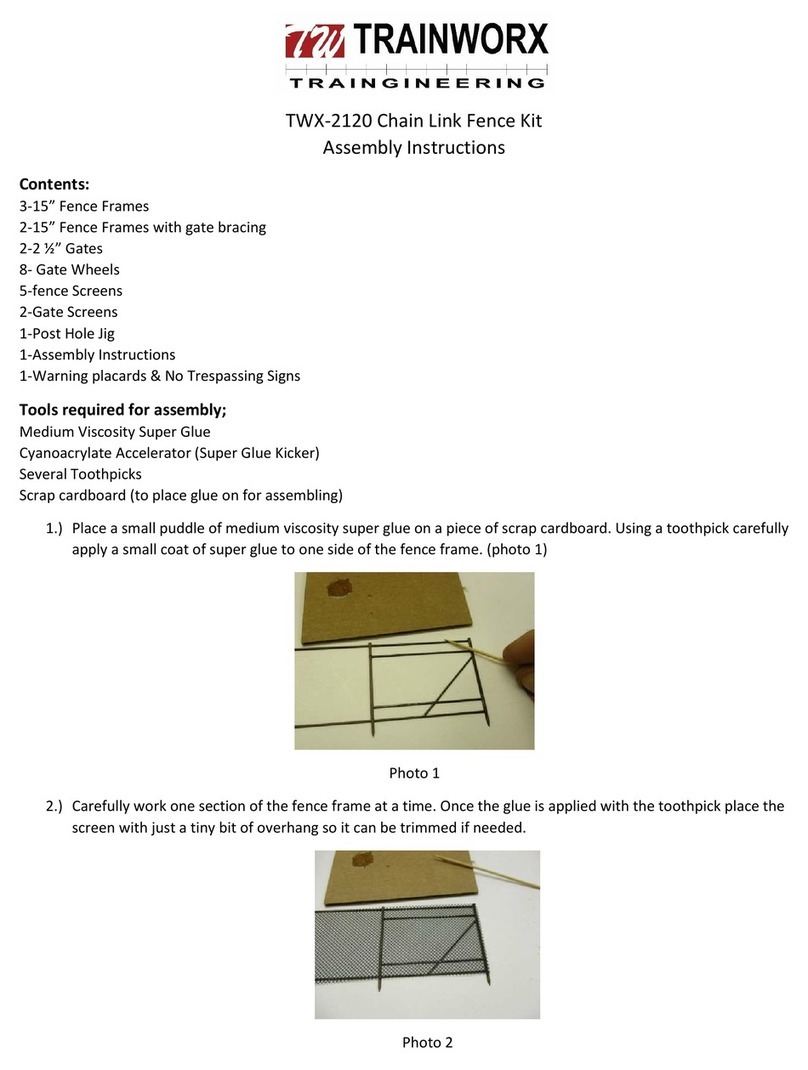
Thank you for purchasing TW Trainworx Stock Pen/Corral Kit.
Livestock shipped by rail required frequent rest and water stops, so structures like these were placed at
intervals along the rail lines in all parts of the country. This is an accurate scale representation of a typical
railway stock pen as used from the 1800s until the 1970s.
Study the drawings and steps carefully before assembly so that you are familiar with the parts and procedures
detailed in these instructions. Use carpenters glue or CA for assembly. Check parts against the drawings below
to ensure that nothing is missing. If any parts are missing or damaged, contact us and we will send replace-
ments at no charge.
The kit may be painted or stained/weathered as you prefer. If you want the look of unpainted weathered wood,
it is advisable to stain the parts before assembly and gluing, as the glue may keep the stain from covering
completely. If you are painting the model this may be done after the kit is fully assembled using brush, airbrush,
or spray cans. Board fences were typically whitewashed; some post-assembly weathering may also be desired.
Take your time and test-fit parts before final assembly. Allow two or three evenings for the assembly
and painting of this model.
P2
X1
X1
X1
X2
P1
G8a G8b G9a G9b
G1a G1b G2a G2b G3a G3b G4a G4b G5a
G5bG6a G6b G7a G7b
F1 F2
F3 F4 F5
F6 F7a F7b
F8a F8b
F20 F21
B1
B2
B1
B3
B4
B2
B6
B7
B4
B5
B6
B5
B8
B3
B7
B8
F9
F10 F11 F12
F13 F14
F16
F18F17
F15 F19
G8c G9cG6c
G5cG4cG3cG2cG1c
G7c
P2
P1
P1
P3
P4
X3
P3
P4
©2013 TW TRAINWORX • Dallas, TX • MADE IN U.S.A.CLS-87520 CLS-87520www.twtrainworx.com
Make sure assembly
is perfectly flat and that all
joints are flush. Use masking
tape to hold parts in position.
Allow sufficient time for glue
to dry completely before
proceeding.
Place parts on a flat surface,
apply glue to the mating
surfaces of the tabs.
NOTE: SOME PARTS ARE FRAGILE! Use a #11 hobby knife or similar tool to cut the thin tabs of material that hold the parts in the sheet
