manuals.online logo
Brands
  1. Home
  2. •
  3. Brands
  4. •
  5. Trane
  6. •
  7. Thermostat
  8. •
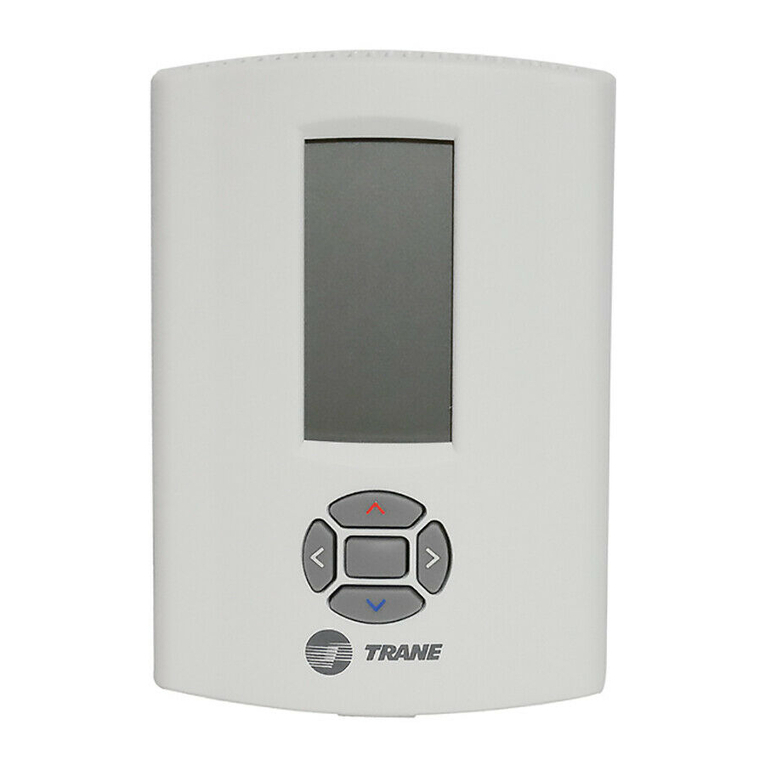
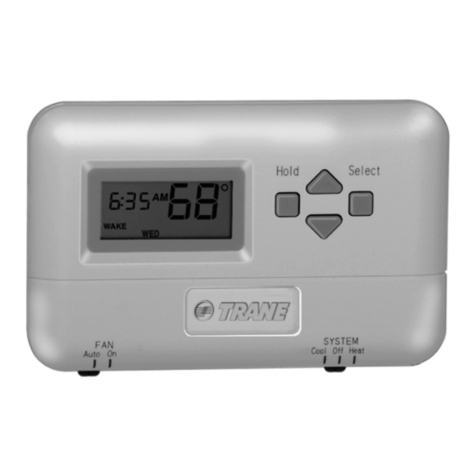
  9. Trane BAYSTAT150A Manual

Trane BAYSTAT150A Manual

This manual suits for next models

2

Other Trane Thermostat manuals

Trane taystat TAYSTAT 570 User manual

Trane

Trane taystat TAYSTAT 570 User manual

Trane Z WAVE TZEMT400AB32MAA User manual

Trane

Trane Z WAVE TZEMT400AB32MAA User manual

Trane TCONT302 User manual

Trane

Trane TCONT302 User manual

Trane THS-02 User manual

Trane

Trane THS-02 User manual

Trane TZONE940AC52Z Troubleshooting guide

Trane

Trane TZONE940AC52Z Troubleshooting guide

Trane 3518-7065 User manual

Trane

Trane 3518-7065 User manual

Trane TCONT600AF11MA User manual

Trane

Trane TCONT600AF11MA User manual

Trane TCONT800 Series User manual

Trane

Trane TCONT800 Series User manual

Trane XL824 User manual

Trane

Trane XL824 User manual

Trane TCONT 800 Series User manual

Trane

Trane TCONT 800 Series User manual

Trane TZEMT500AB32MAA User manual

Trane

Trane TZEMT500AB32MAA User manual

Trane THS04 User manual

Trane

Trane THS04 User manual

Trane X13511537-01 Manual

Trane

Trane X13511537-01 Manual

Trane XT302C Assembly instructions

Trane

Trane XT302C Assembly instructions

Trane TAYSTAT 370 User manual

Trane

Trane TAYSTAT 370 User manual

Trane XT500C Assembly instructions

Trane

Trane XT500C Assembly instructions

Trane X13511538-01 Owner's manual

Trane

Trane X13511538-01 Owner's manual

Trane Thermostats Operational manual

Trane

Trane Thermostats Operational manual

Trane TCONT802AS32DA User manual

Trane

Trane TCONT802AS32DA User manual

Trane XR103 User manual

Trane

Trane XR103 User manual

Trane ComfortLink II XL1050 User manual

Trane

Trane ComfortLink II XL1050 User manual

Trane Pivot Smart User manual

Trane

Trane Pivot Smart User manual

Trane Nexia TCONT624AS42DA User manual

Trane

Trane Nexia TCONT624AS42DA User manual

Trane TZONE950AC52ZA User manual

Trane

Trane TZONE950AC52ZA User manual

Popular Thermostat manuals by other brands

Full Gauge TIC-17C product manual

Full Gauge

Full Gauge TIC-17C product manual

Imit Chronomix S manual

Imit

Imit Chronomix S manual

ChiliTec ST-35 ana instruction manual

ChiliTec

ChiliTec ST-35 ana instruction manual

Salus VS05 Installer's/user's manual

Salus

Salus VS05 Installer's/user's manual

Azel D-500 user guide

Azel

Azel D-500 user guide

Honeywell Chronotherm III owner's manual

Honeywell

Honeywell Chronotherm III owner's manual

Charmeg MP-R user manual

Charmeg

Charmeg MP-R user manual

dixell WING XW40LS Installing and operating instructions

dixell

dixell WING XW40LS Installing and operating instructions

Network Thermostat NetX X7C-WIFI Installation and programming manual

Network Thermostat

Network Thermostat NetX X7C-WIFI Installation and programming manual

Radio Thermostat CT80 Operation guide

Radio Thermostat

Radio Thermostat CT80 Operation guide

HAI Omnistat RC-120 installation manual

HAI

HAI Omnistat RC-120 installation manual

Lennox iComfort E30 Installation and setup guide

Lennox

Lennox iComfort E30 Installation and setup guide

Lux Products PSD011Ba Installation and operating instructions

Lux Products

Lux Products PSD011Ba Installation and operating instructions

Computherm Q20 operating instructions

Computherm

Computherm Q20 operating instructions

Heatmiser neoStat user manual

Heatmiser

Heatmiser neoStat user manual

Mars HEAT CONTROLLER IR Wireless Thermostat user manual

Mars

Mars HEAT CONTROLLER IR Wireless Thermostat user manual

LUX LP0511D user manual

LUX

LUX LP0511D user manual

Saswell SAS920XWHB-7-S-RF User manual and warranty card

Saswell

Saswell SAS920XWHB-7-S-RF User manual and warranty card

manuals.online logo
manuals.online logoBrands
  • About & Mission
  • Contact us
  • Privacy Policy
  • Terms and Conditions

Copyright 2025 Manuals.Online. All Rights Reserved.

3
1
2
SAFETY WARNING
Only qualified personnel should install and service the equipment. The installation,
starting up, and servicing of heating, ventilating, and air-conditioning equipment
can be hazardous and requires specific knowledge and training. Improperly
installed, adjusted or altered equipment by an unqualified person could result in
death or serious injury. When working on the equipment, observe all precautions in
the literature and on the tags, stickers, and labels that are attached to the
equipment.
© 2020 Trane
Time Setup
To change the current time:
1. From the Home screen, press , , , , , .
2. Press , , or to scroll between hours and minutes.
AM PM
Hours Minutes
1. Press to increase or to decrease the hour or minute.
PM PM
AM PM
Changing Hours Changing Minutes
1. Press and hold for 2 seconds or wait 10 seconds to Save and Exit.
System Mode Setup
To set the system mode:
1. From the operating screen, press , . The current mode flashes.
2. Press or to select a mode.
Emergency
Heat Cool Auto H/C Off
Heat
OFF
Note: Not all system choices may be available depending on the
system configuration 0130.
3. Press and hold for 2 seconds or wait 10 seconds to Save and Exit.
Fan Mode
The fan mode is displayed only on systems configured with the fan
enabled.
For systems configured with a fan, the fan setting is shown on the
display. In addition, the setting also appears on the display when
pressing , , from the Home screen.
The fan mode setting can be overridden by pressing or when the
fan mode flashes. Press and hold for 2 seconds or wait 10 seconds
to Save and Exit. Refer to the section, “Timed Override (TOV)”.
On Mode:
Arrows Flash
Auto Mode:
Auto Flashes

Important: When this thermostat is configured in
programmable mode (0140=1), then changing the Fan
Mode from the Home screen puts the thermostat into
Timed Override (TOV) and is only temporary. The fan
goes back to the schedule setting after the TOV timer
expires.
Timed Override (TOV)
A timed override can be used to temporarily change the heating
setpoint, cooling setpoint, fan mode, and/or occupancy setting from the
programmed schedule. The override can be set for up to 99 days and up
to 23 hours.
To enter a timed override:
1. From the operating screen, press or 2 times.The thermostat
enters timed override mode with the hourglass and setpoint
flashing.
2. Press or press or to move from either left or right through
the selections. Some of the selections may not be available
depending on the system type.
Cooling
Setpoint Occupancy
Setting Hours Heating
Setpoint
Fan
Setting
HOURS
(Days)*
DAYS
3. Press or to change the value of the currently active (flashing)
selections. Repeat steps 2 and 3 for the desired settings.
Note: To reach the DAYS setting, the user must press from the
hours setting.
4. Press and hold for 2 seconds or wait 10 seconds to Save and Exit.
Note: The thermostat will return to the scheduled operation when:
• the override time expires, or
• pressing and holding an for 2 seconds.

Important: When in timed override mode, if the system
selection is changed (EmHeat, Heat, Cool, Auto, OFF), this
change will take the thermostat out of TOV mode.
Important: Whenever the thermostat is in TOV mode, a
solid hour glass ( ) indicator displays at the bottom of the
screen.

Model Number: X13511537-01/BAYSTAT150A/THT02774
June 2020 BAS-SVN197C-EN
Setup Instructions
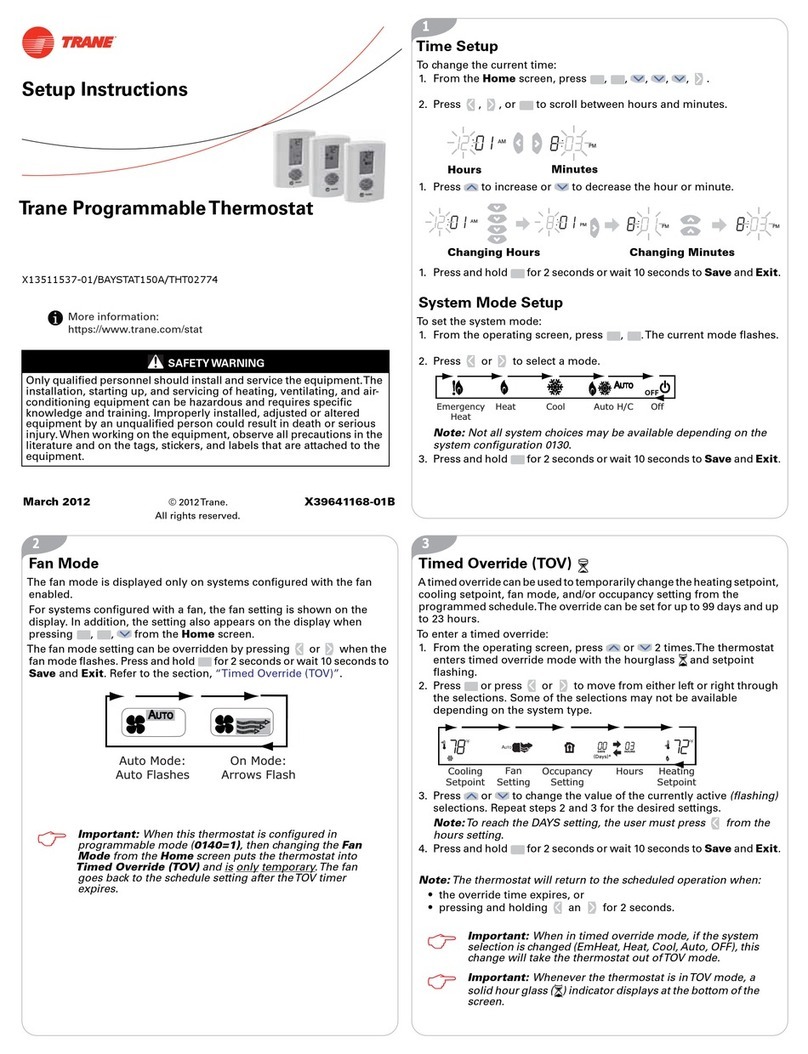
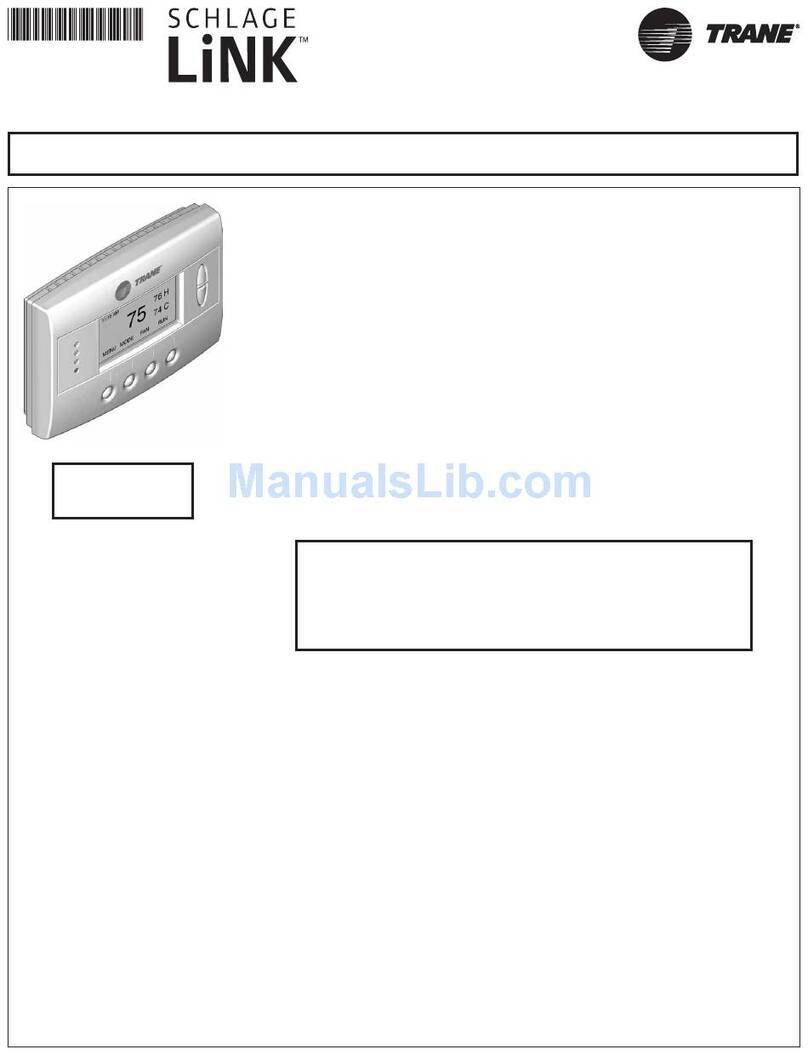
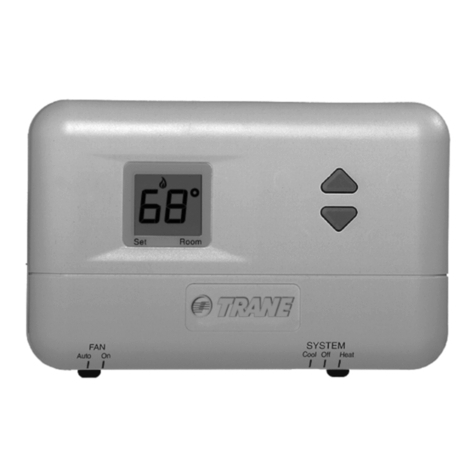
Trane Programmable Thermostat
More information:
https://www.trane.com/stat
X39641168-01
4 5
©2020 Trane
Trane has a policy of continuous product and product data improvement and reserves
the right to change design and specifications without notice. We are committed to using
environmentally conscious print practices.
Trane - by Trane Technologies (NYSE: TT), a global climate innovator - creates
comfortable, energy efficient indoor environments for commercial and residential
applications. For more information, please visit trane.com or
tranetechnologies.com.
Create or Edit a Schedule
To create or edit a schedule:
1. Press , , , , .
Note: Each button shown above must be pressed within 10 seconds
of the previous button. Once the user is in Schedule Change Mode,
each button must be pressed within 45 seconds of the previous button
in order to stay in Schedule Change Mode.

2. Press or to select the day(s) and
to continue.
Mo Tu We Th Fr SaSu
AM
We
AM
We
AM
Auto On






3. Press or to select the period and
to continue.





4. Press or to change the Start Time
and to continue.





5. Press or to change the Heating
Setpoint and to continue.





6. Press or to change the Cooling
Setpoint and to continue.





7. Press or to select the Fan Setting
and to continue.



8. Repeat steps 2 through 7 for each day
(see step 2) and period (see step 3). To
exit Schedule Change Mode, wait 45
seconds or press and hold for 2
seconds to Save and Exit.

Possible Scheduling Configurations (configuration option 0233):
• 1 day [default]; MoTuWeThFrSaSu (all days share a schedule).
• 5+1+1 days; MoTuWeThFr Sa Su (Monday through Friday share
a schedule, Saturday and Sunday are each separate schedules).
• 5+2 days; MoTuWeThFr SaSu (Monday through Friday share a
schedule, Saturday and Sunday share a schedule).
• 7 days; Mo Tu We Th Fr Sa Su (Each day has a separate
schedule).
Note: Use the worksheet on the right for planning or recording schedule
settings. Default settings are ENERGY STAR® compliant.
8:00 am
6:00 am70
°
F (21.0
°
C)
62
°
F (16.5
°
C)
70
°
F (21.0
°
C)
62
°
F (16.5
°
C)
78
°
F (25.5
°
C)
85
°
F (29.5
°
C)
78
°
F (25.5
°
C)
82
°
F (28.0
°
C)
10:00 pm
6:00 pm
Mo
Tu
We
Th
Fr
Sa
Su
°°:
°°:
°°:
°°:
°°:
°°:
°°:
°°:
°°:
°°:
°°:
°°:
°°:
°°:
°°:
°°:
°°:
°°:
°°:
°°:
°°:
°°:
°°:
°°:
°°:
°°:
°°:
°°:
4-Period
defaults
2-Period
defaults
70
°
F (21.0
°
C)
55
°
F (13.0
°
C)
78
°
F (25.5
°
C)
85
°
F (29.5
°
C)
10:00 pm
8:00 am
Morning Day Evening Night Time Heat Cool Fan ON
Legend of Symbols
BAS-SVN197C-EN 05 Jun 2020
Supersedes X39641168-01B (Mar 2012)