TV-IP743SIC User’s Guide Installation
© Copyright 2014 TRENDnet. All rights reserved. 4
Installaon Procedure
There are mulple ways to setup and use your camera. The simplest
and intuive installaon is setup your camera with TRENDnet
CloudView app on Android or iOS mobile devices� If you don’t have
a mobile device handy, you can sll setup your camera through web
administraon pages with desktop PC.
Setup your camera on the spot you are going to place your camera is
recommended. With the on site locaon, you can check whether your
wireless connecon is good or not using the site survey tool during
camera installaon. Moving camera may change the quality of wireless
signal, therefore, the video connecon. If you move your camera
aer setup, you may want to go through the installaon process again
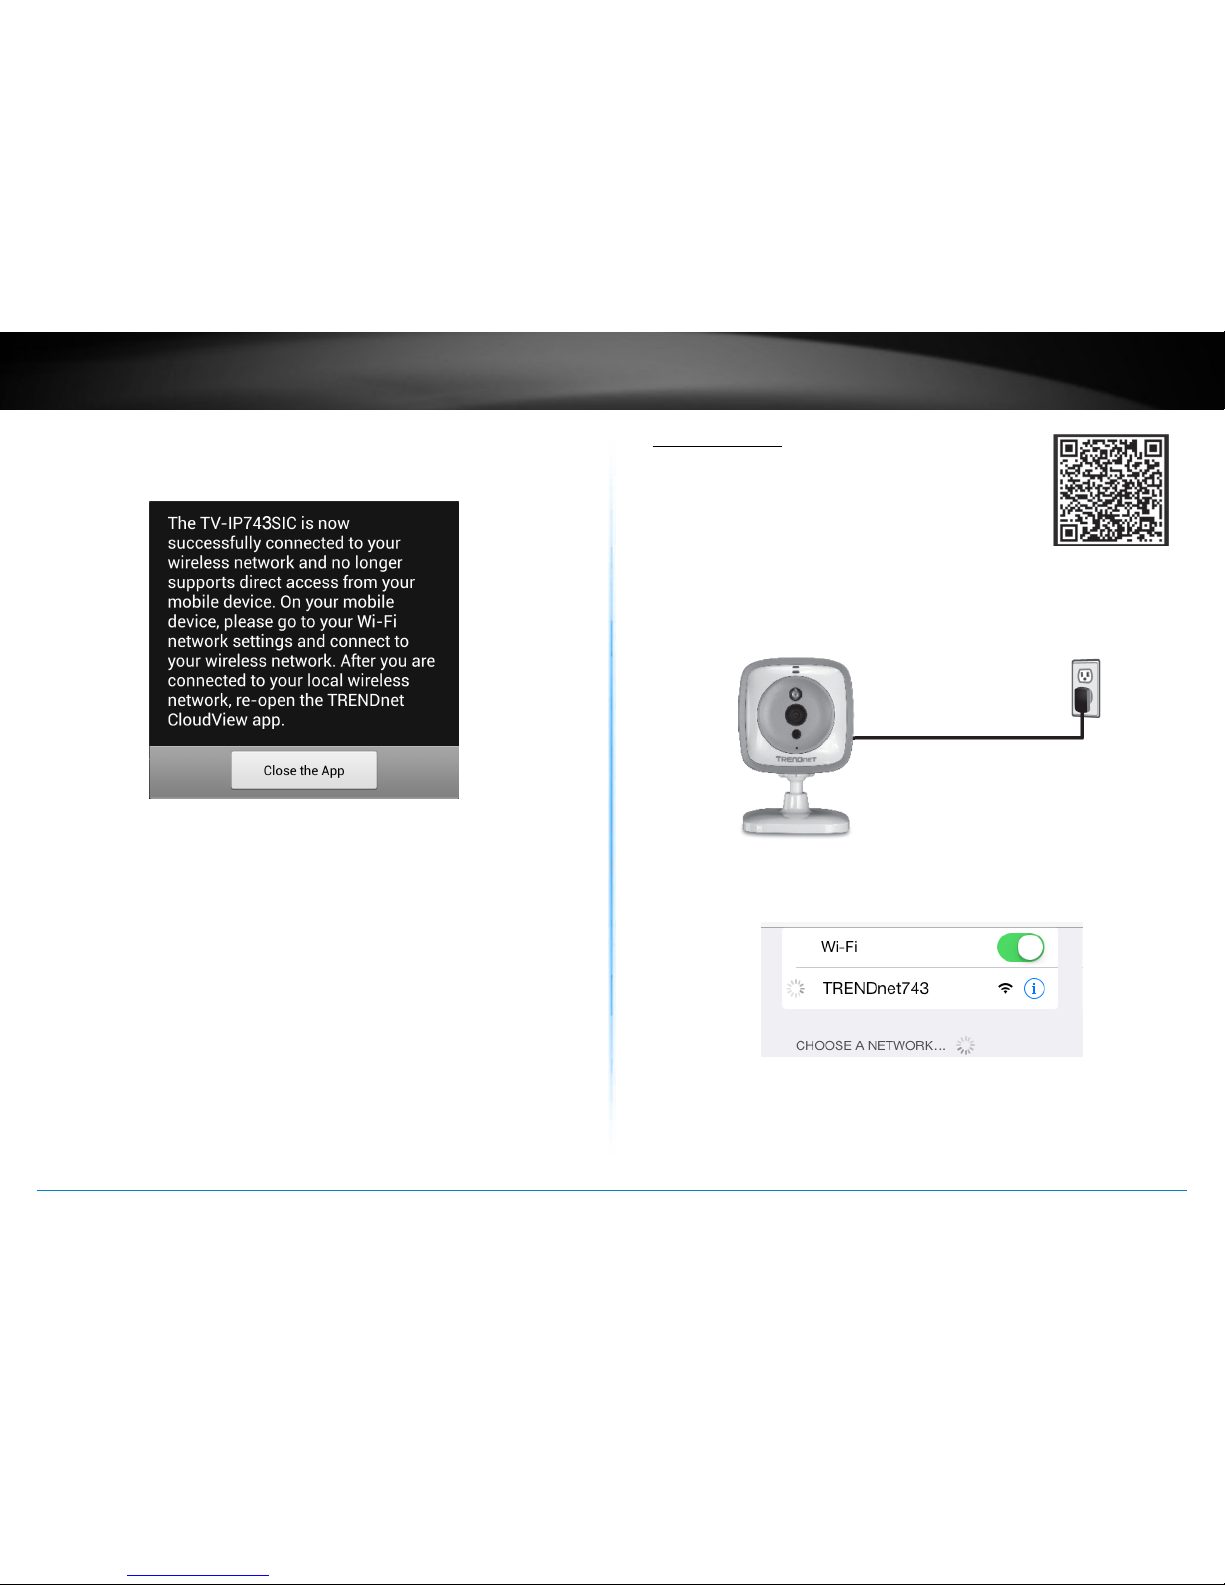
to make sure the wireless connecon is good. Aer your camera is
setup in posion and connected to the Internet through the camera
conguraon steps, You can setup addional access anywhere where
Internet access is available�
• Plan for physical installaon, see page 4 (next
paragraph)
• “Setup Your Camera with TRENDnet CloudView Mobile
App” on page 5
• “Setup Your Camera with WPS Buon” on page 10
• “Mount your camera on the wall” on page 10
• “Access your Camera Through the Web Browser” on
page 11
Plan for physical installaon
Viewing angle
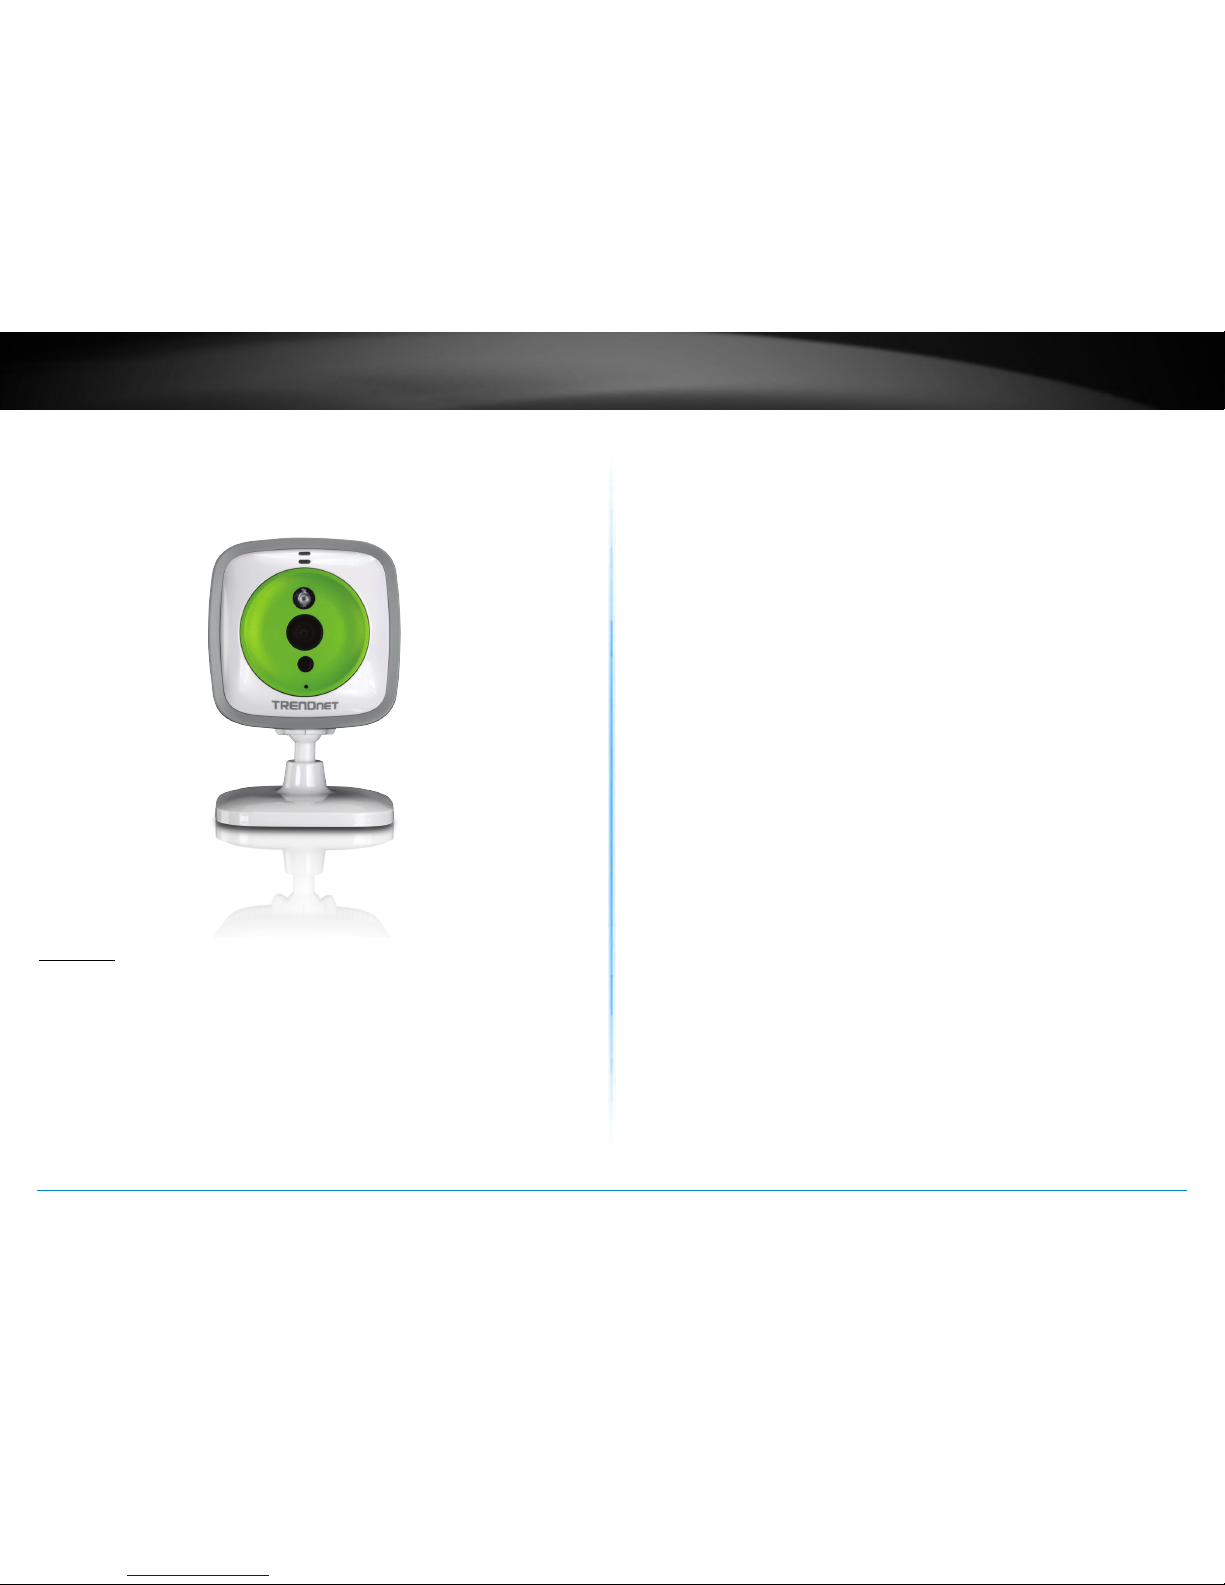
The TV-IP743SIC is an easy to install camera. Choose a good locaon
and posion where can generate the best video quality. The camera
comes with mounng hardware and ip/mirror feature to help you
geng the best posion, on the shelf, on the wall, or on the ceiling.
Plan your video shoong the same angle of the light source seng
when possible�
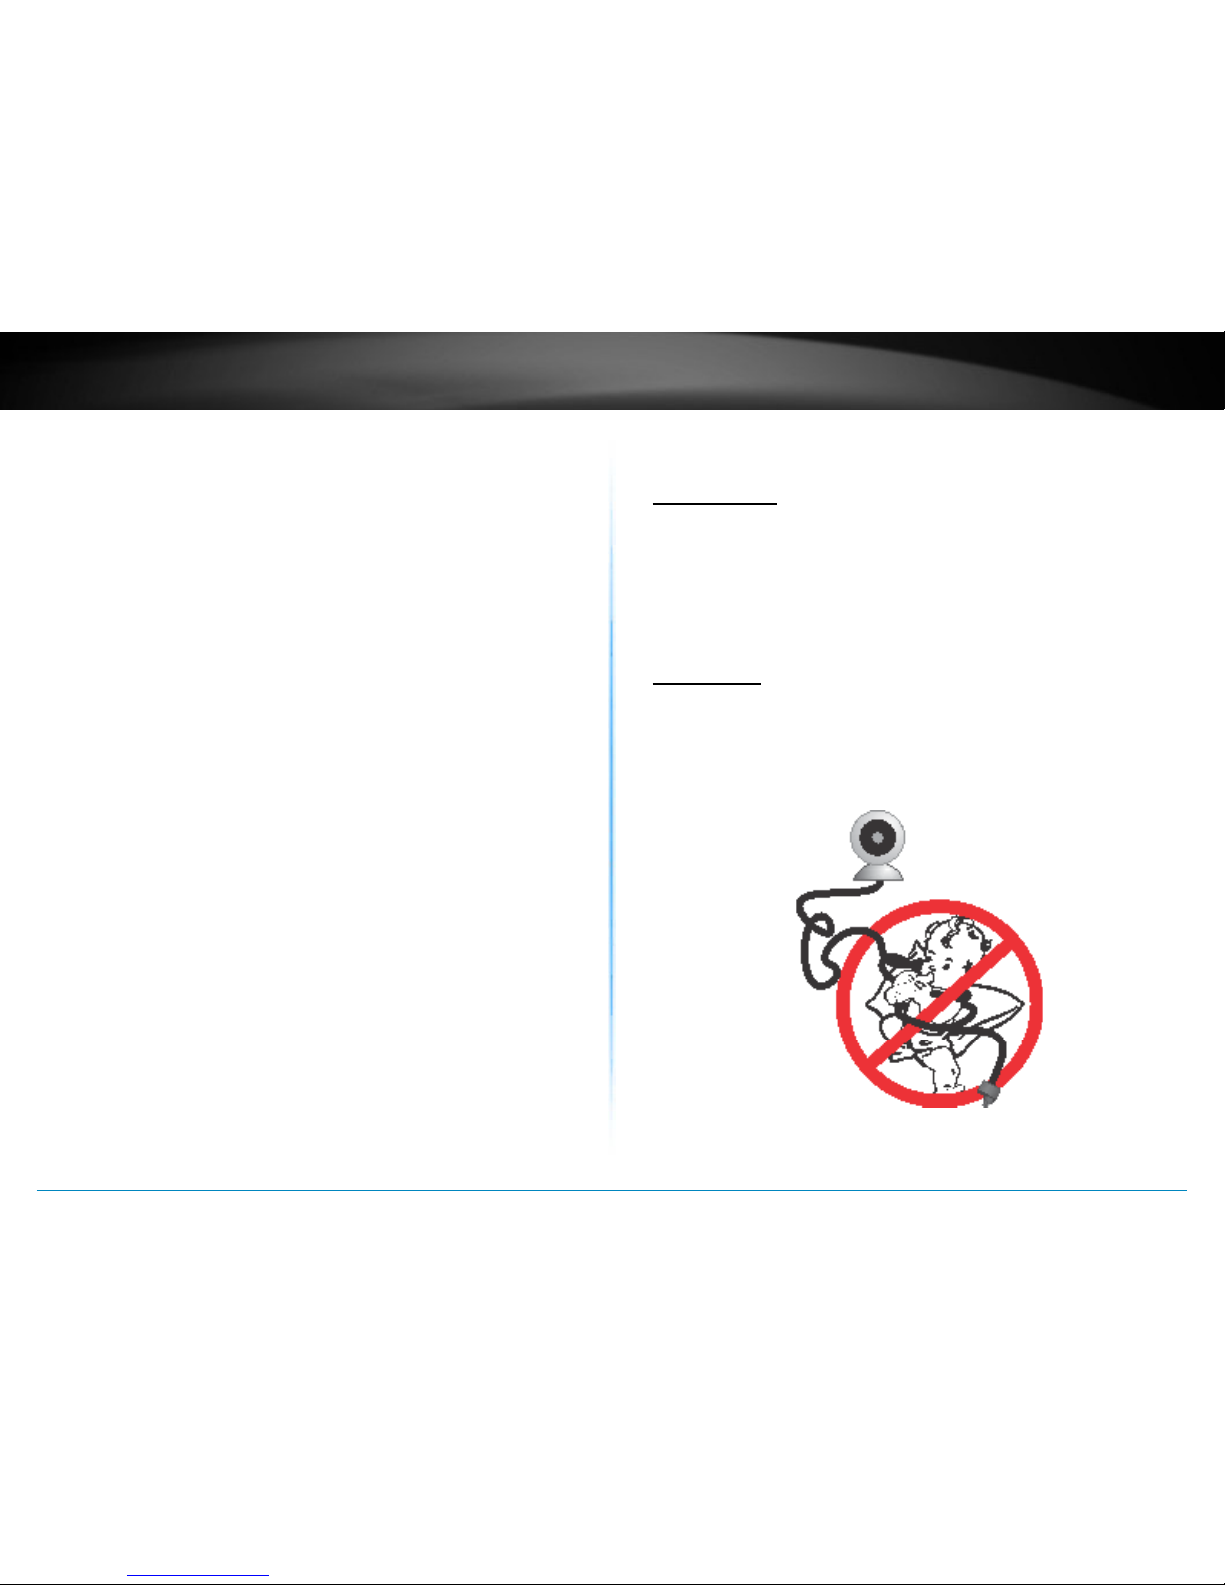
Accessibility
Posion your camera well, so it is not trip o by children or pets. Secure
the power cord aer installaon. Keep the cord out of baby at least 1M
(3 feet) when camera is installed beside the crib.
WARNING: This is not a toy� Please leave any age of child out of reach�