manuals.online logo
Brands
  1. Home
  2. •
  3. Brands
  4. •
  5. TRENDnet
  6. •
  7. Network Router
  8. •
  9. TRENDnet TEW-840APBO User manual

TRENDnet TEW-840APBO User manual

Other manuals for TEW-840APBO

1

Other TRENDnet Network Router manuals

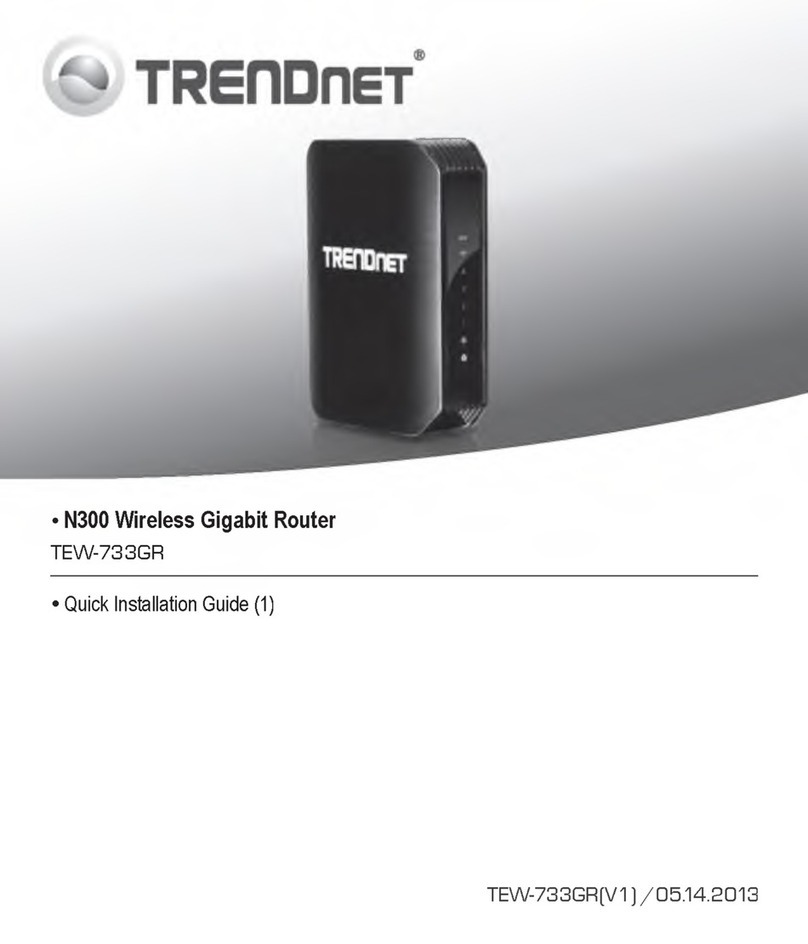
TRENDnet GREENnet TEW-639GR User manual

TRENDnet

TRENDnet GREENnet TEW-639GR User manual

TRENDnet TEW-711BR User manual

TRENDnet

TRENDnet TEW-711BR User manual

TRENDnet TEW-652BRP User manual

TRENDnet

TRENDnet TEW-652BRP User manual

TRENDnet TW100-BRV204 SHEETS User manual

TRENDnet

TRENDnet TW100-BRV204 SHEETS User manual

TRENDnet TE100-S5Pplus Quick start guide

TRENDnet

TRENDnet TE100-S5Pplus Quick start guide

TRENDnet TEW-211BRP User manual

TRENDnet

TRENDnet TEW-211BRP User manual

TRENDnet TEG-448WS - Switch User manual

TRENDnet

TRENDnet TEG-448WS - Switch User manual

TRENDnet TW100-BRF214 User manual

TRENDnet

TRENDnet TW100-BRF214 User manual

TRENDnet TW100-BRV204 - VPN Firewall Router Parts list manual

TRENDnet

TRENDnet TW100-BRV204 - VPN Firewall Router Parts list manual

TRENDnet TPE-T160 User manual

TRENDnet

TRENDnet TPE-T160 User manual

TRENDnet TPL-202E2K - Powerline Fast EN Adapter User manual

TRENDnet

TRENDnet TPL-202E2K - Powerline Fast EN Adapter User manual

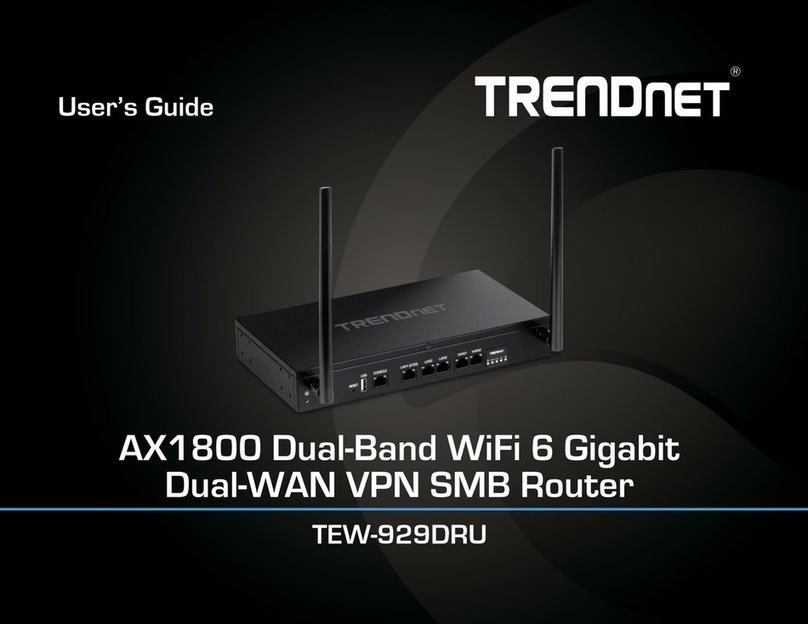
TRENDnet TEW-929DRU User manual

TRENDnet

TRENDnet TEW-929DRU User manual

TRENDnet TEW-431BRP Installation guide

TRENDnet

TRENDnet TEW-431BRP Installation guide

TRENDnet TW100-BRV304 SHEETS User manual

TRENDnet

TRENDnet TW100-BRV304 SHEETS User manual

TRENDnet TDM-C400 User manual

TRENDnet

TRENDnet TDM-C400 User manual

TRENDnet TVP-224HR User guide

TRENDnet

TRENDnet TVP-224HR User guide

TRENDnet TEW-652BRP User manual

TRENDnet

TRENDnet TEW-652BRP User manual

TRENDnet TW100-BRM504 User manual

TRENDnet

TRENDnet TW100-BRM504 User manual

TRENDnet TEW-722BRM User manual

TRENDnet

TRENDnet TEW-722BRM User manual

TRENDnet TEW21BRM User manual

TRENDnet

TRENDnet TEW21BRM User manual

TRENDnet TW-100 User manual

TRENDnet

TRENDnet TW-100 User manual

TRENDnet TW100-BRF114 User manual

TRENDnet

TRENDnet TW100-BRF114 User manual

TRENDnet TW100-S4W1CA User manual

TRENDnet

TRENDnet TW100-S4W1CA User manual

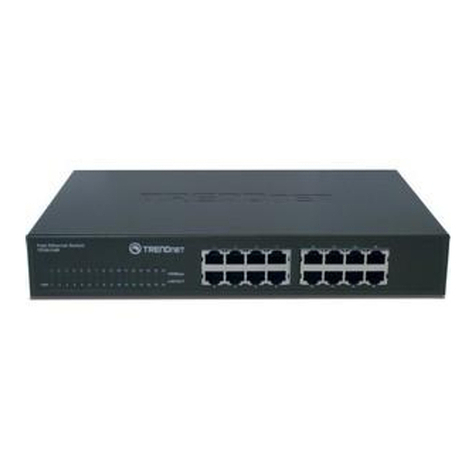
TRENDnet TEG-S160TX - Gigabit Switch With 31 Gbps Switching... User manual
TRENDnet

TRENDnet TEG-S160TX - Gigabit Switch With 31 Gbps Switching... User manual

Popular Network Router manuals by other brands

Siemens SIMOTICS CONNECT 400 manual

Siemens

Siemens SIMOTICS CONNECT 400 manual

Alfa Network ADS-R02 Specifications

Alfa Network

Alfa Network ADS-R02 Specifications

Barracuda Networks Link Balancer quick start guide

Barracuda Networks

Barracuda Networks Link Balancer quick start guide

ZyXEL Communications ES-2024PWR Support notes

ZyXEL Communications

ZyXEL Communications ES-2024PWR Support notes

HPE FlexNetwork 5510 HI Series Openflow configuration guide

HPE

HPE FlexNetwork 5510 HI Series Openflow configuration guide

Allied Telesis AT-AR236E quick start guide

Allied Telesis

Allied Telesis AT-AR236E quick start guide

ADTRAN NetVanta 3458-PoE quick start

ADTRAN

ADTRAN NetVanta 3458-PoE quick start

C&H Technologies EM405-8 manual

C&H Technologies

C&H Technologies EM405-8 manual

Huawei WiFi Mesh 3 Product description

Huawei

Huawei WiFi Mesh 3 Product description

Addonics Technologies ISC8P2G-S Quick install guide

Addonics Technologies

Addonics Technologies ISC8P2G-S Quick install guide

Atel W02 Arch+ Faqs

Atel

Atel W02 Arch+ Faqs

Allnet ALL0333AU user guide

Allnet

Allnet ALL0333AU user guide

Sercomm Genesis OC3505D Quick installation guide

Sercomm

Sercomm Genesis OC3505D Quick installation guide

Billion BIPAC 5102 Series user manual

Billion

Billion BIPAC 5102 Series user manual

TP-Link TD-8817 QIG

TP-Link

TP-Link TD-8817 QIG

Motorola MR1900 user guide

Motorola

Motorola MR1900 user guide

Cisco SOHO Series Regulatory compliance and safety information

Cisco

Cisco SOHO Series Regulatory compliance and safety information

NETGEAR WGE101 Reference manual

NETGEAR

NETGEAR WGE101 Reference manual

manuals.online logo
manuals.online logoBrands
  • About & Mission
  • Contact us
  • Privacy Policy
  • Terms and Conditions

Copyright 2025 Manuals.Online. All Rights Reserved.

TEW-840APBO (V1)
Quick Installation Guide
Table of Contents
2. Hardware Setup and Configuration
3. Hardware Installation
1 English
1. Before You Start
1
1. Before You Start
Package Contents
ŸProprietary/Passive PoE injector (24V DC, 0.6A)
ŸMounting Hardware
Minimum Requirements
ŸComputer with a network port and web browser
ŸA network switch or router with an available network LAN port
ŸAdditional TEW-840APBO H/W: v1.xR wireless AC867 directional access point
Ÿ4 x RJ-45 network cables
ŸTEW-840APBO
ŸQuick Installation Guide
Note:
The TEW-840APBO does not support IEEE 802.3at/af PoE standards. You must use the
proprietary/passive power over Ethernet injector that is supplied with the TEW-840APBO. This
installation guide will walk you through the installation and configuration of two TEW-840APBO
access points to establish a wireless point to point bridge using WDS (wireless distribution
system). The RJ-45 Ethernet cable between the passive PoE injector and access point can have
a maximum length of up to 60 m (197 ft.).
ENGLISHFRANÇAIS
ESPAÑOL
2
2. Hardware Setup and Configuration
Phase 1: Overview
In this installation guide, we will assume the following:
The TEW-840APBO access points will be configured with the following settings:
Router Settings:
Router/Default Gateway IP address: 192.168.10.1
Subnet Mask: 255.255.255.0
TEW-840APBO #1
IP Address: 192.168.10.50
Netmask (Subnet Mask): 255.255.255.0
IP Gateway (Default Gateway): 192.168.10.1
Primary DNS: 192.168.10.1
Wireless Channel Default: 48
WDS Access Point Mode (CSMA)
WPA2-PSK Encryption
WDS Station Mode (CSMA)
TEW-840APBO #2
WPA2-PSK Encryption
IP Address: 192.168.10.51
Netmask (Subnet Mask): 255.255.255.0
IP Gateway (Default Gateway): 192.168.10.1
Primary DNS: 192.168.10.1
Wireless Channel Default: 48
Note:
Ÿ Configure and connect the access points before mounting.
Ÿ The initial configuration should be completed in a testing environment with two
TEW-840APBO access points approximately 15 ft. (5 m) apart from one another with the
front of the access points directly facing each other.
Ÿ The configuration example in this guide will use the default/standard TEW-840APBO channel
access mode CSMA. More details can be found in the user's guide about TDMA channel
access mode which is also supported by the TEW-840APBO wireless AP.
Ÿ The default IP address of the TEW-840APBO is 192.168.10.100. To configure the
TEW-840APBO, your network adapter must have an IP address within the 192.168.10.x
subnet (e.g. 192.168.10.10). Please refer to the Appendix in the User's Guide for more
information.
3
Phase 2: TEW-840APBO Unit #1 Hardware Setup and Configuration
1. Remove the cover of the access point by pulling and holding the bottom tab in the vertical
direction down (based on the access point orientation below) and sliding the cover below
away from the access point.
Pull and hold tab
ENGLISHFRANÇAIS
ESPAÑOL
4
2. Write down the SSID and WPA2 Key of the TEW-840APBO #1 access point. The SSID and
WPA2 Key can be found on the inside of the device cover where the Ethernet LAN ports are
located (shown below).
3. Using a network cable, connect one end of the cable to the LAN1 (PoE) port.
Model: TEW-840APBO /A
IP Address: 192.168.10.100
Subnet Mask: 255.255.255.0
User Name: admin
Password: admin
Mode: WDS AP
SSID: TRENDnet840_XXXX
WPA2 Key: 840XXXXXXXX
Default Channel: 48
Cable Guide
LAN2 LAN1 (PoE)
LAN2 LAN1 (PoE)
PWR LAN1 LAN2 WLAN
TEW-840APBO
FCC ID: XU8TEW840APBO
IC ID: 6337A-TEW840APBO
LAN2 LAN1 (PoE)
LAN2 LAN1 (PoE)
PWR LAN1 LAN2 WLAN
TEW-840APBO
FCC ID: XU8TEW840APBO
IC ID: 6337A-TEW840APBO
5
Included PoE injector
LAN1 (PoE)
PoE LAN
9. Assign a static IP address to your computer's network adapter in the subnet of
192.168.10.x (e.g. 192.168.10.10) and subnet mask of 255.255.255.0.
4. Connect the other end of the network cable to the PoE port on the included PoE injector.
5. Using another network cable, connect one end to the LAN port on the included PoE injector.
6. Connect the other end of the network cable to your computer's Ethernet port.
7. Attach the power cord to the PoE injector and plug the connected power cord into a power
outlet.
8. Confirm the device is powered on through the LED indicators.
10. Open your web browser and type the IP address of the access point in the address bar, then
press Enter. The default IP address is 192.168.10.100.
POWER
ENGLISHFRANÇAIS
ESPAÑOL
6
11. When prompted, login to the browser configuration page using the default user name and
password settings.
User Name: admin
Password: admin
Note: User Name and Password are case sensitive.
12. In the left hand menu under System Manager, click on Account.
13. Under Account Settings, change the default administrator password by typing in the
current password admin and your new password in the fields provided. Then click the
Apply button the save the new password settings. You will prompted to log back in with
the new password settings.
7
14. After setting a new administrator password, in the left hand menu under Network, click on
Basic.
15. In the IPv4 Settings section, enter the IP Address 192.168.10.50 and Subnet Mask
255.255.255.0, then click Save at the bottom of the page. When prompted to apply settings
at the bottom right of the page, click Apply to commit the changes.
Note: When configuring TEW-840APBO #2, enter the IP address settings 192.168.10.51 and
Netmask 255.255.255.0.
ENGLISHFRANÇAIS
ESPAÑOL
8
Phase 3: TEW-840APBO Unit #2 Hardware Setup and Configuration
When configuring the TEW-840APBO #2, repeat 1-14 of the steps in Phase 2 setup and
configuration.
1. In Step 15, under , enter the IP Address 192.168.10.51 and IPv4 Settings Subnet Mask
255.255.255.0, then click Save at the bottom of the page. When prompted to apply settings
at the bottom right of the page, click Apply to commit the changes.
2. In the left hand menu under Network, click Wireless.
3. Under 5GHz-802.11 AC/N, click the Operation Mode drop-down list and select WDS
Station.