7
Preparation
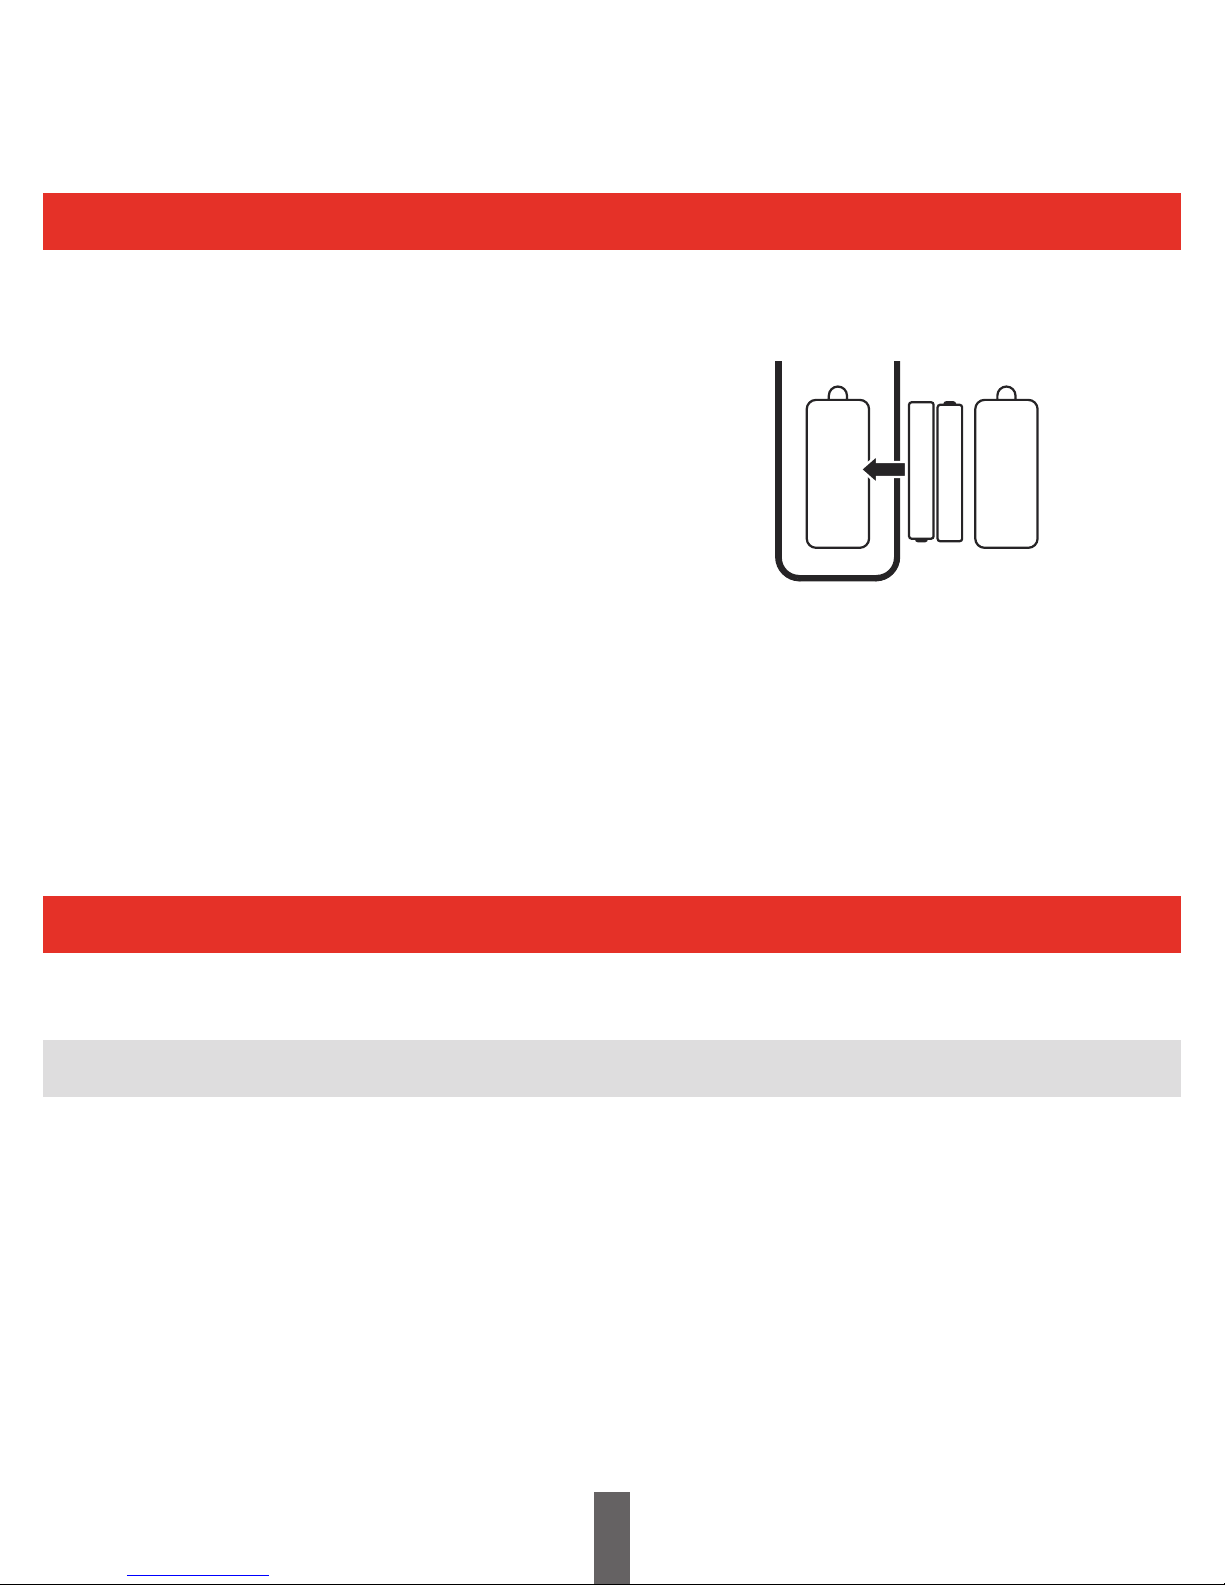
Inserting the batteries
Using the remote control unit
BeforeusingtheReceiverforthersttime,insertthetwosupplied“AAA”sizezinc-carbonbatteries.
When the batteries become depleted and the remote control unit fails to operate, replace the batteries
withnew“AAA”sizebatteries.
1 Open the battery cover.
2 Insert the two supplied “AAA” size zinc-carbon batteries.
•Place batteries with their terminals corresponding to the
(+) and (-) indications in the battery compartment.
3 Close the battery cover.
CAUTION
Improper use of batteries can result in chemical leakage or explosion.
Be sure to follow the instructions below.
• Donotmixbatteriesofdierenttypes.Dierenttypesofbatterieshavedierentcharacteristics.
•Do not mix old and new batteries. Mixing old and new batteries can shorten the life of new batteries or cause
chemical leakage in old batteries.
•Remove batteries as soon as they have worn out. Chemicals that leak from batteries can cause skin irritation.
Ifyoundanychemicalleakage,wipethoroughlywithacloth.
•If you will not be using the remote control unit for an extended period of time, remove the batteries from it.
• Whenreplacingthebatteries,usezinc-carbonbatteriesinsteadofalkalineones.
Note on disposing batteries:
The batteries provided contain no harmful materials such as cadmium, lead or mercury.
Regulations concerning used batteries stipulate that batteries may no longer be thrown out with the household rubbish
Deposit any used batteries free of charge into the designated collection containers set up at your local recycling centre.
Use the remote control unit by pointing it towards the front of the Receiver.
Objects between the remote control unit and sensor may prevent proper operation.
•Do not expose the remote control unit to shock. In addition, do not expose the remote control unit to liquids
and do not place in an area with high humidity.
•Do not place the remote control unit under direct sunlight. The heat may cause deformation of the unit.
•The remote control unit may not work properly if the remote control sensor of the Receiver is under direct
sunlight or strong lighting. In such cases, change the angle of the lighting or the Receiver, or operate the remote
control unit closer to the remote control sensor.
Cautions regarding the remote control unit
+
-
+
-