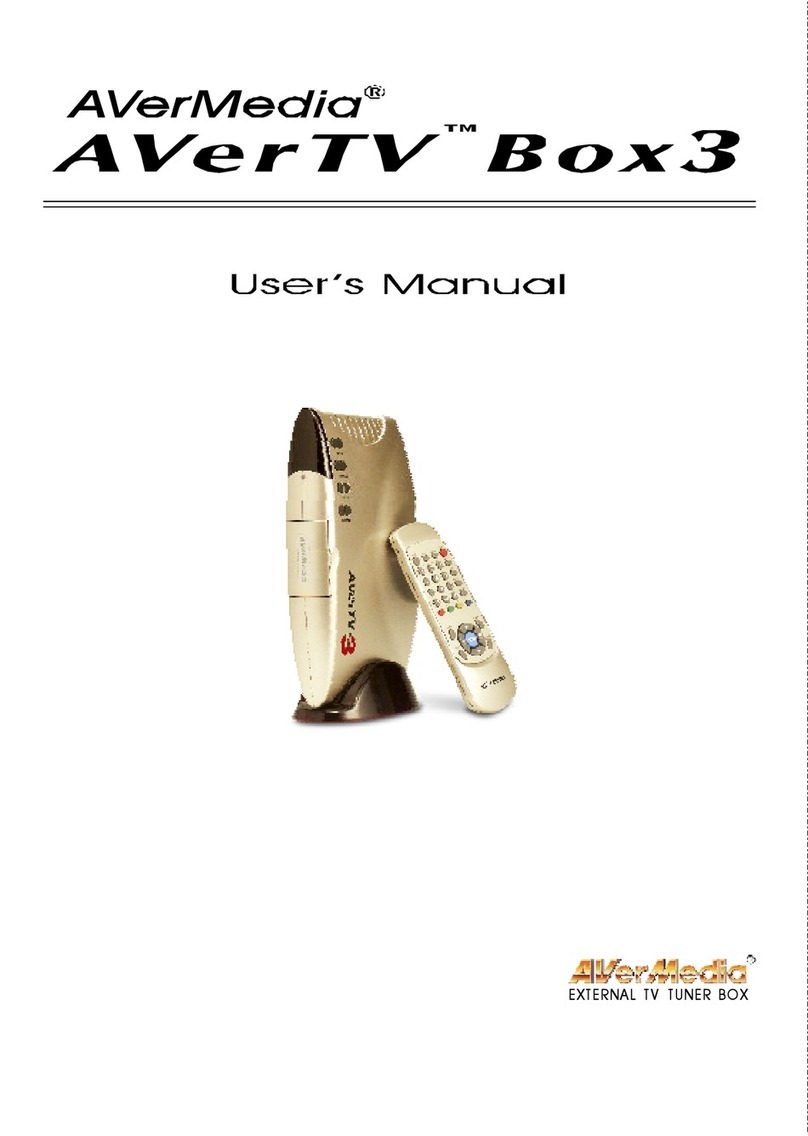
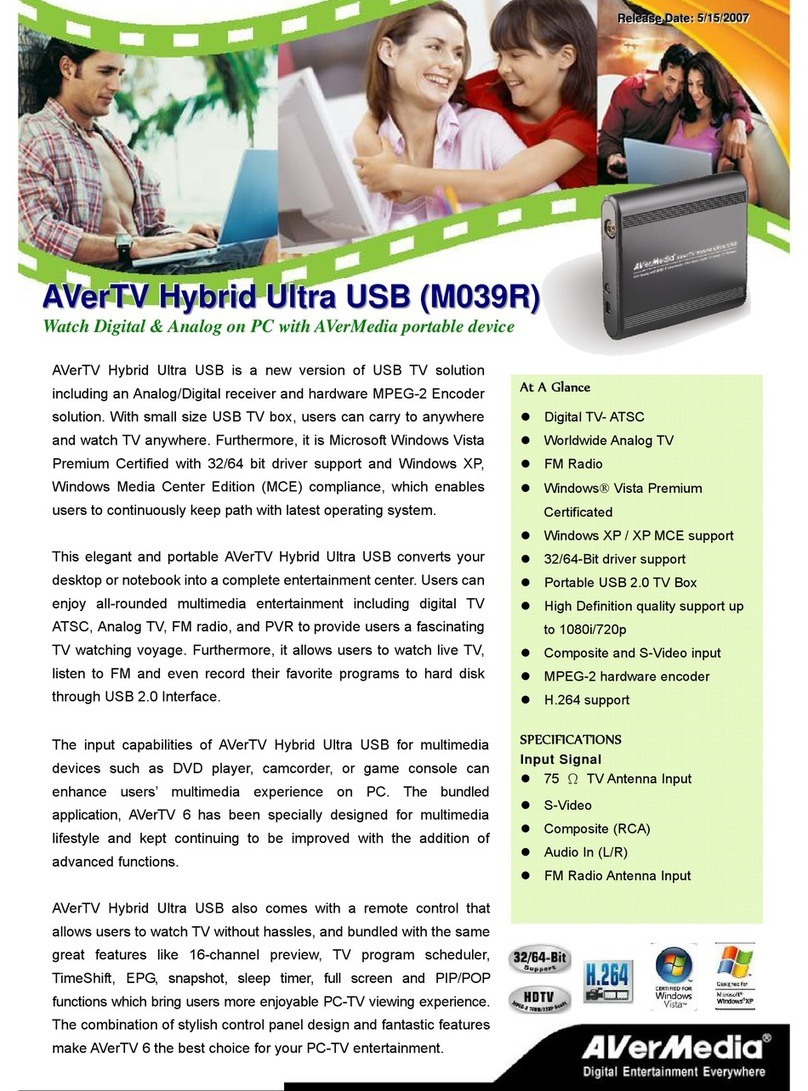
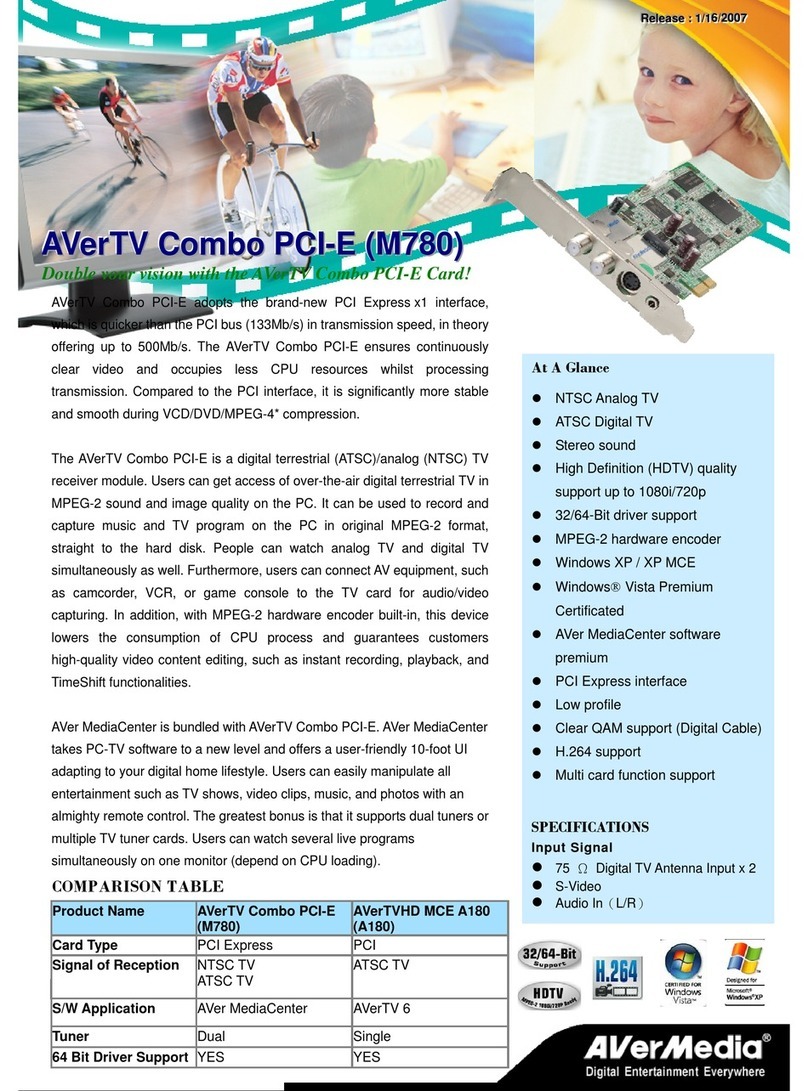
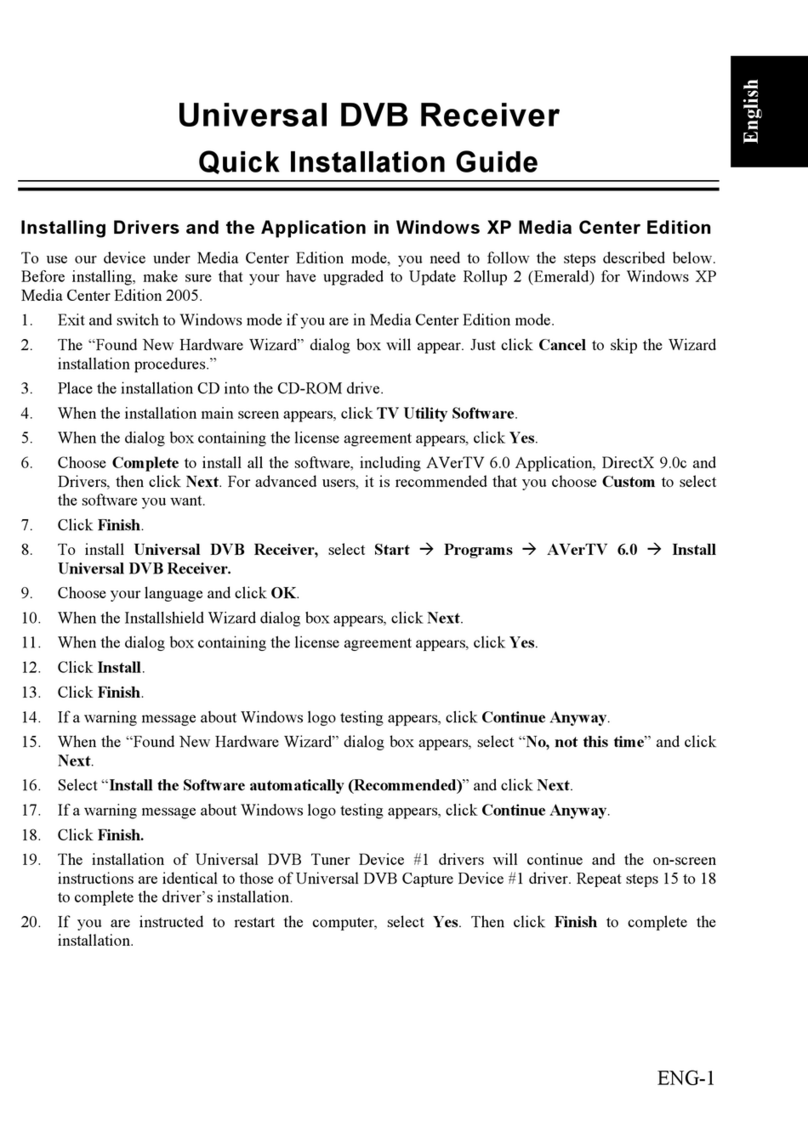
Avermedia VCEB23TRS A867R User manual

A867R
Quick Guide
AVerTV Volar HD Nano
English
Slovenský
Magyar
Hrvatski
Slovenčina
Polski
Česky
български
Việt nam
Ελληνική


European Community Compliance Statement
Class B
This product is herewith confirmed to comply with the requirements set out in the Council Directives on
the Approximation of the laws of the Member States relating to Electromagnetic Compatibility Directive
2004/108/EC.
Disclaimer
All the screen shots in this documentation are only example images. The images may vary depending on the product and
software version. Information presented in this documentation has been carefully checked for reliability; however, no
responsibility is assumed for inaccuracies. The information contained in this documentation is subject to change without
notice.
Copyright
©2010 by AVerMedia Technologies, Inc. All right reserved.
No part of this document may be reproduced or transmitted in any form, or by any means without the prior written
permission of AVerMedia Technologies Inc. AVerMedia Technologies Inc. reserves the right to modify its models,
including their characteristics, specifications, accessories and any other information stated herein without notice. The
official printout of any information shall prevail should there be any discrepancy between the information contained herein
and the information contained in that printout.
"AVerMedia" is a trademark (or registered trademark) of AVerMedia Technologies, Inc. Other trademarks used herein for
description purpose only belong to each of their companies.
The mark of Crossed-out wheeled bin indicates that this product must not be disposed of with your other
household waste. Instead, you need to dispose of the waste equipment by handing it over to a designated
collection point for the recycling of waste electrical and electronic equipment. For more information about
where to drop off your waste equipment for recycling, please contact your household waste disposal service or the
shop where you purchased the product.

IMPORTANT SAFETY INSTRUCTIONS
zRead Instructions - Read all the safety and operating instructions before connecting and operating your TV tuner to help
ensure your own personal safety and to protect your product from potential damage.
zRetain Instructions - Retain all the safety and operating instructions for future reference.
zHeed Warnings - Adhere to all warnings on the product and the operating instructions.
zGrounding - For continued protection against risk of electric shock and fire, this accessory should be installed/connected
only to the products, such as a computer, equipped with a three-wire grounding plug, a plug having a third (grounding) pin.
This plug will only fit into a grounding-type power outlet. This is a safety feature. If you are unable to insert the plug into the
outlet, contact your electrician to replace the obsolete outlet. Do not defeat the safety purpose of the grounding-type plug.
zLightning - For added protection and to prevent damage due to lightning and power-line surges, unplug the host system,
such as a computer, from the wall power outlet and disconnect the antenna or cable system. Unplug the host system from
the wall power outlet when left unattended or unused for long periods of time.
zNever insert anything metallic into the TV tuner openings. Doing so may create the danger of electric shock.
zOpenings in the TV tuner cabinet are provided for ventilation. To prevent overheating, these openings should not be
blocked or covered. Avoid using the TV tuner on a bed, sofa, rug, or other soft surface, as doing so may block the
ventilation openings in the cabinet. If you place the TV tuner in a bookcase or an enclosed space, be sure to provide
adequate ventilation and air flow.
zPower Lines - An outside antenna system should not be located in the vicinity of overhead power lines or other light or
power circuits, or where it can fall into such power lines or circuits.
zAntenna Installation - When installing an outside antenna system, extreme care should be taken to prevent it from
touching such power lines or circuits, as contact with them may be fatal.
zOutdoor Antenna Grounding - If an outside antenna is connected to the product, ensure that the antenna system is
grounded so as to provide some protection against voltage surges and built up static charges. Article 810.21 of the
National Electric Code, ANSI/NFPA No.70, provides information with regard to proper grounding of the mast and
supporting structure, grounding of the lead-in wire to the antenna discharge unit, size of grounding conductors, location of
antenna-discharge unit, connection of grounding electrodes, and requirements for the grounding electrode.
(for CATV system installer) This reminder is provided to call the CATV systems installer's attention to Section
820.93 of the National Electric Code, ANSI/NFPA 70:2005 (for US/Canada) and/or EN60728-11:2005 standard
(for Europe), which provide guidelines for proper grounding and, in particular, specify that the coaxial cable
shield shall be connected to the grounding system of the building, as close to the point of cable entry as
practical.
Quick Installation Guide
1
Table of Contents
Package Contents.....................................................................................2
Making Connections.................................................................................4
Installation.................................................................................................6
English....................................................................................................................................... 6
Magyar ....................................................................................................................................... 9
Česky ....................................................................................................................................... 12
Polski ....................................................................................................................................... 15
Slovenský ................................................................................................................................18
български ................................................................................................................................21
Slovenščina............................................................................................................................. 24
Hrvatski.................................................................................................................................... 27
Việt nam................................................................................................................................... 30
Ελληνική .................................................................................................................................. 33
Remote Control (for AVerTV 6) ....................................................................37
Remote Control (for Windows Media Center on Vista / Windows 7).......................48

2
1 Package Contents
A B
C D

Quick Installation Guide
3
A B
English Quick Installation Guide Installation CD
Magyar Telepítési gyorsútmutató TelepítCD
Česky Struný prvodce instalací Instalaní CD disk
Polski Podrcznik szybkiego startu Pyta instalacyjna CD
Slovenský Inštalaná príruka Inštalané CD
български CD
Slovenščina Hitri Inštalacijski VodiInštalacijski CD
Hrvatski Vodis osnovnim uputama Instalacijski CD
Việt nam Hng dn Cài t Nhanh CD Cài t
Ελληνική CD
C D
English Remote Control (Batteries included) Mini Antenna
Magyar Távirányít (elemekkel együtt) Mini Antenna
Česky Dálkový ovlada(baterie jsou souástí balení) Mini anténa
Polski Pilot Zdalnego Sterowania
(wcznie z bateriami) Mini antena
Slovenský Diakové ovládanie (vrátane batérií) Mini antenna
български
( )
Slovenščina Daljinski Upravljalnik (baterije priložene) Mini antena
Hrvatski Daljinski upravlja(baterije ukljuene) Mini antena
Việt nam iu khin Txa (gm cpin) ngten mini
Ελληνική
( )

4
2 Making Connections

Quick Installation Guide
5
English PC Notebook USB Port
Magyar Számítógép Notebook USB Port
Česky Laptop PoítaUSB port
Polski Komputer
podrczny Komputer Port USB
Slovenský PC Notebook USB Port
български
USB
Slovenščina PC Prenosnik USB vrata
Hrvatski PC raunalo Prijenosno raunalo USB prikljuak
Việt nam PC Máy tính xách tay Cáp USB
Ελληνική USB
English OR Mini Antenna TV Antenna (75)
Magyar OR Mini Antenna TV Antenna (75)
Česky Nebo Mini anténa TV anténa (75)
Polski LUB Mini antena Antena telewizyjna (75)
Slovenský Alebo Mini antenna TV antenna (75)
български OR (75)
Slovenščina OR Mini antena TV antena (75)
Hrvatski ILI Mala antena TV antena (75)
Việt nam HOC ngten mini ng-ten TV (75)
Ελληνική (75)

6
3 Installation
English
Installing Drivers and the TV Software Utility
After the device is installed properly, turn on the computer. The system will automatically detect
the new device. Simply skip the wizard, and insert the accompanying installation CD to install
the driver and TV software utility simultaneously.
Installing Drivers and the Application in Windows®XP / Windows®XP Media
Center Edition
To install the driver and application, Windows XP MCE users need to exit and switch to
Windows mode if they are in Media Center Edition mode.
1. The “Found New Hardware Wizard” dialog box will appear. Just click Cancel to skip the
Wizard installation procedures.
2. Place the installation CD into the CD-ROM drive.
3. When the installation main screen appears, choose Install AVerTV.
4. Click Next to continue the installation process.
5. Read the license agreement and if you agree to the terms, select “I accept the terms of the
license agreement” and then click Next.
6. Choose Complete to install all the necessary softwares, including AVerTV 6, Acrobat
Reader, DirectX 9.0c and Driver. Then click Next. For advanced users, it is recommended
to choose Custom to select the software you want. To choose a different destination folder,
click Browse.
7. In the “InstallShield Wizard” dialog box, if you are instructed to restart your computer, select
Yes.
8. Then click Finish to complete the installation.
9. For Windows XP MCE users, if you want to use the Media Center as the TV application,
start Media Center and follow the on-screen instruction to complete the configuration.

Quick Installation Guide
7
* We recommend to exit the Media Center mode before activating the AVerTV 6.
Installing Drivers and the Application in Windows Vista™/ Windows Vista™ Media
Center Edition / Windows 7
To install the driver and application, Windows Vista™MCE users need to exit and switch
to Windows mode if they are in Media Center Edition mode.
1. The “Found New Hardware Wizard” dialog box will appear. Just click Cancel to skip
the Wizard installation procedures.
2. Place the installation CD into the CD-ROM drive.
3. When the “AutoPlay” dialog box appears, select Run Autorun.exe.
4. When the installation main screen appears, choose Install AVerTV.
5. If the “User Account Control” dialog box appears, select Allow/Yes to continue the
process.
6. Click Next to continue the installation process.
7. Read the license agreement and if you agree to the terms, select “I accept the terms
of the license agreement” and then click Next.
8. Choose Complete to install all the necessary softwares, including AVerTV 6, Acrobat
Reader and Driver. Then click Next. For advanced users, it is recommended that you
choose Custom to select the software you want. To choose a different destination
folder, click Browse.
9. Then click Finish to complete the installation.
To know how to set up TV tuner in Windows Media Center, please refer to the user’s
manual in the Installation CD.
1. If DirectX 9.0c or above is not installed in your system, usually the installation CD will
automatically install it during the process of installation. Make sure your system has
DirectX 9.0c or above installed so that the TV software utility can function properly.
2. If your system is not equipped with Acrobat Reader, the installation wizard will
automatically be called up during the process of installation.
3. The product does not come with a software DVD decoder. If users can playback DVD or

8
MPEG-2 video files on the computer, there is no need to install a DVD decoder. However, if
the Decoded Error message appears on the screen, please install the compatible DVD
decoder via the Windows®XP Media Center Edition Partners site.
Activating the AVerTV Application
To run the application from the Programs menu, choose Start ÆPrograms ÆAVerMedia Æ
AVerTV 6 ÆAVerTV 6.
Uninstalling Application and Drivers
Windows®XP / Windows®XP Media Center Edition
If you are in Media Center Mode, please exit and switch to Windows mode first. To remove the
installed TV software utility from the system, simply choose Start ÆPrograms ÆAVerMedia
ÆAVerTV 6 ÆUninstaller ÆRemove All ÆNext ÆOK ÆFinish.
Windows Vista™/Windows Vista™ Media Center Edition/Windows 7
1. To remove the installed TV software utility from the system, simply choose Start ÆAll
Programs ÆAVerMedia ÆAVerTV 6 ÆUninstaller.
2. When the “User Account Control” dialog box appears, select Allow/Yes.
3. Select Remove All ÆNextÆOK ÆFinish.

Quick Installation Guide
9
Magyar
Az illesztőprogramok és a TV segédprogram telepítése
Ha a kártyát beszerelte, kapcsolja be a számítógépet. A rendszer automatikusan felismeri az új
eszközt. Egyszeren lépjen ki a varázslóból, helyezze be a mellékelt CD-t a meghajtóba, és
telepítse a meghajtó szoftvert és a tévé segédprogramot.
Az eszközmeghajtók és az alkalmazás telepítése a Windows®XP alatt /
Windows®XP Media Center Edition
A meghajtóprogram és segédprogramok telepítéséhez, a Windows XP MCE felhasználóknak,
ha Media Center Edition módban vannak, abból ki kell lépniük és átváltani Windows módba.
1. Megjelenik az „Új hardver” varázsló párbeszédpanel. A Mégse gombra kattintva
lépjen ki a varázslóból.
2. Helyezze a telepítCD-t a CD-ROM-meghajtóba.
3. Amikor a telepítfoldala megjelenik, válassza az Install AVerTV-t.
4. A folytatáshoz klikkeljen a Next-re.
5. Olvassa el a licensz megállapodást, és ha egyetért az ott leírtakkal, válassza az “I accept
the terms of the license agreement”-et és klikkeljen a Next-re.
6. Válassza a “Complete to install all the necessary softwares, including AVerTV 6,
Acrobat Reader, DirectX 9.0c and Drivers”. Ez a teljes szoftvercsomagot telepíteni
fogja. Ezután klikkeljen a Next-re. A tapasztaltabb felhasználóknak tanácsos a Custom
(Személyre szabott) opcióra kattintaniuk, amellyel kiválaszthatják a kívánt szoftvereket.
Más telepítési célmappa választásához klikkeljen a Browse-ra.
7. Amennyiben az „InstallShield Wizard Complete” párbeszédpanelen a számítógép
újraindítására vonatkozó üzenet jelenik meg, válassza a Yes (Igen) opciót.
8. Ezt követen kattintson a Finish (Befejezés) gombra a telepítés befejezéséhez.
9. Ha a Windows XP MCE felhasználók a Media Centert szeretnék használni TV
alkalmazásként, akkor indítsák el a Media Centert, és kövessék a képernyn megjelen
utasításokat a konfiguráció befejezéséhez.

10
* Azt tanácsoljuk lépjen ki a Media Center Módból, mieltt aktiválná az AVerTV 6-ot.
Az eszközmeghajtók és az alkalmazás telepítése Windows Vista™/
Windows Vista™ Media Center Edition / Windows 7
A meghajtóprogram és segédprogramok telepítéséhez, a Windows Vista™MCE
felhasználóknak, ha Media Center Edition módban vannak, abból ki kell lépniük és
átváltani Windows módba.
1. Megjelenik az „Új hardver” varázsló párbeszédpanel. A Mégse gombra kattintva
lépjen ki a varázslóból.
2. Helyezze a telepítCD-t a CD-ROM-meghajtóba.
3. Amikor az “AutoPlay” ablak megjelenik, válassza a Run Autorun.exe parancsot.
4. Amikor a telepítfoldala megjelenik, válassza az Install AVerTV-t.
5. Ha a “User Account Control” ablak jelenik meg, válassza az Allow/Yes opciót a
folyamat folytatásához.
6. A folytatáshoz klikkeljen a Next-re.
7. Olvassa el a licensz megállapodást, és ha egyetért az ott leírtakkal, válassza az “I accept
the terms of the license agreement”-et és klikkeljen a Next-re.
8. Válassza a “Complete to install all the necessary softwares, including AVerTV 6,
Acrobat Reader and Drivers”. Ez a teljes szoftvercsomagot telepíteni fogja. Ezután
klikkeljen a Next-re. A tapasztaltabb felhasználóknak tanácsos a Custom (Személyre
szabott) opcióra kattintaniuk, amellyel kiválaszthatják a kívánt szoftvereket. Más
telepítési célmappa választásához klikkeljen a Browse-ra.
9. Ezt követen kattintson a Finish (Befejezés) gombra a telepítés befejezéséhez.
Ha további részleteket szeretne megtudni arról, hogyan lehet beállítani a TV-hangolót a
Windows Media Center alkalmazásban, tekintse meg a telepítési CD-n lévfelhasználói
útmutatót.
1. Ha DirectX 9.0c vagy újabb verzió nincs telepítve, a telepítCD általában
automatikusan telepíti a telepítési folyamat során. Ha a rendszeren nincs DirectX

Quick Installation Guide
11
9.0c vagy újabb verzió telepítve, a TV segédprogram nem fog megfelelen mködni.
2. Ha az Ön rendszere nincs ellátva Acrobat Reader programmal, a telepítvarázsló
automatikusan felhívja rá a figyelmét a telepítés folyamán.
3. A termékhez nem tartozik szoftveres DVD dekóder. Ha a felhasználó DVD-lemezt vagy
MPEG-2 videofájlokat le tud játszani a számítógépen, nincs szükség DVD-dekóder
telepítésére. Ha azonban a képernyn megjelenik a „ Dekódolási hiba” hibaüzenet, telepítse
a kompatibilis DVD-dekódert, amelyet megtalál a Windows®XP Media Center Edition
Partners weblapon.
Az AVerTV alkalmazás aktiválása
Az alkalmazás indítása a Programok menüből: Start ÆProgramokÆAVerMedia ÆAVerTV
6 ÆAVerTV 6.
A TV segédprogram eltávolítása
Windows®XP / Windows®XP Media Center Edition
Ha Media Center Módban van, elször lépjen ki és váltson Windows módba. A
telepített TV segédprogram eltávolítása a rendszerbl: egyszeren válassza a Start
ÆMinden Program ÆAVerMedia ÆAVerTV 6 ÆUninstaller ÆRemove All Æ
NextÆOK ÆFinish.
Windows Vista™ / Windows Vista™ Media Center Edition / Windows
1. A telepített TV szoftver eltávolításához egyszeren válassza a Start ÆMinden
program ÆAVerMedia ÆAVerTV 6 útvonalatÆUninstaller.
2. Amikor az “User Account Control” ” ablak megjelenik, válassza az Allow/Yes
opciót.
3. Válassza a Remove All ÆNextÆOK ÆFinish útvonalat.

12
Česky
Instalace ovladačů a aplikace
Po instalaci zaízení zapnte poíta. Systém automaticky detekuje nové zaízení. Jednoduše
peskote prvodce a nainstalujte ovladaa softwarovou aplikaci vložením dodaného
instalaního CD.
Instalace ovladačů a aplikace v operačním systému Windows®XP /
Windows®XP Media Center Edition
Aby bylo možné nainstalovat ovladaa aplikaci, musí uživatelé operaního systému
Windows XP MCE pejít z režimu Media Center Edition do režimu Windows.
1. Zobrazí se dialogové okno „Nalezen nový hardware“. Kliknutím na Storno peskoíte
postup instalace.
2. Vložte instalaní CD do CD-ROM mechaniky.
3. Pokud se zobrazí hlavní instalaní obrazovka, zvolte Install AVerTV.
4. Kliknte na Další pro pokraování v instalaci.
5. Pette si licenní smlouvu a pokud souhlasíte, zvolte “Souhlasím s podmínkami
licenní smlouvy” a kliknte na Další.
6. Zvolte Úplná pro nainstalování všech nutných program, vetnAVerTV 6, Acrobat
Reader, DirectX 9.0c a ovladačů.Poté kliknte na Další. Pokroilí uživatelé mohou
zvolit typ instalace Volitelná, pi kterém lze manulálnvybrat požadovaný software k
instalaci. Pro volbu jiné cílové složky kliknte na Procházet.
7. Pokud budete v dialogovém okn„InstallShield Wizard“ vyzváni k restartování poítae,
vyberte možnost Ano.
8. Instalaci dokoníte kliknutím na tlaítko Dokončit.
9. Používáte-li operaní systém Windows XP MCE a chcete jako TV aplikaci používat
Media Center, spuste Media Center a provete konfiguraci podle zobrazených pokyn.
* Ped spuštním AVerTV 6 doporuujeme ukonit režim Media Center.

Quick Installation Guide
13
Instalace ovladačů a aplikace v operačním systému Vista™ / Windows
Vista™ Media Center Edition / Windows 7
1. Zobrazí se dialogové okno „Nalezen nový hardware“. Klepnutím na Storno peskoíte
postup instalace.
2. Vložte instalaní CD do CD-ROM mechaniky.
3. Po zobrazení dialogového okna „AutoPlay“ (Pehrát automaticky) vyberte píkaz
Run Autorun.exe (Spustit soubor Autorun.exe).
4. Pokud se zobrazí hlavní instalaní obrazovka, zvolte Install AVerTV.
5. Pokud se zobrazí dialogové okno „Kontrola uživatelského útu“, pokraujte volbou
„Povolit“ / “Ano”.
6. Kliknte na Další pro pokraování v instalaci.
7. Pette si licenní smlouvu a pokud souhlasíte, zvolte “Souhlasím s podmínkami
licenní smlouvy” a kliknte na Další.
8. Zvolte Úplná pro nainstalování všech nutných program, vetnAVerTV 6, Acrobat
Reader a ovladačů.Poté kliknte na Další. Pokroilí uživatelé mohou zvolit typ instalace
Volitelná, pi kterém lze manulálnvybrat požadovaný software k instalaci. Pro volbu jiné
cílové složky kliknte na Procházet.
9. Instalaci dokoníte klepnutím na tlaítko Dokončit.
Pro správné nastavení TV tuneru následujte uživatelský manuál na piloženém
instalaním CD.
1. Pokud ve vašem systému není nainstalováno rozhraní DirectX 9.0 nebo vyšší verze,
obvykle instalaní CD bhem vlastního procesu tuto aplikaci nainstaluje automaticky.
Ujistte se, že váš systém obsahuje instalaci DirectX 9.0 nebo vyšší verze, aby
softwarová aplikace mohla ádnpracovat.
2. Pokud váš systém není vybaven Acrobat Reader, instalace bude automaticky provedena
bhem procesu instalace.
3. Produkt není dodáván se softwarovým DVD dekodérem. Pokud uživatel mže na poítai

14
pehrávat DVD nebo MPEG-2 videosoubory, není poteba instalovat DVD dekodér.
Objeví-li se chybové hlášení v souvislosti s dekódováním videa, nainstalujte prosím
kompatibilní DVD dekodér pes partnerskou stránku Windows® XP Media Center Edition.
Spuštění aplikace AVerTV
Pro spuštění aplikace z programové nabídky Start, klikněte na Start ÆVšechny programy
ÆAVerMediaÆAVerTV 6 ÆAVerTV 6.
Odinstalování softwaru
Windows®XP / Windows®XP Media Center Edition
Pokud se nacházíte v režimu Media Center, nejdíve jej ukonete a pejdte do
režimu Windows. Pro odebrání nainstalovaného softwaru ze systému, zvolte Start
ÆVšechny Programy ÆAVerMedia ÆAVerTV 6 ÆOdinstalování ÆOdebrat vše
ÆDalšíÆOK ÆDokončit.
Windows Vista™/ Windows Vista™ Media Center Edition / Windows 7
1. Chcete-li odebrat softwarovou aplikaci z poítae, zvolte nabídku Start ÆProgramy Æ
AVerMedia ÆAVerTV 6 ÆOdinstalování.
2. Po zobrazení okna „Kontrola uživatelského útu“ vyberte volbu „Povolit“/ “Ano”.
3. Vyberte položku Odebrat vše ÆDalší ÆOK ÆDokončit.

Quick Installation Guide
15
Polski
Instalacja sterowników i oprogramowania narzędziowego TV
Po prawidowej instalacji urzdzenia, wcz komputer. System automatycznie wykryje nowe
urzdzenie. Ignoruj kreatora i wózawartw komplecie pytCD w napd aby samodzielnie
zainstalowasterowniki i oprogramowanie.
Instalacja sterowników i aplikacji w systemie operacyjnym Windows®XP
/ Windows®XP Media Center Edition
W celu instalacji sterownika i aplikacji, uytkownicy Windows XP MCE musz, jeli
znajdujsiw trybie Media Center Edition, zakoczyten tryb i przeczysido trybu
Windows.
1. Zostanie wywietlone okno dialogowe “Kreator znajdowania nowego sprztu”. Naley
klikn Anuluj, aby pomin procedury instalacyjne kreatora.
2. Umie instalacyjny dysk CD w napdzie CD-ROM.
3. Gdy pojawi sigówny ekran instalacji, wybierz Install AVerTV.
4. Nacinij „Dalej” aby kontynuowainstalacj.
5. Przeczytaj warunki licencji i jeli sizgadzasz na nie wybierz ”Akceptujwarunki umowy
licencyjnej” i nacinij „Dalej”.
6. Wybierz opcj„Complete” aby zainstalowacae niezbdne oprogramowanie, wliczajc w
to AVerTV 6, Acrobat Reader, DirectX 9.0c oraz sterowniki. Potem nacinij „Dalej”.
Zaawansowanym uytkownikom zaleca siwybranie opcji instalacji Custom
(Niestandardowa) w celu wybrania wymaganego oprogramowania. Aby wybrainny folder
instalacji nacinij „Przegldaj”.
7. Po wywietleniu w oknie dialogowym “InstallShield Wizard (Kreator instalacji)” instrukcji
ponownego uruchomienia komputera, wybierz Yes (Tak).
8. Nastpnie kliknij Finish (Zakończ), aby dokoczyinstalacj.
9. Uytkownicy Windows XP MCE, którzy chckorzystaz Media Center jako aplikacji TV,

16
powinni uruchomiMedia Center i wykonainstrukcje ekranowe w celu dokoczenia
konfiguracji.
* Przed aktywacjAVerTV 6 zaleca sizakoczenie trybu Media Center AVerTV 6.
Instalacja sterowników i aplikacji w systemie operacyjnym Windows
Vista™/ Windows Vista™ Media Center Edition / Windows 7
W celu instalacji sterownika i aplikacji, uytkownicy Windows Vista™MCE musz, jeli
znajdujsiw trybie Media Center Edition, zakoczyten tryb i przeczysido trybu
Windows.
1. Zostanie wywietlone okno dialogowe “Kreator znajdowania nowego sprztu”. Naley
klikn Anuluj, aby pomin procedury instalacyjne kreatora.
2. Umie instalacyjny dysk CD w napdzie CD-ROM.
3. Po wywietleniu okna dialogowego “AutoPlay (Automatyczne odtwarzanie)”, wybierz
Run Autorun.exe (Uruchom Autorun.exe).
4. Gdy pojawi sigówny ekran instalacji, wybierz Install AVerTV.
5. Jeli pojawi siokno dialogowe “User Account Control (Kontrola kont uytkownika)”,
wybierz Allow (Zezwól) / Yes (Tak), aby kontynuowaproces.
6. Nacinij „Dalej” aby kontynuowainstalacj.
7. Przeczytaj warunki licencji i jeli sizgadzasz na nie wybierz ”Akceptujwarunki umowy
licencyjnej” i nacinij „Dalej”.
8. Wybierz opcj„Complete” aby zainstalowacae niezbdne oprogramowanie, wliczajc w
to AVerTV 6, Acrobat Reader oraz sterowniki. Potem nacinij „Dalej”. Zaawansowanym
uytkownikom zaleca siwybranie opcji instalacji Custom (Niestandardowa) w celu
wybrania wymaganego oprogramowania. Aby wybrainny folder instalacji nacinij
„Przegldaj”.
9. Nastpnie kliknij Finish (Zakończ), aby dokoczyinstalacj.
Aby dowiedziesijak skonfigurowatuner TV w Windows Media Center przeczytaj
instrukcje obsugi na instalacyjnej pycie CD
Table of contents
Languages:
Other Avermedia TV Receiver manuals

Avermedia
Avermedia AVerTV Mobile iOS EW330 User manual

Avermedia
Avermedia TV TUNER BOX User manual

Avermedia
Avermedia AVerTV Box W9 User manual

Avermedia
Avermedia DVB-S User manual

Avermedia
Avermedia DVB-T STB5 User manual

Avermedia
Avermedia AVerTV PLUG & WATCH User manual

Avermedia
Avermedia AVerTV Combo PCI-E User manual

Avermedia
Avermedia MCE 2005 User manual

Avermedia
Avermedia M039R User manual