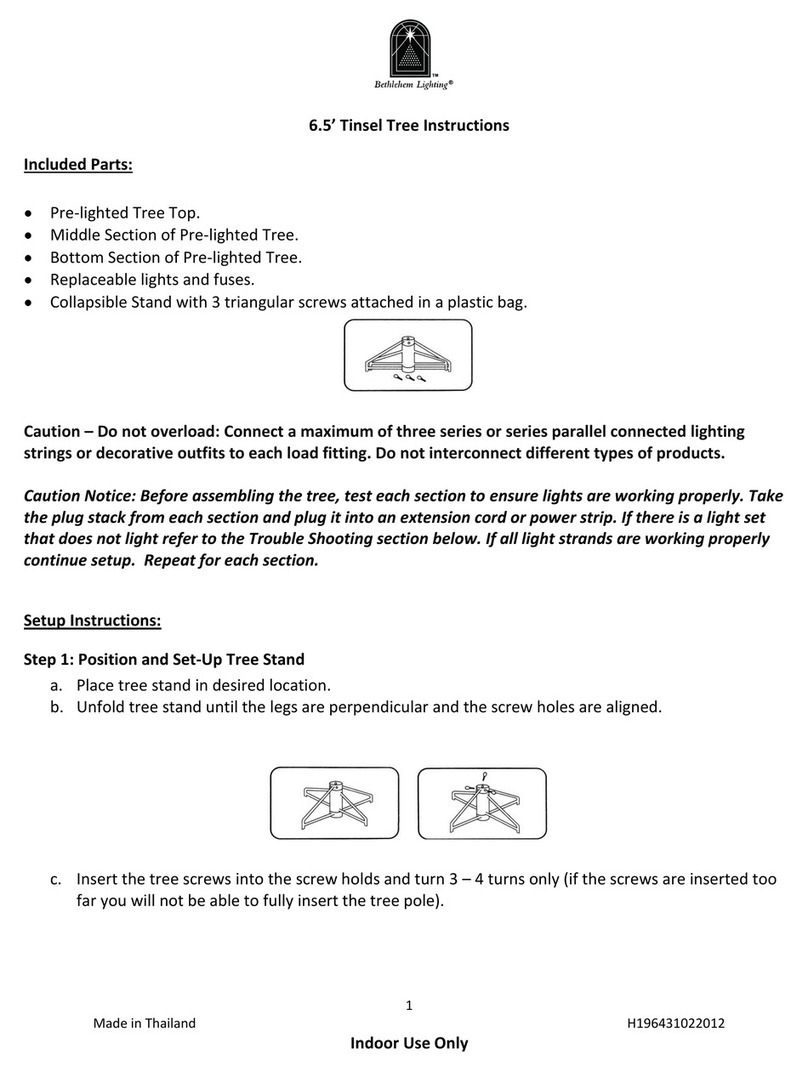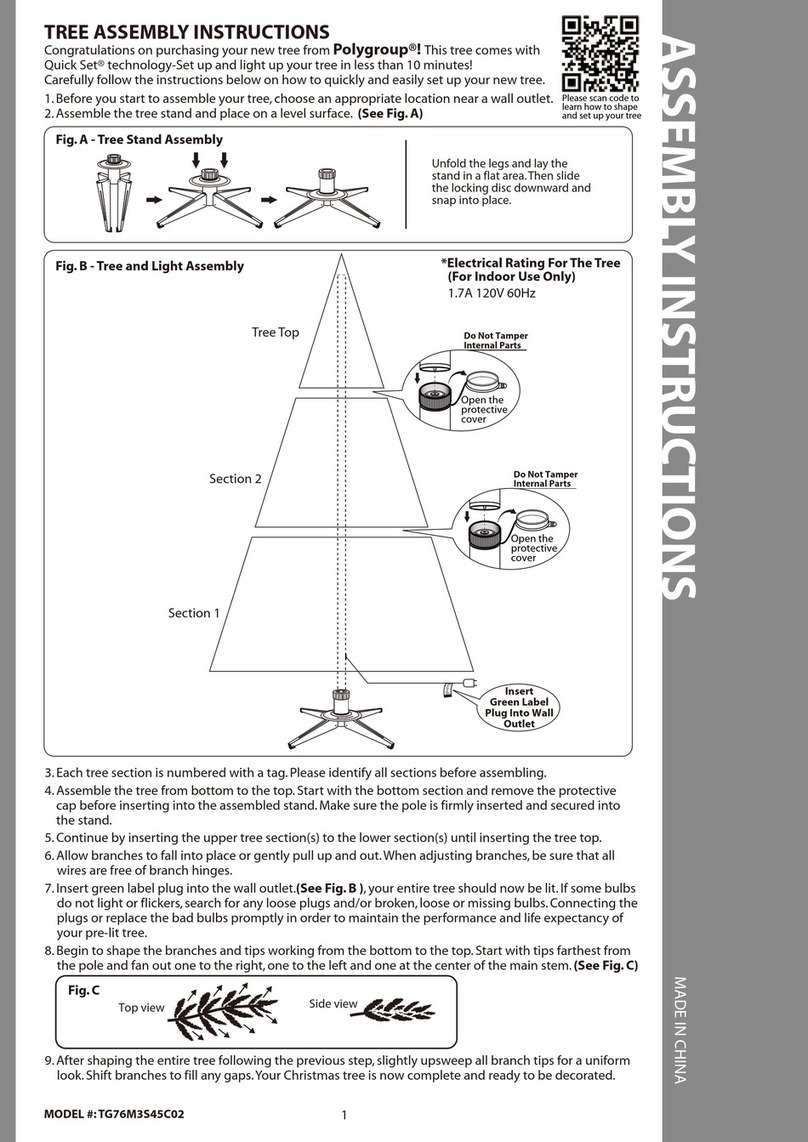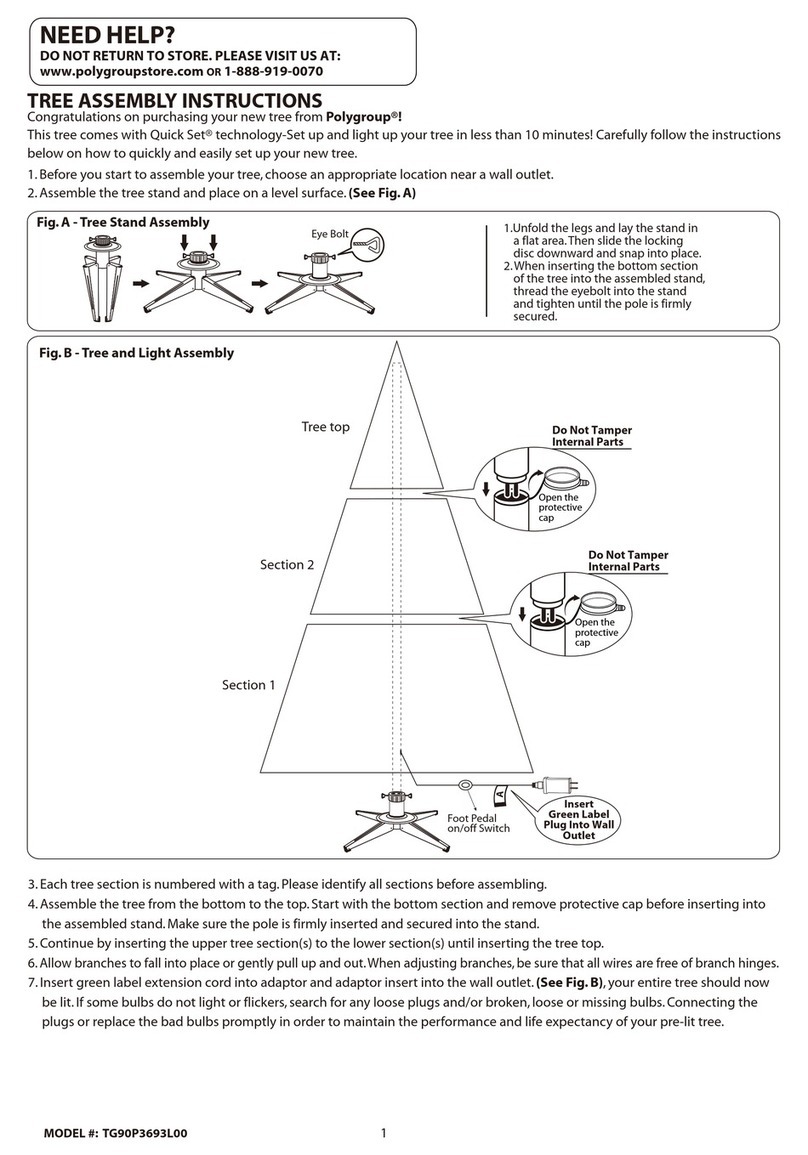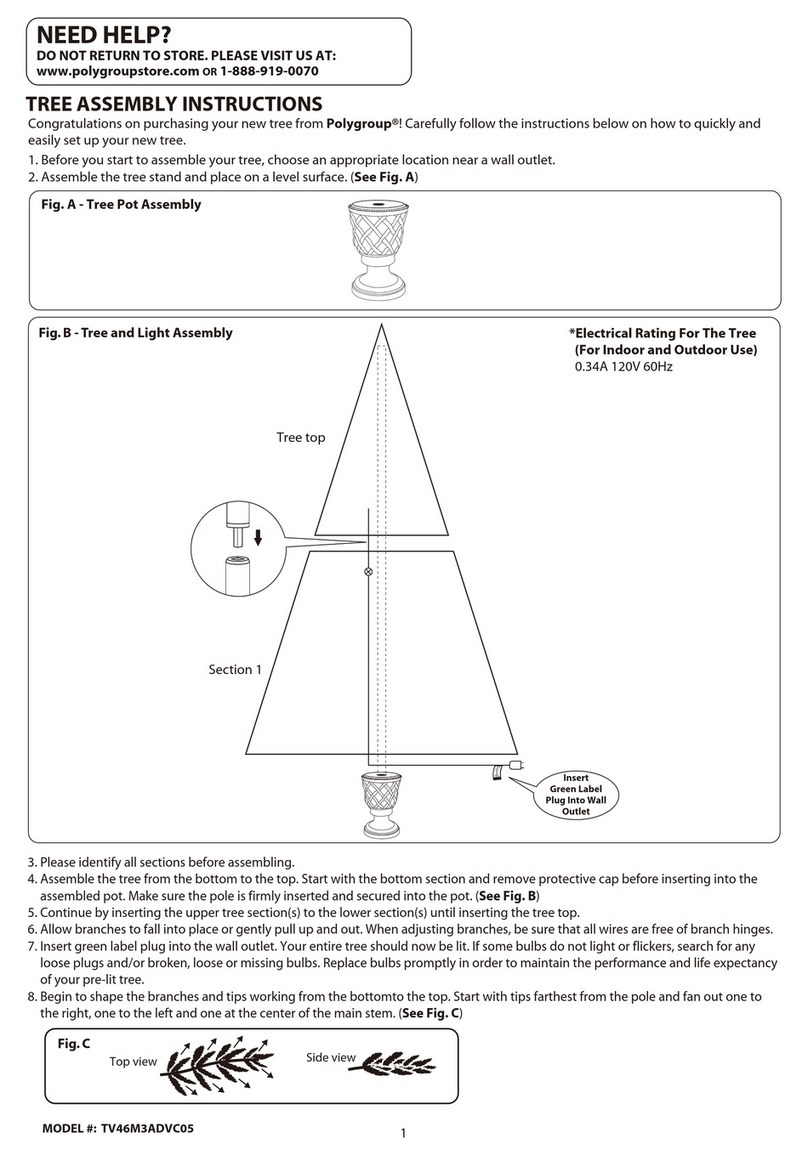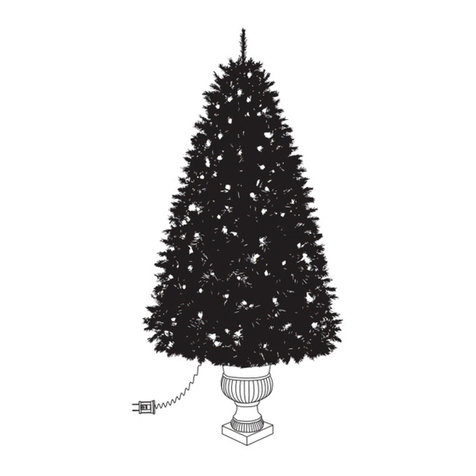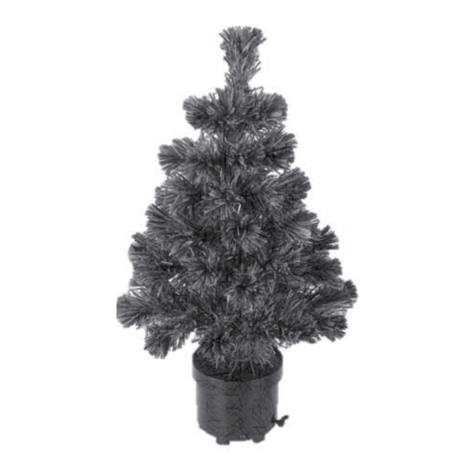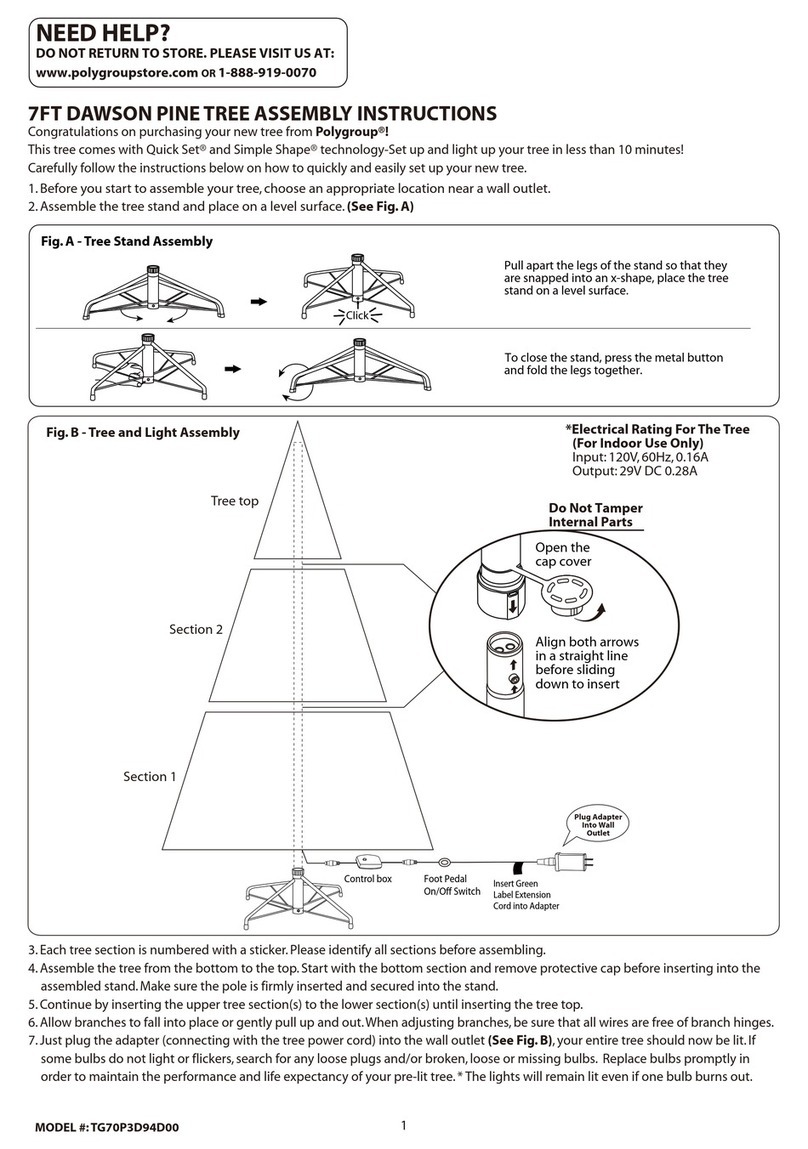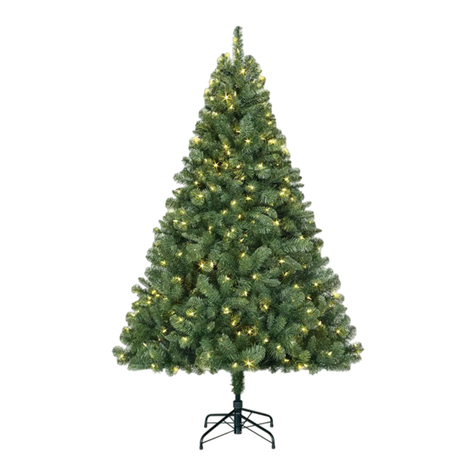
For indoor use only. Retain carton for storage purposes.
SAVE THESE INSTRUCTIONS
CAUTION:
IMPORTANT SAFETY INSTRUCTIONS
READ AND FOLLOW ALL SAFETY INSTRUCTIONS
Shaping Instructions
Shapin the tree branches is the last step of
assembly. The care and attention iven to this final
process will result in a enuinely beautiful and
appealin holiday centerpiece.
1. Every tree style is shipped from the factory with
the tips of each branch compressed to the center
(Fi ure 4).
2. Each branch tip must be shaped to it’s proper
position to ive the tree a natural look. This is
done by ently raspin the left and ri ht win tips
and spreadin them out away from the center tip
(Fi ure 5).
3. Each individual tip should then be spread out
separately. Tips should then be bent sli htly
upward to add a more natural lookin appearance.
Fi ure 6 shows a typical tree branch after shapin .
4. As you shape closer to the top, the branches will
not have win tips, but will otherwise shape in the
same manner as lower sections.
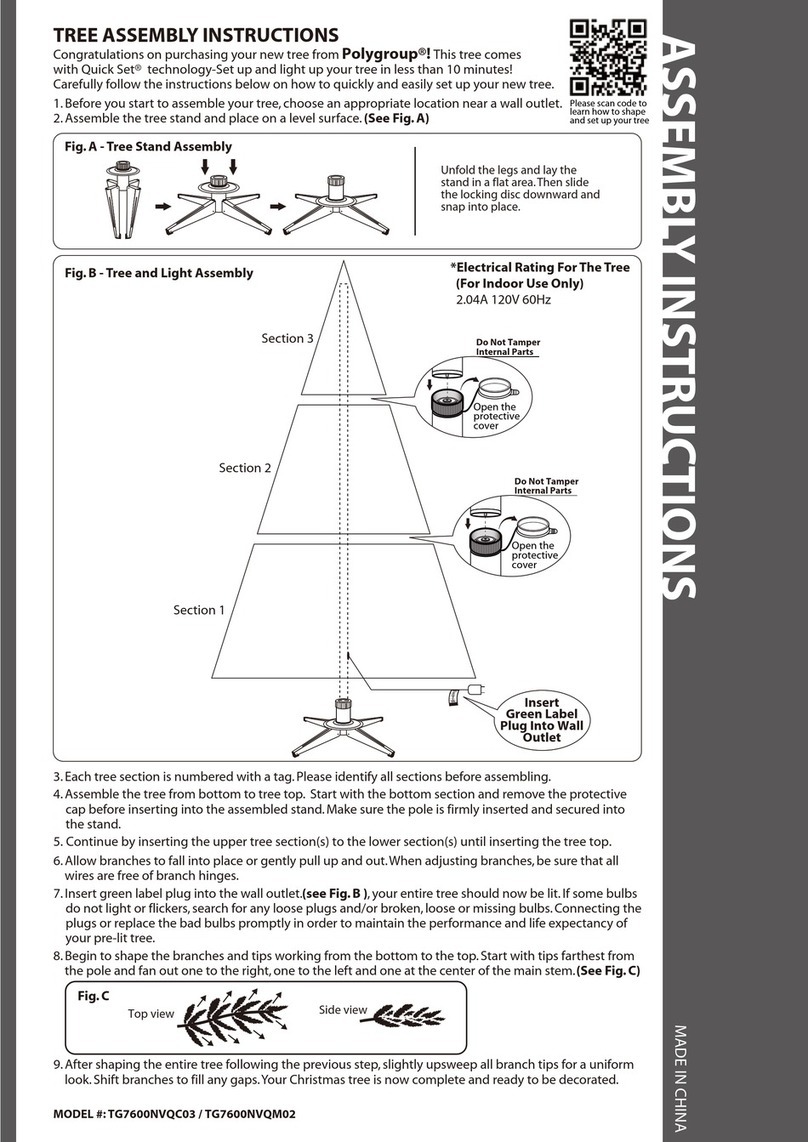
Assembly
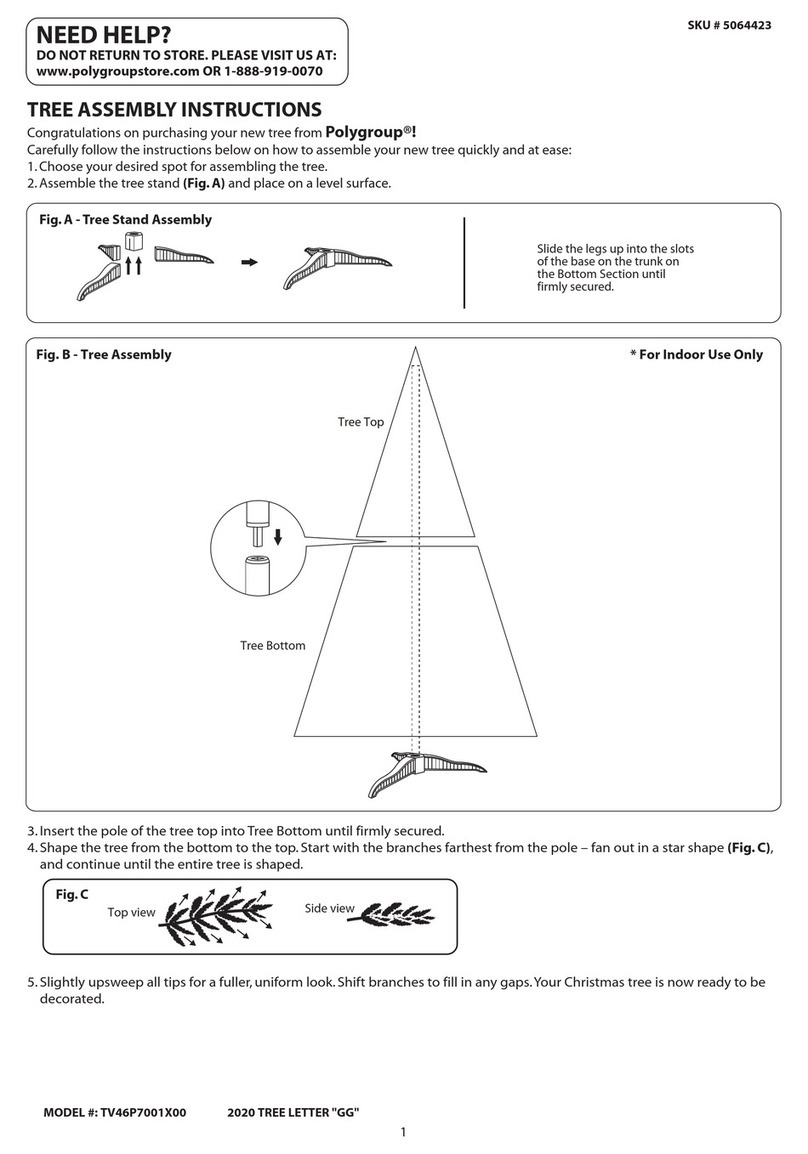
Each carton contains one top section, one bottom
section and tree stand le s.
1. Slide le s upward into slots at base of bottom
section (Fi ure 1) and tap li htly with a hammer
until secure. WARNING: Usin excessive force to
assemble base may cause breaka e.
2. Insert the top tree section into the reen plastic
openin of the lower tree assembly. This is the
“pole cap” which keeps tree top section securely in
place (Fi ure 2).
3. Workin your way up from the bottom, ently lower
all branches from their upri ht settin by raspin
the branch and pullin it downward (Fi ure 3).
Each branch must be shaped to a natural position
by spreadin out the left and ri ht tips away from
the center tip (See Shapin Instructions below).
Continue to lower branches on upper section(s) in
the same manner.
Fig. 1
Fig. 2
Fig. 3
Fig. 6
Fig. 5
Fig. 4
Storage
Remove all holiday decorations. Gently press tips
back into center branch. Raise all branches to
ori inal upri ht position takin care not to place
undue pressure on the attached ends of the
branches. When disassemblin tree, a twistin
motion will help to separate the sections from each
other. All tree parts can be replaced in carton and
should be stored in a cool, dry place.
• Do not use seasonal products
outdoors unless marked suitable for
indoor and outdoor use. When products
are used in outdoor applications,
connect the product to a Ground Fault
Circuit Interrupter (GFCI) outlet. If one
is not provided, contact a qualified
electrician for proper installation.
• This seasonal use product is not intended
for permanent installation or use.
• When decorating trees, se
miniat re light b lb strings or LED
light strings only. “C” size b lbs are
not recommended.
• Do not mount or place near as or
electric heaters, fireplaces, candles or
other similar sources of heat.
• Do not secure the wirin of the product
with staples or nails, or place on sharp
hooks or nails.
• Unplu the product when leavin the
house, when retirin for the ni ht, or if
left unattended.
•CAUTION: This is an electrical product
– not a toy! To avoid risk of fire, burns,
personal injury and electric shock, it
should not be played with or placed
where small children can reach it.
• Do not let lamps rest on the supply
cord or any wire.
• Do not use this product for other than
its intended use.
• Do not han ornaments or other
objects from cord, wire or li ht strin .
• Do not close doors or windows on the
product or extension cords as this may
dama e the wire insulation.
• Never operate this product if the power
cord or plu is dama ed.
• Use only manufacturer specified
replacement bulbs.
• Read and follow all instructions that
are on the product or provided with the
product.
USE AND CARE INSTRUCTIONS
• When storin the product, carefully
remove the product from wherever it is
placed, includin trees, branches, or
bushes, to avoid any undue strain or
stress on the product conductors,
connections, and wires.
• When not in use, store neatly in a
cool, dry location protected from
sunli ht.


