manuals.online logo
Brands
  1. Home
  2. •
  3. Brands
  4. •
  5. Tripp Lite
  6. •
  7. Server
  8. •
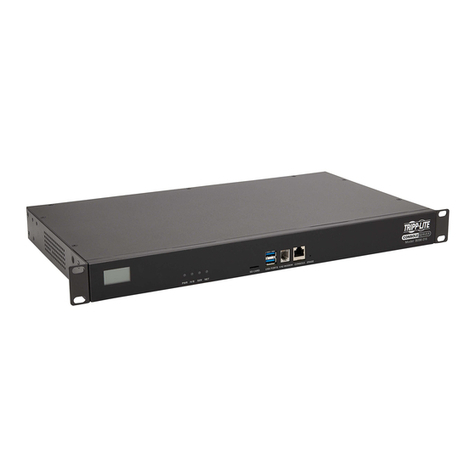
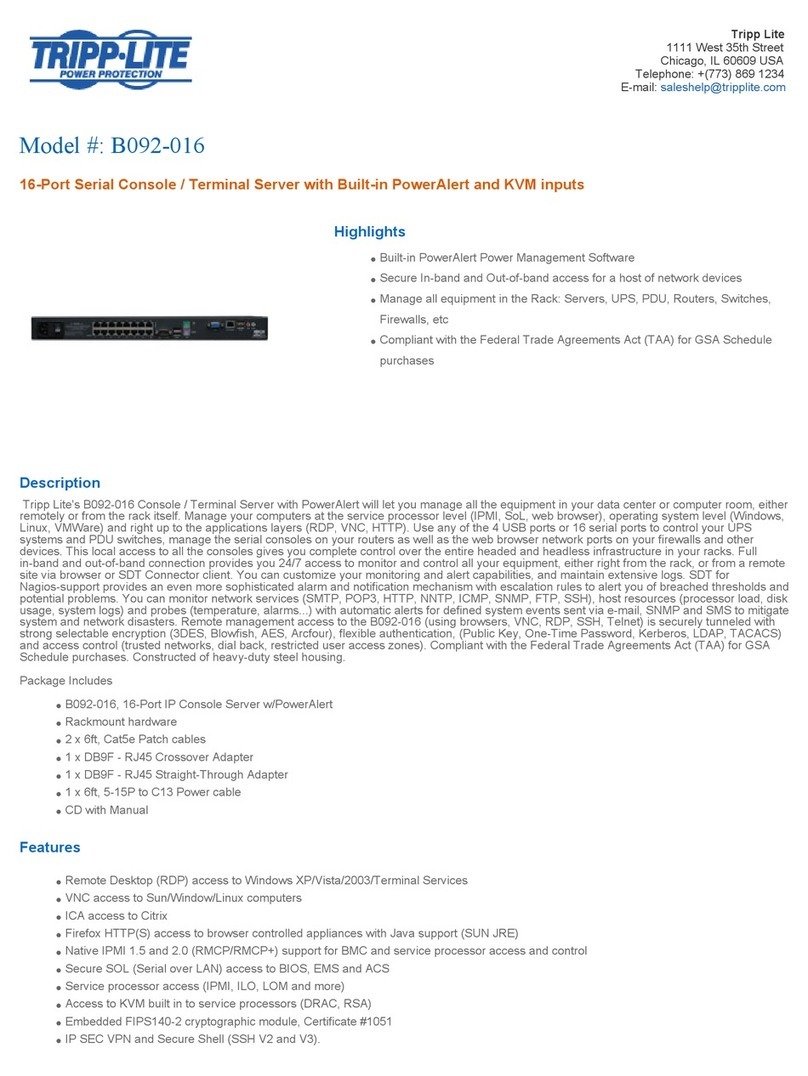
  9. Tripp Lite B092-016 User manual

Tripp Lite B092-016 User manual

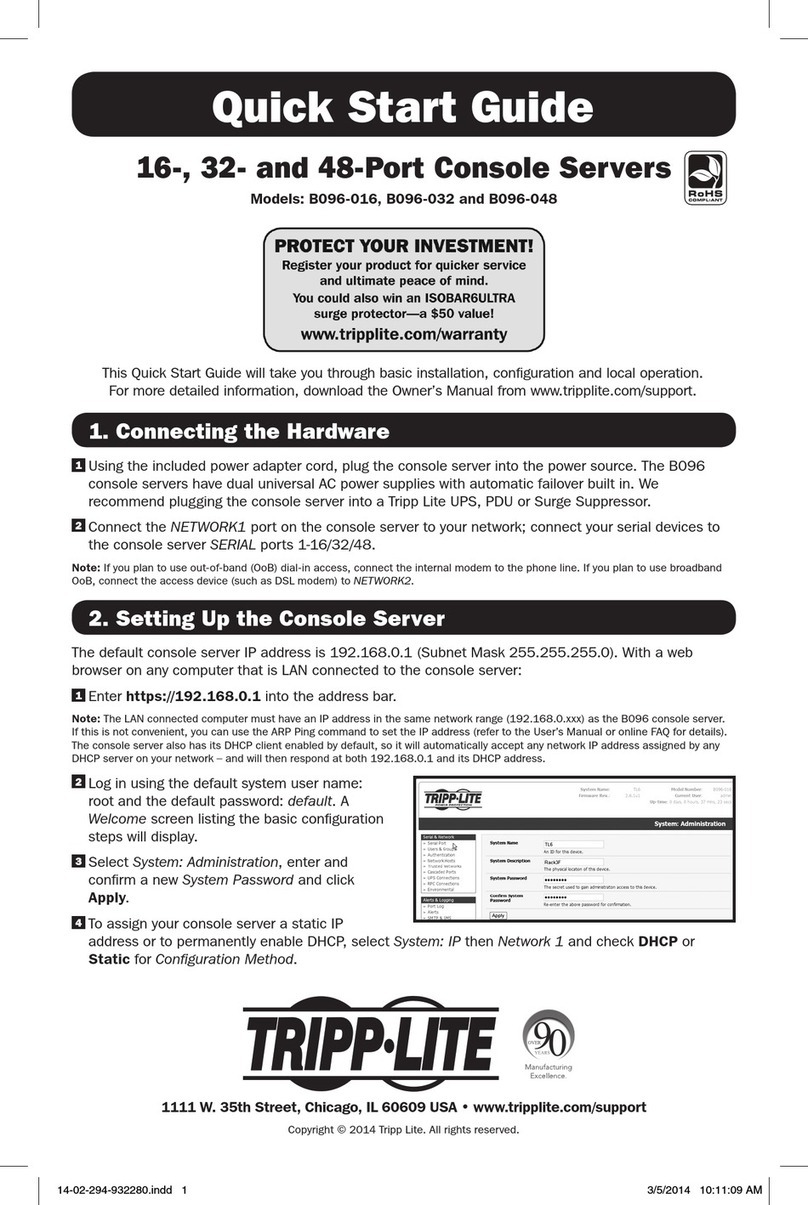
Quick Start Guide
16-Port Console Server
with Power Alert
Model: B092-016
This Quick Start Guide will take you through basic installation, configuration
and local operation of the B092-016. For more detailed information, refer to
the User’s Manual on the CD-ROM.
Warranty
Registration:
register online today for a
chance to win a FREE Tripp Lite
product—www.tripplite.com/warranty
1. Connecting the Hardware
2. Setting Up the Console Server
Using the included power adapter cord, plug
the console server into the power source. We
recommend plugging the console server into a
Tripp Lite UPS, PDU or Surge Suppressor.
Connect any Serial and USB devices.
Connect the Network port to your management
network.
Connect the Keyboard, Monitor and Mouse
to the console server.
Note: If you plan to use out-of-band (OoB) dial-in access, connect
the console’s serial port to an external modem.
Power up the B092-016 Console Server.
Using the connected monitor and keyboard, login
with the default system user name: root and the
default system password: default.
Click Configure to launch the Management
Console and login using the default user name
and password: (root, default).
From the Management Console, select System:
Administration, confirm a new System Password
and click Apply.
From the Management Console, select System:IP.
• ToassigntheB092-016astaticIPaddress,
check Static and enter the IP address and
Subnet Mask for your management LAN.
(Leave the Gateway and DNS fields blank.)
• TouseaDHCPservertoassignnetwork
settings to the B092-016, check DHCP.
1
1
2
2
3
3
4
4
5
201102196 93-2878
Tripp Lite World Headquarters
1111W.35thStreet•Chicago,IL60609USA
www.tripplite.com/support
Tripp Lite World Headquarters
1111W.35thStreet•Chicago,IL60609USA
www.tripplite.com/support
Copyright © 2011 Tripp Lite. All rights reserved.
6. Advanced Configurations
The B092-016 console server offers many more advanced access and monitoring functions which are
introduced below:
• TheAlerts & Logging: Alerts facility can be configured to monitor serial ports, hosts, user logins, UPS
and RPCs. Trigger events (such as data patterns or temperature and battery levels) can be specified
and in the event of such a trigger, a warning email, SMS, Nagios or SNMP alert is sent to a selected
destination.
• YourB092-016canalsomanageTrippLiteandthirdpartyUninterruptiblePowerSupplies(UPS’s)
and RPCs (PDUs and IPMI devices) using open source NUT and Powerman tools. The Manage:
Power facility enables both users and Administrators to monitor and switch attached power strips
and servers with embedded IPMI BMCs.
• Theconsoleservermaintainshistoricallogsofallcommunicationswithserialandnetworkattached
devices, all system activity, UPS and PDU power status, status of environmental monitors, etc. The
level of logging is set as ports and devices are configured and Alerts & Logging: Port Log allows this
history to be saved locally or remotely. From the Status menu, the logs can be viewed as tables and
many can be viewed graphically using the embedded RRDtool.
• Thereareahostofotheradvancedfeatureswhichyoumaywishtouse(suchasSerialCascading, 
Authentication, Trusted Networks, Dial-out Failover, Secure Tunneling, Distributed Nagios, Command
Line Control) – these are covered in detail in the User’s Manual on the CD-ROM.
SDT Connector
On the CD-ROM, you will find the SDT Connector software tool, which provides you with secure, point-
and-click access to the console server and all the attached devices. Refer to the SDT Connector Quick
Start Guide for setup details.
VirtualPort
On the CD-ROM, you will find VirtualPort software, which enables applications on your Windows PC (or
Windows server or virtual server) to control serial port devices attached to a remote console server.
• TouseVirtualPort,conguretheserialportinConsoleServerModeandspecifytheappropriate
protocol to be used (either RFC2117 or RAW)
• InstalltheVirtualPortclientonyourWindows®PC
• RefertotheVirtualPortQuickStartGuideforsetupdetails
2-Year Limited Warranty
TRIPP LITE warrants its products to be free from defects in materials and workmanship for a period of two (2) years from the date of initial
purchase. TRIPP LITE’s obligation under this warranty is limited to repairing or replacing (at its sole option) any such defective products. To obtain
service under this warranty, you must obtain a Returned Material Authorization (RMA) number from TRIPP LITE or an authorized TRIPP LITE
service center. Products must be returned to TRIPP LITE or an authorized TRIPP LITE service center with transportation charges prepaid and must
be accompanied by a brief description of the problem encountered and proof of date and place of purchase. This warranty does not apply to
equipment which has been damaged by accident, negligence or misapplication or has been altered or modified in any way.
EXCEPTASPROVIDEDHEREIN,TRIPPLITEMAKESNOWARRANTIES,EXPRESSORIMPLIED,INCLUDINGWARRANTIESOFMERCHANTABILITY
AND FITNESS FOR A PARTICULAR PURPOSE. Some states do not permit limitation or exclusion of implied warranties; therefore, the aforesaid
limitation(s) or exclusion(s) may not apply to the purchaser.
EXCEPT AS PROVIDED ABOVE, IN NO EVENT WILL TRIPP LITE BE LIABLE FOR DIRECT, INDIRECT, SPECIAL, INCIDENTAL OR CONSEQUENTIAL
DAMAGESARISINGOUTOFTHEUSEOFTHISPRODUCT,EVENIFADVISEDOFTHEPOSSIBILITYOFSUCHDAMAGE.Specically,TRIPPLITEisnot
liable for any costs, such as lost profits or revenue, loss of equipment, loss of use of equipment, loss of software, loss of data, costs of substitutes,
claims by third parties, or otherwise.
WARRANTY REGISTRATION
Visitwww.tripplite.com/warrantytodaytoregisterthewarrantyforyournewTrippLiteproduct.You’llbe
automatically entered into a drawing for a chance to win a FREE Tripp Lite product!*
* No purchase necessary. Void where prohibited. Some restrictions apply. See website for details.
Tripp Lite follows a policy of continuous improvement. Product specifications are subject to change
without notice.
201102196 93-2878.indd 1 3/1/2011 1:33:02 PM
3. Configuring PowerAlert 5. Remote Control
4. Configuring Thin Client Connections
To automatically launch PowerAlert on startup, go
to System-Services. Place a check in the PowerAlert
Console box. To connect to PowerAlert, click
Connect, then PowerAlert Console. PowerAlert
will detect any UPS’s connected to the B092-016’s
Serial and USB ports.
The PowerAlert Console launches when you login
to the B092-016 using a connected monitor and
keyboard (or remotely using VNC) allowing you to
monitor power conditions, control your UPS
system and enable automatic shutdown during
power failures.
PowerAlert allows connected UPS’s to appear as SNMP-manageable devices on your network, enabling
remote monitoring and control using another system running PowerAlert software or third-party
management software programs. (For more details, refer to the PowerAlert User’s Guide.)
There are two options to remotely manage network hosts and serial devices via the B092-016.
The first is to run the thin client management software on the B092-016, connecting directly to the
network host or serial device – then use VNC from a remote PC to remotely control the B092-016:
1. From the Management Console, select System: Services, check VNC Server and/or Secure VNC
Server.
2. Youmayalsowanttoenableotherservicesforremotelyaccessingandconguringtheconsole
 server(andconnecteddevices)–bydefault,HTTPSandSSHprovideaccesstotheB092-016and
 HTTPandTelnetaredisabled.
3. Click Apply.
4. On the remote PC, launch a web browser and login to the B092-016 Management Console (in the
address bar, enter https:// followed by the IP address of the B092-016, e.g. https://192.168.0.1).
5. Select Manage: KVM Console Server: ConnectandlaunchtheRemoteControlconnection.Your
browser will download and run a VNC client Java Applet.
6. YoumayalsouseaVNCclientofyourchoice(RealVNC,TightVNC,UltraVNC)ontheremotePCto
connect to the B092-016’s IP address.
The second option is to run the client management software on the remote PC, and securely tunnel
the connection to the network host or serial device through the B092-016.
This is particularly useful when you have proprietary applications on the remote PC (such as Dell Open
Manage or VMware VDI client) that you want to use to manage a DRAC service processor or VMware
virtual device on one of your servers:
1. Select Serial & Network: Network Hosts and click
Add Host.
2. Enter the IP address/DNS Name of the host.
3. Edit the Permitted Services used for accessing this
 host,(e.g.HTTPS[TCPport443],VNC[TCPport
 5990]),oraddcustomTCPorUDPportnumbers–
only the services specified here are tunneled
through to the host, all other services are blocked.
4. At this stage you may also specify the level of information to be logged and monitored for each
host access.
5. Click Apply.
6. Select Serial & Network: Users & Groups and click Add User.
7. Enter a username, enter and confirm a password and select the newly added host under Accessible
Host(s).
8. Click Apply.
Note:YouwillndtheSDTConnectorJavaapplicationontheCD-ROM.Thistoolissimpletocongureandwillprovideyouwithsecure,
point and click access to the console server and all the attached devices as described. (Refer to the provided SDT Connector Quick
Start for more details.)
9. Install the SDT Connector Java application on the remote PC. Click File: New Gateway.
10. Enter the B092-016’s IP address as the Gateway Address and the newly added username and
password as Gateway Username and Gateway Password. Click OK.
11. Click Retrieve Hosts to retrieve the user’s accessible hosts and permitted services from the
B092-016.
12. Under the B092-016’s Gateway, select at the host access the service to launch – a tunneled
connection through the B092-016 is established and the local management client software is launched.
The B092-016 can function as a thin client, running
local client software to connect to serial devices and
network hosts.
To add a connection to a network host:
1. From the Control Panel, select Connect:Add/
Delete/Edit.
2. Select the client protocol from the left hand
column and click Add.
3. Enter connection details network host (e.g. Hostname, Username) and a Label, then click Add.
Once all hosts have been added, click Save.
4. Once a host has been added you may tailor the command executed to
connect to it by selecting Connect: Add/Delete/Edit and clicking Edit.
YoucannowlaunchtheconnectionfromtheConnect menu.
The B092’s sixteen serial ports are pre-configured with RS232 settings
of 9600 baud, no parity, 8 data bits and 1 stop bit. If you wish to change
these settings:
1. Click Configure to load the Management Console, select Serial & Network: Serial Port and click Edit
for the relevant Port number.
2. Set the Common Settings (Baud Rate, Parity, Data Bits, Stop Bits and Flow Control) to match those
of the device being controlled.
3.YoucanalsoselecttheConsole Server settings (Telnet, SSH, TCP, Unauthenticated Telnet or
RFC2217 ) for the remote networks connection to this serial port – a Logging Level may also be set to
specify the level of information to be logged for this port.
4. Click Apply.
YoucannowaccesstheB092-016locallywiththe
connected monitor and keyboard and use the local thin
client software to manage all the computer, networking and
power devices in your rack.
201102196 93-2878.indd 2 3/1/2011 1:33:02 PM
Other manuals for B092-016

5

This manual suits for next models

2

Other Tripp Lite Server manuals

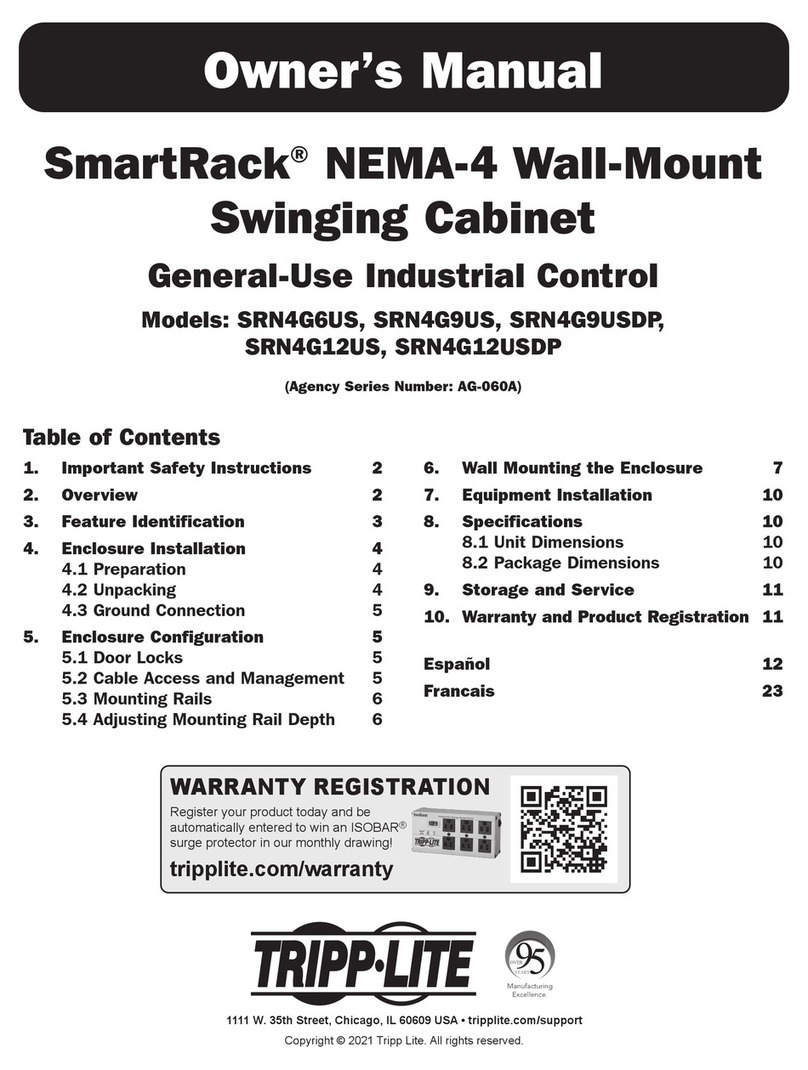
Tripp Lite SmartRack SRN4G6US User manual

Tripp Lite

Tripp Lite SmartRack SRN4G6US User manual

Tripp Lite B096-016 User manual

Tripp Lite

Tripp Lite B096-016 User manual

Tripp Lite AG-0608 Series User manual

Tripp Lite

Tripp Lite AG-0608 Series User manual

Tripp Lite U2S-2A User manual

Tripp Lite

Tripp Lite U2S-2A User manual

Tripp Lite B092-016 User manual

Tripp Lite

Tripp Lite B092-016 User manual

Tripp Lite B093-004-2E4U User manual

Tripp Lite

Tripp Lite B093-004-2E4U User manual

Tripp Lite U2S-2A User manual

Tripp Lite

Tripp Lite U2S-2A User manual

Tripp Lite B098-016 User manual

Tripp Lite

Tripp Lite B098-016 User manual

Tripp Lite USB Device Server US-4A User manual

Tripp Lite

Tripp Lite USB Device Server US-4A User manual

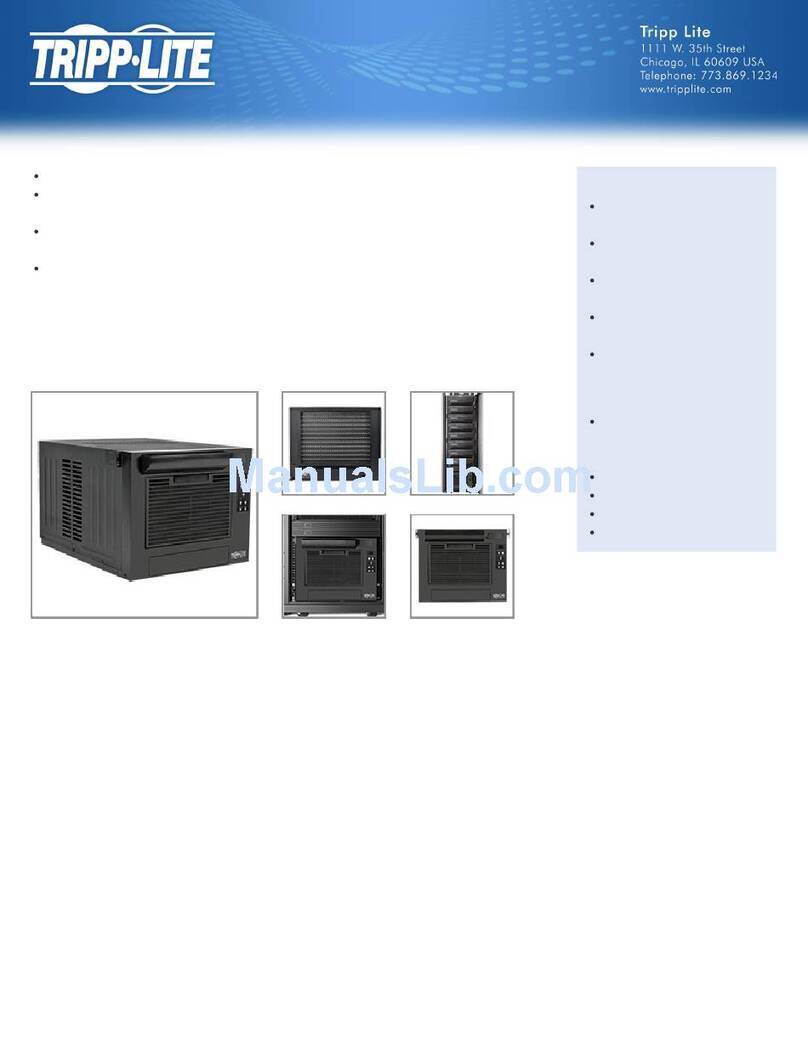
Tripp Lite SRCOOL7KRM User manual

Tripp Lite

Tripp Lite SRCOOL7KRM User manual

Tripp Lite B097-048 User manual

Tripp Lite

Tripp Lite B097-048 User manual

Popular Server manuals by other brands

Asus RS500A-E9 SERIES user guide

Asus

Asus RS500A-E9 SERIES user guide

Daktronics FLXR3 INSTALLATION PROCEDURE

Daktronics

Daktronics FLXR3 INSTALLATION PROCEDURE

AVECO ASTRA Server 1U Reference sheet

AVECO

AVECO ASTRA Server 1U Reference sheet

Lenovo ThinkServer RD430 Guida per l'utente

Lenovo

Lenovo ThinkServer RD430 Guida per l'utente

Time Machines TM1000A Installation and operation manual

Time Machines

Time Machines TM1000A Installation and operation manual

Lenovo ThinkSystem HR350A User guide and hardware maintenance manual

Lenovo

Lenovo ThinkSystem HR350A User guide and hardware maintenance manual

NComputing OfficeStation L110 Quick installation guide

NComputing

NComputing OfficeStation L110 Quick installation guide

HP ProLiant DL585 Integration notes

HP

HP ProLiant DL585 Integration notes

Bull NovaScale R460 E1 user guide

Bull

Bull NovaScale R460 E1 user guide

NEC Univerge SV8100 Features and specifications manual

NEC

NEC Univerge SV8100 Features and specifications manual

Meridian Sooloos Ensemble quick start guide

Meridian

Meridian Sooloos Ensemble quick start guide

NEC UNIVERGE NEAX 2000 IPS System manual

NEC

NEC UNIVERGE NEAX 2000 IPS System manual

Supero 2U Twin2 SuperServer 5026Ti-HTRF user manual

Supero

Supero 2U Twin2 SuperServer 5026Ti-HTRF user manual

Netscape NETSCAPE DIRECTORY SERVER 6.2 - GATEWAY... installation guide

Netscape

Netscape NETSCAPE DIRECTORY SERVER 6.2 - GATEWAY... installation guide

Dell PowerEdge C4130 Getting started

Dell

Dell PowerEdge C4130 Getting started

NEC Express5800/T120h user guide

NEC

NEC Express5800/T120h user guide

Avaya 1000 Series Installation and commissioning

Avaya

Avaya 1000 Series Installation and commissioning

Dell PowerEdge C4130 owner's manual

Dell

Dell PowerEdge C4130 owner's manual

manuals.online logo
manuals.online logoBrands
  • About & Mission
  • Contact us
  • Privacy Policy
  • Terms and Conditions

Copyright 2025 Manuals.Online. All Rights Reserved.