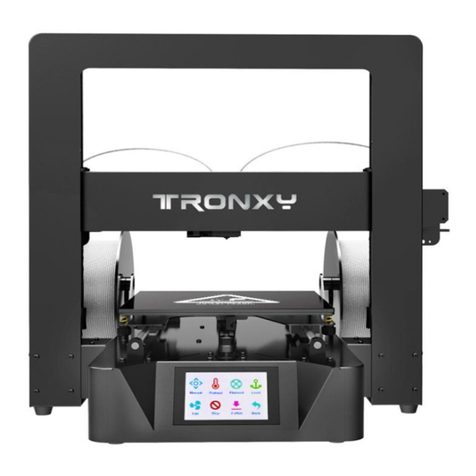
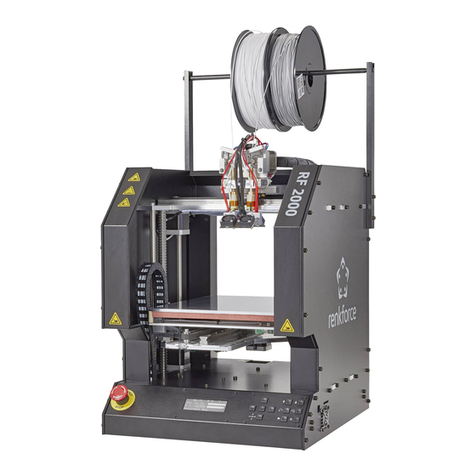
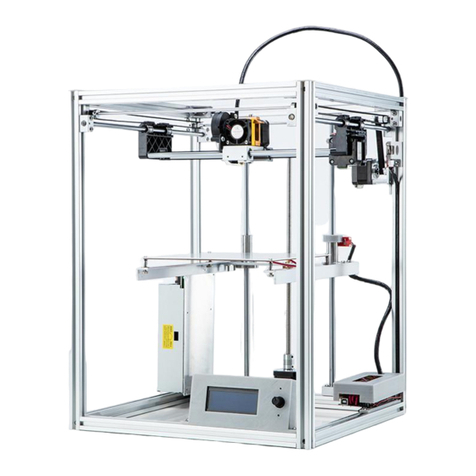
Tristarbot M1 User manual

find more information on www.tristarbot.com
1
M1 User Manual
WARNINGS /Safety Information ................................................................................................2
Your first print..........................................................................................................................3
Print via Graphic LCD controller.................................................................................................3
Layer height......................................................................................................................8
wall thickness....................................................................................................................8
Infill..................................................................................................................................9
Print Speed.......................................................................................................................9
Cooling .............................................................................................................................9
Support. ...........................................................................................................................9
Platform adhesion.............................................................................................................9
Print via USB cable..................................................................................................................11
Pause or stop printing.............................................................................................................14
Change Filament.....................................................................................................................14
Recommended setting for different filaments..........................................................................15

find more information on www.tristarbot.com
2
WARNINGS /Safety Information
Hazards and Warnings
This M1 3D printer has motorized and heated parts. Always
be aware of possible hazards when the printer is operational.
Electric Shock Hazard
Never open the electronics case when the printer is powered on. Before
removing the electronics case cover, always power down the printer and
completely turn off and unplug the printer. Allow the printer to discharge
for at least one minute.
Burn Hazard
Never touch the hot end nozzle or heater block without first turning off the
hot end and allowing it to completely cool down. The hot end can take up
to 20 minutes to completely cool. Never touch recently extruded plastic.
The plastic can stick to your skin and cause burns. The print surface can
reach high temperatures that are capable of causing burns.
Fire Hazard
Never place flammable materials or liquids on or near the printer when it
is powered on or operational. Liquid acetone, alcohol, or other chemicals
may release vapors that are extremely flammable.
Pinch Hazard
When the printer is operational take care to never put your fingers near

find more information on www.tristarbot.com
3
any moving parts including belts, pulleys, or gears. Tie back long hair or
clothing that can get caught in the moving parts of the printer.
Age Warning
For users under the age of 18, adult supervision is recommended. Beware
of choking hazards around small children.
Your first print
Print via Graphic LCD controller
Before you make the first printing, you need a GCODE file
which could be read by the machine.There are files in the SD
memory coming along in the package, which are ready to print,
but if you want to make your own file, you need slicer software to
process your STL/OBJ files into GCODE files before printing. The
slicer we recommend is Cura, a free software which you can get
from
https://ultimaker.com/en/products/cura-software
The latest version is Cura 2.3.1,but Cura 2.1.2 is much more
stable for most computer.
Download the software and install it. When you run Cura at the
first time, you need to set up your printer as the picture

find more information on www.tristarbot.com
4
Choose other, and then prusa i3,then finish.
Load a STL files, which you can get from
http://thingiverse.com/ ,http://pinshape.com/ or some other 3d models web

find more information on www.tristarbot.com
5
sites, or you can make your own designs with CAD soft, and save as STL files.
After you load it, you can click on the model, and the buttons on the
right-top will be active, you can use them to scale, rotate, mirror the model, and
in the view mode button, you can view the model in Solid, X ray, and Layer
Mode.
On the right side of Cura, you can find the material choice, and simple/
advance setup, you can choose the simple one and have a try, or we make the
advance setup as following.
Click advance setup, and click on each feature to show the detail.

find more information on www.tristarbot.com
6
You can see the default setting, we need to change them for better printing.

find more information on www.tristarbot.com
7
Go to the drop down menu printer->manage printers, find setting on the
window.
Check the Machine->Nozzle Diameter, then you will find this feature on the
set up tab, you can try other options.

find more information on www.tristarbot.com
8
Make the nozzle diameter 0.4mm
The setting here is for PLA filament, if you print with other filament, you need
to set it up accordingly.
Layer height
The layer height mean how height the Z axis move for each layer, if this
number is small, the wall of the print will be very smooth, you even could not
recognize the layers, but small height means there are much more layers to go,
and that means much more time. So we 0.2mm is recommended, you can try
0.1mm for better printing, and 0.3mm for fast printing, please do not make it
more then 0.3mm, unless you get a nozzle bigger then 0.4mm.
wall thickness
The number is normally times of the nozzle diameter, minimum is one time of

find more information on www.tristarbot.com
9
the nozzle diameter, here 0.4mm, normally make it two or three times unless you
make a single wall printing.
Infill
If you want to print toys or other non-mechanical items,10% to 20% will be
fine. If you want to make some mechanical components, 30% or more is better.
Printing temperature for PLA, about 190 to 220 is fine, and bed temperature
is around 60 to 80.
Print Speed
This printer is pretty stable, you can try 90mm/s, 80mm/s for PLA, or 70mm/s
and 60mm/s for better result, but if you print with high temperature filament,
such as ABS, PC, Nylon ect, you need to slow down the speed, and for small print,
maybe even to the minimum speed, 25mm/s.
Cooling
Always check the Enable Cooling Fans for PLA but never check it for high
temperature filament.
Support.
Check the enable support when there is possibility to collapse, otherwise do
not enable it.
Platform adhesion
This feature is used to avoid warping .If you print with PLA, Skirt will be fine,

find more information on www.tristarbot.com
10
or you can use raft so you get a perfect leveling printing surface. Brim, it’s pretty
difficult to clear if you print a complicated item.
If you print with ABS, PC, Nylon, raft is preferred, but you may also need other
ways to avoid the warping. Glue, acetone , kapton tape, PEI surface, find more
information about how to avoid warping of different filaments.
Others just as default
When you finish the setting, the slicing should be finished, you then just plug
the SD memory to you computer and click Save to Removable Drive. And now
your file is ready.
Plug the SD memory into the SD slot on the right side of the LCD controller.

find more information on www.tristarbot.com
11
The files list should appear automatically when you plug the SD memory, now
choose the file and click the knob, and the machine will be heating up, when the
temperature reach, it will start to print. If the files list do not appear, put out the
SD card and plug it in again, or go to menu->Print file, or Menu->SD
card->Print file to find out your files list.
You can always turn off the machine if any unexpected issues appear.
Print via USB cable
First connect the machine with your computer via the USB cable coming
along. Then you need to install some software on your computer, we
recommend this free software repetier host, you can download it here
https://www.repetier.com/download-now/

find more information on www.tristarbot.com
12
Just go down to the bottom and click Download without donation
Or you can use the Simplify3D,which you can buy from
https://www.simplify3d.com/buy-now/
Now install the repetier host and run it.
You need to set up the printer
Go to the drop down menu config->printer setting
Connector as default serial connection

find more information on www.tristarbot.com
13
Port is normally COM something, please try it.
The Baud Rate for this printer is 115200
Keep others as default.
Now you can click the red Connect button with a white plug on the top-right
corner of the repetier host, and the button should be green, if not, choose other
Port on the last step, and try it again, till it turn green, and the printer is
connected with your computer.
About other setting of repetier host, please refer to
https://www.repetier.com/#documantation

find more information on www.tristarbot.com
14
Load Model file and slice it, repetier host use cura slicer too, so you can refer
to the cura slicing setting for detail.
When slicing is finished, click Start Print, the commands will then send to your
printer, temperatures will rise up, and then start to print.
Pause or stop printing
If you use graphic LCD controller to make the printing, go to menu->SD
card->Pause print/stop print to pause or stop the printing.
If you use repetier host or other software, there are buttons on it so you can
pause or stop print.
Change Filament
Heat up the nozzle first before you change filament. Go menu->Quick
setting->Preheat PLA/Preheat ABS or Menu->Extruder->Temp.1 and rotate
the knob to raise the temperature of the nozzle. When the temperature reach the
target, then go to menu->Quick setting->Change Filament. The filament then
will be pushed out, and you can load another filament.
IMPORTANT NOTICE: Please Change filament before you finish the last inch.
The extruder CAN NOT finish all the filament, so if it keep on extruding, the last
small piece will block the nozzle throat, and it’s pretty difficult to clean.

find more information on www.tristarbot.com
15
Recommended setting for different filaments
Filament type
Nozzle
Temp(°C )
Bed Temp
(°C )
Print Speed (maximum
in mm/s)
Cooling fan
PLA
190-220
70
80
Fan needed
ABS
245-250
100-110
50
Never
TPE (flexible filament)
245-250
80-100
30
Never
TPU(flexible filament)
200-220
70-80
30
Nylon
230-270
110-120
50
Never
HIPS
240-250
110
50
Never
NinjaFlex
210-225
20-50
30
PETG
230-250
60
50
Never
Polycarbonate(PC)
250-270
120-130
50
Soft PLA
210-220
60-100
10-20
If find nozzle jam or extruder motor knocking, please raise the nozzle temperature about 5 to
10 degree and try again. If you use glass on the bed, you may need to raise the bed temperature
about 5 degree then the recommended one. The faster you print, the higher temperature for the
nozzle. You can try faster speeds then the recommended ones above, and find whether you can
accept the quality.
For flexible filament, when you slice the file on slicer software, increase the retraction
distance.
Table of contents
