Printrbot Simple Manual

WINDOWS 7/8 instruction guide for your Printrbot printer and computer software
Software
To start printing with your Printrbot Simple 3d printer, you need to download 3 pieces of
software and two digital models (STL files).
1. The teensy Serial Driver. This connects the printer to your computer and can be
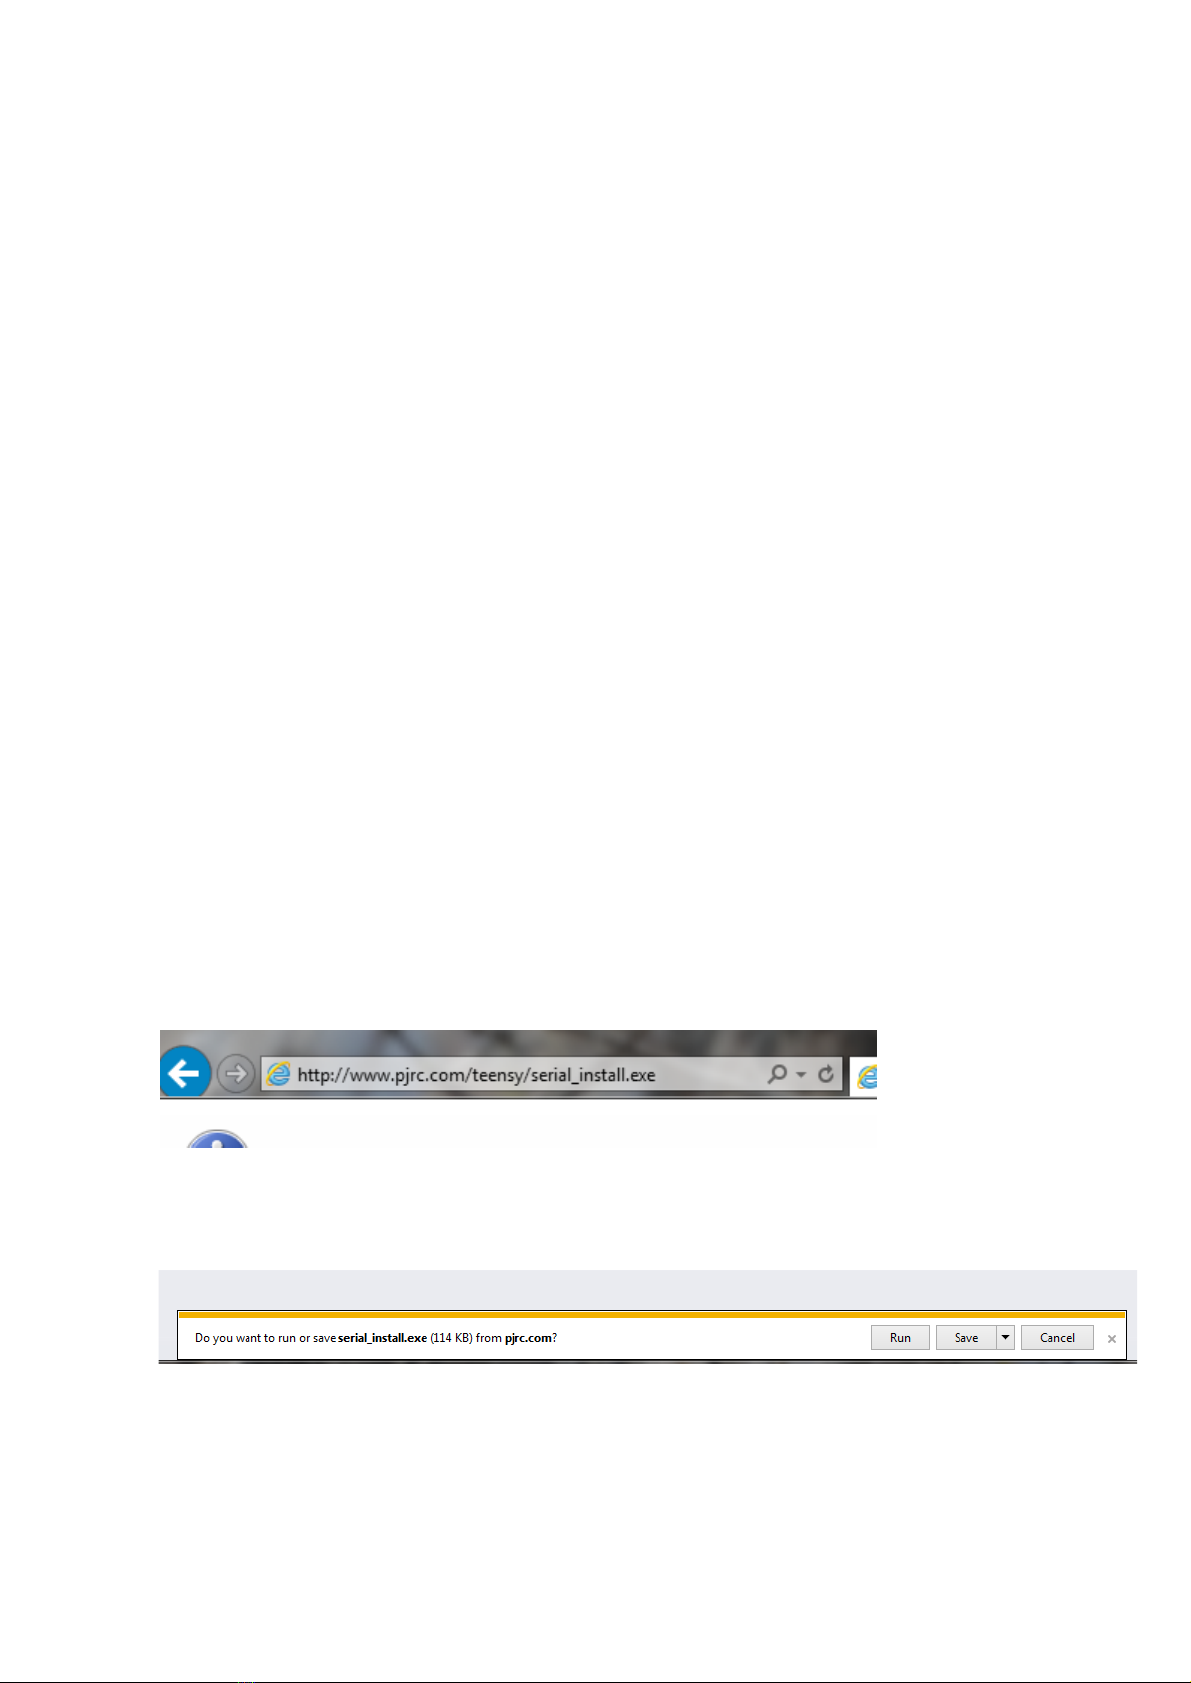
downloaded using your web browser from
http://www.pjrc.com/teensy/serial_install.exe
2. Repetier Host v1.04. This controls your printer and slices your 3D model in
preparation for printing. The URL is http://www.reptier.com/download-now.
You may make a donation to the open source project if you wish.
3. A 3D CAD program to allow you to create your models. There are many possibilities
including some free versions. Two such free versions are Sketchup Make –
downloaded from http://www.sketchup.com or TinkerCad that is a web based
program located at www.tinkercad.com
4. From http://www.printerbot.com/simple download the firstcube.stl and
fanshroud.stl files to your computer. These will be your first and second prints
respectively.
Note that at the time of writing (Sept 2014, the printerbot.com site does have very
presentable software set up guides for the above programs. However they refer to
old obsolete versions of repetier.com that have a slightly different user interface so
do not use them unless they now refer to versions 1.04 or above.
Before you start
Please unbox your Printrbot and power it up. Verify that the green light on the circuit board
underneath the unit is on. DO NOT PLUG IN THE USB CABLE YET.
Installing the Serial Driver
The serial driver must be installed as an administrator.
Download the serial driver file ….
There may be a small delay depending on the speed of your internet connection or
computer. You will see the following dialog box ….
Follow the on screen instructions after selecting Run …. This software will create a virtual
serial port for your printer.
Page 1 of 23

WINDOWS 7/8 instruction guide for your Printrbot printer and computer software
You will see the following dialogue boxes ….
Click on Install in the dialog box …
Click on Install
Click on Done
Page 2 of 23

WINDOWS 7/8 instruction guide for your Printrbot printer and computer software
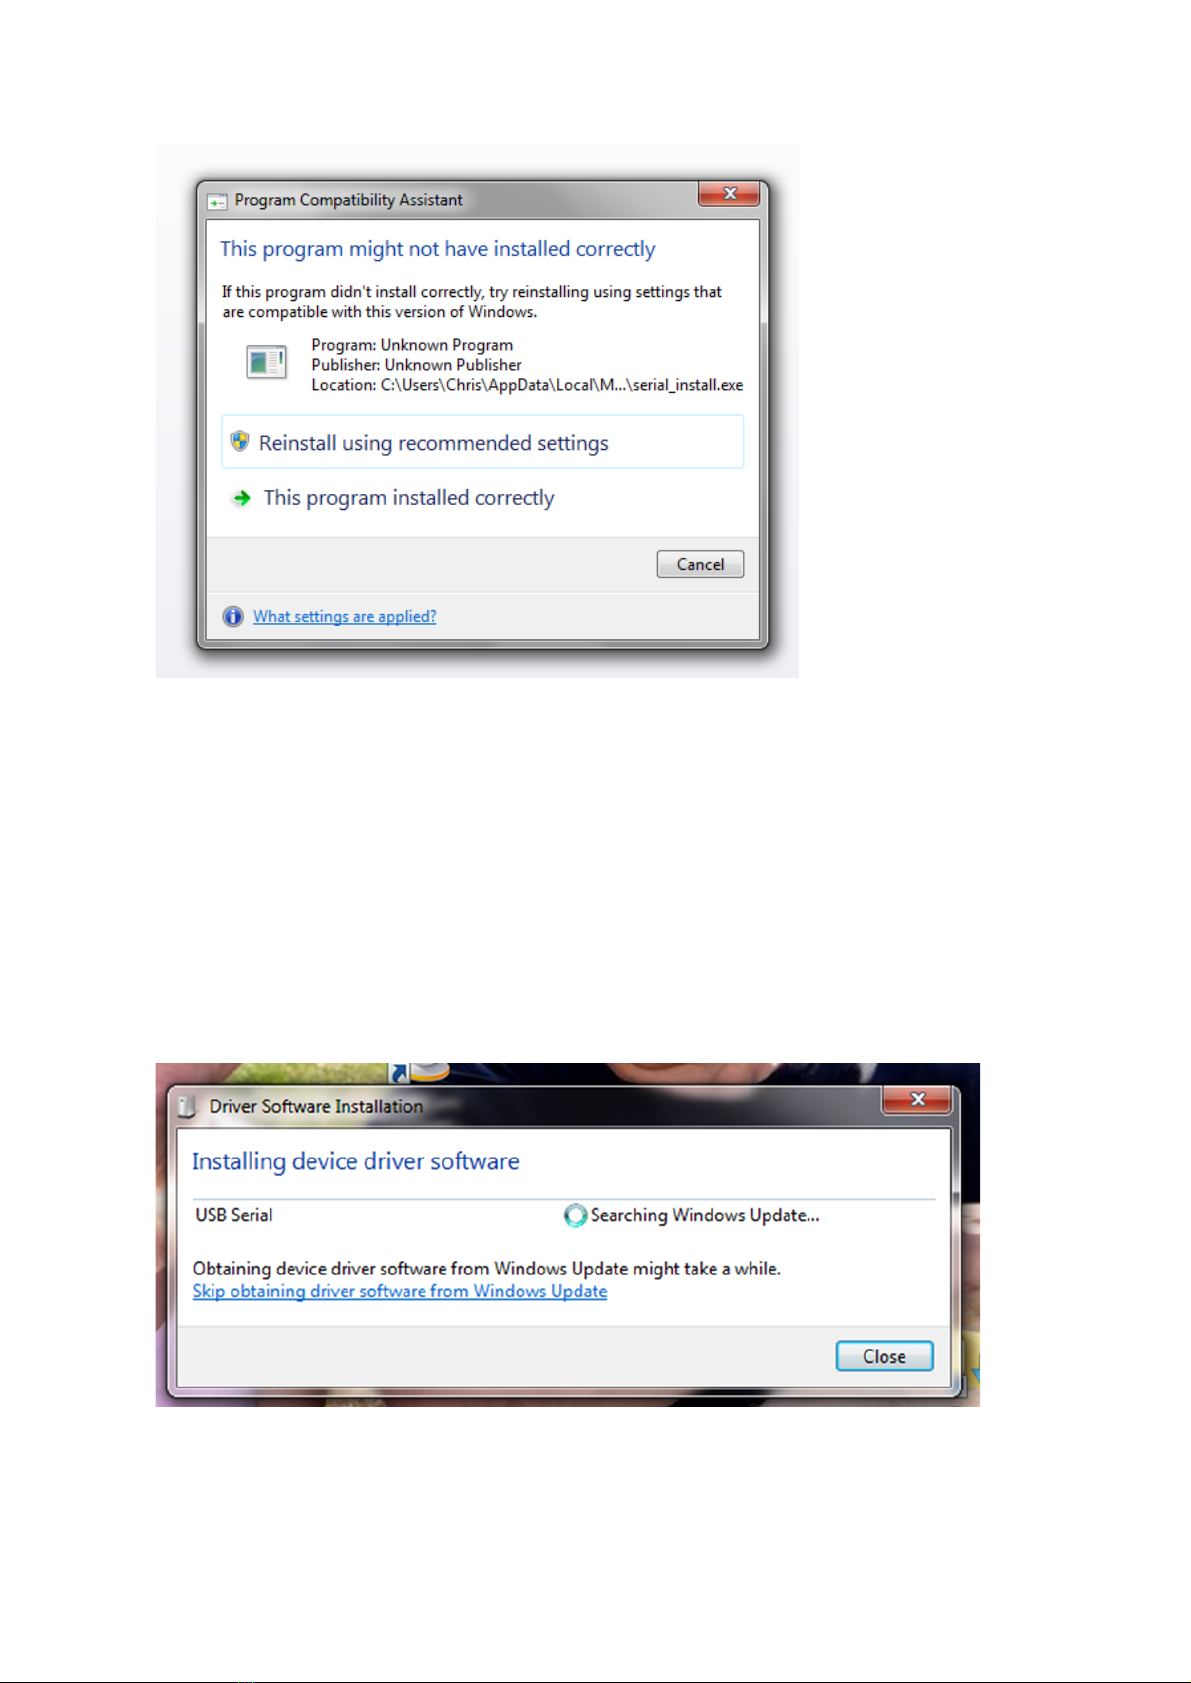
This dialogue may be
displayed
Select Cancel if
displayed.
Ensure that the power is connected to the printer.
If you are using and ATX power supply and don’t know how to connect it to the printer please see
appendix B.
Plug the USB cable into your printer and then a USB port on your computer. The USB cable will
only fit in one way into the Printrbot so do not try to force it into the socket of it does not fit.
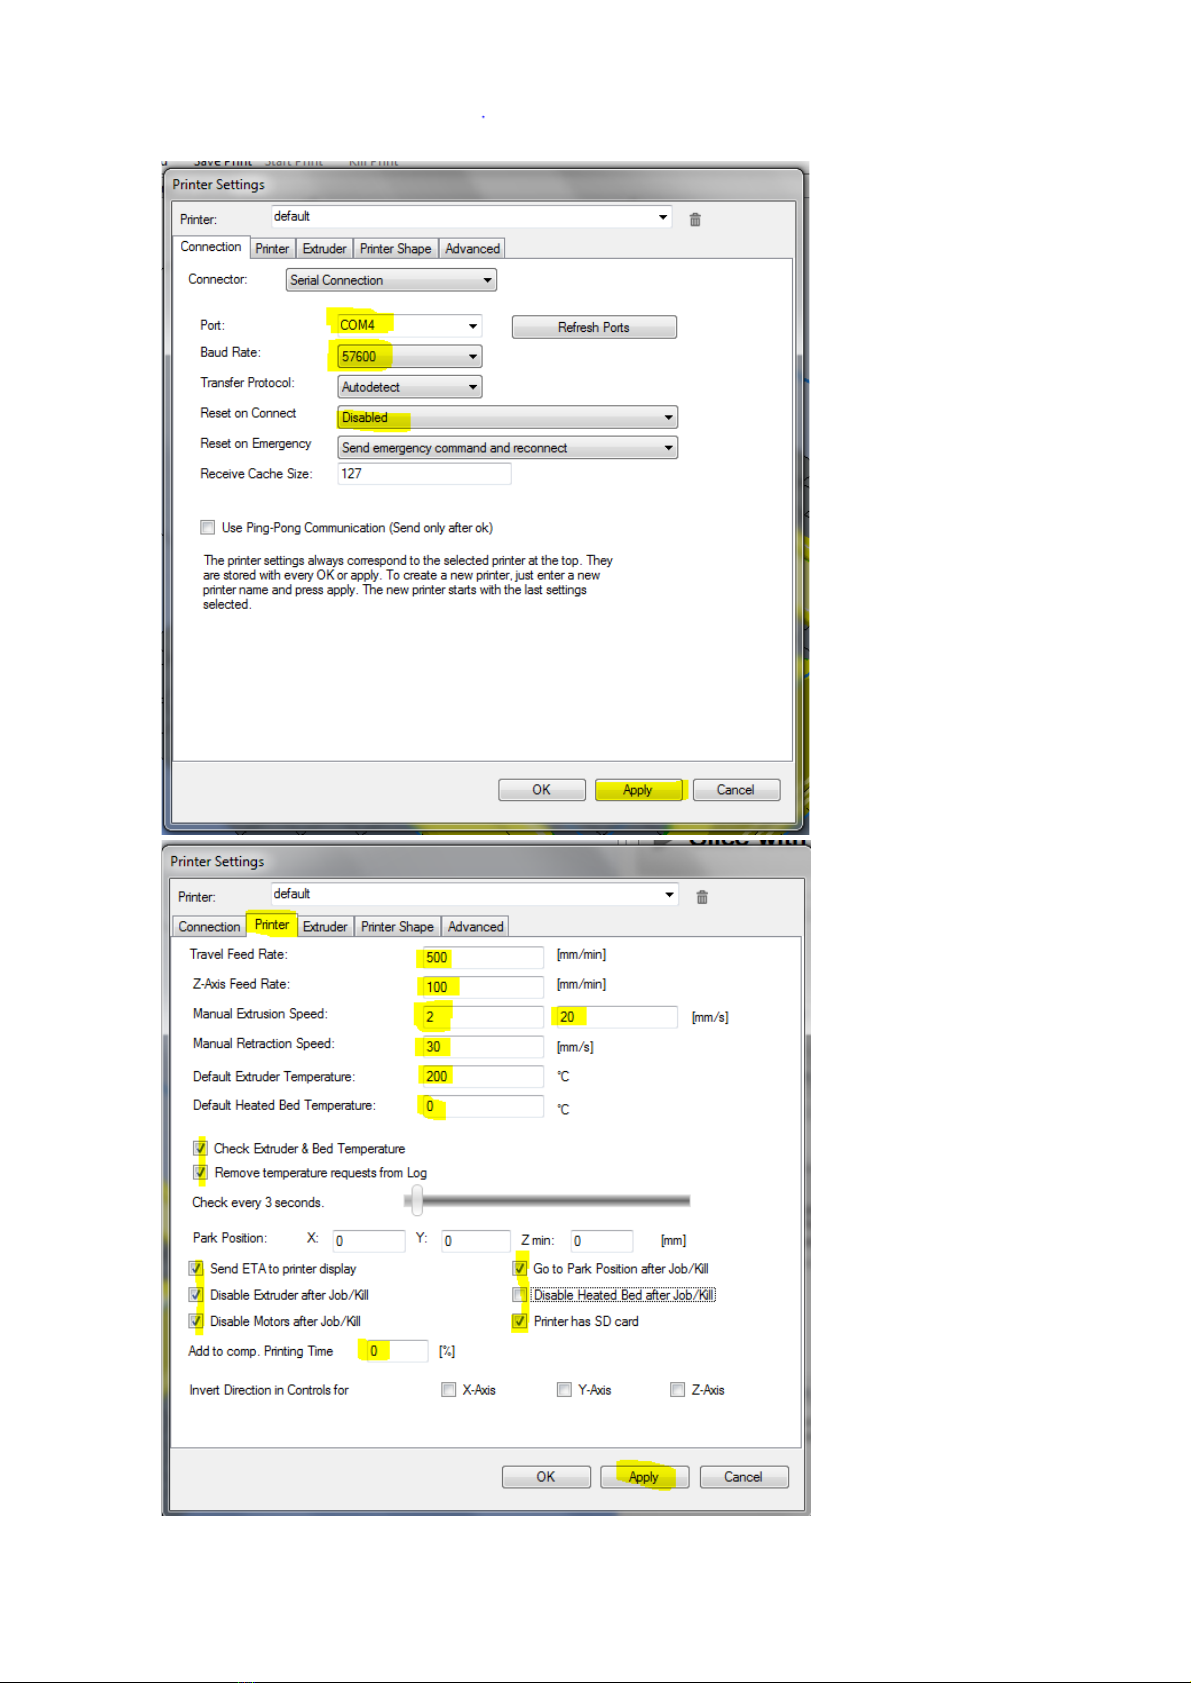
When the USB cable is connected, the driver will be installed and configured as a COM port. The
number of the port (E.g. COM 3, COM 4 etc) will depend on your computer configuration.
The following dialogue boxes will be displayed – follow any onscreen instructions …
Page 3 of 23

WINDOWS 7/8 instruction guide for your Printrbot printer and computer software
Click on Yes
Click on Close
There may be a delay during the installation due to the speed of your internet connection or your
computer. When the driver is finished installation, you will see the dialogue box ….
If the installation was not successful, it is most likely that you do not have permissions on your
laptop to install. Please contact your IT support service provider. Also see Appendix B for some
troubleshooting steps to check the status of the driver installation if required.
Page 4 of 23

WINDOWS 7/8 instruction guide for your Printrbot printer and computer software
Accept the licence agreement
and select next
If required change the
destination folder and click on
Next
At the time of writing, do not
select the Skeinforge Slicer as an
error message will be created
Click on Next
Page 6 of 23

WINDOWS 7/8 instruction guide for your Printrbot printer and computer software
Click on Next
Click on Next
Click on Install.
The computer will now
install the program.
Page 7 of 23

WINDOWS 7/8 instruction guide for your Printrbot printer and computer software
When the
installation is
complete,
click on
Finish
Once installed, run Repetier ….
For the first starting of Repetier, you will see that a tablet stand is loaded. Please delete the stand
from the build platform by clicking the trash can icon on the right side of the screen below the text
line “Object Group 1”. Select the printer Settings tab in the top right hand side of the screen
Page 8 of 23

WINDOWS 7/8 instruction guide for your Printrbot printer and computer software
Select the Connection
tab in the Printer
Settings Dialogue box.
Set the Port to the
com port number of
your recently installed
Printrbot serial port.
Set your Baud Rate to
57600
Set Reset on Connect
to Disabled
YOU MUST CLICK ON
APPLY otherwise your
settings will NOT be
saved.
Select the Printer tab
of the Printer Settings
dialogue box and set
the settings as per the
values on highlighted
in yellow.
Click on Apply
Page 9 of 23

WINDOWS 7/8 instruction guide for your Printrbot printer and computer software
Page 10 of 23

WINDOWS 7/8 instruction guide for your Printrbot printer and computer software
You may now click on the read “Power button” icon marked Connect in the top left side of the
screen. If successful, the connect button will change from red to green
Also if you select the Manual Control tab on the right side of the screen, you will see the words
“Idle”
If you see a constant message “command waiting”, your com port settings are incorrect or there
was a problem with the previous steps.
The next steps are to confirm the mechanical
movement of the printer. However FIRST
CONFIRM THAT THE NOZZLE IS NOT touching
the bed.
You can manually raise the nozzle by turning
on the lead screw.
If you have not already done so, now would
be a good time to cover your bed evenly
with the blue painters tape - a small overlap
of each tape run is acceptable.
Page 11 of 23

WINDOWS 7/8 instruction guide for your Printrbot printer and computer software
Screen
Install the filament into the hot end through
the extrude.
Pinch the Estruder arm down and insert the
filament through the hole at the top and into
the extruder and eventually into the hot end.
If the Extruder temperature is at 200’C, extrude
some filament to confirm extrusion. You may
wipe off the excess (take care – thetip is hot!).
The Printerbot videos on the printrbot site
http://www.printrbot/simple are a good guide.
DO NOT ADJUST THE AUTO LEVEL PROBE
NUTS – these have been set at the factory.
Page 12 of 23

WINDOWS 7/8 instruction guide for your Printrbot printer and computer software
Setting of the Slicer - CuraEngine
Repetier is installed with two slicing engines – CuraEngine and Slic3r. CuraEngine is more suited to
a new user whereas Slic3r is aimed at the professional user. The author of this document uses
CuraEngine so this installation guide focuses on this version.
Select the Slicer tab on the main screen.
Select CuraEngine as the slicer choice and
select Configuration.
The CuraEngine settings window will open …. Select the Print tab in this window and then the
Speed and Quality tab. The settings shown below are a good starting point. With experience and
depending on the requirements of your 3D print model, you may change this later to suit. For
now, they are good for most “normal” models. It is good practice to save the settings as you
complete each tab. Some of the highlighted settings are already set as default but I have shown
them as reference
Page 13 of 23

WINDOWS 7/8 instruction guide for your Printrbot printer and computer software
Page 14 of 23

WINDOWS 7/8 instruction guide for your Printrbot printer and computer software
The G code settings are very
important as the Printrbot
ships with an Auto Levelling
feature and we need to
enable this in our G Code
tab.
Select the G Code tab and
then Start G Code
Delete the current code and
replace it with the
highlighted text shown here
Select the End G code option
and similarly replace the text
with the highlighted text
here.
The Advanced tab settings are as shown
PLEASE CLICK ON SAVE
Page 15 of 23

WINDOWS 7/8 instruction guide for your Printrbot printer and computer software
Select the Filament tab …
It is important that the extruder knows the
diameter of the filament being used to
calculate the amount passed through the
nozzle. The nominal value of your filament
is 1.75 mm but it is subject to tolerances.
It is a good idea if you can check the
diameter of your filament when you start
with a new batch and measure it over a
few points along a length. Calculate the
average of these measurements and enter
it in the Filament Diameter setting.
If you are not able to measure the
diameter accurately then set it to 1.75.
The Slicer is now set up so select Save and
then Close to return to the main screen
On the right side side of the screen you
should see something like this …
You are now ready to print …..
Page 16 of 23

WINDOWS 7/8 instruction guide for your Printrbot printer and computer software
Your first print
Lets print the firstcube.stl. If you have not already done so, download the firstcube model file from
the printrbot website and unzip the file to a location on your computer. Load the file into Repetier
You can use your mouse to rotate and zoom the viewer.
Select the Slicer tab and click on the button Slice with CuraEngine.
To change the amount of fill, you can use the slider options on the right hand side of the screen
but for now don’t adjust the feed rate.
Page 17 of 23

WINDOWS 7/8 instruction guide for your Printrbot printer and computer software
Select the Preview tab and you will be able to see the sliced model
You are now ready to print your model.
Ensure that the printer power supply is connected and switched on, the USB cable is connected
and that the Connect button is green. You can if desired, press the Toggle Log button to show the
G code operation as the print progresses at the bottom of the screen
Press the Start Print Button.
The printer will probe the bed, heat
the nozzle to 200’C (this will take some
time) and when the nozzle is at the correct temperature, it will start to print the cube.
I would suggest that maybe you do this a couple of times to get used to the process.
Alter the amount of infill, more infill will give you a stronger print but will take longer to print and
of course use more filament.
Your second print
The fan shroud will be your next print. As before, download, unzip and load the stl model into
Repetier. Repeat the previous process. We suggest a 50% fill.
Page 18 of 23

WINDOWS 7/8 instruction guide for your Printrbot printer and computer software
What next?
You can download models from:
Thinigiverse.com
Youimagine.com
Grabcad.com
Or you can install Sketchup or TinkerCad and design your own. In Sketchup
you can install the stl export plugin from the extension warehouse
A suggested practical and relevant project is to make a spool holder for your
reel of filament. There is a raft of already designed models on Thingiverse
ranging from standalone to “compact mount on your printer” versions.
Page 19 of 23

WINDOWS 7/8 instruction guide for your Printrbot printer and computer software
Appendix A – Troubleshooting check if the teensy serial driver does not
install correctly.
If the serial driver does not install correctly then the first check to do is to
look at the device manager settings to check the driver settings.
Select the Control Panel from the computer start menu after pressing the
Start button
Select the Hardware and Sound icon
Select the Device Manager button
Page 20 of 23
Other manuals for Simple
2
Table of contents
Other Printrbot 3D Printer manuals