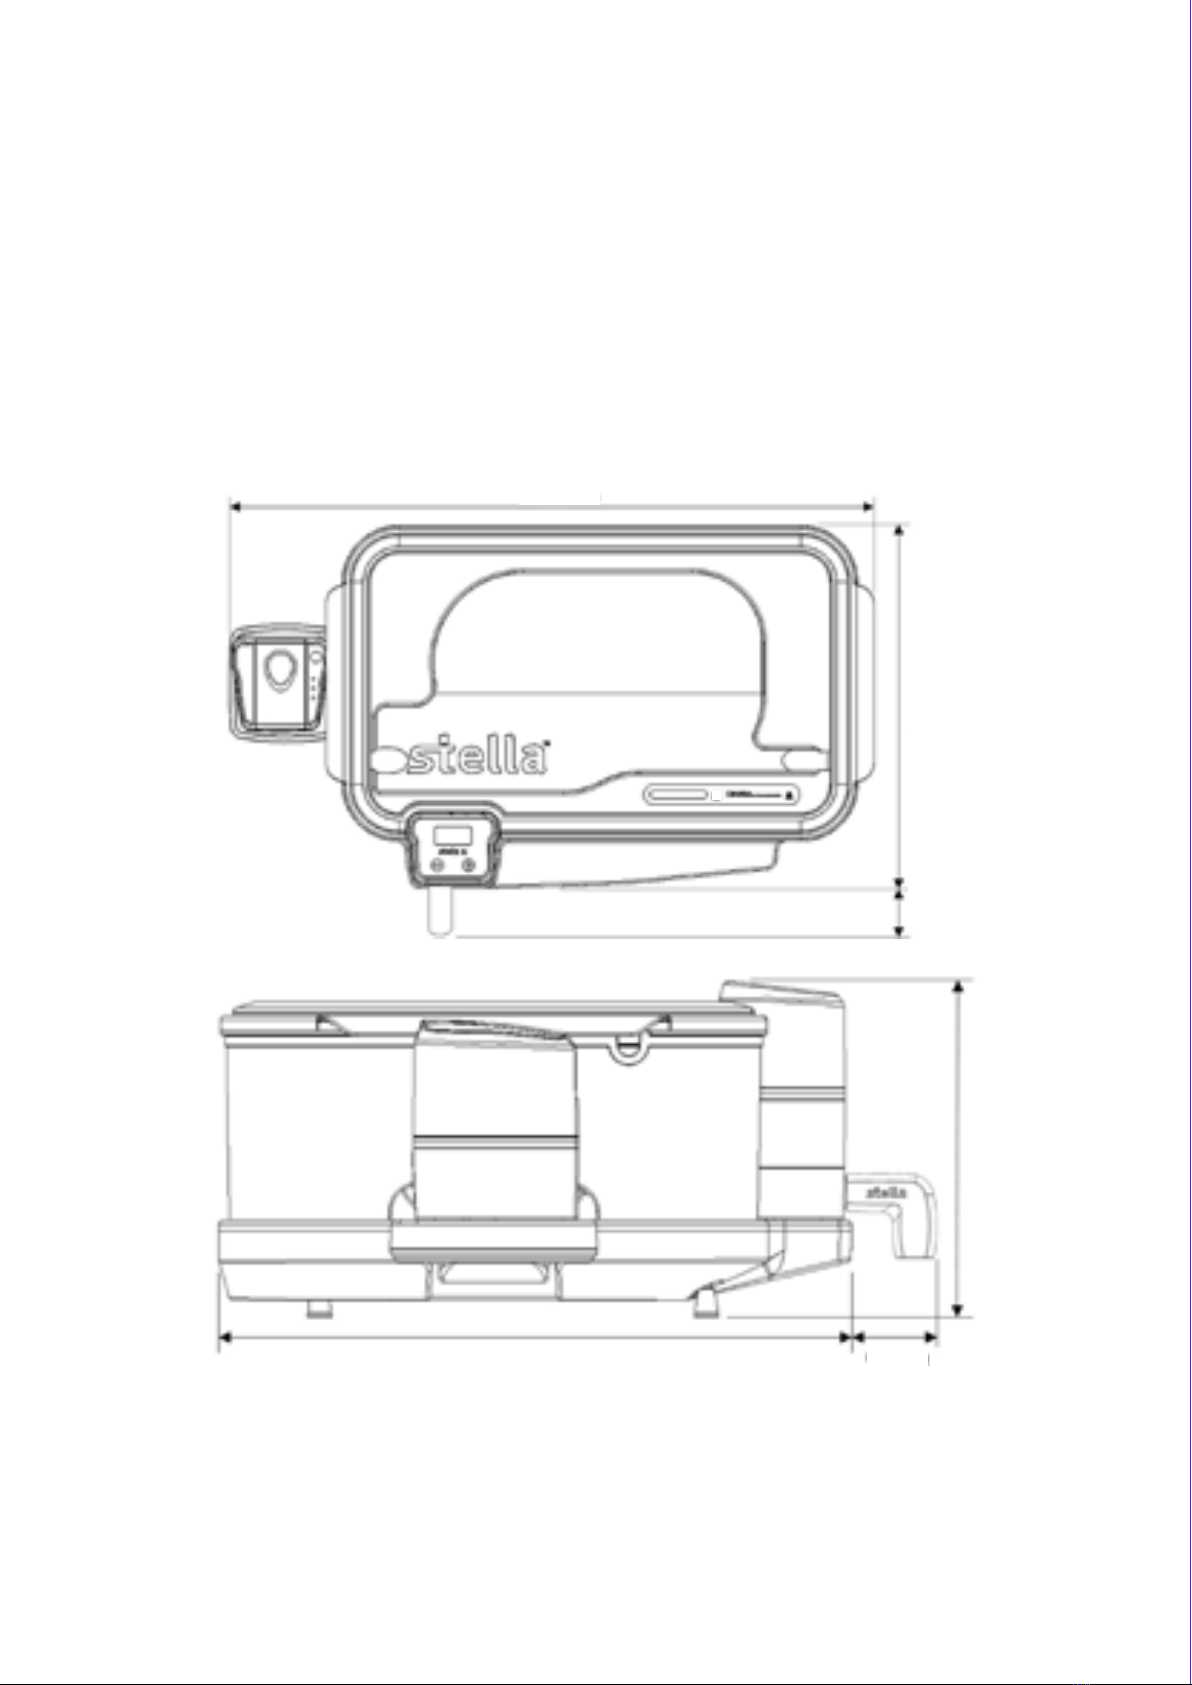
14
STELLA SYSTEM B
•Ensure the medical device has been cleaned according to the hospital standard procedures before per-
forming high-level disinfection with Stella System B. Tristel Clean for Stella is recommended. Please refer
to the medical device manufacturer’s care card or material compatibility approval list.
• Disinfect hands and wear appropriate Personal Protective Equipment (PPE) when handling disinfectants
and medical devices.
• Do not attempt to move Stella whilst it is lled with solution.
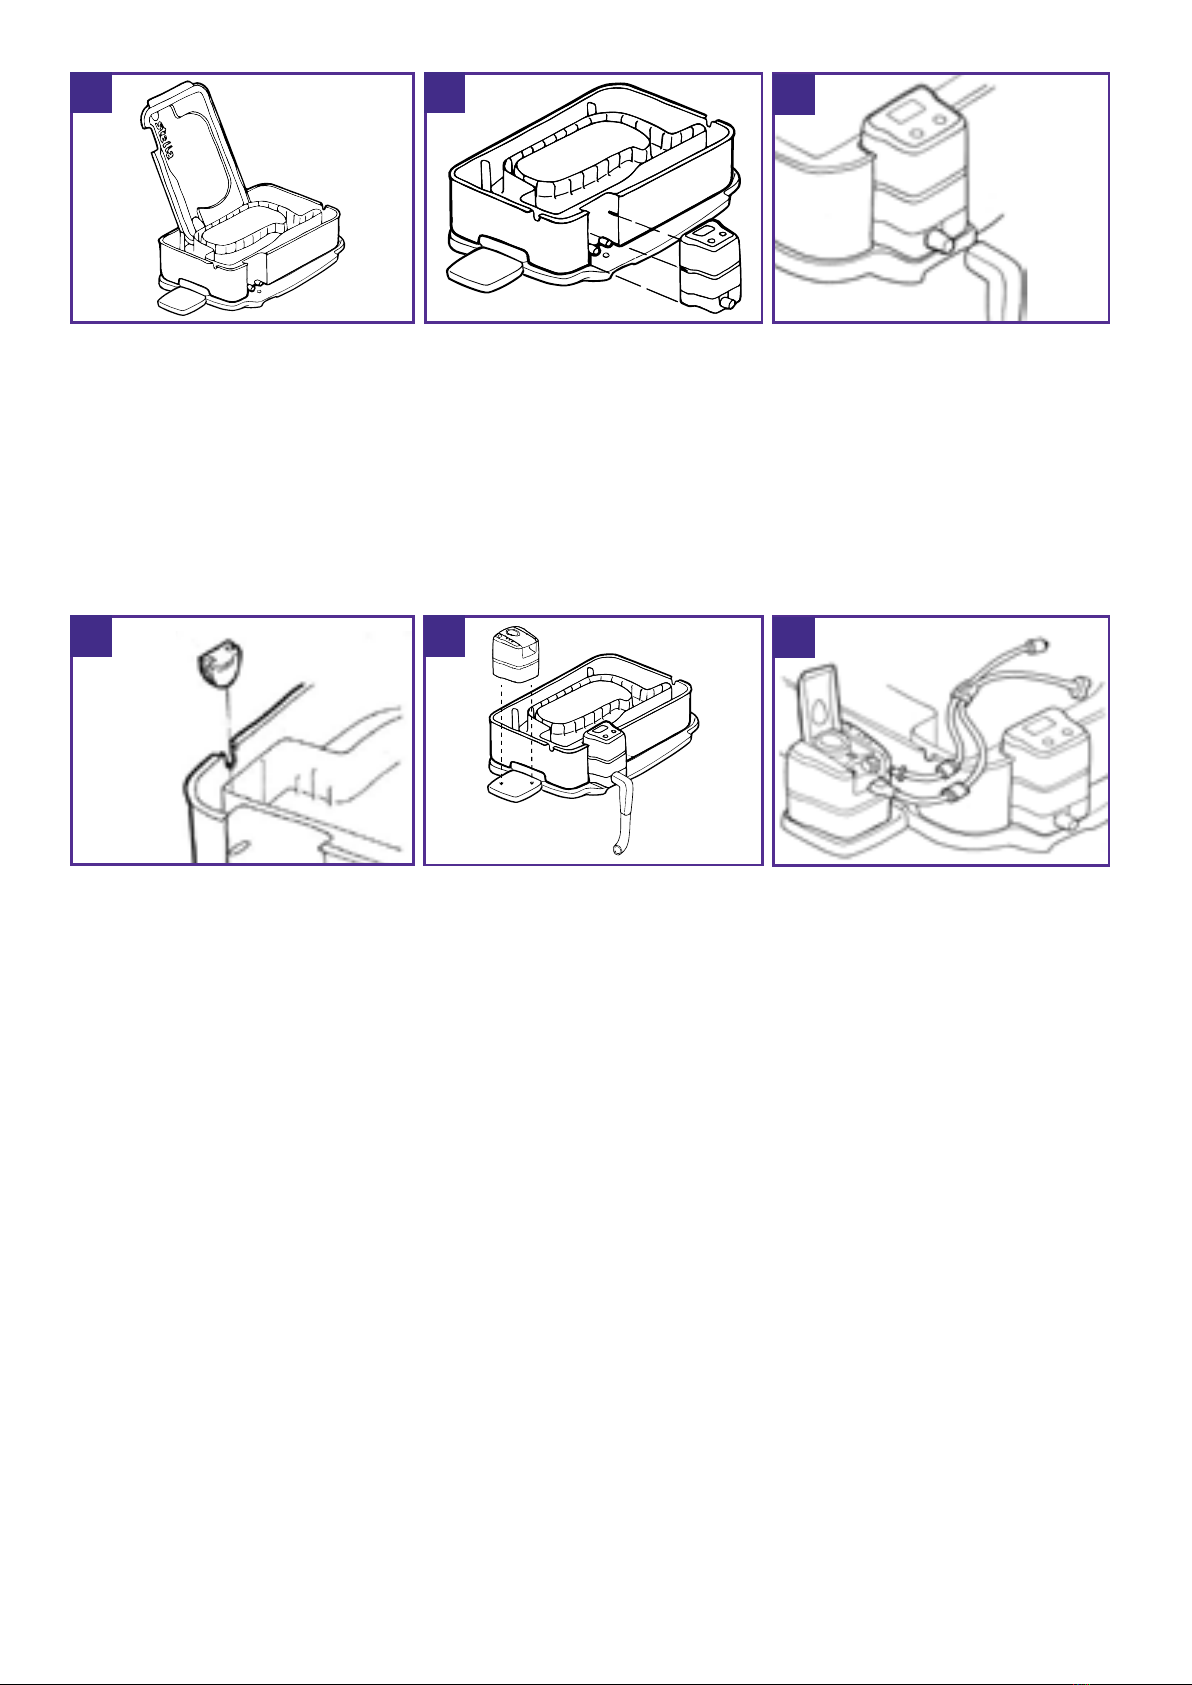
Step 1
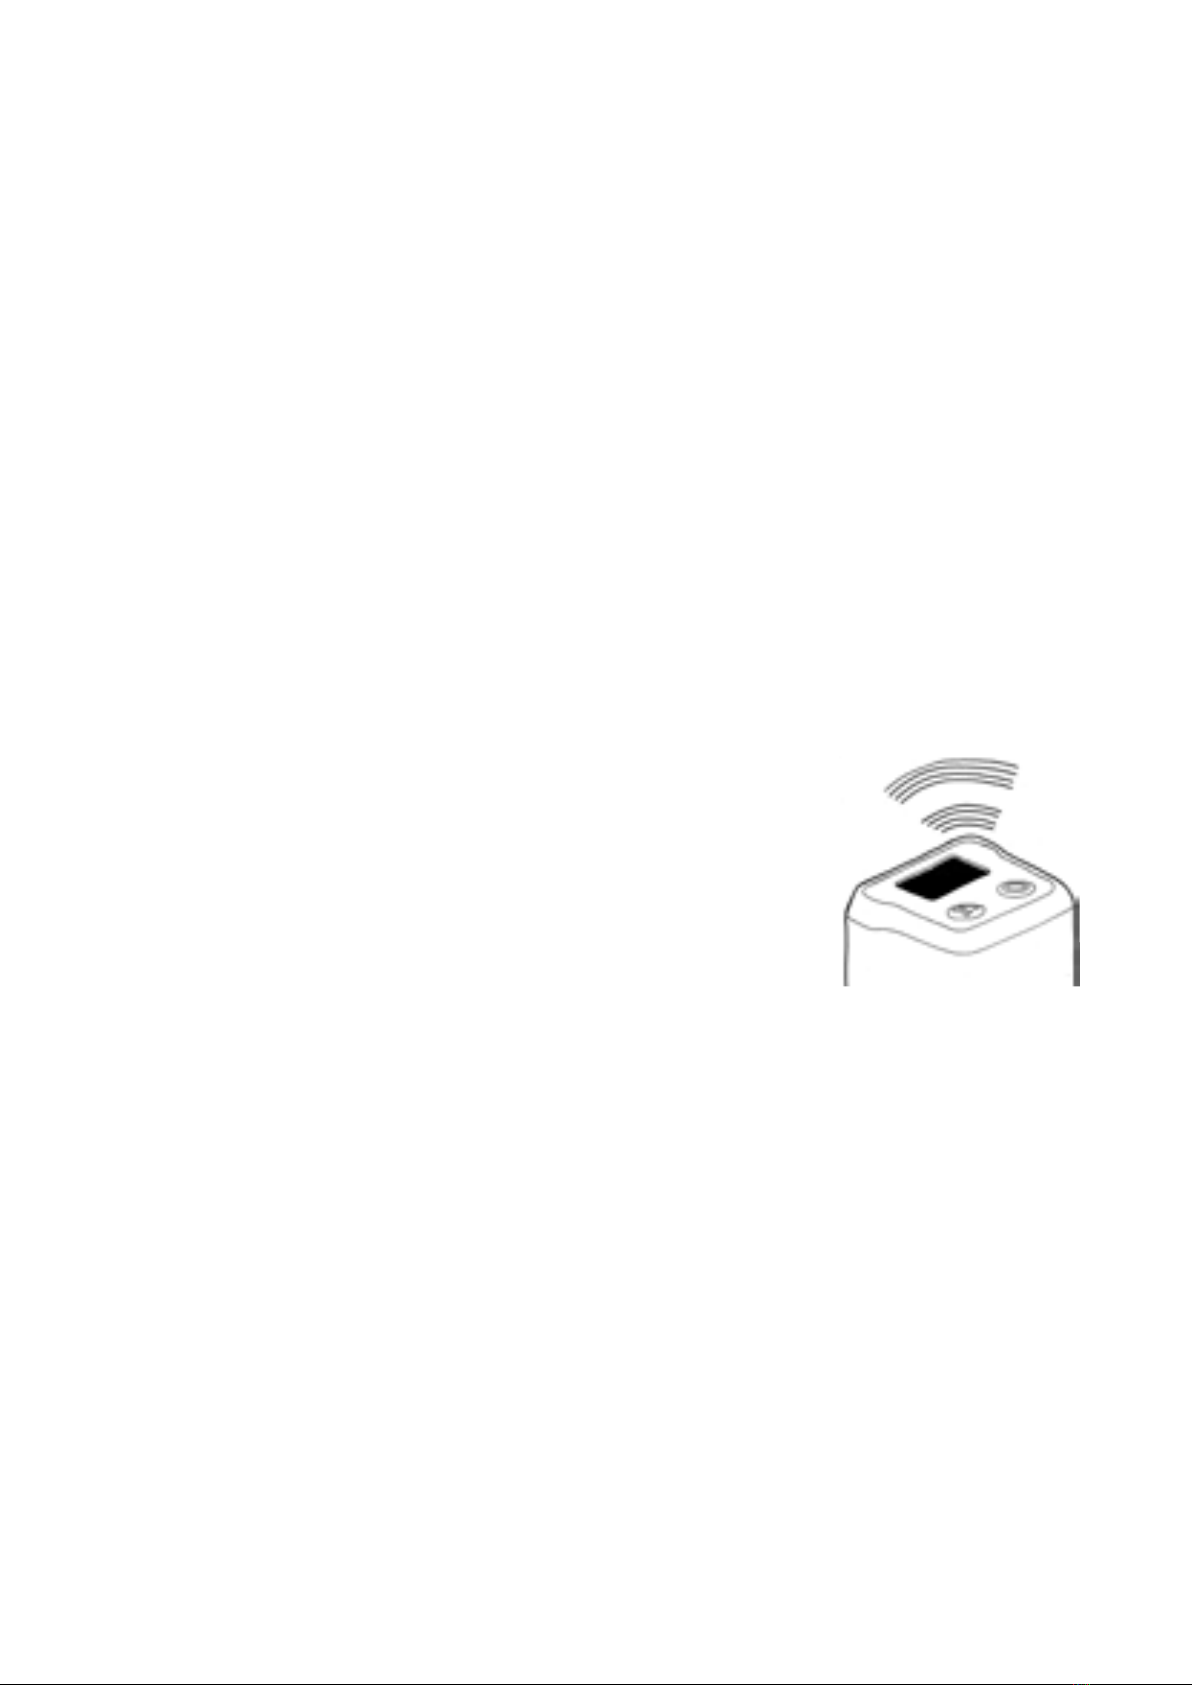
Push and hold the ON button on IQ until you hear a beep. Push and hold the ON button on Pulse until you
hear a beep. IQ performs a short self-check. IQ automatically connects to Pulse and a Bluetooth sign
conrms the connection. This will remain visible throughout the operation. Follow the instructions shown
on the IQ screen.
Step 2
When prompted by IQ, place a clean device into the device compartment. Position the device in a way
that best ts the shape of the compartment, ensuring any connectors or non-immersible parts are placed
outside of the tray via the designated cut-out. If the device is completely submersible, seal the right cut-out-
with the grommet provided.
Devices that do not t correctly in the device compartment must not be used in the Stella System.
Ensure the Lid can be completely closed.
Always refer to the manufacturer’s instructions for immersion levels and guidance on how to place the
devices into the Base.
Step 3
If the device features a lumen, attach the Pulse Tube Set Luer Lock connector to the device’s lumen port and
ensure the tap is in the open position (if applicable).
Some devices have two xed ports that cannot be removed and taken apart. These two ports will feed into
the same working channel, therefore both port entries must be disinfected. To do this, use the Dual Luer
Lock connector. Connect both connectors to the xed instrument ports. Ensure both taps are in the open
position.
If the device to be disinfected does not feature a lumen, connect the Surrogate Lumen to the Pulse Tube Set.
Step 4
Any small re-usable parts from the device should be placed in the Small Parts Tray with the lid closed and
positioned into one of the two positions available within the device compartment, t0 the left or right of IQ.
Step 5
Prepare ve litres of Tristel Fuse for Stella working solution in the Stella Jug in accordance with the user
instructions.
Step 6
When prompted by IQ pour ve litres of Tristel Fuse for Stella working solution into the Device compartment.
It is recommended to position the Jug on the outer wall of the Base, just right of IQ, and tilt the Jug slowly, supporting
the base of the Jug with one hand. All ve litres must be added. The disinfectant will overow over the edges of the
inner compartment into the overow compartment of the Base. It will drain out immediately.
If Tristel Fuse for Stella is not added to Stella within 10 minutes,
the cycle will be automatically aborted by IQ.