TRIUMPH BOARD a405 User manual

USER MANUAL
Image Center Professional_V1.07
Document Camera A405
2016

© TRIUMPH BOARD
2 z 20
Table of Contents
Introduction...............................................................................................................3
1.1. The purpose of the preparation........................................................................... 3
2 The Overall Design Of The Software................................................................... 3
2.1. Basic Summary of Software Features..................................................................3
2.2. Runtime environment.......................................................................................... 4
3 Product overview...................................................................................................4
3.1 Package contents................................................................................................. 4
3.2 Device Connection................................................................................................5
4 Software Installation and Interface...................................................................... 5
4.1 Software installation............................................................................................. 5
4.2 Software interface................................................................................................10
5 The software features and operating instructions............................................ 10
5.1 Turn on video stand............................................................................................. 10
Tool Instructions............................................................................................. 11
5.2 Document management...................................................................................... 13
OCR document recognition............................................................................15
Converting to PDF......................................................................................... 16
5.3 Quick screenshot capture...................................................................................16
5.4 Document comparison........................................................................................17
5.5 Video recording.................................................................................................. 17
5.6 Powerpoint..........................................................................................................19
6 Troubleshooting...................................................................................................19
6.1 Notes: ................................................................................................................ 19
6.2 Frequently asked questions: ..............................................................................20

© TRIUMPH BOARD
3 z 20
1 Introduction
In the last century, visionaries predicted the 21st century would be the era of digital and
information based office. Today, digital and information technologies gain momentum,
and electronic document storage and management become integral parts of business
process. Especially in financial, governmental, healthcare, telecommunications,
logistics and other industries, improving the competence of the overall business digital
flow is directly relative to the enhancement of work efficiency and core competitiveness.
The modern age is an age of information technologies. And researchers increasingly
value information digitalization. Therefore, to grasp and to utilize various information
technologies to improve the competitiveness of entities and individuals are imminent.
During the era of traditional office, you had to spend multiplied time, manpower and
resources to save data, files and documents while in the meantime, you had to pay
attention to the possible damage of those papers and to hire specialists to keep them.
Once in the event of damage, you have to spend several dozen times of manpower and
resources to recover them. Furthermore, paper files are difficult to share and to check.
1.1. The purpose of the preparation
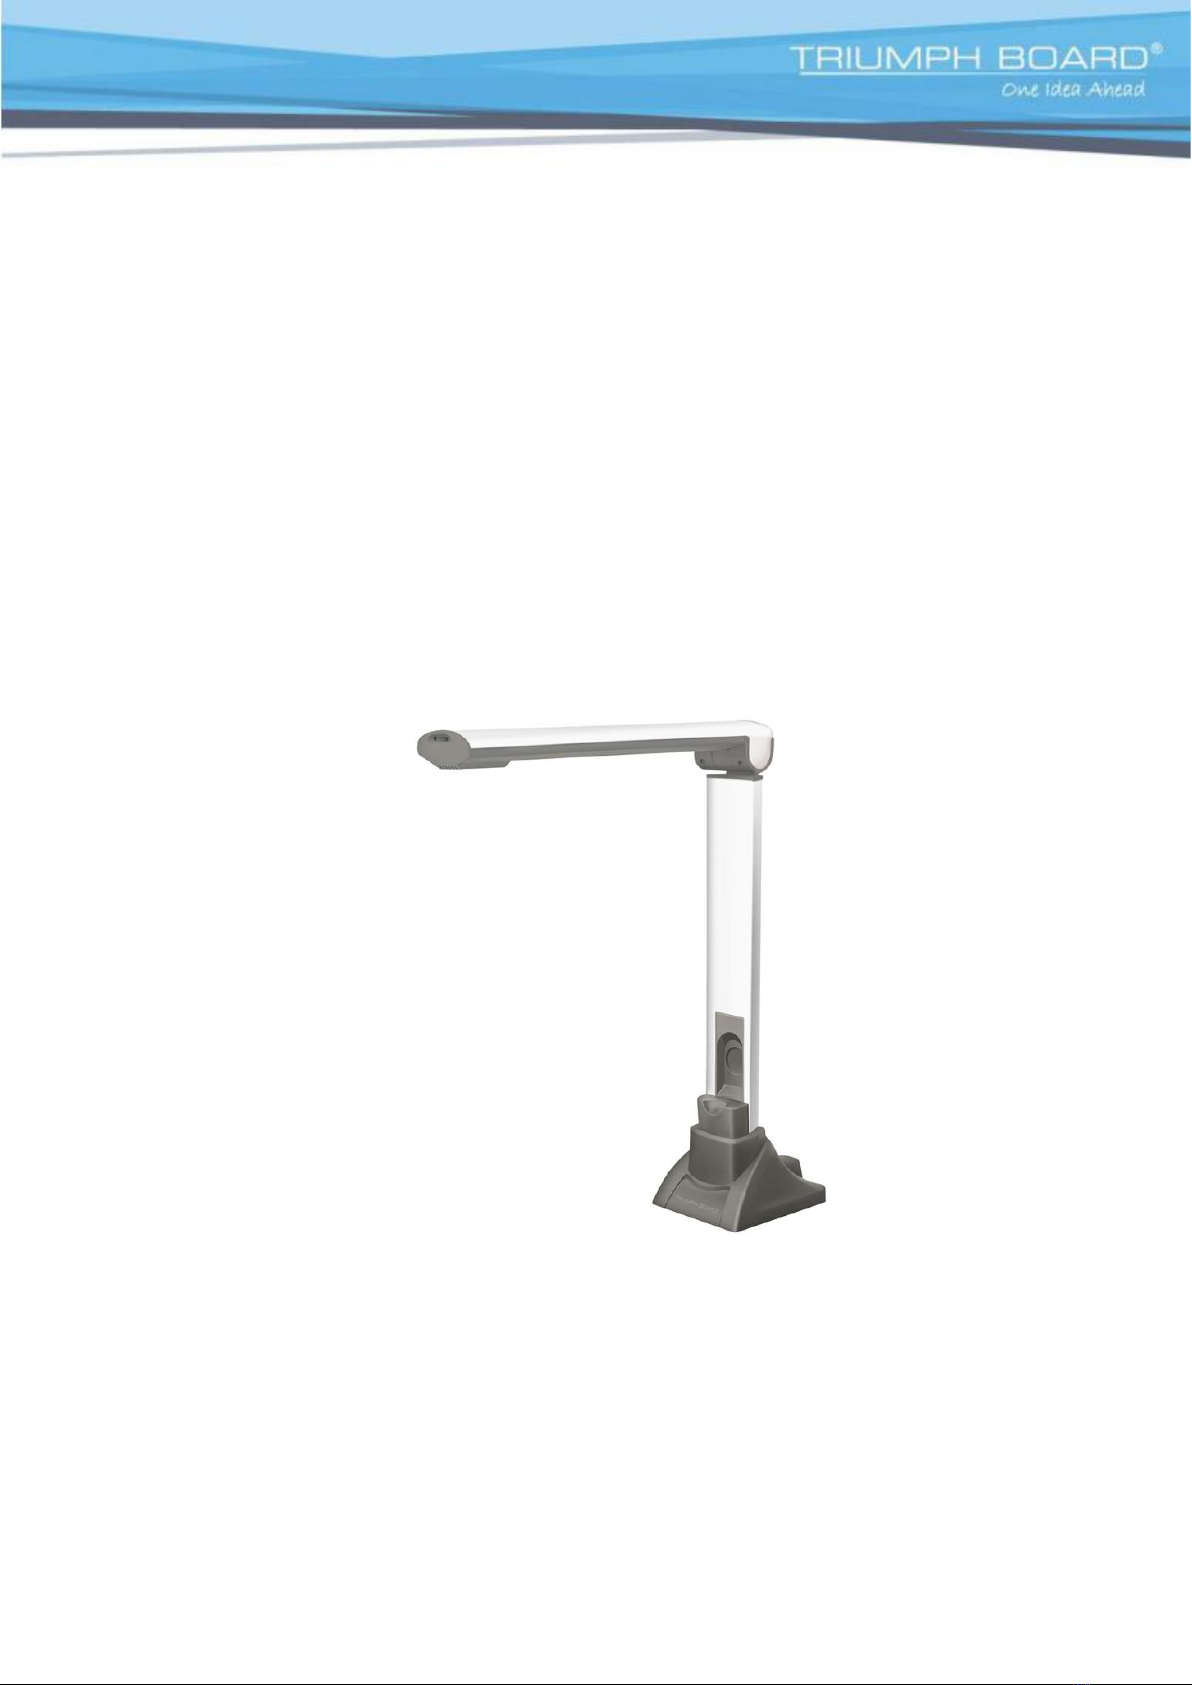
The high-speed image capture device not only has all the features of traditional video
stand, but also is easy to carry and to use as well as is equipped with powerful
processing software. It is an ultra-portable low carbon office supply. Landmark
innovations and subversion of traditional ways are adopted to impressively simplify the
daily work of teachers. The high-speed image capture device plays an important role in
offices, schools, hotels, libraries, science centre and other professional areas, and
easily meets the needs of digital office.
2 The Overall Design Of The Software
2.1. Basic Summary of Software Features
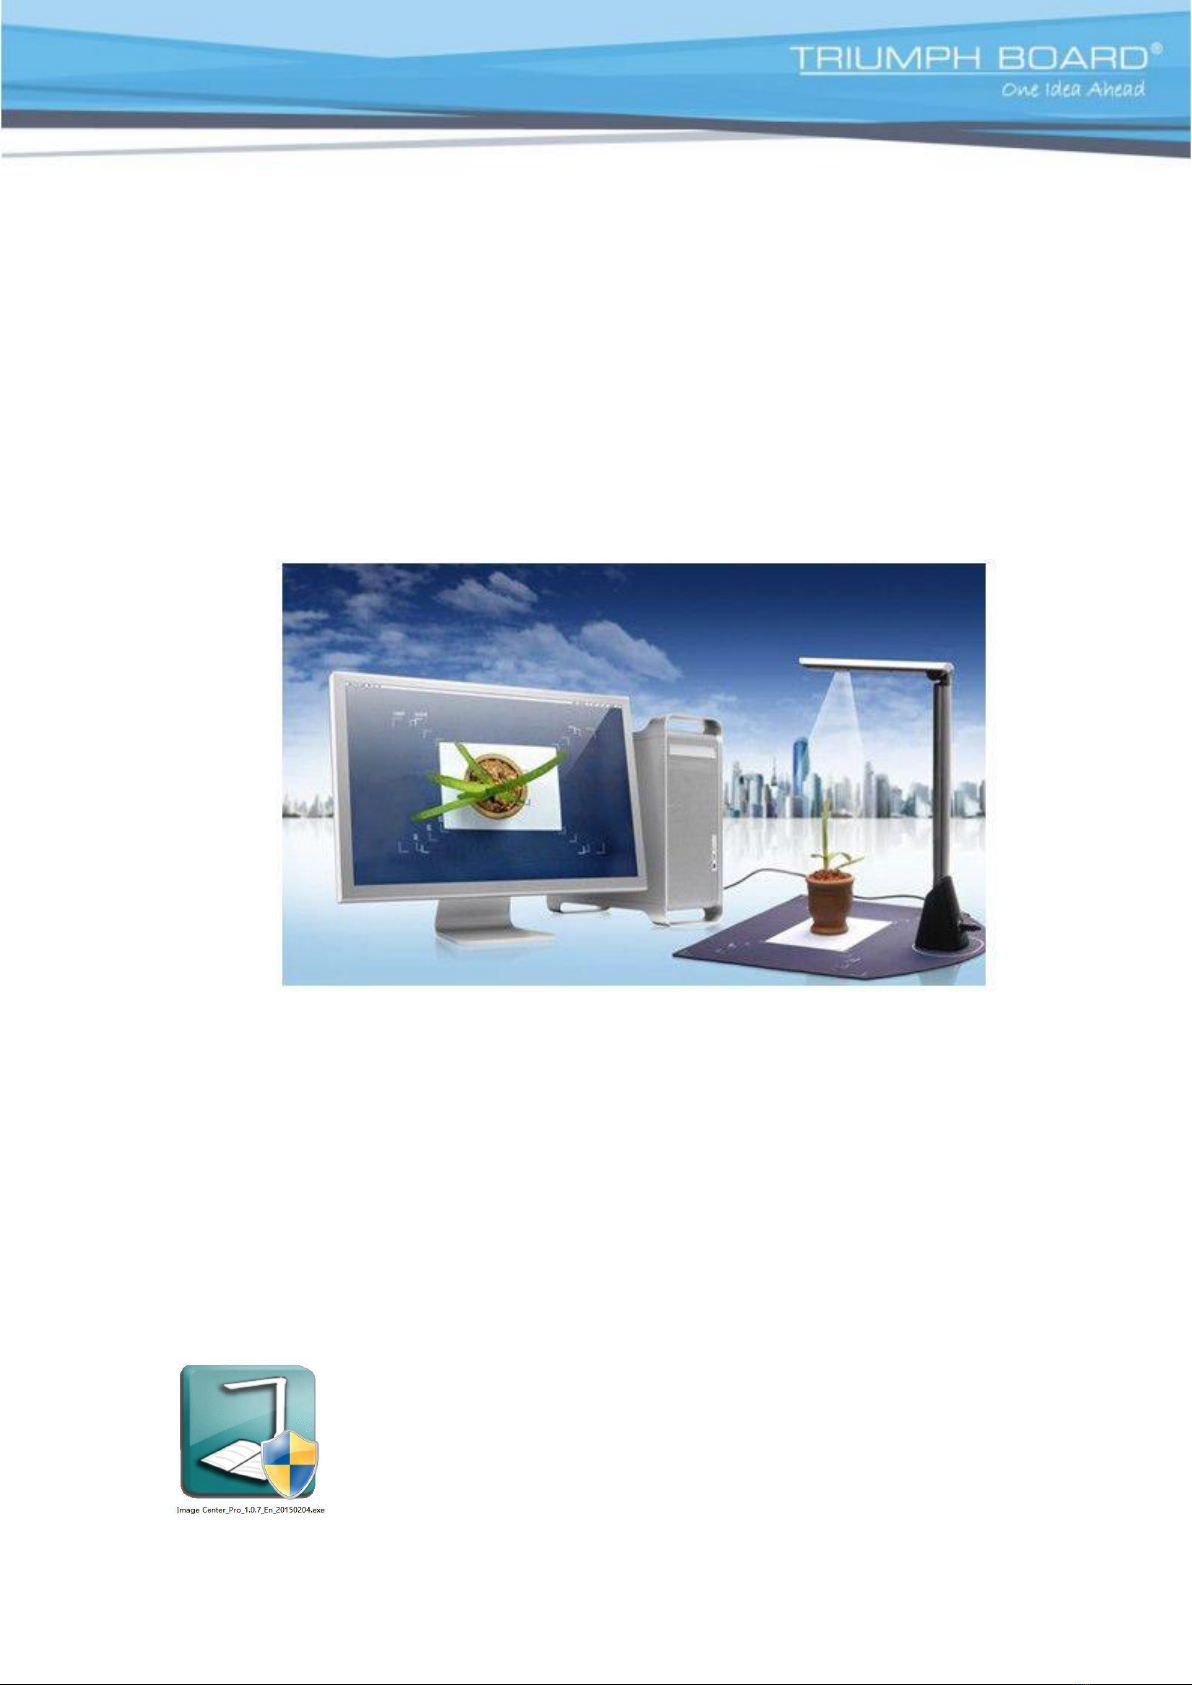
HD Physical Demonstrations
The Image Center Pro Software easily works with computers and projectors, and can
clearly project documents, manuscripts and other objects on a big screen, and can
display real-time writing and outlines during live, in person lectures or digital lectures
using a digital whiteboard. In addition, the Image Center Pro Software can take clear
pictures of characters, sceneries and objects and save them onto your computer
directly. It also supports dynamic text input.
Universal Image Processing
When images or pictures are taken, they can be adjusted by cutting black edges,
straightening, rotation, mirroring, cropping and other imaging processes such as image
brightness, contrast, saturation, etc... This can be adjusted to achieve a better image
quality. (grey, black and white, inverted, embossing and sharpening effects are also

© TRIUMPH BOARD
4 z 20
available.) The software also supports color pen marks, arrow marks, inserting graphics,
as well as dynamic and static switching.
High-speed Document Scanning (Recording)
The Image Center Pro software supports manual and automatic continuous capture;
supports A4-size with clear images, with each A4-size image only occupying a small
storage space and images can be directly exported to printing. High-speed (30 pieces/
min) document scanning and multiple images can be packaged into a multi-page format
file that can be sorted and deleted. Images can be exported to e-mail, fax, printing or be
converted or merged into PDF files. You can also zoom in or zoom out and the device
also supports mouse-centric orientation with the mouse scroll to zoom. Some of the
other features the Software supports are- WIN7 and WIN8 gestures; supports
screenshots; supports desktop whiteboard applications such as OFFICE software notes,
web notes, etc... when using desktop whiteboard software; supports complete
document management classification.
Text recognition
OCR text recognition helps teachers quickly extract texts from images for text editing.
This helps in making lesson preparations easier.
Video Production (Includes a function that can be used by teachers to
record multimedia videos)
With the built in function of recording in High Definition, the Image Center Pro Software
can record entire lectures from teachers within the display range and any digital
information on the electronic whiteboard and produce them into an AVI format, for
playback or to add more to your recorded presentations. It also supports full-screen
lecture recording, lectures using PPT presentation, a variety of software and websites
can also be recorded. The ‘Picture in Picture’ (PIP) function can add scenes of the
classroom or teachers’ lectures at the same time and produce videos that can be used
for “class lessons”.
2.2. Runtime environment
CPU: Intel Core 2 Duo 2.4 GHz or faster
Memory: ≥2G
Hard dick space: ≥20G
Video card: integrated video card; HD 2000 or more high definition
Drive speed: 8X
Operating system: Windows2000/XP/Server/window7/8.1/Mac
(Simplified Chinese& English version)
3 Product overview
3.1 Package contents
Document Camera A405
USB 2.0 cable
Product CD (Image Center Pro Software & User manual)
Soft Position Pad (model-matched)
Quick Start Guide

© TRIUMPH BOARD
5 z 20
3.2 Device Connection
The Document Camera A405 can be connected to computers by a Universal Serial
Bus (USB) port. A USB cable is included with the product. Simply turn on your computer, and
then connect one end of the USB cable from the USB port on the device, to the other end to the
computer's USB port. Please ensure the USB cable is connected to a computer’s USB port with
a minimum of USB 2.0 interface on the back when
connecting to a desktop computer, to avoid failure in functioning properly. Once
connected, the system will automatically find the new hardware and identify the
installation driver. No driver is manually needed to be installed for Windows XP or
Windows Vista / 7/8 operating system.
Please note that the video stand connection shown in the picture above is a
schematic diagram, and detailed information is accordant with the final product
4 Software Installation and Interface
CD-ROM Software attached: Image Center_Pro_1.0.7_En
Please make sure the Document Camera A405 is connected to a computer,
and it is identified by the system (no drive is needed) before installing the
software.
4.1 I accept the agreement Software installation
Double-click the package icon to start the installation process
If you are running a 360 Virus protection software, a window may pop up
reminding you that Windows considers this an unknown program. Please
choose to “allow the program to run” or you can disable or exit your Virus
protection software before you decide to install the Image Center Pro
Software.

© TRIUMPH BOARD
6 z 20
Please click ‘Next’
Choose the ‘Install’ options when an installation window pops up.
In case of 360 Virus protection software being installed and a window may pop
up reminding you that the program needs to modify key files. Please click ‘More’
and then ‘Allow all operations of the program’. Or as explained before you can
exit or disable you 360 Virus protection software before software installation.
Please click ‘Next’ when an Xvid window pops up during installation.

© TRIUMPH BOARD
7 z 20
Click ‘I accept the agreement’ and then ‘Next’ until the installation is complete.

© TRIUMPH BOARD
8 z 20
After click ‘Finish’, a NimoStudio video program installation window will pop up,
please click ‘Next’ until the installation is complete.

© TRIUMPH BOARD
9 z 20
The software installation is complete at this point. And a shortcut icon of the
program (as shown below) will be automatically generated on the desktop:

© TRIUMPH BOARD
10 z 20
4.2 Software interface
5 The software features and operating instructions
5.1 Turn on video stand
Double-click the package icon to start the software
In case of starting the program in Windows 8 system, please click ‘Yes’ when
a tip reminding ‘User Account Control’ permission pops up.
PIP function
Control bar at bottom

© TRIUMPH BOARD
11 z 20
Double-click the icon to turn on the video stand
Tool Instructions
1) Desktop tool: Allows you to drag video screen.
2) Brush tool: Defines four brush shapes (line, dashed line, arrows and arbitrary
shaped line).
3) Light stick: Allows a green line to be drawn on the main video screen, and the
line will disappear after 1500 milliseconds (mostly used for brief reference or
demonstration purposes).
4) Eraser: to paint on the layer of editing of the main video screen.
5) Removal tool: Deletes all the changes on the layer of editing of the main video
screen.

© TRIUMPH BOARD
12 z 20
6) Line widths and shapes: Sets the width of each pen and the shape of each brush, including
(line, dashed line, arrows and arbitrary shaped line).
7) Colors: Sets the colors of brushes.
8) Transparency: Adjusts transparencies of a variety of colors. The transparency of each pen
can be adjusted individually.
9) Shapes: Draw circles, triangles or rectangles on the main video screen.
10) Save: Take a picture with foreground of the main video, and save it in a custom directory;
support dynamic video annotation and save.
11) Exit: Exit software interface.
12) Full screen: Switches the video window to full screen.
13) Minimize: Minimizes the video window.
14) Settings: brightness adjustment, contrast adjustment and saturation adjustment of pop-up
videos; to freeze video, to switch among video devices and to customize image saving
directory.
15) Auxiliary camera: Supports PIP function, and the two video windows can be freely
switched. If there is no auxiliary camera in the system, a tip reminding you that no additional
camera is found will pop up, while if there ARE three or more cameras, a list of devices will
pop up, allowing users to select which camera they would like. If there is no video image
being displayed in the PIP, please try to connect the cable of the Document Camera
A405 to another USB port.
16) Zoom in: Expands the range of the main video display.
17) Zoom out: Narrows the range of the main video display.
18) 1:1 display: Sets the scale of the main video display as 1: 1.
19) Best display: Displays the best quality within the range of the main video.
20) Resolution adjustment: Switches to the selected resolution of the main video.
21) Left-hand rotation: Rotates the main video screen 90 degrees to the left.
22) Right-hand rotation: Rotates the main video screen 90 degrees to the right.
23) Image comparison: Supports up to 16 multi-screen comparison teaching on the same
screen.
24) Screenshot: Takes a picture of the main video screen.
25) Screen recording: Records the main video screen; support full screen recording

© TRIUMPH BOARD
13 z 20
5.2 Document management
Click here to get to your Document Camera A405 or
other high speed capture device
Computer Working Section

© TRIUMPH BOARD
14 z 20
Shooting window pops up:
Advanced section - Hardware Settings –frequency is not recommended to
adjust.
Continuous shooting: To assist with user’s batch processing, the software
provides a continuous shooting function. Please click the [shooting] button to
start continuous shooting. The shooting process can be paused, re-started and
redone.
Auxiliary camera: If the "PIP" function is started, the main camera and auxiliary
camera can shoot separately, and images taken by those two cameras can be
merged into one image.
Image Preview
section
Image
Storage Path
Function Menu
Custom Image Function section
To adjust image brightness and
exposure adjustment, auto exposure by
default

© TRIUMPH BOARD
15 z 20
OCR document recognition
Select an image at the bottom and click ‘OCR document recognition’.
Tips:
The exported file will be generated into RTF format file, and be opened
automatically by default. Please modify characters and layout manually after
recognition.
Images in reversed direction shall be straightened and images in horizontal
scrolls shall be rotated before recognition, failure to do so may lead to gibberish
being exported.
The accuracy of OCR recognition is bound up with image positioning and text
clarity.
Export Path
Preview Area, Please
select an image
To export your
document, click
EXPORT and the
file will be opened
automatically.
Choose an Image

© TRIUMPH BOARD
16 z 20
Converting to PDF
After converting into PDF the file will be automatically open by default. Please
download and install Adobe Reader if you do not have a PDF reader installed on
your computer.
5.3 Quick screenshot capture

© TRIUMPH BOARD
17 z 20
5.4 Document comparison
5.5 Video recording
Storage Path
Device Control
Panel
Picture and
Video
Preview Area
Screen lock, each split screen can be rotated and
zoomed separately after unlocking
double-click
here to add
images
Open videos quickly, and the video window can be dragged
into comparison box
Screen split button, support up
to 16 split screens comparison
on the same
screen

© TRIUMPH BOARD
18 z 20
A Custom Selection of
Photo Sizes and Video
Recording Resolutions
Hovering over the button displays the name of the function
A Custom Selection Function Control
Bar
Shooting and Recording Button
Under video-recording mode, you can
select video output format, custom
resolution, add video time and add the
date, etc.
After opening, brightness, contrast,
saturation, gray and advanced options
can be adjusted on the right side.

© TRIUMPH BOARD
19 z 20
5.6 PowerPoint
*
*p*
6 Troubleshooting
6.1 Notes:
To protect the image sensor, please avoid direct sunlight, avoid the contact with oil,
steam, water vapor, moisture and dust; avoid direct contact with water.
Please do not use strong cleaners, organic solvents or other cleaners containing those
ingredients; lens of the video stand rarely need cleaning, but if needed, using dry,
lint-free cloth is recommended. Do not disassemble or break the device. Damage
caused by improper use is not covered under warranty.
Use the video stand properly. Be aware of the impact of the things in your running
environment, excessive voltage and current or illegal operation will likely result in
damage to the main chip.
Usage recommendations: the effects will be better when using under an adequate
ambient light condition.
Click here to open PPT; If the
system is not equipped with
OFFICE components, there will
NOT be a response from your
computer.
Hold The Video Preview Window
and Drag to PPT window
To Start Fast
Capture
Function

© TRIUMPH BOARD
20 z 20
6.2 Frequently asked questions:
1) My computer fails to detect the device
In this case, please try to connect the cable of video stand to another USB port. Please
ensure the USB cable is connected to a computer’s USB port with a USB 2.0 interface
on the back when connecting to a desktop computer, to avoid failure in functioning
properly. If a USB extension cable is used, please use qualified cable.
When using the Document Camera A405 on a platform of 3-5 meters high, it is
recommended to replace the USB cable USB AM-BM A to B (as shown in the figure
below):
2) In the case of having problems with device and software installation, please check
the following:
Try and re-plug the device or connect the device to another USB port and re-locate the
device.
You can also try on another computer if you have exhausted all ports on the computer
you are currently trying it on. If not recognized on more than 1 PC, there may be a
device issue or cabling issue. Try another USB cable if you have one.
If the device reports an error caused by improper operation or compatibility problems
and stops working while running under Windows 7/8 64-bit systems, please try to
uninstall ALL drivers and software; reboot your PC and try a CLEAN install to see if this
helps.
BM-B
AM-A
Other manuals for a405
2
Table of contents