Tronje TRLW-PT 92 User manual

Electric screens
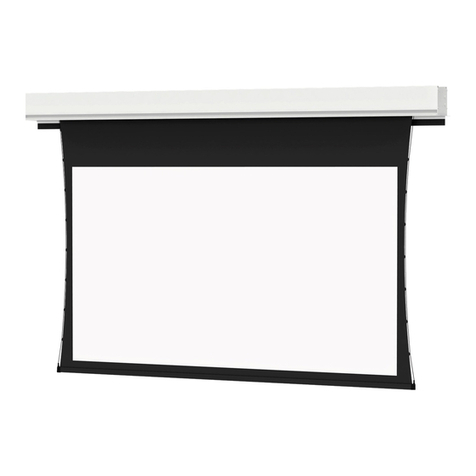
233cm diag. (16:9) HD, TRLW-PT 92, art. no. 26799
233cm diag. (16:9) U-HD, TRLW-UHD 92, art. no. 31148
305cm diag. (16:9) HD, TRLW-PT 120, art. no. 26797
305cm diag. (16:9) U-HD, TRLW-UHD 120, art. no. 24381
Manual

Manual
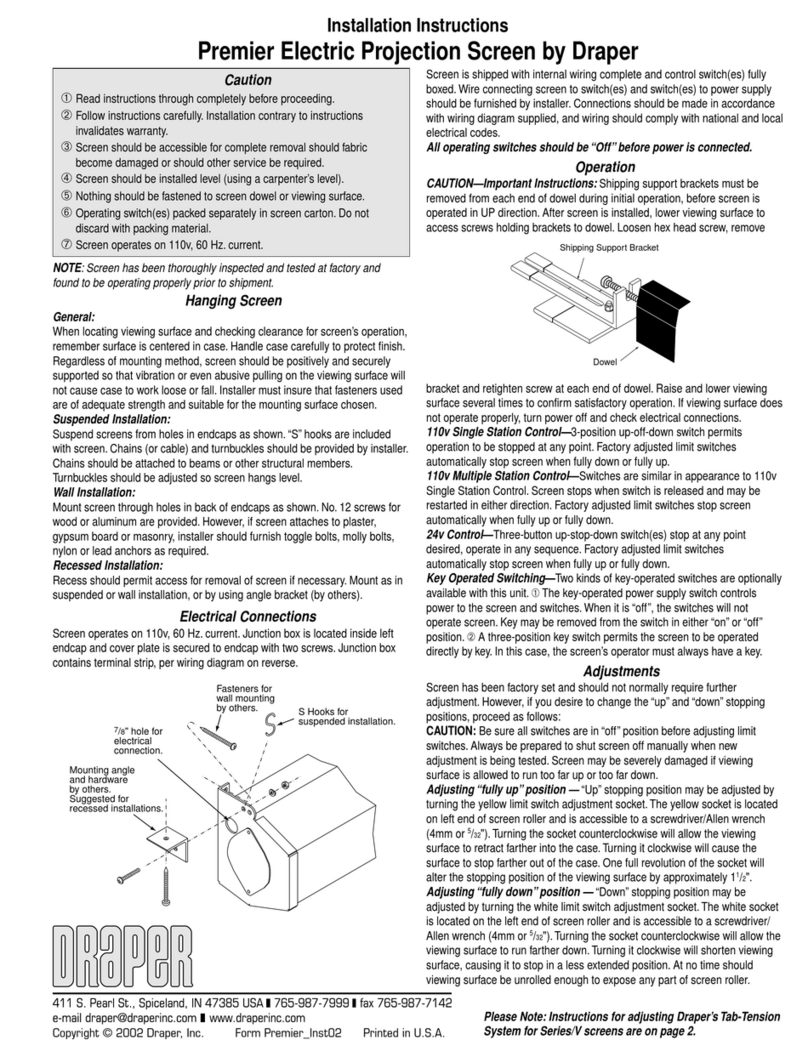
Tronje electric screens
Thank you for purchasing an electric screen of the brand Tronje.
Our electric screens are perfectly large screens for your home theatre, conference room, classroom etc !
This manual gives you the essential information about your screen and its easy installation.
1. Scope of supply:
• The remote control is also usable as a control unit
2. Screen features
• Tronje premium quality electric screen
• High gain factor for a better image representation
• A stylish screen case of high quality
• Easy installation (no help from an expert needed)
• Long-lasting, re-resistant screen and screen case
• Incl. remote control for comfortable handling
• Anti-static-fabric reduces dust deposits
Additionally, Tronje-UHD-screens have a special breglass-coating that leads to an even better con-
trast ratio.
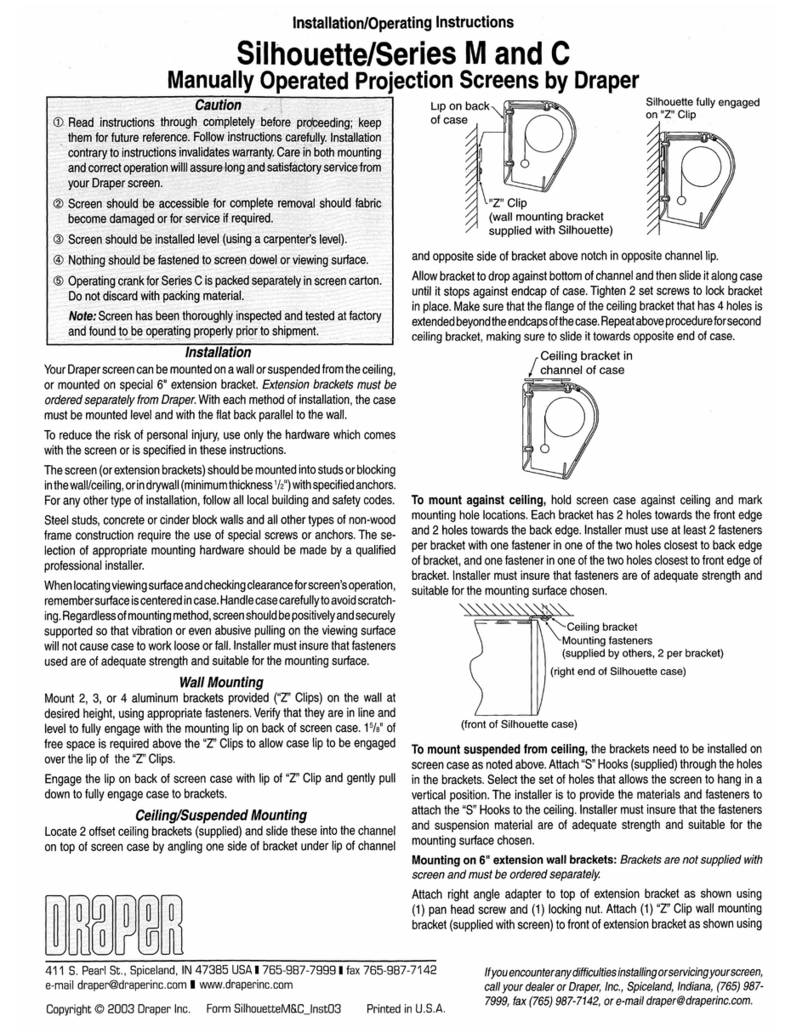
3. Installation of screen
Your screen can be installed in 3 different variants in combination with different brackets, see gure:
a) wall installation b) overhead installation c) rack installation
• An optional spirit level for every installation is recommended
remote control
incl. batteries
screencase
screen
control unit
pup
qdown
n stop

4. Operation of screen
Attention: Do not use the screens before installing properly (see point 13).
Using the screen before proper installation can lead to durable damage to the screen an its engine. These
damages are not covered by the warranty.
1) operation: Please make sure that your screen is installed properly !
You can now handle your screen through the 3 buttons on your corded control unit or your
remote control.
a) Press the down-button „q„ to lower the screen. The lowering process will be automatically stopped
when the screen is completely lowered.
b) Press the up-button „p„ to retract the screen. The retracting process will be automatically stopped
when the screen is completely retracted.
c) Press the stop-button „n„ to stop the screen at any position during lowering or retracting process.
Please note: You can change the retracting process by pressing the stop-button „n„ and afterwards the
down-button „q„. It can also be changed by pressing the down-button twice.
2) Control unit function:
The screen must be operated by using the supplied control unit (IR or RF).
a) Replacing or reinstalling the remote control:
Open the receiver case and press the button on the receiver board.
The green LED-light starts ashing. Meanwhile, press the reset button on the back of
the remote control with a thin pencil.
The green LED-light ashes quickly and goes out after a short time.
You can now use the remote control to operate the screen.
5. User-dened settings for the stop position
- or vernier adjustment of the screen position -
The screen position can be (optional) adjusted with a 4mm allen key after lowering/retracting it, see gure
below:
Upper stop line after retracting
Lower stop line after lowering
Upper stop line
Lower stop line

Troubleshooting:
1) If the screen is completely retracted, but the engine does not stop, turn the adjustment screw for the
upper stop line counterclockwise to lower the screen some more.
2) If the screen is completely lowered, but the engine does not stop, turn the adjustment screw for the
lower stop line counterclockwise to lower the screen some more.
11. Service
If there are any problems with the installation of the screen or any other technical questions and comp-
laints, please feel free to contact your trader or the following service-hotline:
+49 (0) 2103-496-0
You can contact the hotline Monday - Friday from 9 a.m. to 12 p.m..
The brand name Tronje is a registered trademark of the betronic GmbH.
Importer and producer: WEB-SITES
betronic EDV-Großhandel GmbH www.tronje.de
Großhülsen 7-9 www.betronic.de
A 4mm allen key is necessary to adjust the screen. (not included in
scope of supply).
You can nd the adjustment screw for the lower stop line inside the
screen case.
Only use the adjustment screw when the screen is completely
lowered !
Turn the adjustment screw in the following directions:
clockwise to retract the screen some more
counterclockwise to lower the screen some more
You can nd the adjustment screw for the upper stop line inside a hollow
on the screen case (see gure).
Only use the adjustment screw when the screen is completely
retracted !
Turn the adjustment screw in the following directions:
clockwise to retract the screen some more
counterclockwise to lower the screen some more
7. safety instructions
Attention:
• Inappropriate handling of electric devices can cause
injuries.
• If there are any problems while installing the screen, plea-
se contact an expert.
• Please transport the screen carefully!
• Do not fold the screen.
• Keep the screen away from any pointed or sharp objects.
• Only use clear water when cleaning the screen.
• Keep the screen away from any corrosive or chemical
substances.
• Keep the screen away from heat.
• Please use the screen in dry environments.
• Clean the screen before storing.
8. Proper disposal of old appliances
Old appliances that are marked with the pictured sym-
bol cannot be disposed of domestic waste.
Hand it over to your local collecting point for free.
This device cannot be disposed of residual waste.
Within the Electrical and Electronic Equipment Act a
free return is ensured.
Used batteries and accu-
mulators that are marked
with the pictured symbols
cannot be disposed of
domestic waste.
Hand it over to a collecting point for old appliances, used
batteries or rather special waste (please inform yourself at your
municipality).
These collecting points ensure an environmentally friendly
disposal.
9. disposal outside Germany
Properly dispose of old appliances in accord with local laws
and regulations.
10. EC Declaration of Conformity
We, betronic EDV-Großhandel GmbH, Großhülsen 7-9, D-40721
Hilde, tel.: +49 (0)2103 4960, e-mail: [email protected], herewi-
th declare that this product accords with the general require-
ments and other relevant regulations of the Directive 2006/95/
EC.
Schraube für obere Stopplinie
Schraube für untere Stopplinie
This manual suits for next models
3
Table of contents
Popular Projection Screen manuals by other brands

Stumpfl
Stumpfl MAGNUM 210 manual

Akia Screens
Akia Screens Fixed Frame Screen Series user guide

Stewart Audio
Stewart Audio Cable Climber owner's manual

Draper
Draper Premier installation instructions

Elite Screens
Elite Screens YARD MASTER MANUAL SERIES user guide

Draper
Draper Access XL Installation & operating instructions

Da-Lite
Da-Lite electrol Instruction book

California Sunbounce
California Sunbounce SUNBOUNCE-PRO operating instructions

ICP Electronics
ICP Electronics LCD-Kit02 manual

Da-Lite
Da-Lite Viewshare tensioned Advantage Electrol Instruction book

Elite Screens
Elite Screens Evanesce B Series user guide

Stumpfl
Stumpfl monoblox 64 manual