manuals.online logo
Brands
  1. Home
  2. •
  3. Brands
  4. •
  5. Troy-Bilt
  6. •
  7. Tiller
  8. •
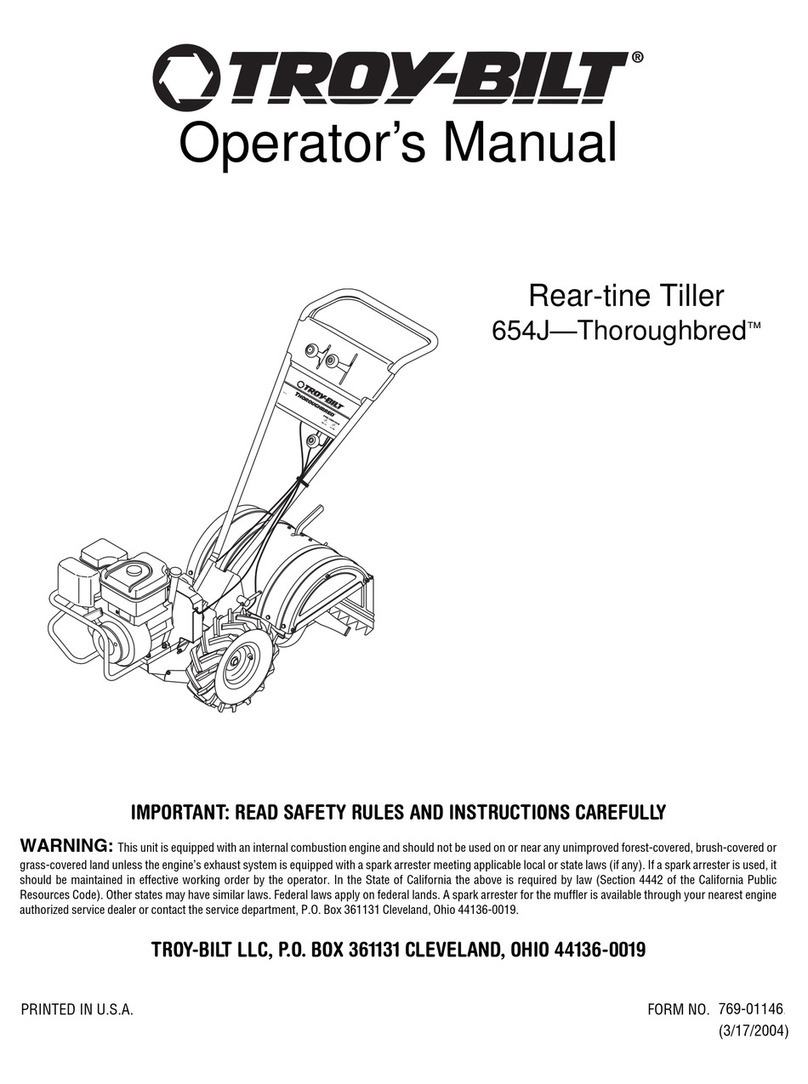
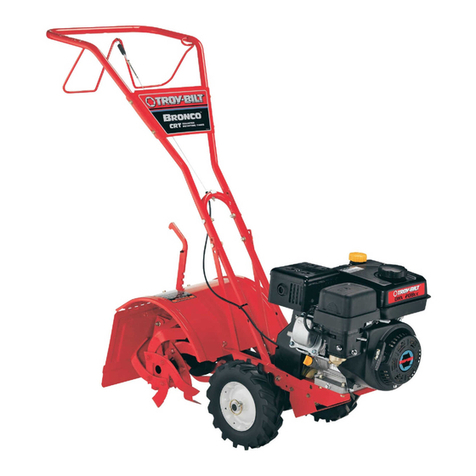
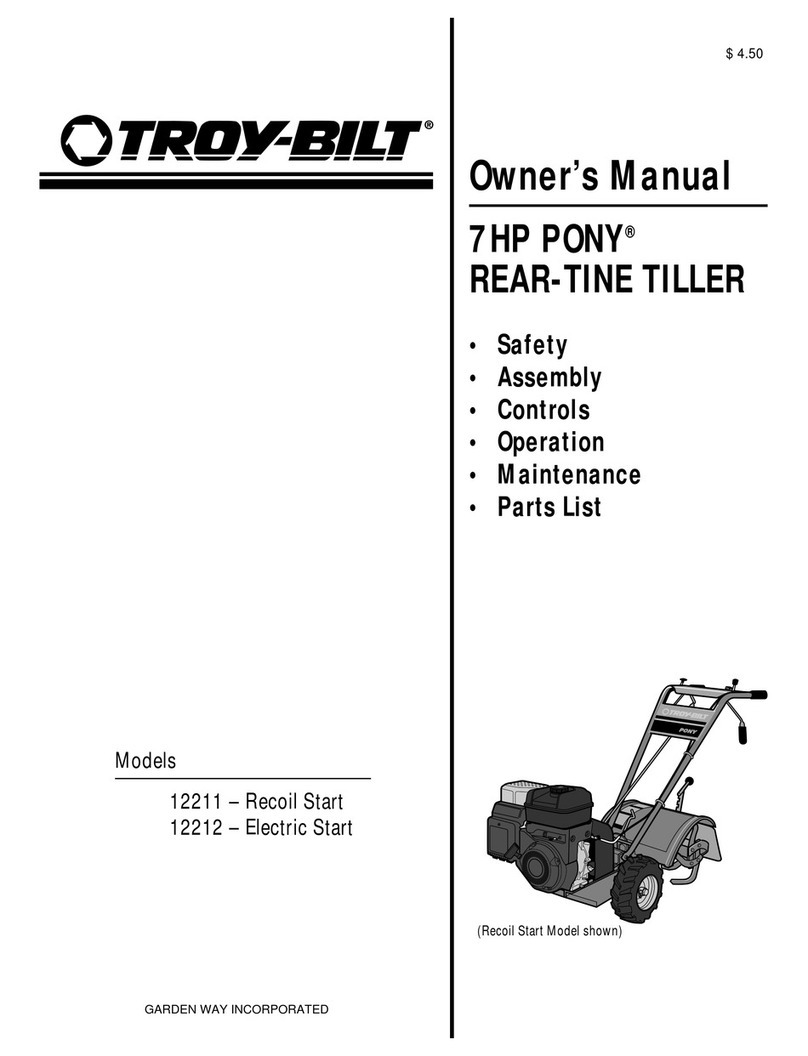
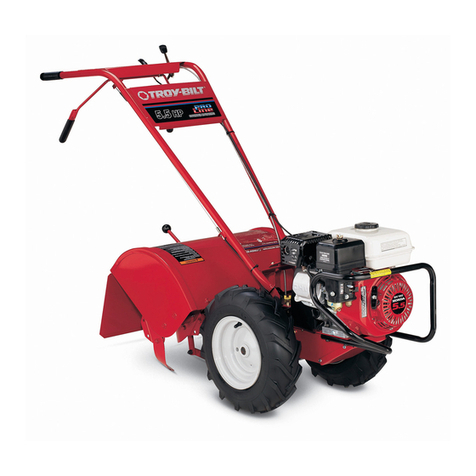
  9. Troy-Bilt Pro Line 665B User manual

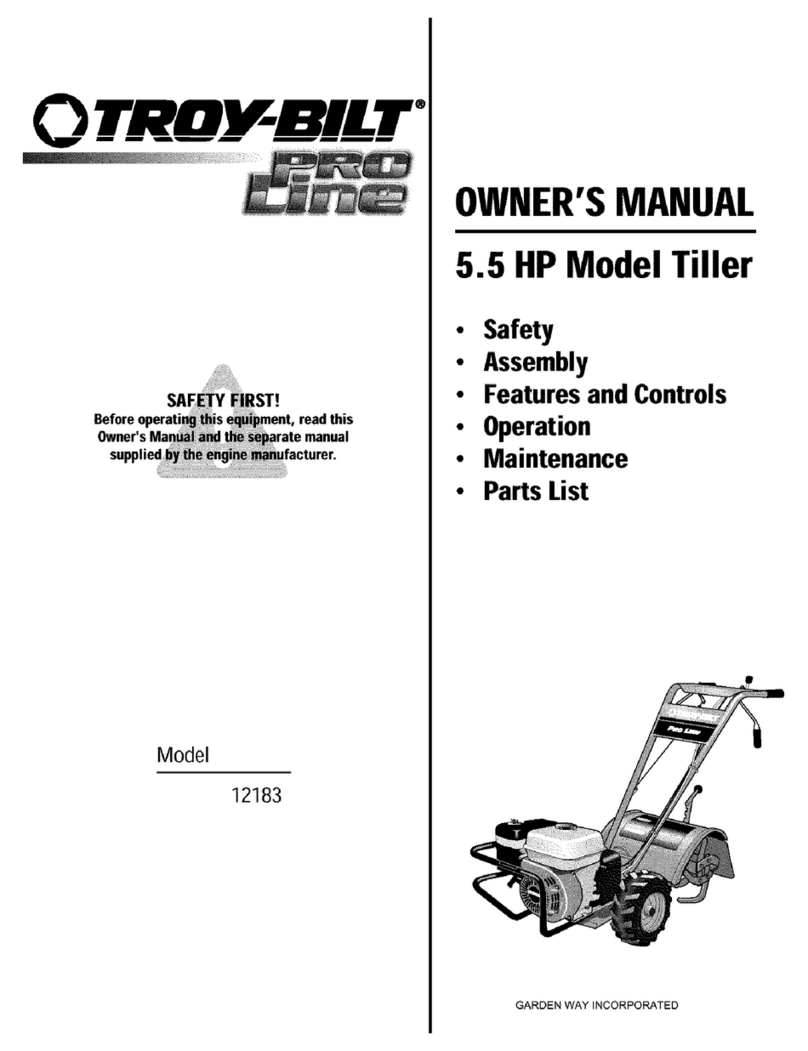
Troy-Bilt Pro Line 665B User manual

Other manuals for Pro Line 665B

1

Other Troy-Bilt Tiller manuals

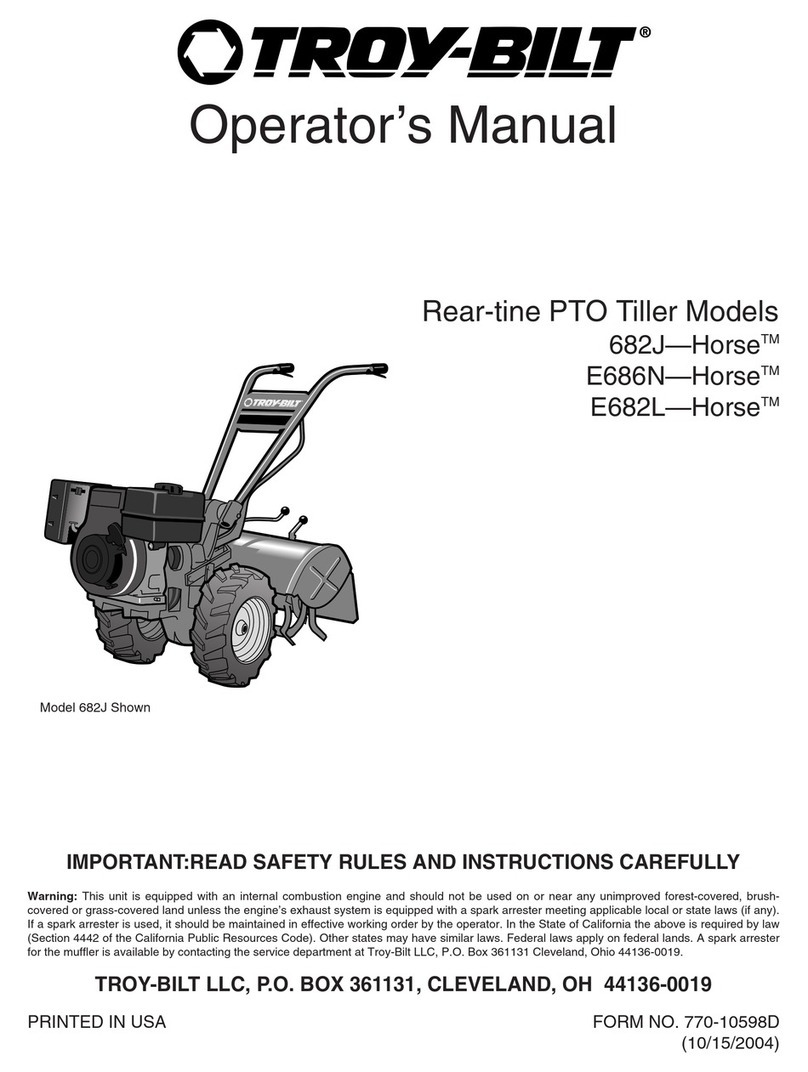
Troy-Bilt Horse E686N User manual

Troy-Bilt

Troy-Bilt Horse E686N User manual

Troy-Bilt Pro Line 665B User manual

Troy-Bilt

Troy-Bilt Pro Line 665B User manual

Troy-Bilt 640 Series Setup guide

Troy-Bilt

Troy-Bilt 640 Series Setup guide

Troy-Bilt 12191-5HP Instruction Manual

Troy-Bilt

Troy-Bilt 12191-5HP Instruction Manual

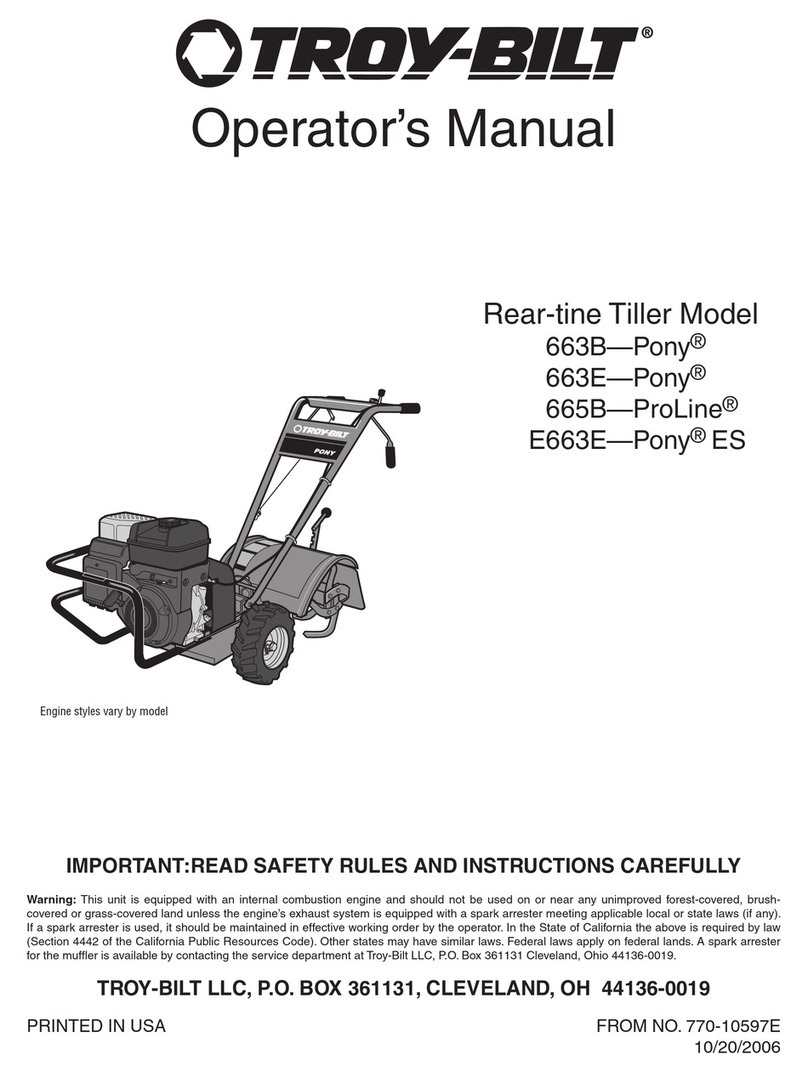
Troy-Bilt 663B- -Pony User manual

Troy-Bilt

Troy-Bilt 663B- -Pony User manual

Troy-Bilt Garden Way 12194 User manual

Troy-Bilt

Troy-Bilt Garden Way 12194 User manual

Troy-Bilt Tuffy 630B User manual

Troy-Bilt

Troy-Bilt Tuffy 630B User manual

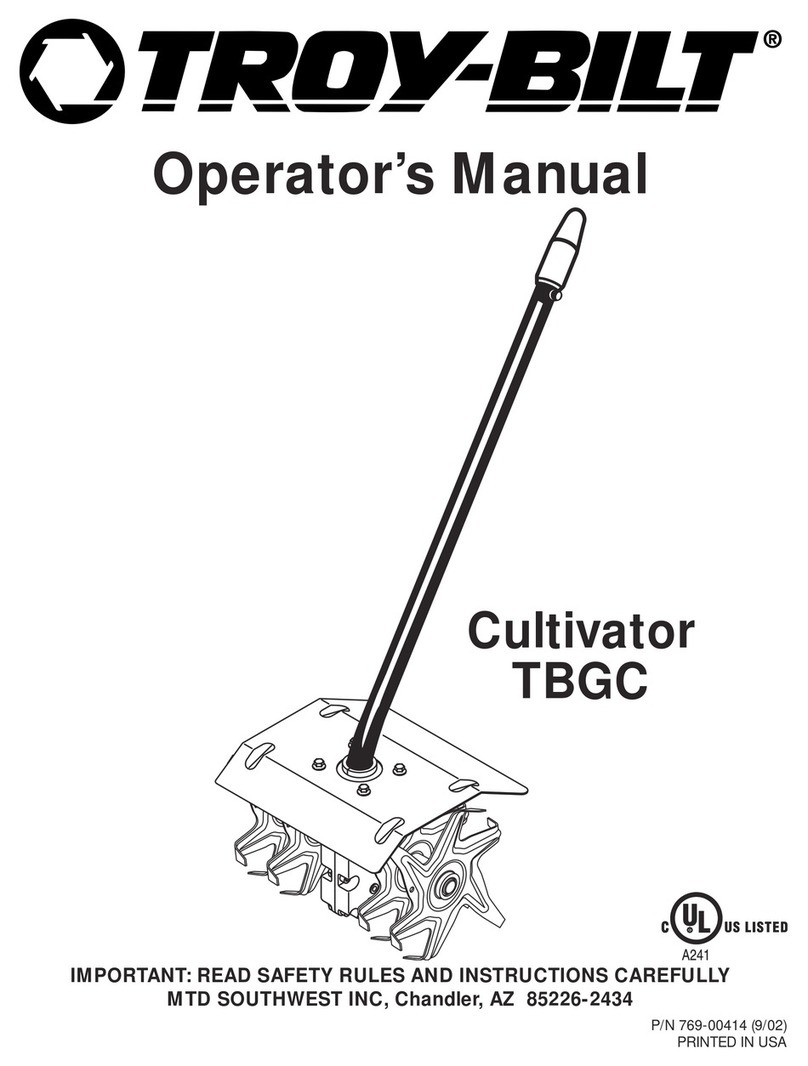
Troy-Bilt TBGC User manual

Troy-Bilt

Troy-Bilt TBGC User manual

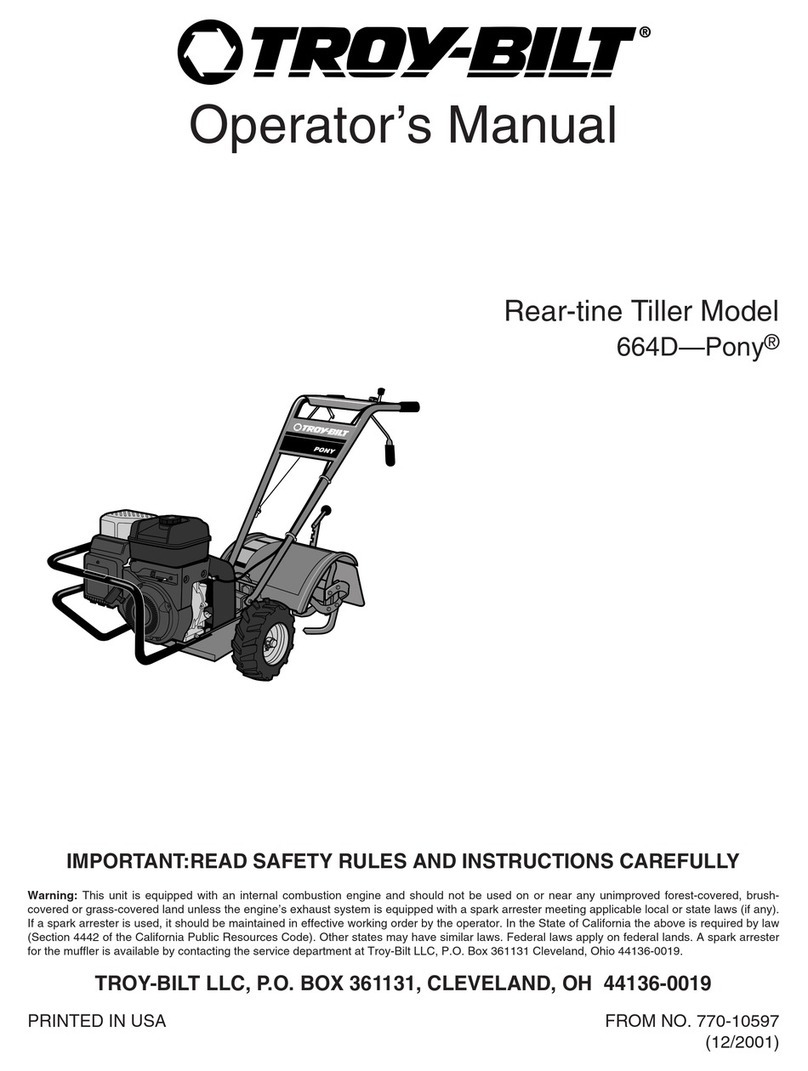
Troy-Bilt 664D-Pony User manual

Troy-Bilt

Troy-Bilt 664D-Pony User manual

Troy-Bilt 769-00485A P/N 769-00485A User manual

Troy-Bilt

Troy-Bilt 769-00485A P/N 769-00485A User manual

Troy-Bilt Super Bronco User manual

Troy-Bilt

Troy-Bilt Super Bronco User manual

Troy-Bilt TUFFY 634BM User manual

Troy-Bilt

Troy-Bilt TUFFY 634BM User manual

Troy-Bilt PTO Horse User manual

Troy-Bilt

Troy-Bilt PTO Horse User manual

Troy-Bilt TB154 User manual

Troy-Bilt

Troy-Bilt TB154 User manual

Troy-Bilt 660 Series Setup guide

Troy-Bilt

Troy-Bilt 660 Series Setup guide

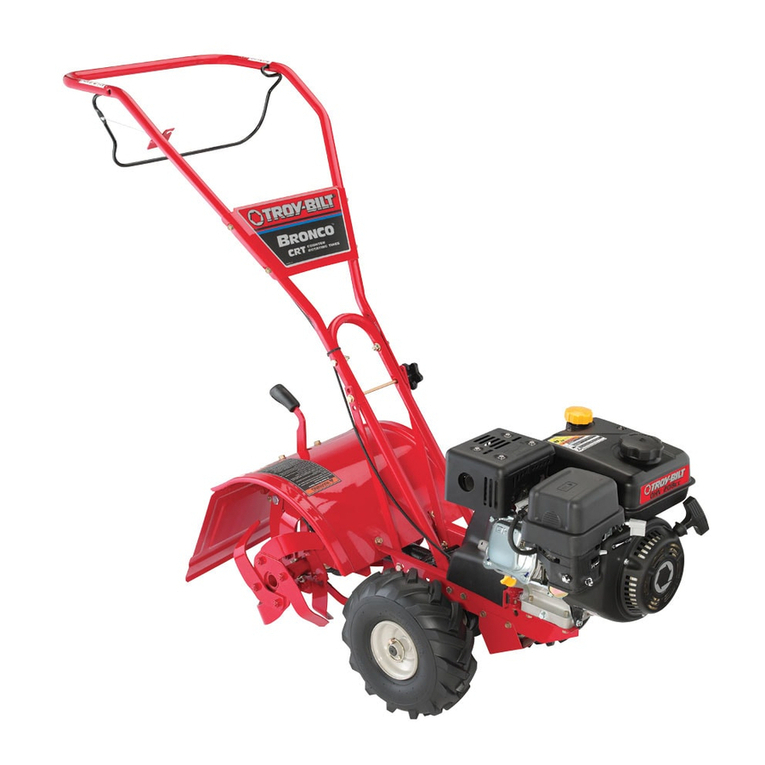
Troy-Bilt 682J-Horse User manual

Troy-Bilt

Troy-Bilt 682J-Horse User manual

Troy-Bilt TB146EC User manual

Troy-Bilt

Troy-Bilt TB146EC User manual

Troy-Bilt 682J-Horse User manual

Troy-Bilt

Troy-Bilt 682J-Horse User manual

Troy-Bilt TB144 User manual

Troy-Bilt

Troy-Bilt TB144 User manual

Troy-Bilt TBC304 User manual

Troy-Bilt

Troy-Bilt TBC304 User manual

Troy-Bilt TUFFY 1634A User manual

Troy-Bilt

Troy-Bilt TUFFY 1634A User manual

Troy-Bilt PRO LINE 644HMBRONCO User manual

Troy-Bilt

Troy-Bilt PRO LINE 644HMBRONCO User manual

Troy-Bilt ECONO-HORSE Owner's manual

Troy-Bilt

Troy-Bilt ECONO-HORSE Owner's manual

Troy-Bilt 664D-Pony User manual

Troy-Bilt

Troy-Bilt 664D-Pony User manual

Popular Tiller manuals by other brands

WIL-RICH 2500 Operator's manual

WIL-RICH

WIL-RICH 2500 Operator's manual

MTD 410R parts list

MTD

MTD 410R parts list

Viking HB 685 instruction manual

Viking

Viking HB 685 instruction manual

SMASH TLG415 instruction manual

SMASH

SMASH TLG415 instruction manual

FarmBoy FB-IC-209P user manual

FarmBoy

FarmBoy FB-IC-209P user manual

Craftsman 247.29931 Operator's manual

Craftsman

Craftsman 247.29931 Operator's manual

MTD FRT Series Operator's manual

MTD

MTD FRT Series Operator's manual

Craftsman 917.298353 owner's manual

Craftsman

Craftsman 917.298353 owner's manual

MTD OHV Series Original operating instructions

MTD

MTD OHV Series Original operating instructions

YAT YT5601-01 Assembly, Use, Maintenance Manual

YAT

YAT YT5601-01 Assembly, Use, Maintenance Manual

Craftsman 917.296010 owner's manual

Craftsman

Craftsman 917.296010 owner's manual

Scheppach MTP560 Translation from the original instruction manual

Scheppach

Scheppach MTP560 Translation from the original instruction manual

GARDEN WAY 12194 owner's manual

GARDEN WAY

GARDEN WAY 12194 owner's manual

Classen STAND-AER SA-25 Operator's manual and parts list

Classen

Classen STAND-AER SA-25 Operator's manual and parts list

Altrad ATIKA BH 1400 N Original instructions, safety instructions, spare parts

Altrad

Altrad ATIKA BH 1400 N Original instructions, safety instructions, spare parts

DR PILOT 2 Safety & Operating Instructions

DR

DR PILOT 2 Safety & Operating Instructions

AL-KO TL 1820 Instructions for use

AL-KO

AL-KO TL 1820 Instructions for use

breviglieri mekfarmer 120 Operating and maintenance

breviglieri

breviglieri mekfarmer 120 Operating and maintenance

manuals.online logo
manuals.online logoBrands
  • About & Mission
  • Contact us
  • Privacy Policy
  • Terms and Conditions

Copyright 2025 Manuals.Online. All Rights Reserved.

TRnV BILT'"
Operator's Manual
Rear, tine Tiller Model
665B
IMPORTANT:READ SAFETY RULES AND INSTRUCTIONS CAREFULLY
Warning: This unit is equipped with an internal combustion engine and should not be used on or near any unimproved forest-covered, brush-
covered or grass-covered land unless the engine's exhaust system is equipped with a spark arrester meeting applicable local or state laws (if any).
If a spark arrester is used, it should be maintained in effective working order by the operator. In the State of California the above is required by law
(Section 4442 of the California Public Resources Code). Other states may have similar laws. Federal laws apply on federal lands. A spark arrester
for the muffler is available by contacting the service department at Troy-Bilt LLC, P.O. Box 361131 Cleveland, Ohio 44136-0019.
TROY-BILT LLC, P.O. BOX 361131, CLEVELAND, OH 44136-0019
PRINTED IN USA FROM NO. 770-10596
(11/2001)
TABLE OF CONTENTS
Content Page
Calling Customer Support .................................................... 2
Safety ................................................................... 3
Assembly ................................................................. 6
Features and Controls ....................................................... 9
Operation ................................................................ 11
Maintenance .............................................................. 15
Tiller Attachments .......................................................... 22
Troubleshooting ........................................................... 23
Parts List ................................................................. 24
Warrany Information ........................................................ Back Cover
FINDING MODEL NUMBER
This Operator's Manual is an important part of your new Rear-tine Tiller. It will help you assemble, prepare and main-
tain the unit for best performance. Please read and understand what it says.
Before you start assembling your new equipment, please locate the model plate on the equipment and copy the infor-
mation from it in the space provided below. This information is very important if you need help from our Customer
Support Department or an authorized dealer.
You can locate the model number by looking at the rear surface of the tine shield. A sample model plate is
explained below. For future reference, please copy the model number and the serial number of the equipment
in the space below
O BILT" TROY-BILT LL(
P. O. BOX 361131
www.troybilt.com CLEVE_ND,OH_136
330-558-7220
•866-840-648_
Copy Model Number Here
Copy Serial Number Here
ENGINEINFORMATION
The engine manufacturer is responsible for all engine-related issues with regards to performance, power-rating, speci-
fications, warranty and service. Please refer to the engine manufacturer's Owner's/Operator's Manual packed sepa-
rately with your unit for more information.
CALLINGCUSTOMERSUPPORT
If you have difficulty assembling this product or have any questions regarding the controls, operation or maintenance
of this unit, please call the Customer Support Department.
Call 1- (330) 558-7220 or 1- (866) 840-6483 to reach a Customer Support representative. Please have
your unit's model number and serial number ready when you call. See previous section to locate this
information. You will be asked to enter the serial number in order to process your call.
Safety
This machine meets voluntary safety standard
B71.8 - 1996, which is sponsored by the Outdoor
Power Equipment Institute, inc., and is published
by the American National Standards Institute.
ForwardClutch
ControlLever
WARNING
The engine exhaust from this product contains
chemicalsknowntothe StateofCaliforniato cause
cancer,birthdefectsor otherreproductiveharm.
Handlebar
Height
Adjuster
\\
ReverseClutchControl
\\\\\\
_Wheel Gear Lever
ForwardClutch
ControlLever
Depth RegulatorLever
J
SafetyAlert Symbol
This is a safety alertsymbol. It is used inthis
manualand on the unit to alert you to potential
hazards. Whenyou seethis symbol, read and
obeythe messagethat follows it. Failureto obey
safety messagescould result in personalinjury
or property damage. Recoil Rope Starter
TRAINING
1. Carefullyread this Owner's Manual the
separate EngineOwner's Manual, and any
other literature you may receive.Bethor-
oughlyfamiliar with the controls andthe
proper use ofthe tiller and its engine.
Knowhow to stop the unit and disengage
the controls quickly.
2. Neverallow children to operatethe
tiller. Neverallow adults to operatethe
tiller without proper instruction.
3. Keepthe areaof operationclear ofall
persons,particularly children and pets.
4. Keepin mind that the operatoror user
is responsiblefor accidents or hazards
occurring to other people,their property,
and themselves.
PREPARATION
1. Thoroughly inspectthe areawherethe
tiller is to be usedand remove all foreign
objects.
2. Be sureall controls are releasedand
the WheelGearLeveris in ENGAGEbefore
starting theengine.
3. Do not operatethe tiller without
wearing adequateouter garments. Avoid
loosegarments or jewelry that could get
caught in moving parts.
4. Donot operatethetiller whenbarefootor
wearingsandals,sneakers,or light
footwear.Wearprotectivefootwearthatwill
improvefooting on slipperysurfaces.
5. Donottill nearundergroundelectric
cables,telephonelines,pipesor hoses.If in
doubt, contactyourtelephoneor utility
company.
6. Warning: Handlefuelwith care;it is
highlyflammableand its vaporsareexplo-
sive. Takethefollowing precautions:
a. Storefuel in containers specifically
designedfor this purpose.
b. Thegascapshall neverbe removed
or fuel addedwhile the engine is
running. Allow the engineto cool
for severalminutes beforeadding
fuel.
c. Keepmatches,cigarettes, cigars,
pipes, openflames, and sparks
away from the fuel tank and fuel
container.
d. Fillfuel tank outdoors with extreme
care. Neverfill fuel tank indoors.
Useafunnel or spout to prevent
spillage.
e. Replaceall fuel tank and container
caps securely.
f. If fuel isspilled, do not attempt to
start the engine, but movethe
machineawayfrom thearea of
spillageand avoid creating any
source of ignition until fuel vapors
havedissipated.
_Standard RotatingTines
Figure1-1
7. Never makeadjustmentswhen engine
is running (unless recommendedby
manufacturer).
OPERATION
1. Donot put handsor feet nearor under
rotating parts.
2. Exerciseextreme caution when on or
crossing graveldrives, walks, or roads.
Stay alertfor hidden hazardsor traffic. Do
notcarry passengers.
3. After striking a foreign object,stop the
engine,disconnect the spark plug wire
and prevent itfrom touching thespark
plug,carefully inspectthetiller for any
damage,and repair the damagebefore
restartingand operating thetiller.
4. Exercisecaution to avoid slipping or
falling.
5. If the unitshouldstart tovibrateabnor-
mally,stop theengine.Disconnectthespark
plugwireand preventitfrom touchingthe
spark plug,and checkimmediatelyforthe
cause.Vibration is generallya warning of
trouble.
6. Stopthe engine,disconnect the spark
plug wire and prevent it from touching the
spark plug wheneveryou leavethe operat-
ing position, beforeunclogging the tines,
or when making any repairs,adjustments
or inspections.
7. Takeall possible precautionswhen
leavingthe machine unattended.Stop the
engine. Disconnectspark plug wire and
move it awayfrom the spark plug. Move
Wheel GearLeverto ENGAGE.
8. Beforecleaning, repairing, or inspect-
ing, stop the engineand makecertainall
moving parts havestopped.Disconnect
the spark plug wire and prevent itfrom
touching the spark plug to preventacci-
dental starting.
9. Always keepthe tiller tine hood flap
down, unless usingthe hiller/furrower
attachment.
10. Neverusethetiller unless proper
guards, plates,or othersafetyprotective
devicesare in place.
11. Donot run engine in an enclosed area.
Engineexhaustcontains carbon monoxide
gas, a deadly poisonthat is odorless, col-
orless,and tasteless.
12. Keepchildren and petsaway.
13. Never operatethe tiller underengine
powerif the WheelGearLever isin DIS-
ENGAGE(FREEWHEEL).In this position,
the wheelswill notholdthetiller back
and the revolvingtinescouldpropelthe
tiller rapidly, possiblycausinglossof
control.Alwaysmove the WheelGear
Leverto ENGAGEbeforestarting the
engine or engaging thetines/wheelswith
ForwardClutch Control or ReverseClutch
Control.
14. Beawarethat the tiller may unexpect-
edly bounceupward or jump forward if the
tines should strike extremely hard packed
soil, frozen ground, or buried obstacles
like largestones, roots, or stumps. If in
doubt aboutthe tilling conditions, always
usethefollowing operating precautionsto
assist you in maintaining control of the
tiller:
a. Walk behindand to oneside ofthe
tiller, usingonehandonthe han-
dlebars.Relaxyourarm, butusea
securehandgrip.
b. Useshallowerdepthregulatorset-
tings, workinggraduallydeeper
with eachpass.
c. Useslowerenginespeeds.
d. Clearthe tilling area ofall large
stones,rootsand otherdebris.
e. Avoidusingdownwardpressureon
handlebars.If need be, useslight
upwardpressureto keepthetines
from diggingtoodeeply.
f. Beforecontactinghardpackedsoil
at the endofa row, reduceengine
speedand lift handlebarsto raise
tines outofthesoil.
g. In an emergency,stoptinesand
wheels byreleasingwhichever
ClutchLever isengaged.Do not
attemptto restrainthetiller.
15. Do not overloadthe tiller's capacity by
attempting to till too deeplyat too fast a
rate.
16. Neveroperatetiller at high transport
speedson hard or slippery surfaces. Look
behind and usecare when backingup.
17. Do not operatethe tiller on a slope
that istoo steepfor safety.When on
slopes,slow down and makesure you
havegood footing. Never permit the tiller
to freewheel down slopes.
18. Neverallow bystandersnearthe unit.
19. Only useattachments and accessories
that are approved bythe tiller
manufacturer.
20. Usetiller attachmentsand accessories
when recommended.
21. Neveroperatethetiller without good
visibility or light.
22. Neveroperatethetiller ifyouaretired, or
undertheinfluenceofalcohol,drugsor
medication.
23. Operatorsshallnottamperwith the
engine-governorsettingson themachine;
the governorcontrolsthemaximumsafe
operatingspeedto protecttheengineandall
moving partsfrom damagecausedbyover-
speed. Authorizedserviceshallbesought if
a problemexists.
24. Donottouch enginepartswhich may be
hotfrom operation.Letpartscooldownsuf-
ficiently.
25. Thebatteryonelectricstart modeltillers
(if soequipped)containssulfuricacid.Avoid
contactwith skin,eyes,or clothing.Keepout
ofthe reachofchildren.
Antidote-ExternalContact:Flushimme-
diatelywith lots ofwater.
Antidote-Internal:Drink largequantities
ofwater or milk. Followwith milk of mag-
nesia,beateneggs or vegetable oil. Call
a doctor immediately.
Antidote-EyeContact:Flushwith water
for 15 minutes.Getpromptmedical
attention.
26. Batteriesproduceexplosivegases.Keep
sparks,flame,andsmokingmaterialsaway.
Ventilatewhenchargingbatteriesor when
usinga batteryin anenclosedspace.
ALWAYSwearsafetygoggleswhenworking
nearbatteries.
27. Pleaseremember:You canalwaysstop
thetinesand wheelsby releasingthe
ForwardClutchControlLeveror the Reverse
ClutchControlknob(whichevercontrolyou
haveengaged),or by movingtheengine
switch (locatedonengine)to theOFF
position.
28.To loador unloadthetiller, seethe
instructionsin Section4 ofthis Manual.
29. Useextremecautionwhen reversingor
pullingthemachinetowardsyou.
30. Startenginecarefullyaccordingto
instructionsandwith feet awayfrom tines.
31. Neverpick upor carrya machinewhile
theengineis running.
MAINTENANCEANDSTORAGE
1. Keepthe tiller, attachments and acces-
sories in safeworking condition.
2. Checkall nuts, bolts, andscrews atfre-
quentintervals for proper tightness to be
surethe equipment is in safeworking con-
dition.
3. Neverstorethetillerwith fuel inthefuel
tank insidea buildingwhereignitionsources
are presentsuchashotwaterandspace
heaters,furnaces,clothesdryers,stoves,
electricmotors,etc. Allowengineto cool
beforestoring inanyenclosure.
4. Toreducethechancesofa fire hazard,
keepthe enginefreeof grass,leaves,or
excessivegrease.
5. Storegasoline in acool, well-ventilated
area,safelyawayfrom anyspark- or flame-
producingequipment. Storegasolinein an
approvedcontainer,safelyawayfrom the
reachof children.
6. Referto the storage instructions in the
Maintenancesection of this Manualand in
the separateEngineOwner's Manualfor
instructions if the tiller isto bestored for
an extendedperiod.
7. Never perform maintenancewhile the
engineis running or the spark plug wire is
connected,exceptwhenspecifically
instructed to do so.
8. If thefuel tank hasto bedrained,do this
outdoors.
DECALS
Foryour safety and the safety of others, various safety messagedecalsare on your unit (see Figure1-2). Keepthe decalscleanand
legible at all times. Contact your local service dealer or the Factory for replacements if any decals are damaged or missing.
Refer to the Parts List in this manual for decal locations, part numbers and ordering instructions.
OperatingSymbols
Various symbols (shown here,with
word descriptions) may be used on the
tillerand engine.
FAST SLOW STOP
HI÷1 R
CHOKE CHOKE REVERSE
ON OFF
ROTATING LEVERDIRECTION
TINES
<--qHE
TILLERDIRECTION
ControlDescriptions
TineWarning(onright
sideofhoodflap)
StartingStabilization
(onfrontofengine
assembly) OperatingInstructions
andWarningMessages
HotSurfaces/MovingBelts
(ontopofbeltcover)
Figure1-2".Locationofsafetyand operatingdecals.
TO AVOID SERIOUS INJURY:
• READTHEOWNER'SMANUAL.
•KNOWLOCATIONSAND FUNCTIONSOFALL CONTROLS.
•KEEPALL SAFETYDEVICESANDSHIELDSIN PLACEANDWORKING.
•NEVERALLOWCHILDRENORUNINSTRUCTEDADULTSTO OPERATETILLER.
•SHUTOFFENGINEANDDISCONNECTSPARKPLUGWIRE BEFOREMANUALLYUNCLOG-
GINGTINES ORMAKINGREPAIRS.
•KEEPBYSTANDERSAWAYFROMMACHINE.
•KEEPAWAY FROMROTATINGPARTS.
•USEEXTREMECAUTIONWHENREVERSINGORPULLINGTHE MACHINETOWARDSYOU.
Assembly
To prevent personal injury or property
damage, do notstartthe engine untilall
assembly steps are complete and you
haveread and understandthe safetyand
operatinginstructionsin thisManual.
INTRODUCTION
Carefullyfollow these assembly steps to
correctly prepareyour tiller for use. It is
recommendedthat you read this Section
in its entirety before beginning assembly.
INSPECTUNIT
Inspect the unit and carton for damage
immediately after delivery. Contactthe
carrier (trucking company) if you find or
suspect damage. Informthem ofthe
damageand request instructions for filing
a claim. To protect your rights, put your
claim in writing and maila copy to the
carrier within 15days after the unit has
beendelivered. Contactus atthe factory if
you needassistancein this matter.
UNPACKINGANDASSEMBLY
INSTRUCTIONS
STEP 1: UNPACKING INSTRUCTIONS
1. Removeany cardboardinsertsand
packagingmaterial from the carton.
Removeany staplesfrom the bottom of
the carton and remove thecarton.
2. Cutthe large,plastictie strap that
securesthetransmission tube to the ship-
ping pallet. Leavethe handlebarson top of
the tiller to avoid damagingany cables.
3. A bagwith loose hardwareis insidethe
literature envelope. Checkthe contents
against the following list and Figure2-1.
Contactyour localdealer or the factory if
any items are missing or damaged.
4. Thetiller is heavy. You should not
attempt to remove it from the shipping
platform until instructed to do so in these
"Assembly" steps.
HARDWARE BAG PARTSLIST
Fig.
Ref. Qty. Description
12 3/8-16 x 1"Hex Hd. Screw
21 KeyedWasher
3 1 Wheel GearLeverKnob
41 HeightAdjustment Flange
Screw (SeeFigure2-1A)
52 3/8" FlatWasher
6 2 #10 Lockwasber
7 2 3/8"-16 Nylock Lock Nut
8 2 #10-32 x 1/2" RoundHd.
Screw
9 1 Cotter Pin (not used)
10 4 PlasticTie Strap(2 not used)
Tools/Materials Needed
for Assembly
(1) 3/8"open-end wrench*
(2) 9/16"open-end wrench*
(1) 7/8" open-endwrench or 8" long
adjustablewrench
(1) Scissors (to trim plastic ties)
(1) Ruler
(1) Smallboard (to tap plastic knob on
lever)
(1) Tire pressure gauge
(1) Cleanoilfunnel
(1) Clean,high-quality motor oil. Referto
the separateEngineOwner's Manual
for motor oil specifications and
quantity required.
* Adjustablewrenches may be used.
IMPORTANT:Motor oil must beaddedto
the engine crankcasebeforethe engine is
started. Followthe instructions in this
"Assembly" Section and in the separate
EngineOwner's Manual.
NOTE:LEFTand RIGHTsides of thetiller
are as viewedfrom the operator's position
behind the handlebars.
STEP 2: ATTACHHANDLEBARS
1. Cut the large,plastic cableties that
securethe handlebarendsto the handle-
bar mounting tabs on thetransmission
top cover.
2. Gently lift handlebar (do not over-
stretch attachedcable)and placehandle-
bar cross-brace (B, Figure2-2) in front of
curved height adjustment bracket (C).
Figure2-1:Loosehardware(shownin
reducedsize).
Figure2-1A Handlebarheightadjustment
usestheflangeheadscrew.
Figure2-2: Forwardclutchcontrolcablenot
shownforclarity.
3. Withforwardclutchcable (N, Figure
2-3) on insideofhandlebar,position
handlebarends on outside of the two
mounting tabs (M, Figure2-2) on trans-
mission top cover.
4. Loosely attachthe handlebarsto the
mounting tabs with two 3/8-16 x 1"
screws (headsof screws go to insideof
tabs), 3/8"flat washersand 3/8"-16 lock
nuts (0, Figure2-3).
5. Move the handlebarsup or down to
align the threadedhole in the cross-brace
with one of the four slots in the curved
heightadjustment bracket. Placethe
keyedwasher (E, Figure2-2) on theflange
headheight adjustment screw (F) with the
raisedkeys (edges)of thewasher facing
down.
STEP 3: ATTACHREVERSE
CLUTCH CONTROL CABLE
1. Carefullyunwrapthe reverseclutch
control cable(H, Figure2-5) from its ship-
ping position and route it up alongthe
inside edgeof the left side handlebar. A
knob and large hexnut (I) is installed on
the cable.
LeftSide ReverseClutch
Handlebar ControlKnob
Figure2-3 Attachhandlebars,
6. Threadthe height adjustment screw (F,
Figure2-2) intothe hole inthe handlebar
cross-brace, making sure that the raised
keys on the washerfit into the slot on the
height adjustment bracket. Tighten the
height adjustment screwsecurely. Next,
securelytighten the two screws and nuts
in the endsof the handlebar (M, Figure "-H
2-2). Figure 2-5: Attachreverse clutchcontrol
assemblytoslottedholein handlebarpanel.
2. Insertthe cable intothe slot in the
control paneland fit thethreadedassem-
bly into the hole in the slot (seeFigure2-
5). Besure that the flat side of the
threaded assembly is alignedwith theflat
Figure2-4:CarefullyunwrapWheelGear side ofthe hole. Slidethe hexnut (I) up
Leverandmoveleverto DISENGAGE. the cableand tighten it securely.
3. Testthe function of the reverseclutch
7. To remove thetiller from itsshipping control cableby pullingthe knob out and
platform,first carefully unwrapthe wheel releasingit. The knobshould return to its
gear cable(with attached lever- seeFigure neutral position against thetapered
2-4) from around the chassis. Move the bushing when itis released. If itdoesn't,
WheelGearLever(G) to the DISENGAGE contact your localdealer or the factory for
position--thisallows the wheelsto rotate technical assistance.
freely. Usethe handlebarsto roll thetiller
off the platform. STEP 4: ATTACHFORWARD
NOTE: TheWheelGearLeverwill be CLUTCH CONTROL CABLE
installed later in this procedure. 1. Removeanyfasteners (rubber bands,
IMPORTANT: Usethe DISENGAGEposi- tape, etc.) that may securethe Forward
tion only whenthe engine is not running. Clutch Controllevers (J, Figure2-6) to the
Beforestarting theengine,the WheelGear handlebar.
Lever must be placedin the ENGAGEposi-
tion (seeSection 3 for details).
2. Theforward clutch control cable (with
attachedspring) is hanging loosely near
the right-side wheel. Beingcareful not to
kink or stretch the cable, insert the z-con-
nector (L, Figure2-7 - end ofthe spring)
into the hole atthe end of the forward
clutch control linkage (K, Figure2-6).
Figure2-7
3. Attachthe cableadjuster (A,Figure
2-8) to the bracketon the right-side han-
dlebar. Usetwo 1/2"wrenches to loosen
the two jam nuts (B) just enough to slide
the cableadjuster ontothe bracket. Then
handtighten the jam nuts.
Figure2-8
Incorrectcable adjustmentcould cause
the wheels and tines to rotate unexpect-
edly. Follow adjustment procedures
carefully. Failure to do so couldresult
in personalinjuryor propertydamage.
4. Checkfor correct spring/cabletension
as instructed in Section5, Checkingand
Adjusting ForwardClutch Belt Tension.
5. Whentension iscorrect, tighten the
two jam nuts (B,Figure2-8) securely.
Figure2-6: ForwardClutchControllevers
(J), Forwardclutchcontrollinkage(K).
STEP 5: CHECKTRANSMISSION
GEAROIL LEVEL
Thetransmission was filled with gearoil at
the factory. However, besure to checkthe
oil levelat this time to makecertain it is
correct.
IMPORTANT:Do not operatethe tiller if
the gear oil level is low. Doing so will
result in severedamageto thetransmis-
sion components.
1. With thetiller on levelground, pull the
Depth Regulator Lever(L, Figure2-9) back
and then slide it to thesecond notch from
the top. NOTE:If the leverdoes not move,
lift the tine hood flap and lookfor a plastic
tie securing the leverin place. Cutand
removethe tie.
Figure2-9:Putleverin secondnotch.
2. Removethe oil levelcheck plug (M,
Figure2-10) on the left-side of the trans-
mission. (Dueto dried paint onthe plug
threads, it may require some force to
removethe plug thefirst time.) The gear
oil levelis correct if oil starts to flow out of
the hole asthe plug is removed. If so,
securelyreinstall the plug.
Figure2-10: Gear oil level checkplug.
3. If oil doesnot flow from the check
hole,add oil asfollows:
NOTE:Do not useautomatic transmission
fluid or motor oil in the transmission.
(a) Cleanareaaround the fill hole (N,
Figure2-11) and unscrew gear oil fill
plug.
(b) If adding only a few ouncesof gear oil,
useAPI ratedGL-4 or GL-5 gearoil
Figure2-11: Addinggear oil,
havinga viscosity of SAE140, SAE
85W-140 or SAE80W-90. if refilling
an empty transmission, useonly GL-4
gear oil havingaviscosity of SAE
85W-140 or SAE140.
(c) Using a cleanfunnel, slowly add gear
oil until it flows from the gear oil level
checkhole (N, Figure2-11).
(d) Reinstalland tighten securely thegear
oil fill plug (M, Figure2-10).
STEP 6: ADD MOTOR OIL TO ENGINE
Thetiller is shipped withoutoil in the
engine.
IMPORTANT:Do notstart the engine
without first adding motor oil. Severe
engine damagewill result if the engine is
run without oil.
1. Referto the separateEngine Owner's
Manualfor motor oil specifications and
capacities.
2. With the unit on levelground, move
the DepthRegulator Lever(L, Figure2-9)
up or down until the engine is level.
3. Add motor oil asdescribed in the
EngineOwner's Manual.
4. Move the Depth Regulator Leverall the
way down until the highest notch is
engaged. This placesthetines in the
"travel" position.
STEP 7: ATTACHWHEEL GEARLEVER
1. Insert theWheel GearLever(P, Figure
2-12) upthrough the slot in the control
panelthat is labeled"WHEELGEAR."
2. Insert two #10-32 x 1/2" round head
screws downthrough the "+" marks on
the control paneldecaland securelyattach
the wheelgear mounting bracketusing
two #10 Iockwashersand #1g-32 nuts.
3. Using a board,tap the WheelGear
Leverknob securelyonto the lever.
Figure2-12: Attach WheelGearLever.
Figure2-13: Attachwheelgearcableand
reverseclutchcablewithcableties(S).
4. Securethe wheelgear cableand the
reverseclutch control cableto the left-side
handlebarwith two plasticties (S, Figure
2-13) locatedabouttwo feet apart. Snip
off anyexcesstie lengthwith scissors.
STEP 8: CHECKAIR PRESSURE
IN TIRES
Usea tire pressuregauge to checkthe air
pressurein both tires. Deflateor inflate
bothtires equallyto 15-to-20 PSi (pounds
persquare inch). Besure that both tires
are inflated equallyor the unit will pull to
one side.
STEP 9: CHECKHARDWARE FOR
TIGHTNESS
Inspectthe hardwareon the unit and
tighten any loosescrews, bolts and nuts.
This completes the assembly steps.
Besureto read therest ofthisManual
beforeyou operateyourtiller.
FeaturesandControls
Before operating your machine, care-
fully read and understand all safety,
controls and operating instructions in
this Manual, in the separate Engine
Owner's Manual, and on the decals on
the machine.
Failure to follow these instructionscan
resultin seriouspersonalinjury.
INTRODUCTION
This section describesthe location and
function of the controls on your tiller.
Referto Section 4: Operationfor detailed
operating instructions.
Practiceusing these controls, with the
engine shut off, until you understandthe
operation ofthe controls and feel confi-
dentwith eachof them.
IMPORTANT:Referto the separateengine
manufacturer's EngineOwner's Manualfor
information aboutthe controls on the
engine.
WHEEL GEAR LEVER
This lever (A,Figure3-1) hastwo posi-
tions: ENGAGEand DISENGAGE.
In the ENGAGEposition, thewheels will
start turning when eitherthe Forward
ClutchControl or ReverseClutchControl
is engaged(the tines will also start turning
when eitheris engaged).
TheDISENGAGE(freewheel) position
placesthe wheels in the freewheeling
modeto allow the unit to bemoved
without the enginerunning. Usethe DIS-
ENGAGEposition onlywhen the engine is
not running. See"DANGER"statement
that follows.
Toshift to ENGAGE,gently (do notforce)
move the leverforward while also rolling
thetiller a few inchesforward or back-
ward. Moving the tiller helpsto align the
shift mechanismwith thetransmission
wheeldrive gears.
Toshift to DISENGAGE,move the lever
rearward, without rolling the tiller. The
wheelswill roll freely whenthe lever is
properly set into the DISENGAGEposition.
Figure3-1: Controlslocatedon handlebar.
Never place the Wheel Gear Lever in
DISENGAGE (Freewheel) when the
engineis running.
Having the Wheel Gear Lever in
DISENGAGE and then engaging the
tines_heels with either ForwardClutch
ControlLever or Reverse Clutch Control
couldallow the tines to propelthe tiller
rapidlyforwardor backward.
Failure to follow this instruction could
result in personal injury or property
damage.
Never engagethe wheels andtines with
Forward Clutch Control Levers or
Reverse Clutch Control unless the
WheelGearLever is in ENGAGE.
EngagingForwardClutchControlLevers
or Reverse Clutch Control when the
wheels are notengaged couldallow the
tines to rapidly propelthe tiller forward
or backward.
Failure to follow this warning could
result in personal injury or property
damage.
FORWARD CLUTCH CONTROL
LEVERS
Thetwo interconnected levers(B, Figure
3-1) control the engagementofforward
drive to thewheels and tines.
To OperatetheForwardClutchControl:
1. Beforeengagingthe ForwardClutch
Control Levers,put the WheelGearLever
in the ENGAGEposition (see"WARNING"
above).
2. Lift and hold one or both of the levers
against the handlebargrips to engagethe
wheels and tines.
3. ReleaseBOTHleversto disengage
(stop) the wheels and tines. All forward
motion will stop (the engine will continue
to run).
REVERSE CLUTCH CONTROL
The ReverseClutchControl (C,Figure3-1)
controls the engagementof reversedrive
to the wheels and tines.
The reversingfeatureis usedfor maneu-
veringthetiller only- neverengagethe
tines in thegroundwhile reversing.
To Operatethe ReverseClutchControl:
1. Putthe WheelGearLeverin the
ENGAGEposition (seeprevious
"WARNING"statement).
2. Stop all tiller motion by releasingthe
ForwardClutch Control Levers.
3. Lift up the handlebarsuntil thetines
clearthe ground, look behind you to avoid
any obstacles,andthen pull the Reverse
ClutchControl knobout. Thetines and
wheels will rotate in a reversedirection.
4. Releasethe ReverseClutchControl
knobto disengage(stop) the wheels and
tines. All reverse motion will stop (the
engine will continue to run).
•Useextremecautionwhen reversingor
pullingthe machinetowardsyou. Look
behindtoavoidobstacles.
•Neverattempttotill in reverse.
Failure to follow this warning could
result in personal injury or property
damage.
DEPTH REGULATORLEVER
This lever(D, Figure3-2) controls the
tilling depth of the tines. Pull the lever
straight backand slide it up or down to
engagethe notched height settings.
Thehighest notch (leverall the way down)
raisesthe tines approximately 1-1/2
inches off the ground. This "travel" posi-
tion allows the tiller to be moved without
the tines digging into the ground.
Figure 3-2: DepthRegulator Lever.
Moving the leverup increasesthetilling
depth. The lowest notch allows atilling
depth ofapproximately six to eight inches,
dependingon soil conditions.
Forbestresults, alwaysbegintilling at a
very shallowdepth settingand gradually
increasethetilling depth.
Completedetails on using the Depth Reg-
ulator arefound in Section 4 of this
manual.
• Do not attempt to till too deeply too
quickly. Gradually work down to
deepertilling depths.
•Placethe DepthRegulatorLeverin the
"travel" position before starting the
engine. This position prevents the
tines from touching the ground until
youare readytobegintilling.
Failure to follow this warning could
result in personal injury or property
damage.
HANDLEBAR HEIGHT ADJUSTMENT
The handlebarheight isadjustable to four
different settings. When settingthe
height, keepin mind that the handlebars
will be lowerwhen the tines are engaged
in the soil.
To AdjusttheHandlebarHeight:
1. Stopthe engine,wait for all parts to
stop moving and then disconnect the
spark plug wire. Removethe ignition key
on electric start models.
2. Loosenthe two screws atthe lower
ends of the handlebar.
3. Loosenthe height adjustment flange
screw(F, Figure3-3) and pull the keyed
washer (E) free of the slots in the curved
heightadjustment bracket.
Figure3-3
4. Move the handlebarsto the newslot
settingand insert the raisedkeys on the
keyedwasher into the slot. Tighten the
heightadjustment flange screw securely.
5. Retightenthe two screws atthe ends
of the handlebar.
ENGINE CONTROLS
Referto theengine manufacturer's Engine
Owner's Manual(included in thetiller liter-
ature package)to identify the controls on
your engine.
IMPORTANT:The control for stopping the
engine is located on the engine.
SPECIALNOTICEREGARDING
"MOTOROILALERTSYSTEM"
The engine on your tiller is not
equipped with a functioning "Oil Alert
System" and you should ignore any
references in your Engine Owner's
Manual regarding this feature.
The "Oil Alert System" is not practi-
cal for use with your tiller because
the engine is frequently operated in
non-level applications that would
provide false readings to the
system's oil level sensor. These
false readings would result in fre-
quent, and unnecessary,engine shut
downs.
You can easily protect your engine
from damage caused by insufficient
oil in the crankcase by simply
remembering to do the following:
• Check the motor oil level before
starting the engine.
• Checkthe motor oil levelafter every
five (5) hours of continuous
operation.