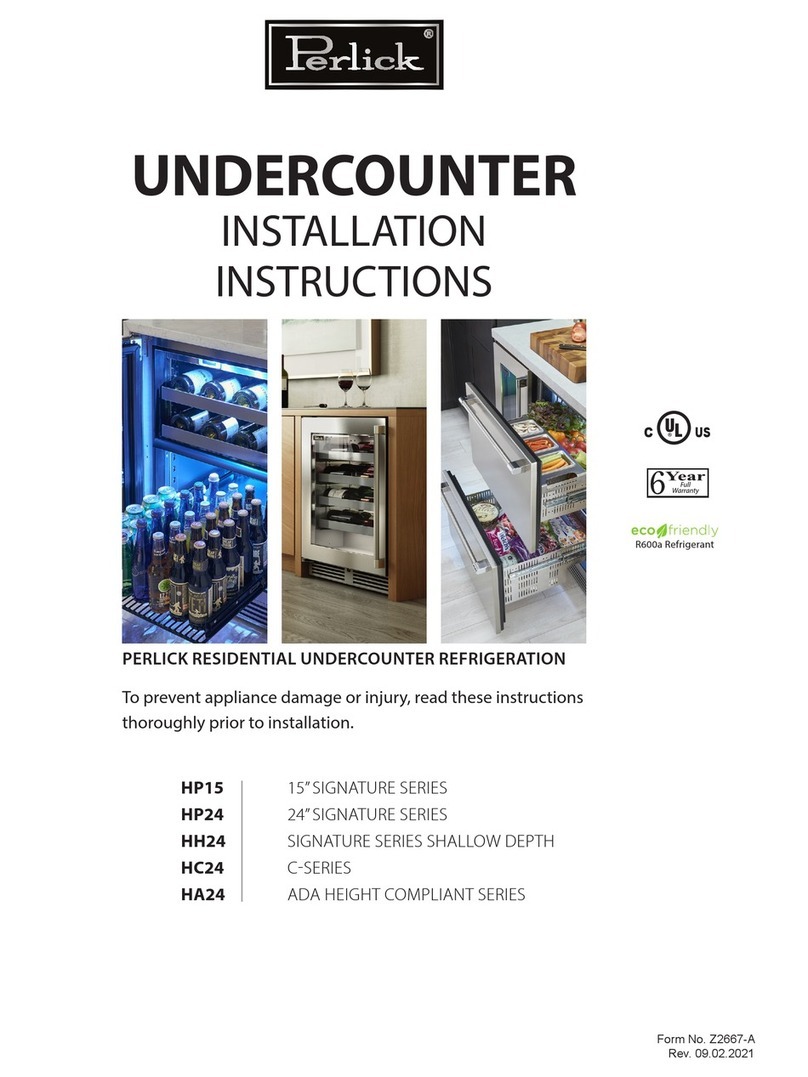
True TUR-24-A User manual

TRUE RESIDENTIAL®
15 INCH AND 24 INCH UNDERCOUNTER SERVICE MANUAL
“A” AND “B” REVISIONS
PRESERVE THE MOMENT®

15 & 24 INCH SERVICE MANUAL
INSTALLATION CHECKLIST 2
SAFETY PRECAUTIONS / DATA TAG INFORMATION 3
DEPARTMENT CONTACT INFORMATION 4
ELECTRICAL SPECIFICATIONS 5
DUAL ZONE HOME ALARM SYSTEM 6
UNCRATING 7
LEVELING REFRIGERATOR 8
INSTALLATION ANTI-TIP BRACKETS 9-10
INSTALLING THE DOOR STOP 11
INSTALLING 90˚ DOOR HINGE (OPTION) 11-13
DRAWER DEPTH ADJUSTMENTS 14
DRAWER FRONTS ADJUSTMENTS 15
DRAWER GLIDES ADJUSTMENTS 15
DOOR REMOVAL 16
STAINLESS STEEL & STAINLESS GLASS DOOR ADJUSTMENTS 17
OVERLAY PANEL AND OVERLAY PANEL GLASS / GLASS DOOR ADJUSTMENTS 18
WINE SHELVING ADJUSTMENTS / GLASS SHELVING ADJUSTMENT 19
LED LIGHTING 20
STACKING KIT 21-22
TYPES OF COMPRESSORS AND SPECIFICATIONS 46
VARIABLE SPEED COMPRESSOR DIAGNOSTICS 47
INVERTER BOARD DIAGNOSTICS TABLE 48
COMPRESSOR COMPARTMENT LAYOUT 49
SOFTWARE INFORMATION AND START UP MODE 24
SEQUENCE OF OPERATION 25
USER INTERFACE COMMANDS 26-27
DEFROST 28
EVAPORATOR COVER REMOVAL 29-30
EVAPORATOR SECTION LAYOUT 31-32
PROBES VALUES 32
EVAPORATOR FAN DRIVER 32
CONTROL BOARD REPLACEMENT AND MODEL SELECT SEQUENCE OF OPERATION 33
WIRING DIAGRAMS 34-44
TABLE OF CONTENTS
TECHNICAL DATA 23
COMPRESSOR OPERATION 45
GOOD REFRIGERATION PRACTICES 51
SYSTEM PRESSURES 51
TROUBLESHOOTING, REPAIRS AND REPLACEMENT 52-54
SEALED SYSTEM 50
STAINLESS STEEL CARE AND CLEANING 56
GASKET CLEANING 57
GENERAL MAINTENANCE 57
WARRANTY 58
MAINTENANCE 55
INTRODUCTION 1

TRUE RESIDENTIAL®
CONTACT INFORMATION
Department Contact Info
True Residential Equipment
true-residential.com/support

1
15 & 24 INCH SERVICE MANUAL
1 - 22
In s t a l l a t I o n C h e C k l I s t
sa f e t y P r e C a u t I o n s
Da t a ta g I n f o r m a t I o n
De P a r t m e n t C o n t a C t I n f o r m a t I o n
el e C r I C a l s P e C I f I C a t I o n s
Du a l Z o n e h o m e a l a r m s y s t e m
un C r a t I n g
le v e l I n g r e f r I g e r a t o r
In s t a l l a t I n g a n t I -tI P B r a C k e t s
In s t a l l a t I n g th e D o o r s t o P
In s t a l l I n g 9 0˙ D o o r h I n g e ( o P t I o n )
Dr a w e r D e P t h a D j u s t m e n t s
Dr a w e r f r o n t s a D j u s t m e n t s
Dr a w e r g l I D e s a D j u s t m e n t s
Do o r r e m o v a l
st a I n l e s s s t e e l & s t a I n l e s s g l a s s D o o r a D j u s t m e n t s
ov e r l a y P a n e l & o v e r l a y P a n e l g l a s s D o o r a D j u s t m e n t s
wI n e s h e l v I n g a D j u s t m e n t s / g l a s s s h e l v I n g a D j u s t m e n t
l e D l I g h t I n g
st a C k I n g k I t
INTRODUCTION

TRUE RESIDENTIAL®
INSTALLATION CHECKLIST
To ensure a proper installation, this checklist should be completed to ensure that no part of the process has
been overlooked.
Has the electrical circuit been verified of using a dedicated 15-amp circuit with the ground plug attached
and correct polarity. Discrepancies in the supplied power can cause serious damage and potentially void
all warranty. Please see page (5) for a more detailed description of electrical guidelines.
Have all the packaging materials been removed? NOTE: please make sure the toe kick which is taped to
the back of the unit is removed prior to pushing the unit in place.
Have the anti-tip brackets been installed securely and are they properly engaging the unit? NOTE: the
location of the anti-tip brackets is taped within the toe kick packaging. For installation instructions please
see page (9).
Is the unit leveled properly with all leveling legs making contact with the floor? Has the toe kick been
installed? Proper leveling should be done from the inside of the unit rather than the top exterior of the unit.
Has the door stop been installed?
Has the customer been given the installation / user guide? NOTE: A lock is standard on stainless steel
units, therefore the key to the lock is taped to the back of the user/install guide. Overlay paneled units will
not come with a lock or key.
Have stainless steel surfaces been inspected for any imperfections? This is to be done by the authorized
True dealer or installer with the customer, upon completion of installation. Stainless steel doors, handles
and shelves are covered by limited 30-day warranty for cosmetic defects.
Is the unit operating properly? If not, is the unit plugged in? Is the breaker on? Is the display illuminated
and say “off”? For all control operations and sequences please refer to “user interface commands on True
Precision control” section in the table of contents per the model of the unit you are installing.
Does the customer understand the unit’s operation?
Make sure the unit is operating and cooling for 24 hours prior to loading with product. NOTE: loading the
unit with some bottles of water will provide assurance the unit is working properly during this 24-hour
time-frame.
Verify all the shelves are securely in place.
Has the Dual Zone wine unit been connected to an external alarm system? Refer to page (6)
2
This manual suits for next models
18
Table of contents
Other True Undercounter manuals
Popular Undercounter manuals by other brands

Subzero
Subzero AMPLIFIER Series Installation

Jackson
Jackson DISHSTAR ADA-SEER Installation quick guide

Ice-O-Matic
Ice-O-Matic UCG 45 Installation and service manual

EVEREST REFRIGERATION
EVEREST REFRIGERATION ETR1 owner's manual

Pkm
Pkm KS 82.3A+UB instruction manual

Perlick
Perlick COMPLIANT Series installation instructions

Sub-Zero
Sub-Zero UC-24 series Service manual

Ice-O-Matic
Ice-O-Matic Gourmet UCG Series Installation and service manual

Perlick
Perlick HP15 installation instructions

Gastros
Gastros InductWarm 130+ Operating and assembly manual

Ice-O-Matic
Ice-O-Matic Gourmet UCG Series Installation and service manual

CombiSteel
CombiSteel 7450.0079 user manual